In past, we’ve seen many instances when Windows won’t boot. For any anonymous reason, it may stuck on boot screen, or in some cases it will show just a black screen after manufacturer logo screen. Generally in such cases, you need to boot from your recovery or installation media and boot into Safe Mode or need to perform other recovery options such Reset, Refresh, downgrade to earlier version. Most of such cases can be solved by recreating or repairing Master Boot Record.
Since the problem seems with booting process, boot logging can help you much better in such cases, as compared to any other recovery option. See, boot logging is process by which Windows writes everything it does while starting the system, to a log file called ntbtlog.txt. Usually the file is stored in system root drive. But the boot logging is not enabled by default. Users need to enable it from their end.
Here are the steps you need to perform to enable boot logging in Windows 10.
How To Enable Boot Logging In Windows 10
1. Right click Start Button or press  + X keys and select Settings.
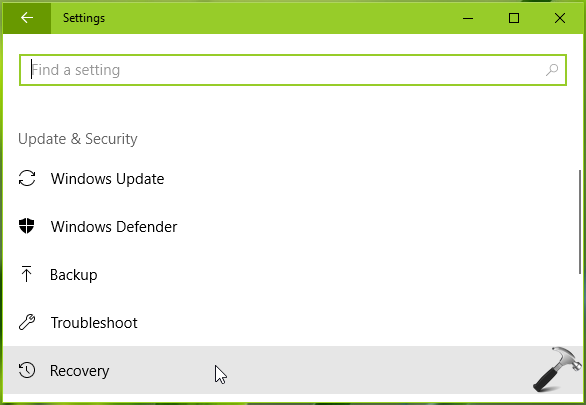
2. In the Settings app, navigate to Update & Security > Recovery.
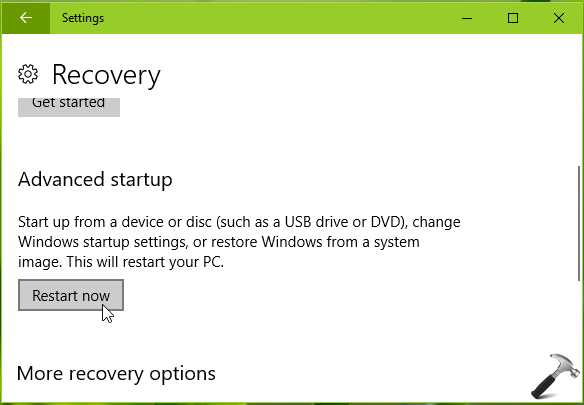
3. In Recovery section, under Advanced startup, click Restart now.
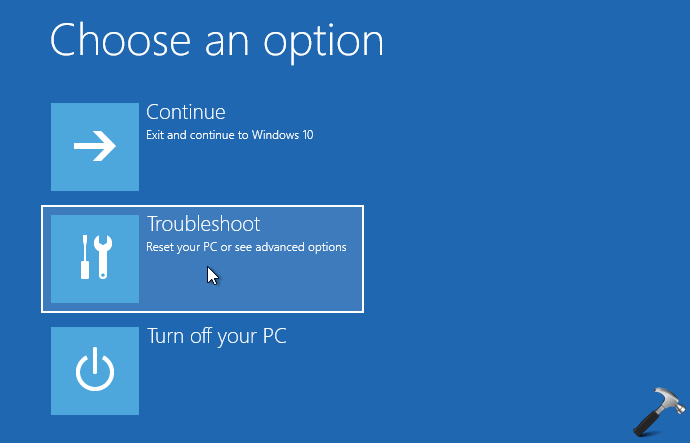
4. Moving on, then on next screen, select Troubleshoot.
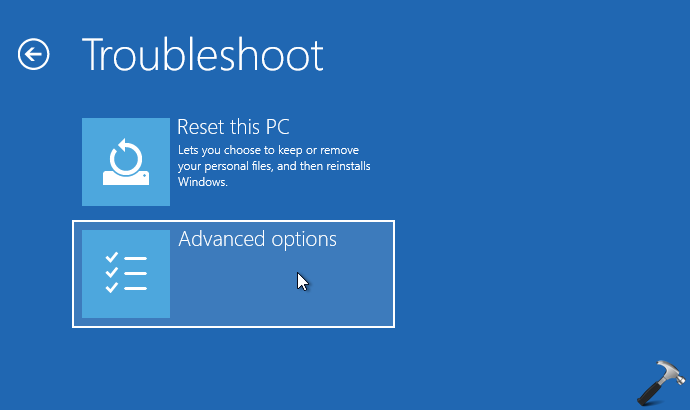
5. Next, pick up Advanced options on Troubleshoot screen.
6. On Advanced options screen, click Startup Settings option.
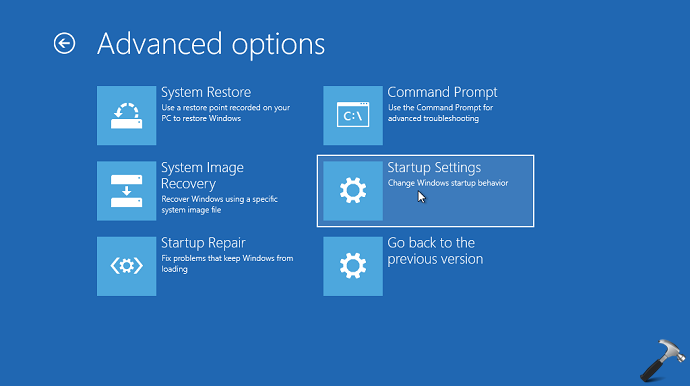
7. Then click on Restart button on next screen.

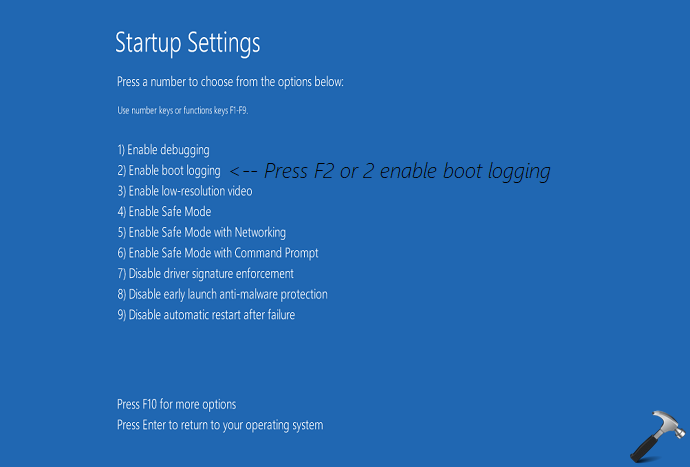
8. After restart, on Startup settings screen, press F2 or 2 to Enable boot logging option.
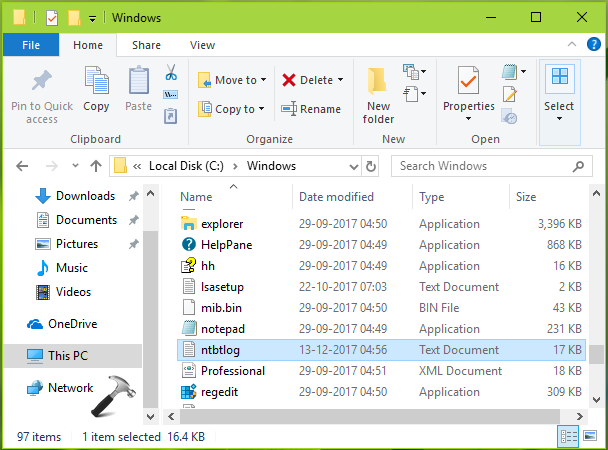
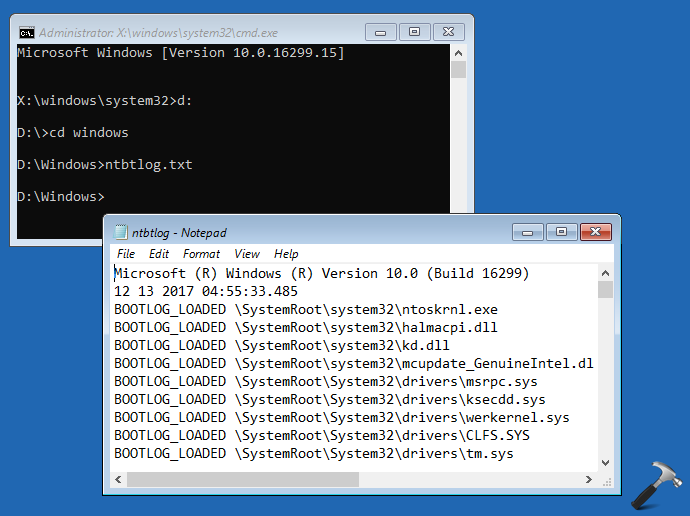
9. The system should restart now as boot logging enabled. Then you can open File Explorer and go to C:\Windows (assuming Windows is installed on C: drive) and locate the ntbtlog.txt file.
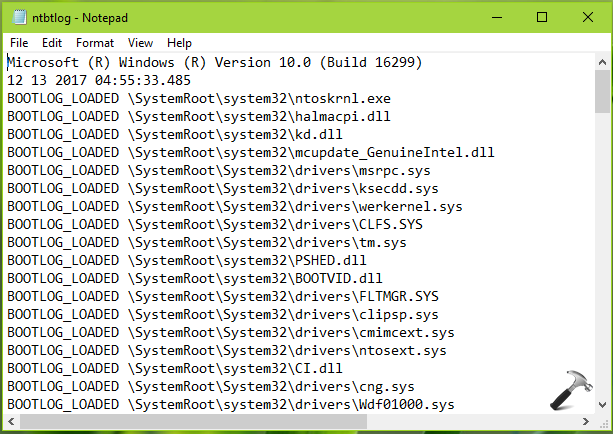
10. Double click on this file or open it in Notepad or the text editor you use. This would display the recent boot log which you can analyze to observe the booting performance of your Windows 10.
If you’re unable to boot your machine, you may not be able to access ntbtlog.txt file via File Mananger. In that case you need to use Advanced Recovery Command Prompt to access this file.
Hope you find the boot logging feature useful!