

NOTE : Article is updated for Windows 8.1.
A smart Windows user always keeps all the tools with him that could save him at the time of crisis. System recovery drive may one of those tool, which can help you to exit from the situation of system failures. Since prevention is better than cure, you should always keep a system recovery drive ready with you for your machine. Because in the worst situation of system failures, you are supposed to Refresh or Reset feature. But following message will not allow you to do so:

In that case, you’ll necessarily need the system recovery drive. However, you cant still Refresh or Reset without installation disc. But still if you’re looking forward to use these recovery tools along with system recovery drive, here is how to create a recovery drive:
How To : Create System Recovery Drive In Windows 8.1
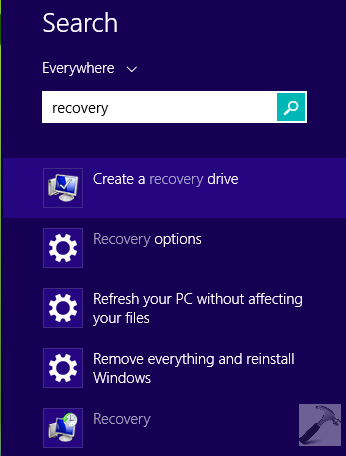
1. Press  + Q, type recovery and hit Enter key. From the search results so appeared, select Create a recovery drive. If prompted for User Account Control (UAC) permissions, click Yes.
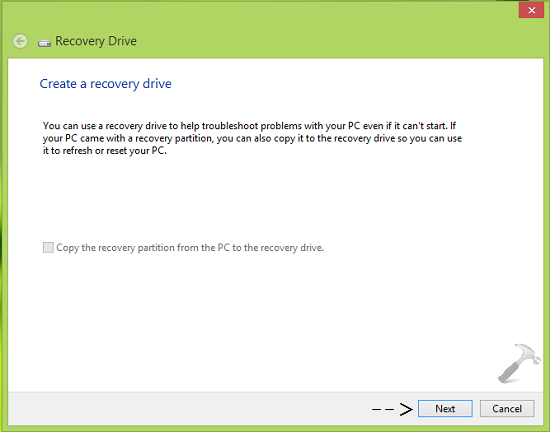
2. Next, in the Recovery Drive window shown below, click Next.
See : [FIX] “Copy The Recovery Partition From The PC To The Recovery Drive” Disabled
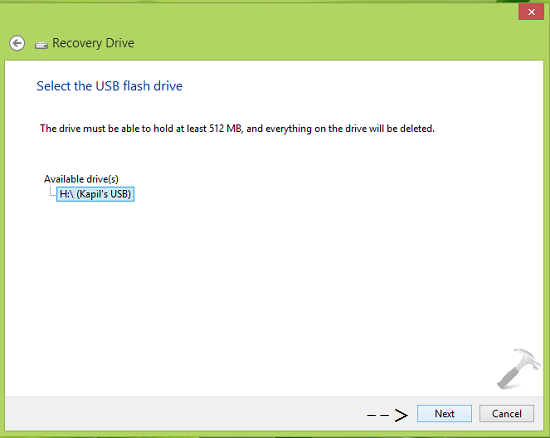
3. Moving on, you should now be able to select USB drive on which you have to create system recovery drive. If you don’t find anything listed here, make sure you have plugged an USB drive more than 512 MB. An USB drive with 2 GB or above capacity is recommended to use here. Click Next.
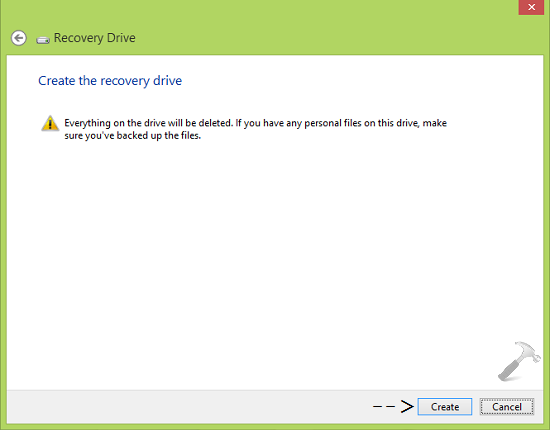
4. Now you’ll see the warning that if any data exists on the USB drive which you’ve selected in previous step will be formatted. Click Create.
Then in few seconds, you can see the progress status of system recovery drive creation:
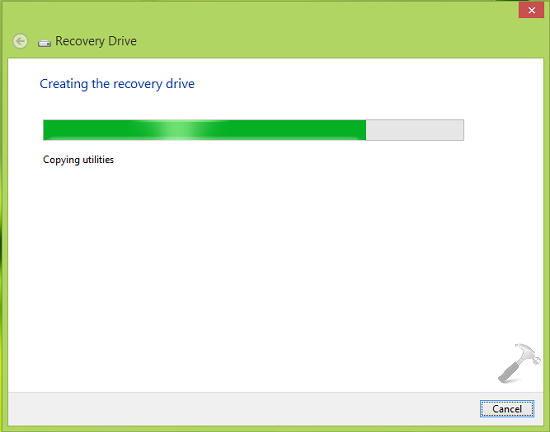
5. When the system is done with system recovery drive creation, it will notify you as shown below. Click Finish.
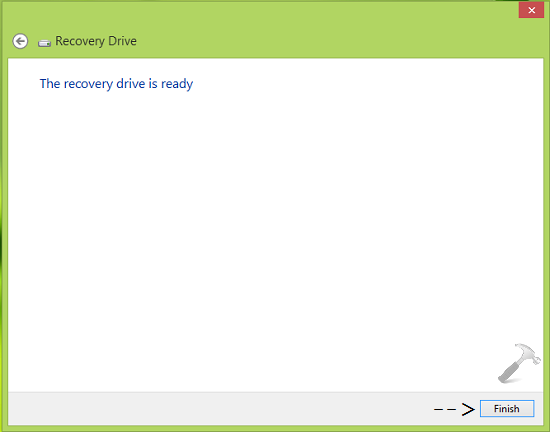
So, in this way, your system recovery drive is now ready to use at the time Refresh or Reset of Windows 8.1.
That’s it!





thanks bro
Ms told me to use your site to reinstall win10 as I have lost the settings you go to at the start menu. They have tried two days worth and no luck. when I went to your site it talks about 8.1 and some recovery cd. I downloaded win10 foom the internet so I do not have anything to start from. Help! I do not see where it says what I should do in my case.
I do not have mail on this computer so if you could answer me at **email removed for privacy** it would be appreciated
jim
^^ For recovering Start Menu, see these fixes:
http://www.kapilarya.com/re-register-start-menu-windows-10
http://www.kapilarya.com/fix-start-button-not-working-in-windows-10
If you still want to try steps of this article, you can go ahead as same steps have to followed for Windows 10 as well.
A smart Windows user always keeps all the tools with him that could save him at the time of crisis.
Ok, and in the case of not being a smart user? Can I save the recovery files from another win10 machine? Or to do so, both machines should have the same settings and hardware?
^^ Haven’t tried that but I believe you must have same architecture machines and same build on both the machines for this to work.
i have windows 8.1 installed on hp pavillion dv6700 with mstk activation naw i want to create system recovery usb drive bur in recovery option i dont find create ststem recovery drive option pls help
^^ Above steps are already illustrated on Windows 8.1. Refollow them and create your recovery drive :)
I have been presented with the Error 0xc0000225 but none of the recommended recovery options work. I can not get past the error report.screen This almost new machine has given the BLACK SOD and this BLUE SOD with this error in the past. any ideas as to the reasons?
^^ Please check the dedicated fix: https://www.kapilarya.com/your-pc-needs-to-be-repaired-0xc0000225
Thanks for this article. But my system is giving me the sign-in process initialization failed message and I don’t have a system recovery drive. Please what can i do
^^ Refer this fix: https://www.kapilarya.com/fix-sign-in-process-initialization-failure-in-windows-10.
windows 8.1 the recovery partition is on the harddrive but i’am getting “cannot find recovery enviorment” I followed your instructions, copied the recovery partition onto a harddrive vai usb again still getting the same message.
The last time I used the recovery partition I used the option “keeping my files” however since it installed the updates reguardless what I have tried I cannot get sound the computer is a zoostorm, the company will not help. microsft people could not help me sort the the sound problem, I exhaused all their options
^^ What is the sound problem you’re facing, please let me know. I can help.
I have windows 10 on my laptop and somehow forgot the admin local account password and it has locked me out. There is no reset button option available. I need to retain my personal files. Please suggest
^^ What do you mean by reset button not available? Kindly, follow reset as boot using Windows Advanced Recovery Options: https://www.kapilarya.com/how-to-completely-reset-windows-10.
Hello Kapil. I’ve encountered this “Interactive sign-in process initialization has failed” issue 4 days ago, and unable to start Windows. I’m now in a containment zone and have tried the tips shared on this website. Nothing has worked. Could you suggest some remedy. Thanks
^^ Please refer: https://www.kapilarya.com/fix-sign-in-process-initialization-failure-in-windows-10.