In our previous guide, we’ve shared you the way to configure Delegate Control:
How To Use Delegate Control In Active Directory
Now, in this article, we’ll see how to remove the configured Delegate Control using above mentioned guide. Actually, when you configure Delegate Control, there is no direct way to check which groups/users have those permissions. Moreover, when you check the properties of respective OU, user(s), or group(s), there is nothing which can confirm that this object holds Delegate Control. These permissions are crucial ones, and as an IT admin you might not want to mess up things due to them.
After wasting another hour, we figured out the way to check status of those permissions and also, how to remove them. To accomplish this, you need to activate and use the advanced features of Active Directory Users and Computers console. Okay, so if you’re unable to figure out how you can check provided delegate permissions and remove them, here is how you can:
How To Remove Delegate Control In Active Directory
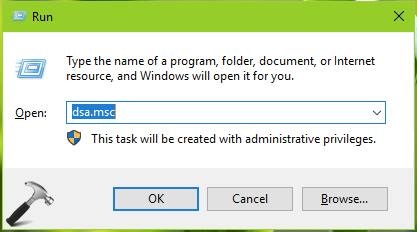
1. Open Active Directory Users and Computers by running dsa.msc command.
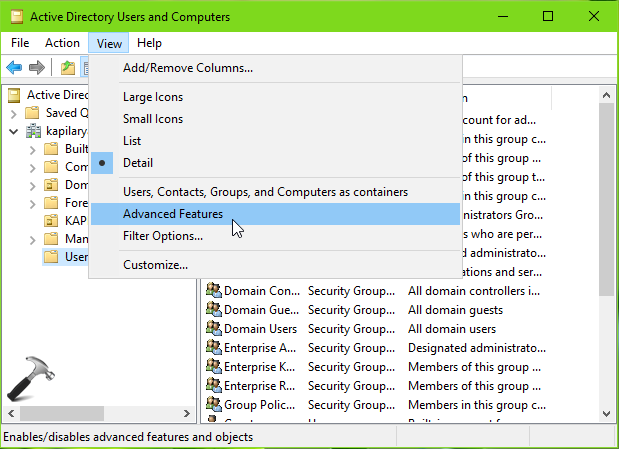
2. In Active Directory Users and Computers window, click on View and select Advanced Features.
3. Next, right click on the OU or Users, wherever you applied Delegate Control and then click Properties.

4. On the property sheet appeared next, switch to Security tab and click Advanced.
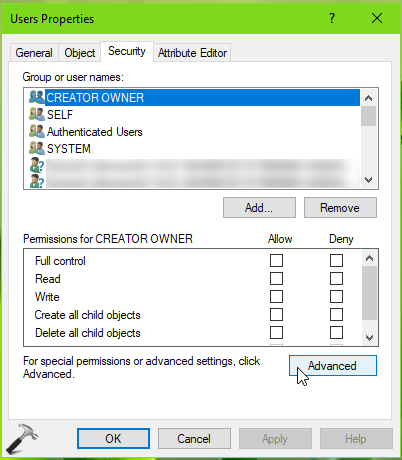
5. In the Advanced Security Settings window, select the groups/users which you’ve provided Delegate Control. You can verify that from information present here in Access section. Keeping the users/groups selected, you can click on Remove button and the delegate permissions will be removed. Don’t forgot to hit Apply, OK to save your changes.

So this is how you can remove Delegate Control in Active Directory.
That’s it!
Also check: Configure DNS Scavenging In Windows Server 2019.