
We’ve earlier shared you this guide to map drive in Windows 10. For an organization, drive mappings can resolve the problem of long resource paths for clients. For a complex organization, if you want to allow specific client to use a network specific resource, drive mapping can be perfect solution. Though drive mapping on group membership may require programming knowledge. It may require you to use login scripts that are outdated now, when compared to Group Policy. Thanks to Group Policy Preferences (GPP), which you can use to map drive without any programming.
Group Policy is fast, easy and a flexible solution you should use in drive mapping. So in this article, we’ll see the step-by-step process to map a drive to your client using GPP.
Map A Drive Using Group Policy Preferences
1. Press  + R and type
 gpmc.msc in Run dialog box to open Group Policy Management snap-in. Click OK.
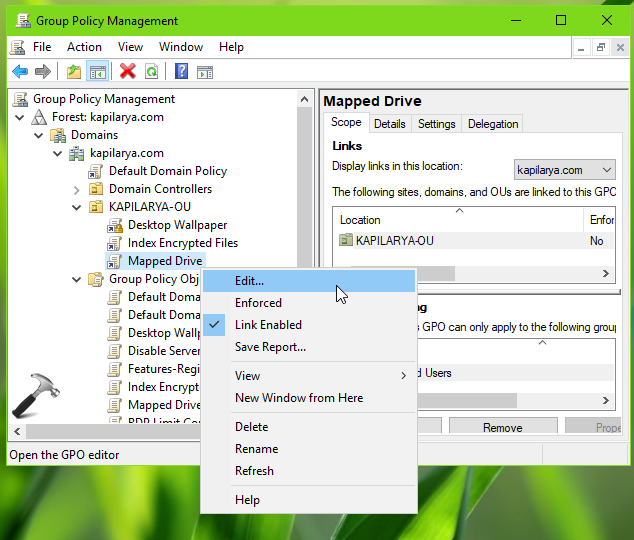
2. In Group Policy Management window, right click on your preferred domain/OU and select Create a GPO in this domain, and Link it here. If you already created a GPO, then you can use Link an Existing GPO instead. Then right click on GPO Object created so far and select Edit.
3. In the GPO Editor, navigate here:
User Configuration > Preferences > Windows Settings > Drive Maps
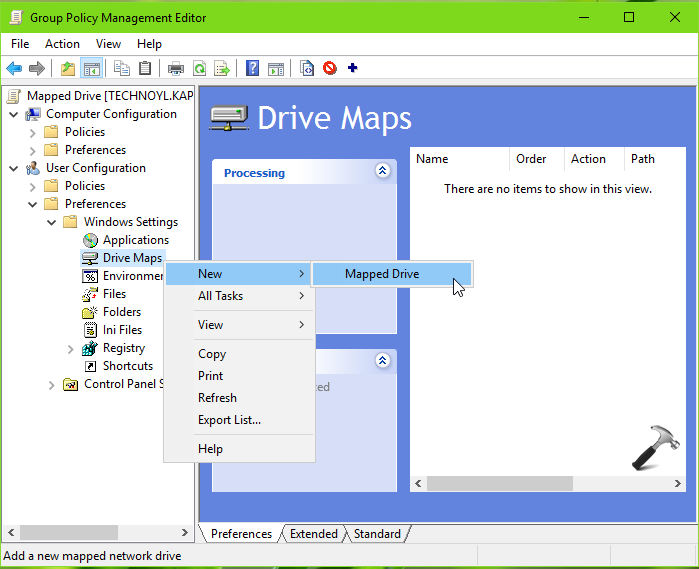
4. Right click on Drive Maps, select New > Mapped Drive. On the property sheet, fill the details based on this information:
- Action: It could be Create or Delete for mapped drive. You can select Replace to remove existing mapped drive settings with new one. Or you can select Update, to update existing mapped drive settings.
- Location: Use a fully qualified UNC path for your network share. You can use … button to browse the location as well. You can leave this field blank if you’re modifying an existing drive mapping.
Rest fields are self explanatory and you can choose them as per your requirement. Once done, click Apply.

5. Then switch to Common tab. We’ll select here Item-level targeting but additionally you can select other options, if required. Click on Targeting button.

6. In the Targeting window, click New Item drop-down and select your preferred option. We selected the OU which we want to target here.

7. Then click on Browse button next Organizational unit.

8. You can find the search results in either Entire Directory or your domain. We then selected the target OU.

9. Once listed successfully in Target Editor, click OK. This completes mapping of drive so you can close all windows for GP Editor and refresh GP engine.

10. After refresh of GP engine, the targeted clients will see the mapped drive on their system.

That’s it!
See also: How to configure VPN on Windows Server 2019.


Hi Kapil,
what you did is not wokring in my network, for some reason which i dont know, it is been days that im working on this problem, but it looks that is not easy to solve, i did what you did above, i did gpupdate /force and even tried to restart the client, the drive is not showing in Clients computer.
any other way to fix this issue ?
Regards
Azim
^^ Make sure you select correct location in step 4.