When Windows 11 shows the error Class Not Registered, it typically means that a DLL, COM class, Windows component, or application has been mis-registered or is corrupted. Luckily, you don’t need to reset or reinstall Windows to fix this issue.
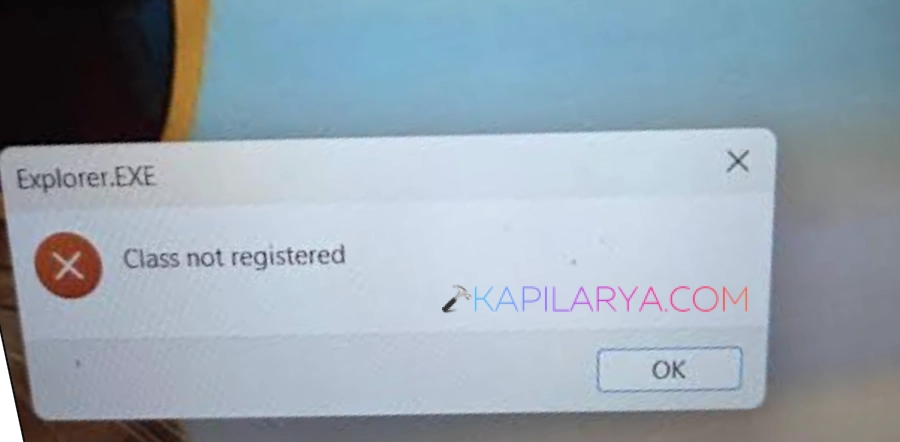
Starting from the simpler solutions and working our way up the ladder, this guide will help you understand a few common fixes that you can implement here to get rid of the Class Not Registered error in Windows 11. Perform the steps in turn and determine if the problem is solved when each step is completed.
Page Contents
What Does “Class Not Registered” Mean in Windows 11?
Component Object Model (COM): A way for Windows to enable communication between different applications and system services. The COM components are paired with a registration entry that will describe to Windows how and where to find the component.
If it is damaged, missing, or misconfigured, Windows might show errors like “Class Not Registered”.
These may cause the error to appear when you open them:
- File Explorer
- Microsoft Edge
- Windows Photos
- Start menu components
- Windows Search
- Settings
- Internet-related applications
- Certain third-party programs
Corrupted DLL registrations, Damaged system files, Problematic default applications, and Windows services are some of the common reasons that can trigger the Class Not Registered Windows 11 error.
Why Does Class Not Registered Appear in Windows 11?
There isn’t a single cause behind this error. The following are some of the common causes for this:
- Faulty Windows system files.
- Incorrect DLL registration
- COM/DCOM configuration problems
- Windows application corruption
- Outdated Windows components
- Conflicts with third-party application(s)
If you can find out when the error began, then you will be able to troubleshoot it much more easily. If the error occurred right after installing an application, the application could be a more probable cause than the Windows operating system.
Ways to fix Class Not Registered in Windows 11
The Class Not Registered Windows 11 error may appear alarming, but that doesn’t imply you should re-install Windows. By solving these solutions sequentially, you can determine what causes the issue and hopefully resurrect a normalcy of your Windows 11 applications.
Fix 1: Re-Register the ExplorerFrame.dll File
A first solution that you can take to eliminate the Class Not Registered error in Windows 11 is to re-register the ExplorerFrame.dll file.
ExplorerFrame.dll is related to the functionality of Windows Explorer. If it is corrupted, Windows will most likely have trouble loading some of the Explorer-related components. Explore how to re-register ExplorerFrame.dll:
1. Search with Windows by pressing Windows + S. Type Command Prompt. Right-click on the Command Prompt and click Run as Admin.
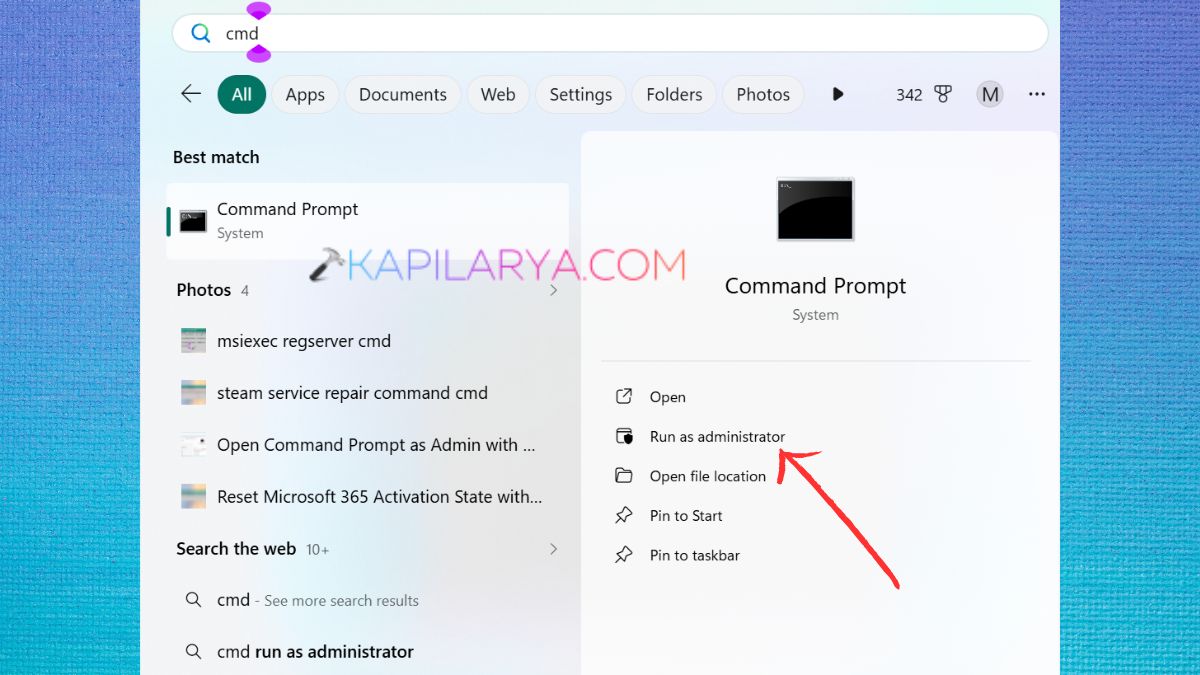
If the User Account Control window opens, press Yes.
2. Enter the following command. Press Enter.
regsvr32 ExplorerFrame.dll
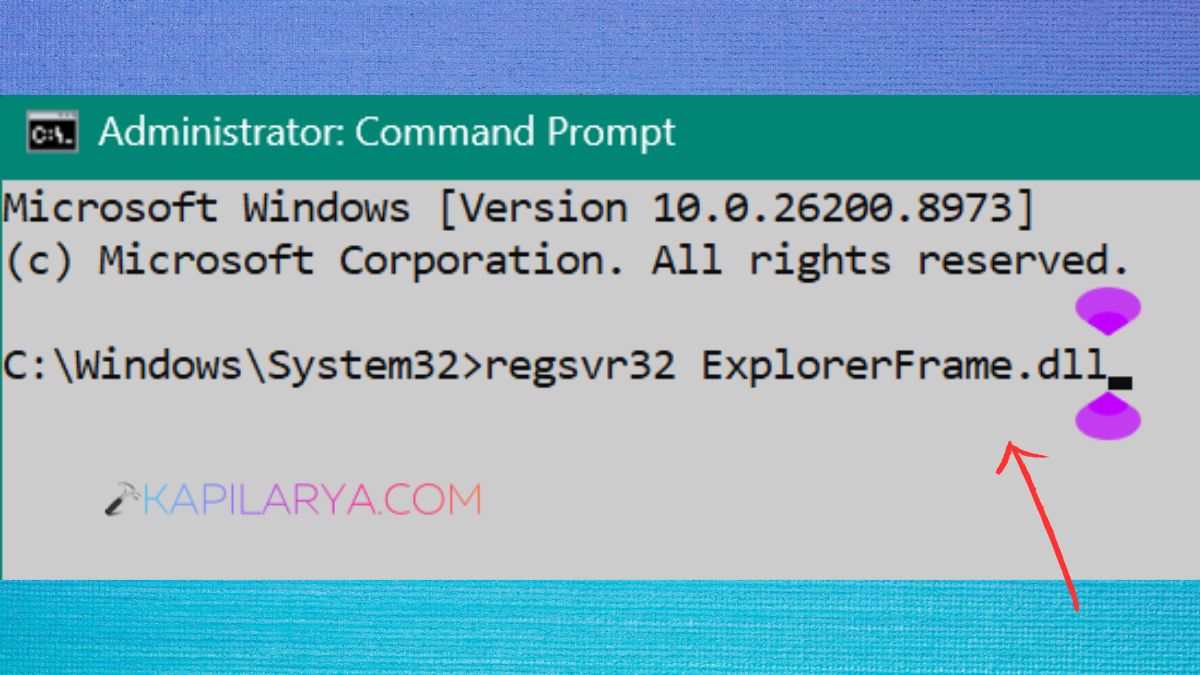
Wait until Windows notifies you that it will delete the file.
3. Restart your computer. Try to open File Explorer or the app that was showing the Class Not Registered message.
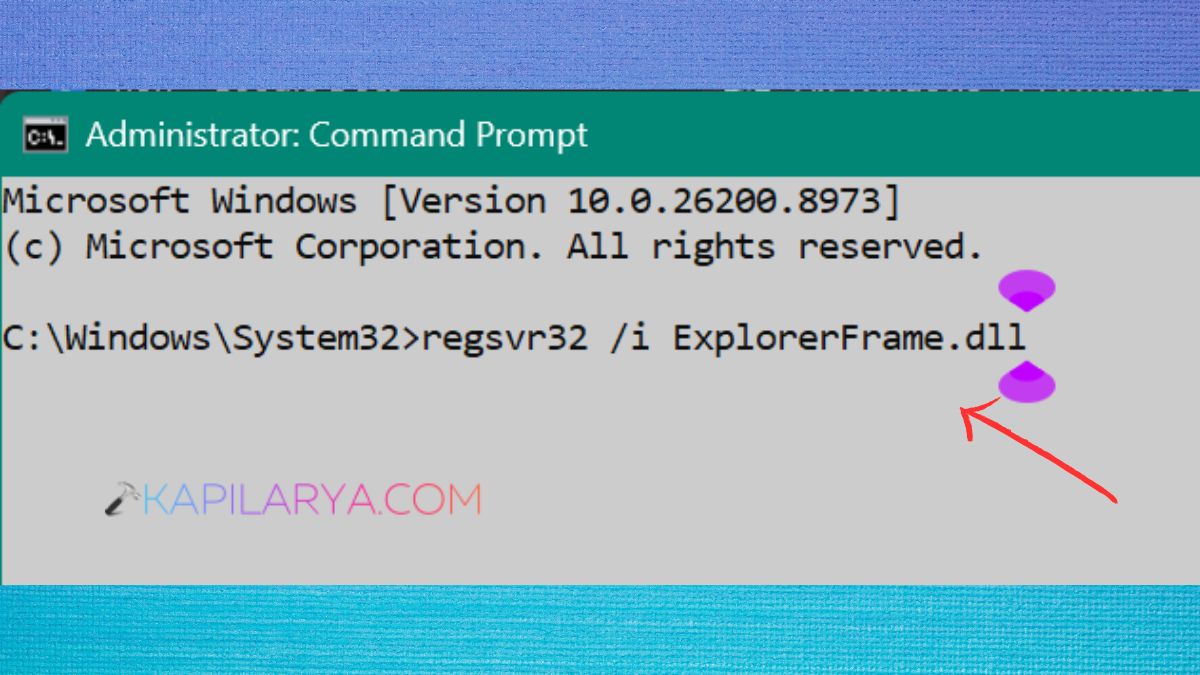
4. If the command doesn’t work, you can also try running this command. If Windows reports that the module could not be loaded, don’t manually download a DLL file from an unknown website. Otherwise, proceed with systems-file repair instructions later in this guide.
regsvr32 /i ExplorerFrame.dll
Fix 2: Check Component Services
The error may be related to COM components, so verifying the windows’ component/service infrastructure might be beneficial.
Windows offers the Component Services console to control COM and DCOM components.
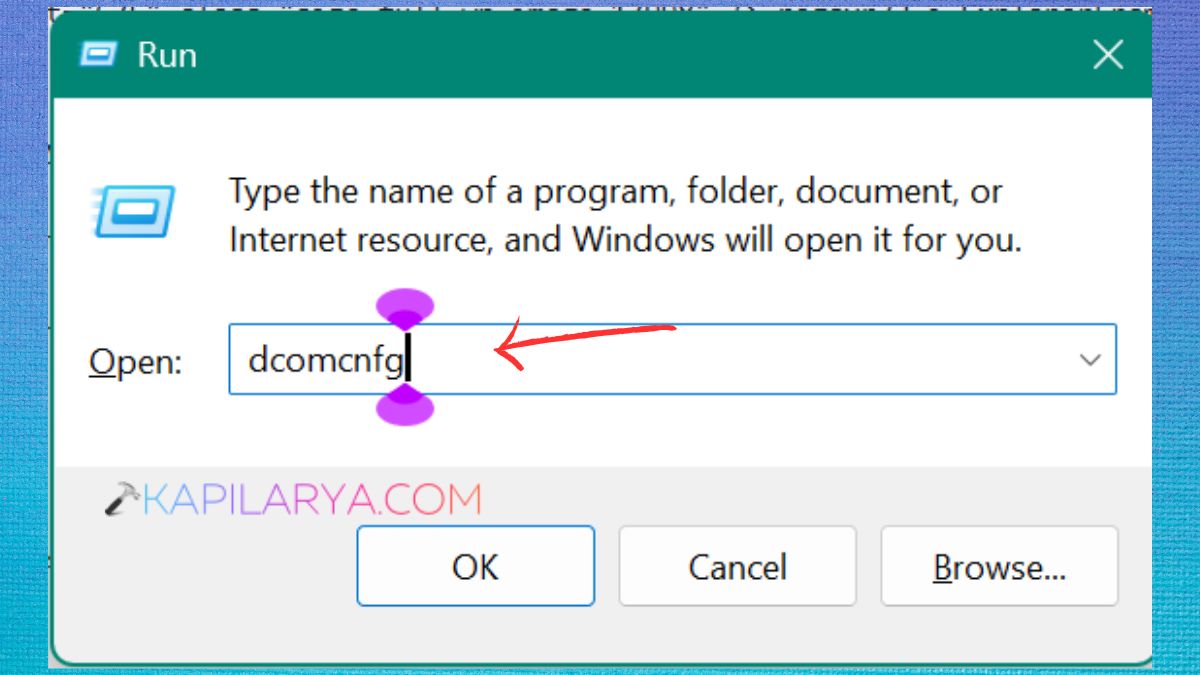
1. Hit the keys Win + R. Type this command. Press Enter.
dcomcnfg
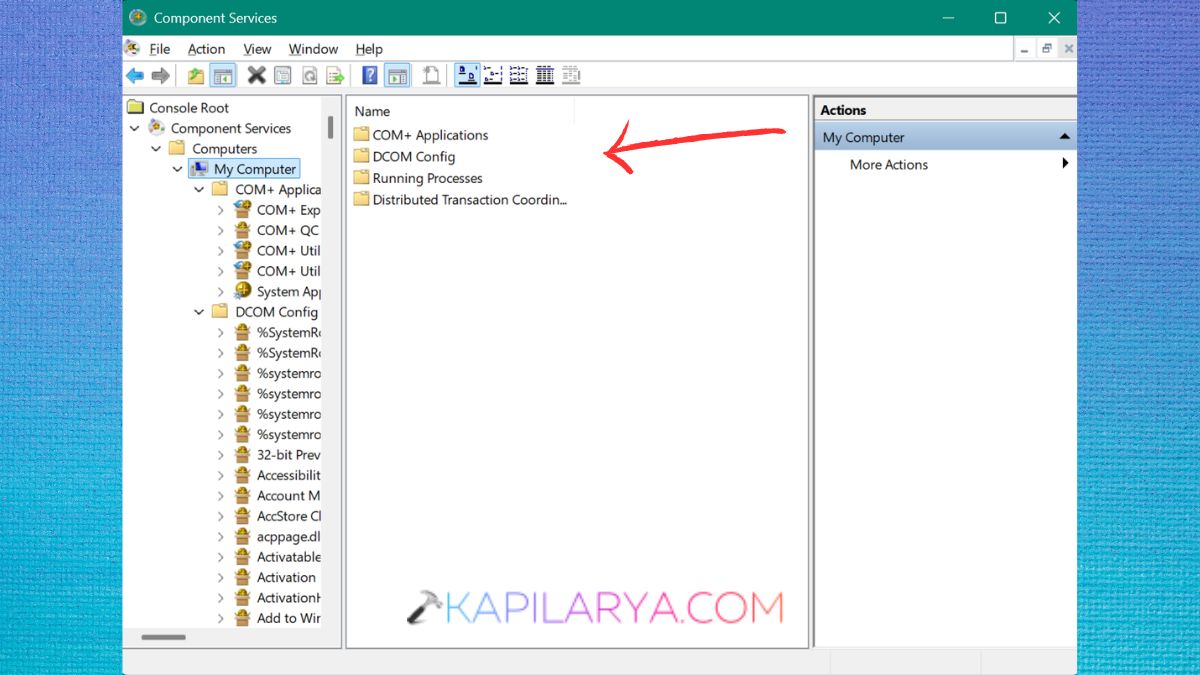
2. Click on Component Services in the Component Services window and expand the Computers branch of the window to show My Computer. Check the various configuration choices. Don’t alter any random setting in DCOM unless you’re aware of what a specific component does.
Fix 3: Verify Related Windows Services
It’s also possible to check if important Windows services are running.
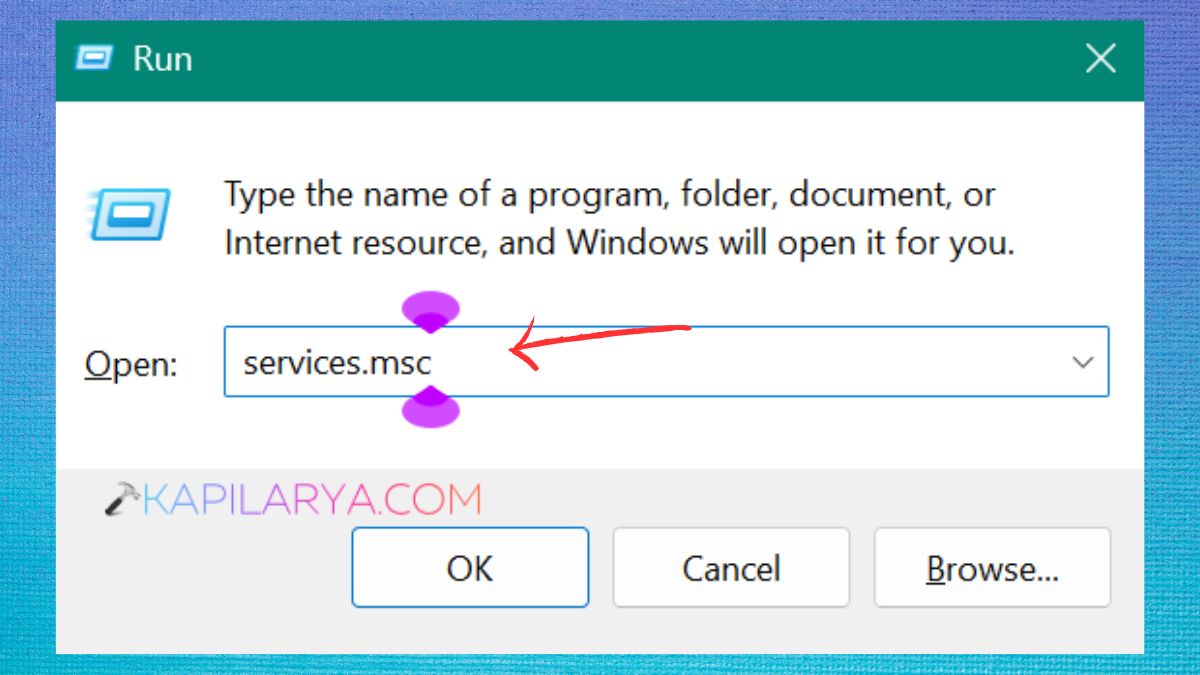
1. Click on Windows + R. Type this.
services.msc
2. Look for services such as:
- DCOM Server Process Launcher
- Remote Procedure Call (RPC)
- RPC Endpoint Mapper
Double-click each service. Ensure that its Start-up type is set right and that the service is running. If the service is stopped and Windows will allow it to start, click Start.
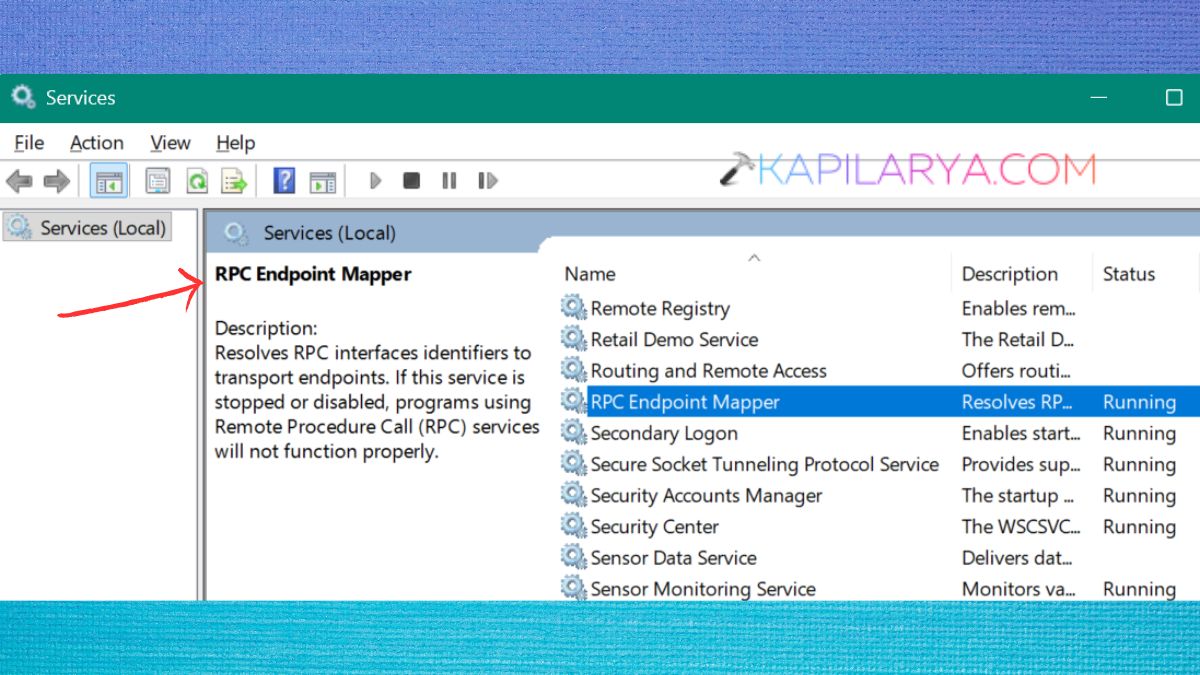
Click Apply > OK. Restart Windows and see if the Windows 11 Class Not Registered error message is gone.
Fix 4: Create a New Windows User Account
Sometimes the Class Not Registered error is limited to a particular Windows user profile. If you are having problems with your current profile due to corrupt settings or applications, having a new profile may be helpful to determine if the problem is profile-based.
1. Tap Windows + I to open Settings. Select Accounts. Click Other users.
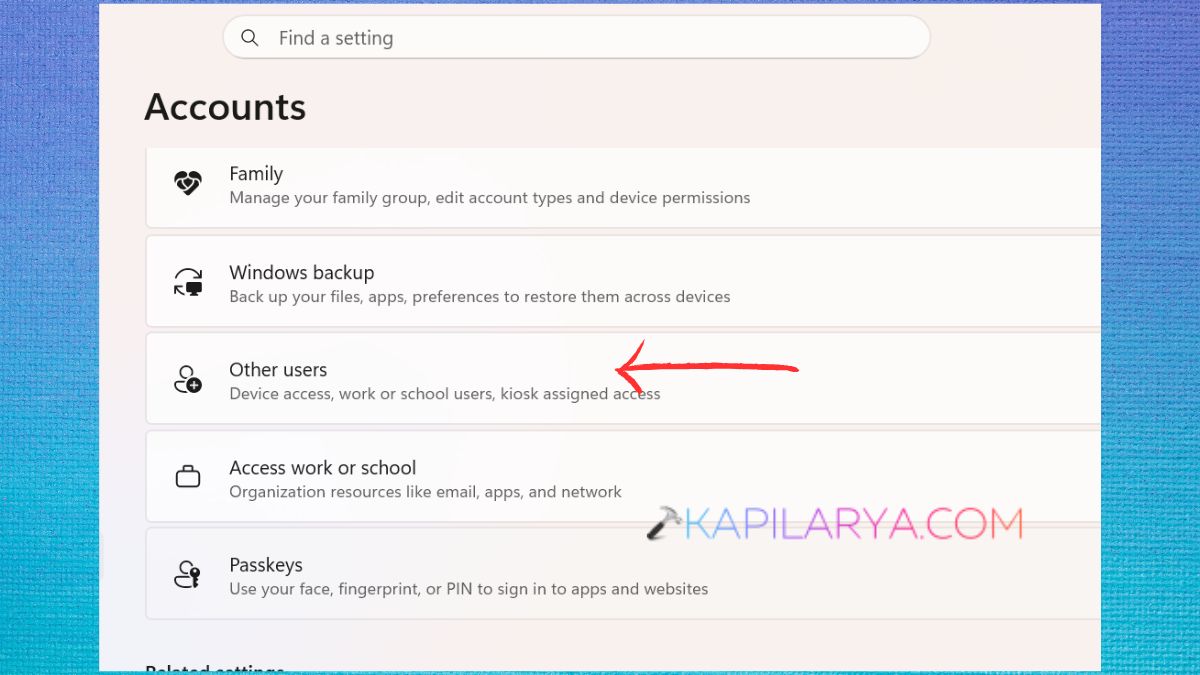
2. Select Add account. Follow the directions to create another Windows account.
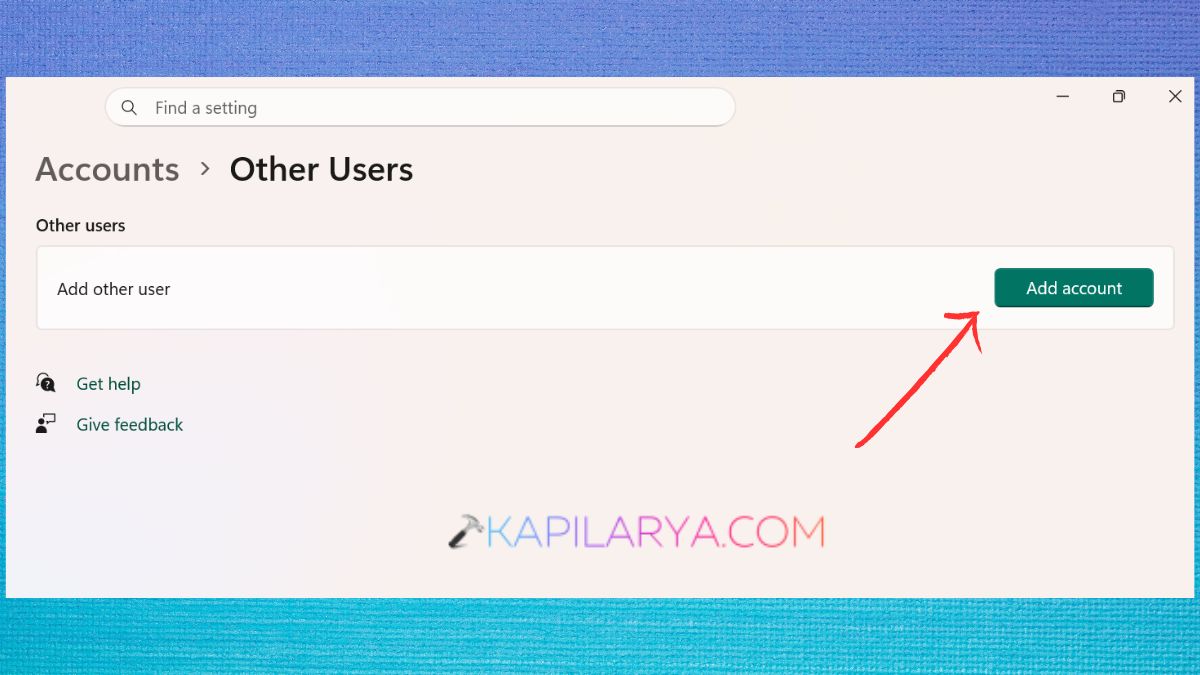
3. Log out of the existing account.
4. Use the new account to sign in. Now, attempt to open the app that was giving the error.
What if the error doesn’t appear?
If it is normal to apply from the new account, the original Windows profile might be damaged.
Your personal files can then be transferred to the new profile and your applications set up once again. Do not delete your existing account until you’ve saved all that is important.
This is a useful approach particularly in case one user account is only experiencing Class Not Registered Windows 11.
Fix 5: Run System File Checker and DISM
There are various Windows 11 errors that can be caused by corrupted or missing Windows system files. There are two inbuilt tools that Microsoft offers to repair Windows components: System File Checker (SFC) and Deployment Image Servicing and Management (DISM). It is generally a good idea to run DISM first and then SFC.
1. Run the Command Prompt as Administrator.
2. Use the following command and hit Enter.
DISM /Online /Cleanup-Image /RestoreHealth
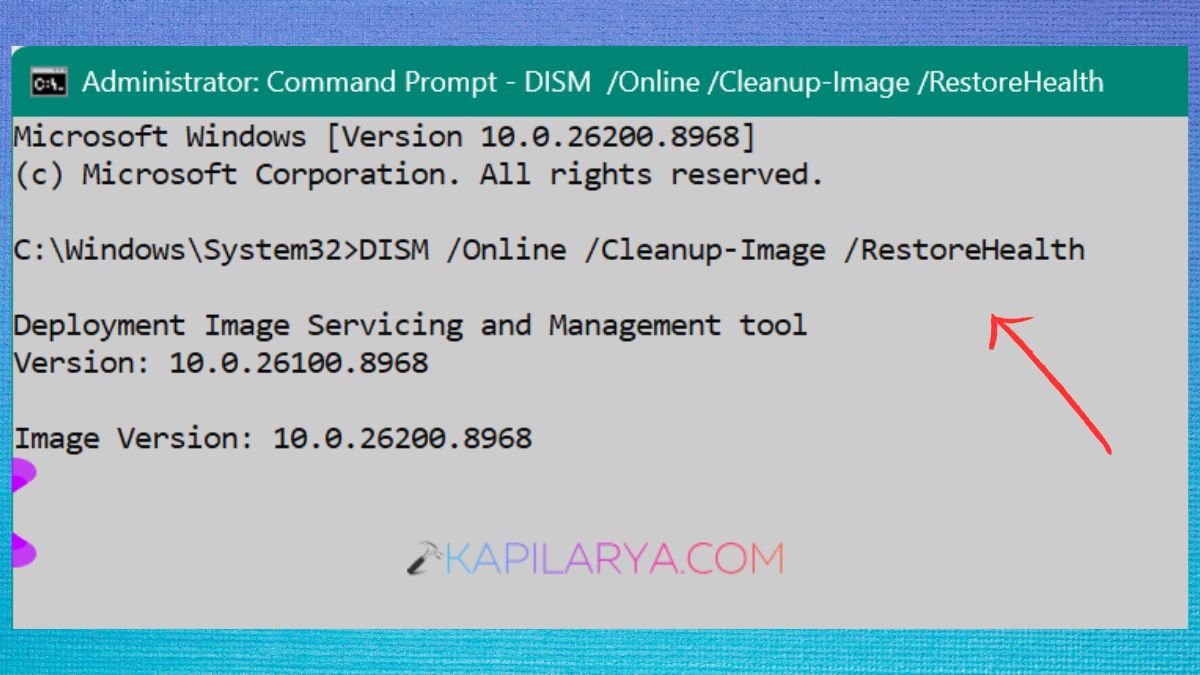
Wait until the scan and repair process is finished. The process may take some time. Don’t exit Command Prompt while it is running.
3. Once you have completed DISM, run this. Press Enter and let Windows run the scan.
sfc /scannow
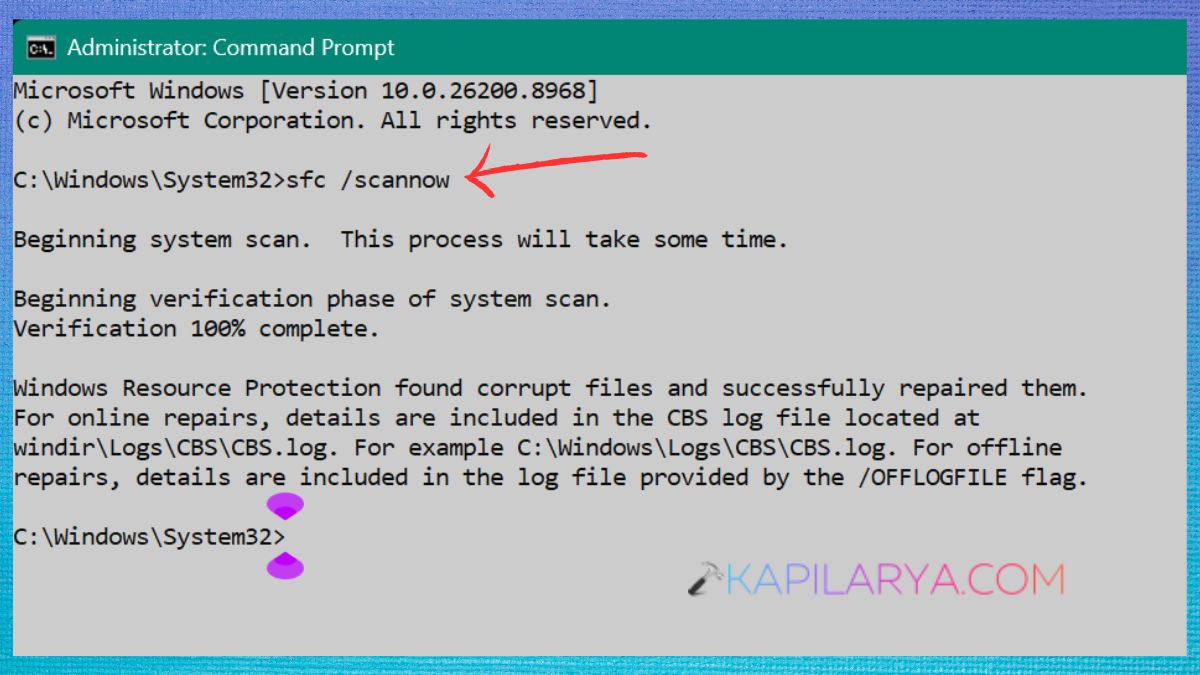
If SFC discovers corrupted system files, it will automatically try to fix them.
After the two commands are executed, reboot Windows 11 and see if the Class Not Registered error message is resolved. It is also helpful in troubleshooting other issues with Windows that are due to corrupted system files.
Fix 6: Start the Internet Explorer ETW Collector Service
While Internet Explorer is no longer supported as a standalone browser on modern versions of Windows, some legacy Windows system components and applications may still be dependent on related components.
When troubleshooting a Class Not Registered error that may be related to an application or browser, you can use the status check to confirm that the Internet Explorer ETW Collector Service is installed on your Windows 11 installation.
1. Again, click on Run by pressing Win + R and type this and hit enter.
services.msc
2. Search for IE or Internet Explorer ETW Collector Service. If it’s there, double-click it. Find out its current status. If the service is not running and is enabled in the Start option, then select Start.
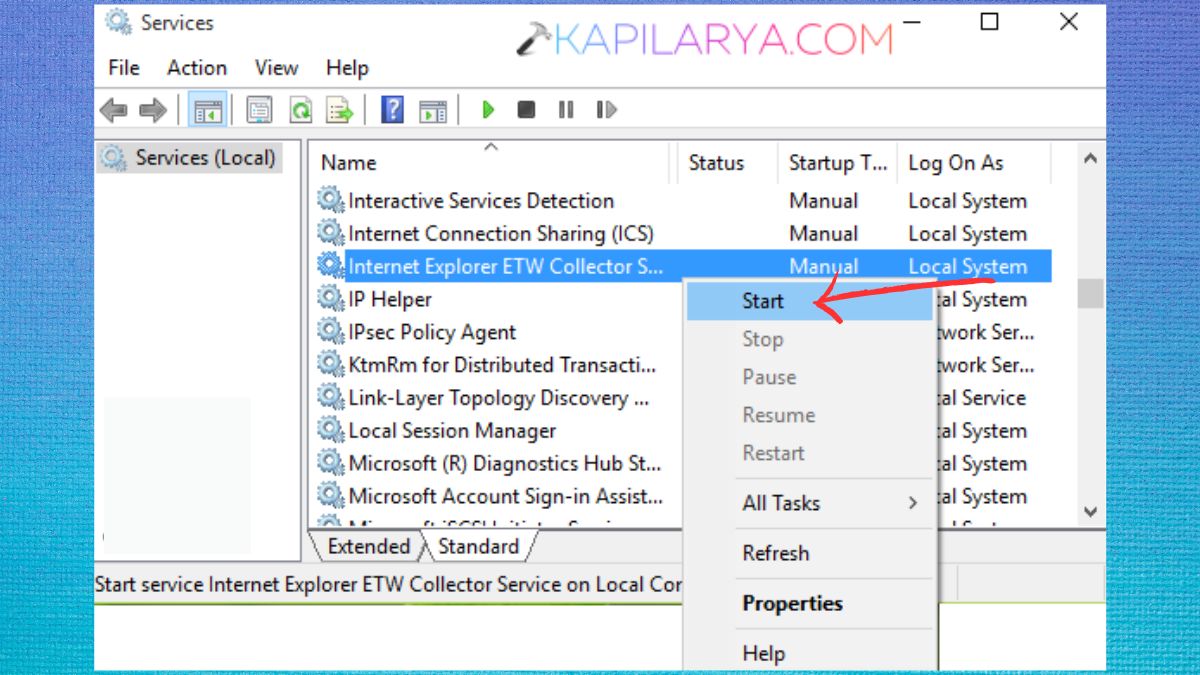
Select Apply, then OK.
If you can’t find the service, there is some problem. Don’t worry. On each installation of Windows 11, the service might not be available or accessible in the same manner. Don’t install or download third-party versions of Windows services because they are missing.
Rather, try the remaining troubleshooting steps in this guide.
Fix 7: Reset Your Default Apps in Windows 11
The Class Not Registered message may be triggered when Windows attempts to open a file, a link or a system component when the default application is incorrect or corrupted.
It’s a good idea to try resetting default applications, especially if the error occurs when opening files or certain applications.
1. Tap Windows + I to open Settings. Go to Apps. Select Default apps.
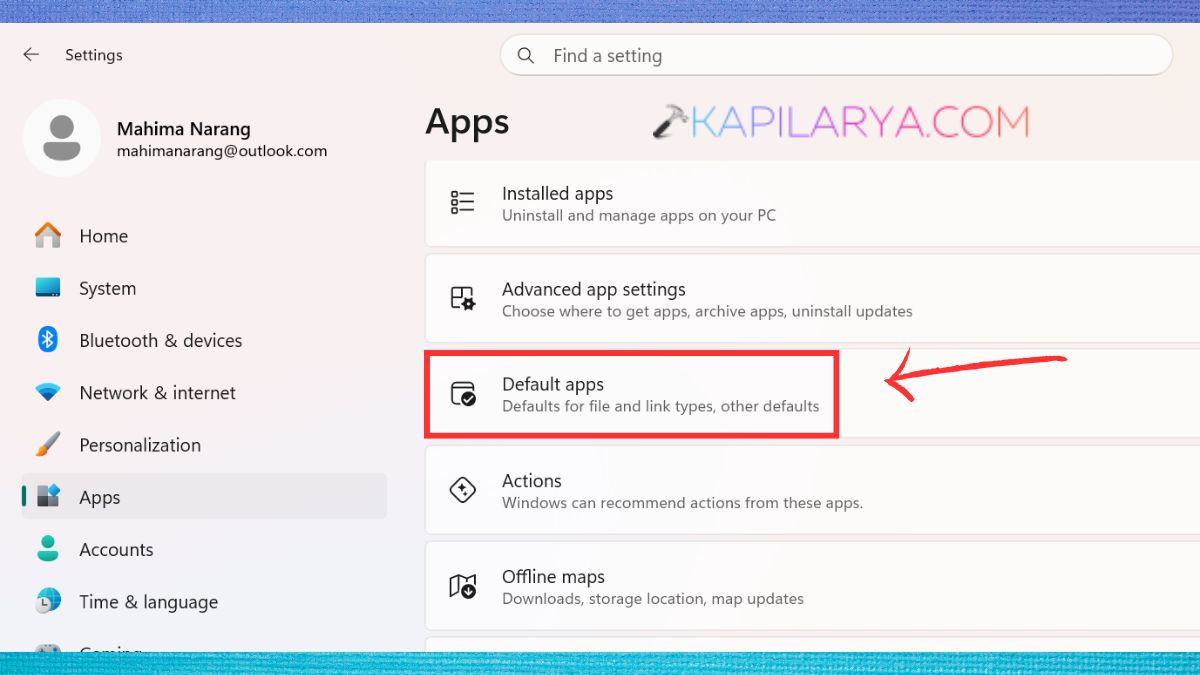
2. You will then see the Reset default apps option, scroll down and select it. Follow directions on the screen.
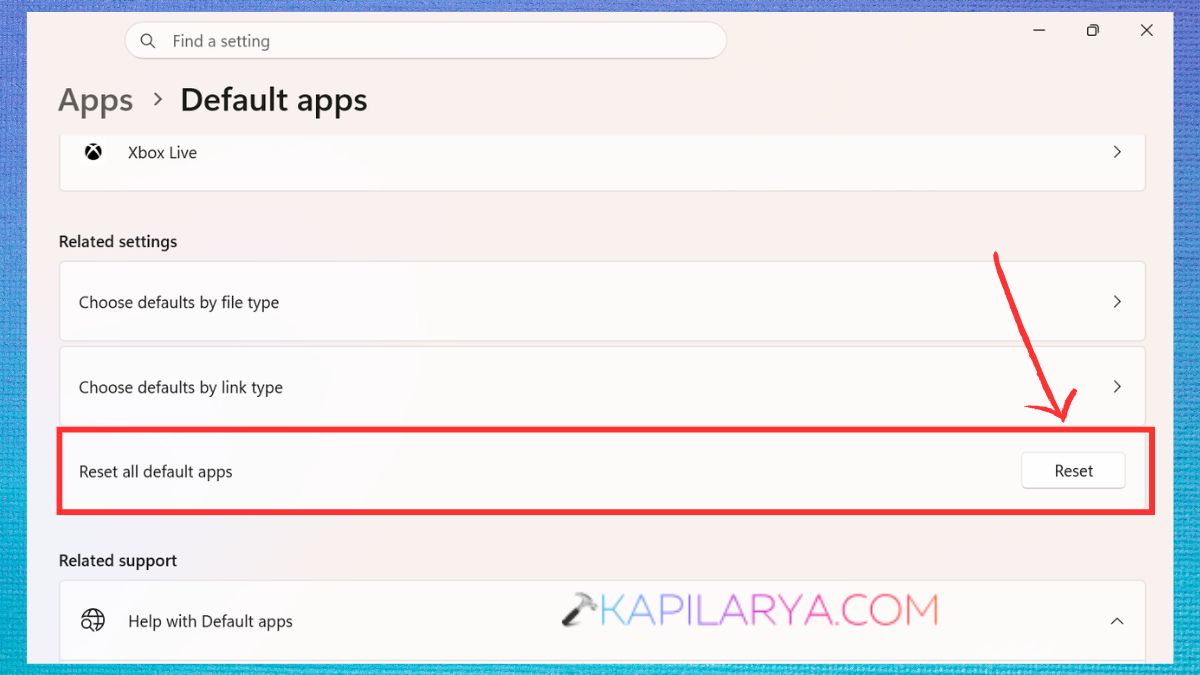
Restart your computer. Reopen the file or program that caused the problem and reset default apps.
If the problem is restricted to one app, look for that App in Default Apps and check the file and link associations. It is possible to re-assign the right Windows application again.
Fix 8: Restart Windows Explorer
Restarting Windows Explorer is a quick and easy troubleshooting step if you get the Class Not Registered error when opening File Explorer or when you try to interact with the Windows desktop.
1. Restart Windows Explorer from Task Manager. Hold Ctrl + Shift + Esc and open the Task Manager.
2. Look for Windows Explorer in the list of processes. Right-click it. Select Restart.
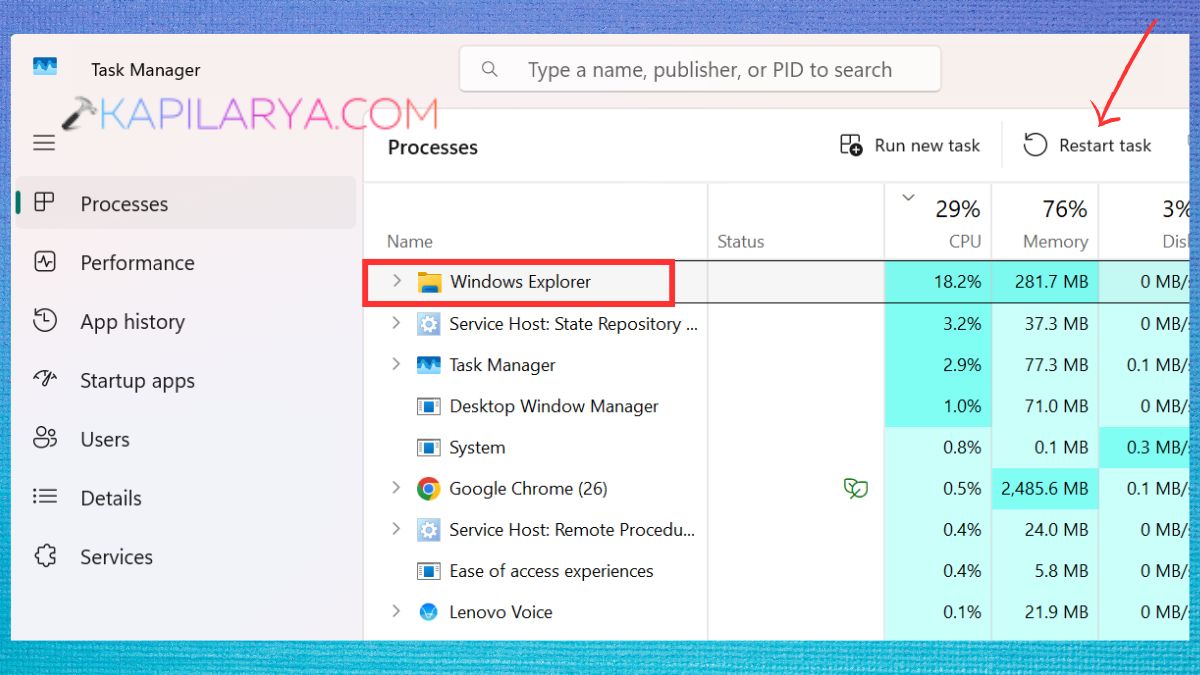
Your taskbar and desktop might momentarily vanish and reappear. Now, go back to File Explorer and click it again. If the error shows up right away, proceed with the other solutions included in this fix.
Fix 9: Install Pending Windows 11 Updates
Sometimes an obsolete version of the Windows OS may include bugs or compatibility issues with the applications installed with the OS.
1. Press Windows + I to check for updates, and then select Windows Update.
2. Tap the button “Check for updates”. Install available updates.
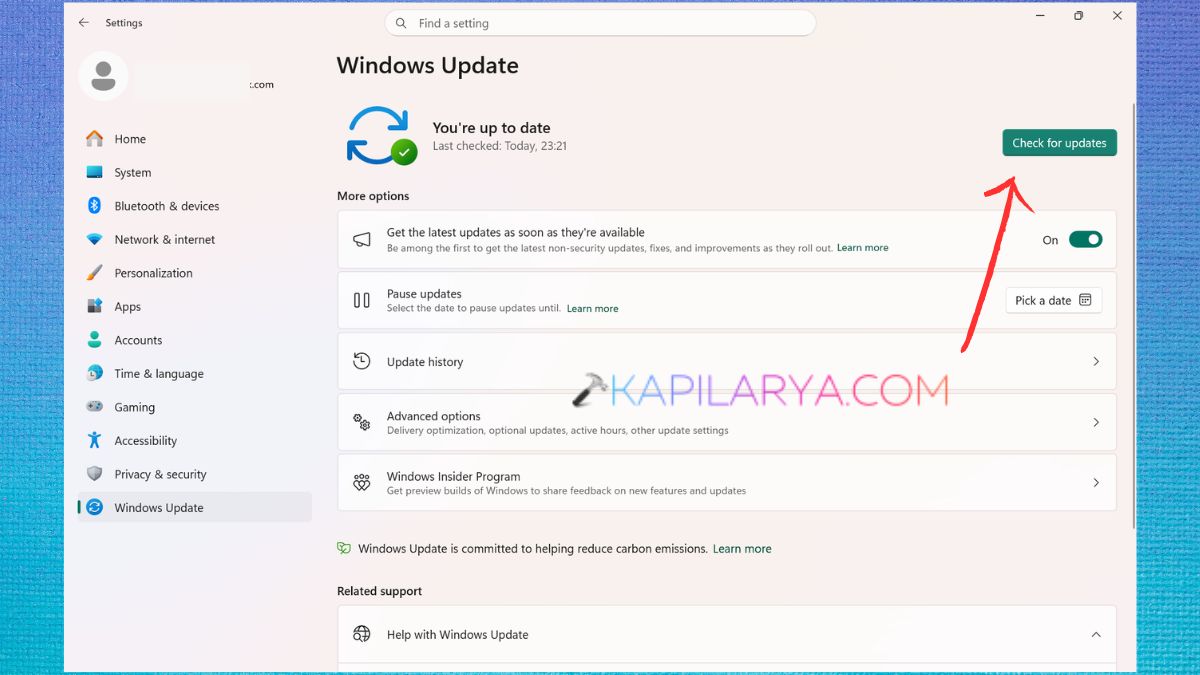
3. If Windows prompts you to restart your computer, do so. Once you have updated, test the application that was causing the Class Not Registered Windows 11 error.
Fix 10: Repair or Reset the Affected Windows App
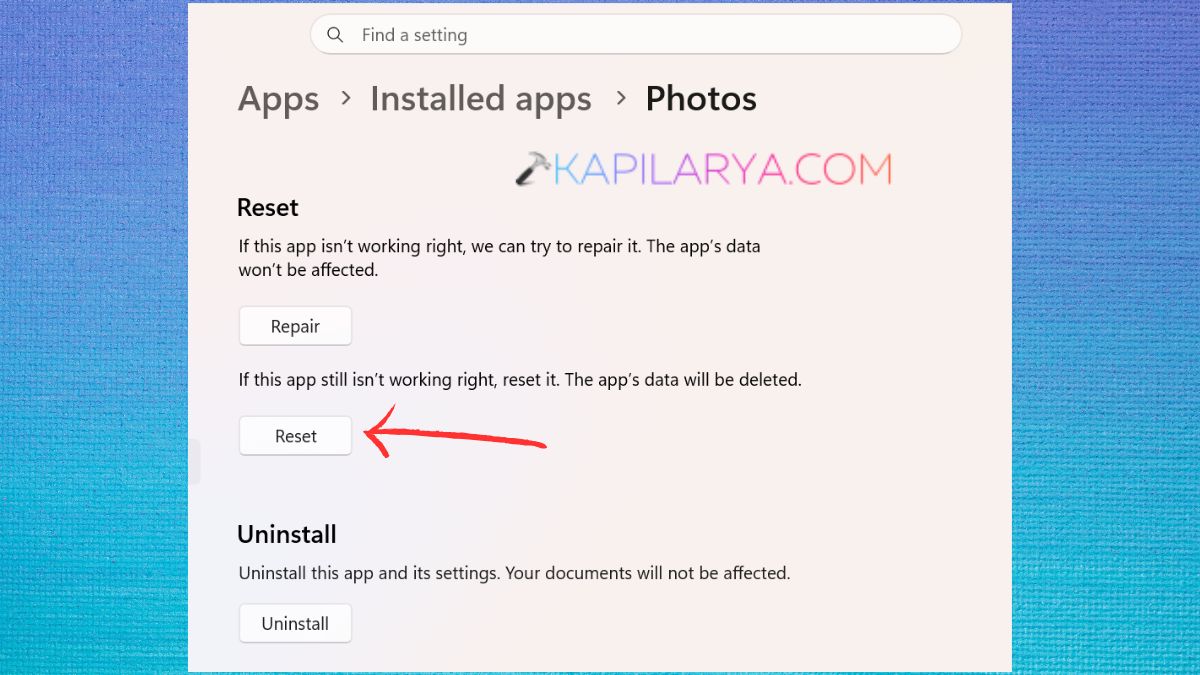
Repairing or resetting the application if the problem arises only when starting up that application can be helpful.
1. Press the Windows + I keys to open Windows Settings, then select Apps > Installed apps.
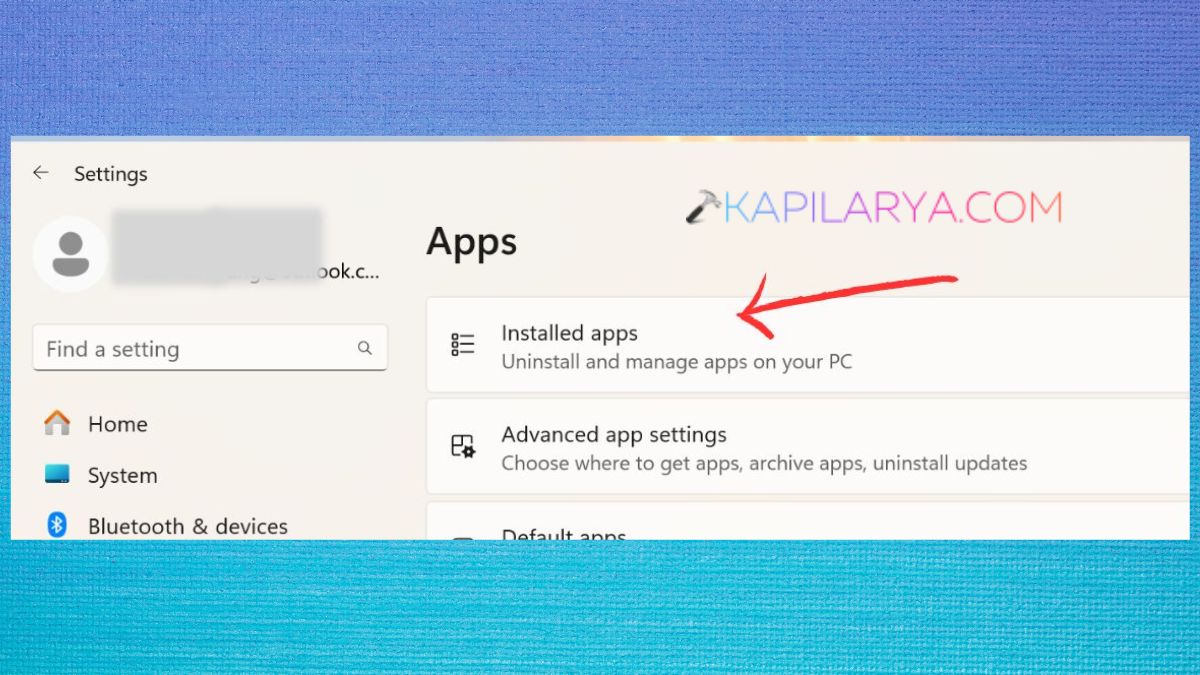
2. Look for the affected application. Tap on the three dots next to it. Select Advanced options.
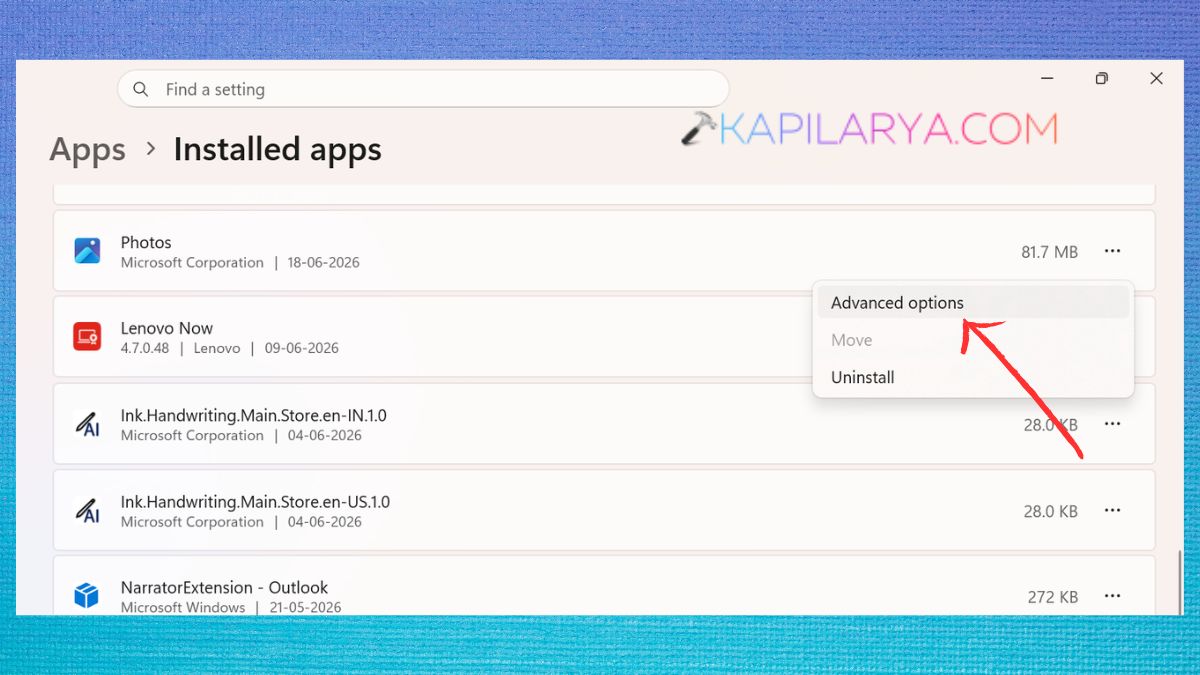
3. If there is an option to click Repair, do so.
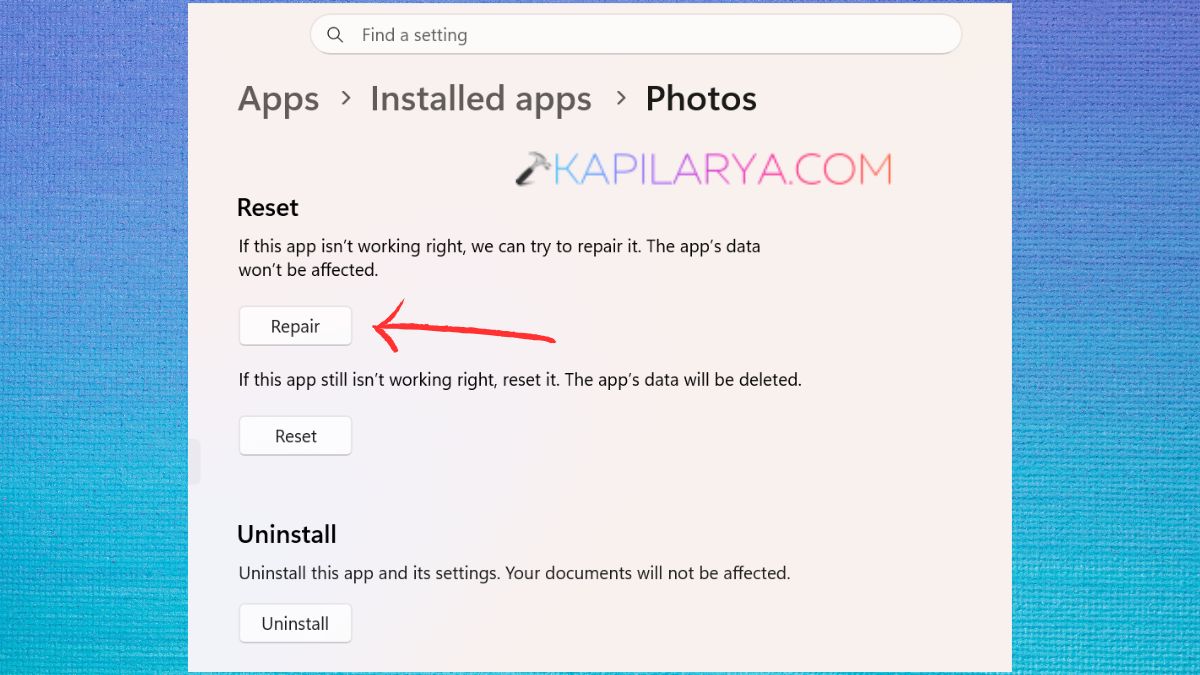
4. Test the application. If repairing the application doesn’t help, you can consider using the Reset option.
Frequently Asked Questions (FAQs)
That’s it!