The users of Windows 11 may come across the error of Internal error, cannot create temporary directory while booting or running an executable for installing an application. The users may face various problems such as unable to open installed applications, Windows Update showing ‘There were some problems installing updates’, etc. when this error occurs. Hence, this post contains all the necessary solutions for fixing the problem of Internal error, cannot create temporary directory.
Page Contents
Fix: Internal error, cannot create temporary directory in Windows 11
A Temporary directory/folder consists of temporary files and may include cache data, config files, etc. This folder is automatically created when Windows installs. It’s location is C:\Users\%username%\AppData\Local\Temp. Thus, let us now check all the solutions in detail.
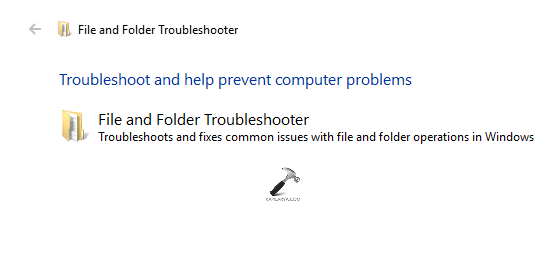
Fix 1: Running File and Folder Troubleshooter
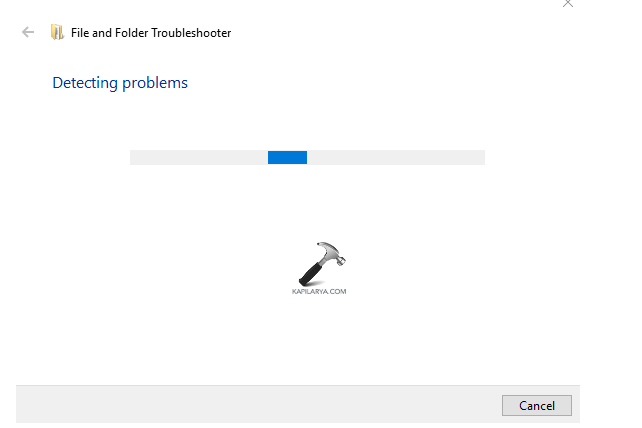
Firstly, for fixing the issue of Fix: Internal error, cannot create temporary directory, try running the file and folder troubleshooter with the instructions provided below.
Step 1- Firstly, download File and Folder Troubleshooter from Microsoft’s website (https://support.microsoft.com/en-us/windows/automatically-diagnose-and-repair-windows-file-and-folder-problems-8ca2261a-eb4b-bda1-232c-d88b972438cd).
Step 2- Now, open the file and select Advanced > Apply repairs automatically > Next.
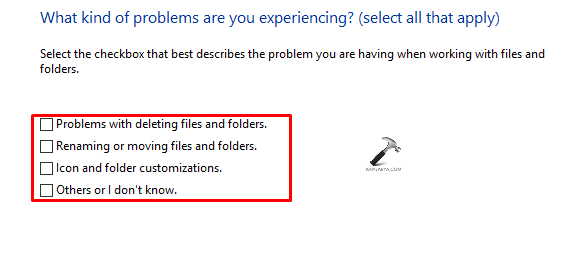
Step 3- Next, select the desired option/options and press Next.
Step 4- Further, follow any on-screen prompt that may appear for completing the process. Lastly, restart the PC and check if the problem is solved.

Fix 2: Running Disk Cleanup
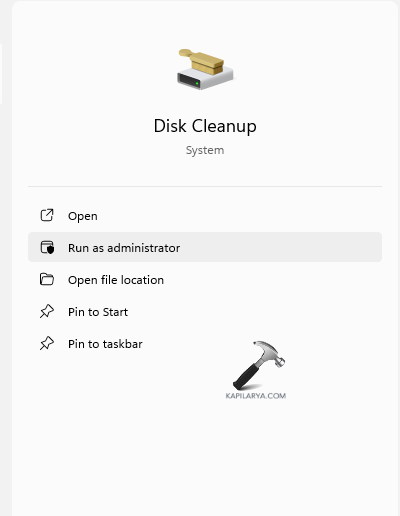
Another way for solving the issue is through the Disk Cleanup tool. Now, the instructions to use the disk cleanup tool for this reason are provided below.
Step 1- At first, type disk cleanup in the search box and Run it as an administrator.
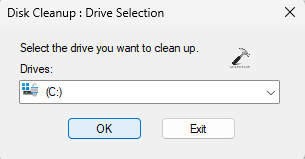
Step 2- Next, select the drive containing the files for temporary clearance and press OK.
Step 3- Below, Files to delete section, select the desirable file for removing and press OK. Lastly, select Delete Files to complete the process.

Fix 3: Manually creating new Temp folder
Next, if the above solutions do not work, the users can even attempt manually creating new temp folder with the steps below.
Step 1- At first, go to System Properties > Advanced System Settings.

Step 2- Next, visit the Advanced tab. Here, press Environment Variables option at the bottom.

Step 3- Now, double-click TEMP from the box located at the top.

Step 4- Again, change the value of the field given below-
%USERPROFILE%\AppData\Local\Temp
to the value given below-
C:\Temp
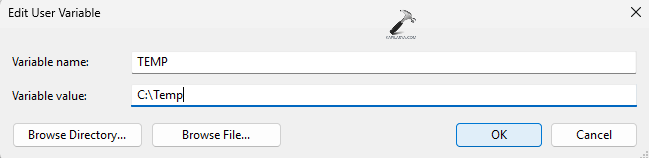
Step 4- Further, press OK > OK. Lastly press Apply > OK and exit System Properties.
Fix 4: Running CHKDSK
Damaged disks may cause in the occurrence of the mentioned issue. Thus, for checking and repairing errors, we need to run the CHKDSK command. Follow the steps given below to do the same-
Step 1- Primarily, run the Command Prompt as an administrator.
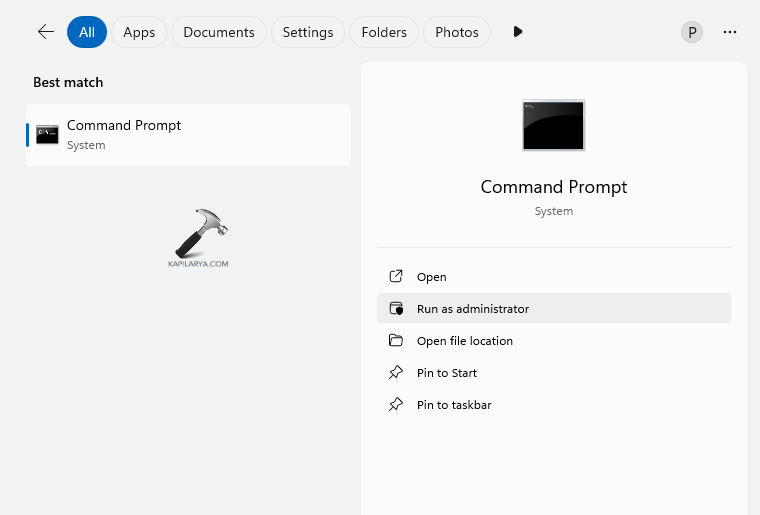
Step 2- Now, copy and paste the prompt given below to run the CHKDSK command and press Enter.
chkdsk /x /f /r
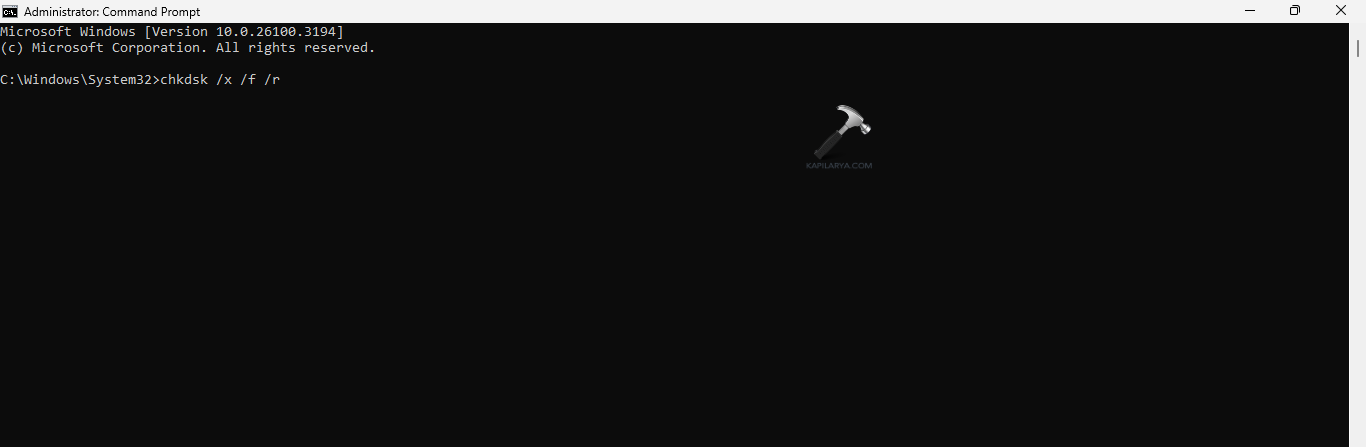
Step 3- Now, the CHKDSK command will scan any error in C: drive and repair it. Again, if it asks for scheduling a disk check next time, press Y on the keyboard. Thereafter, press Enter and reboot the PC to allow the CHKDSK command to run.
Fix 5: Performing a System Restore
Performing a System Restore and going back to the restore point when the PC was working can also help in fixing the issue. Now, let us check the steps for doing the same.
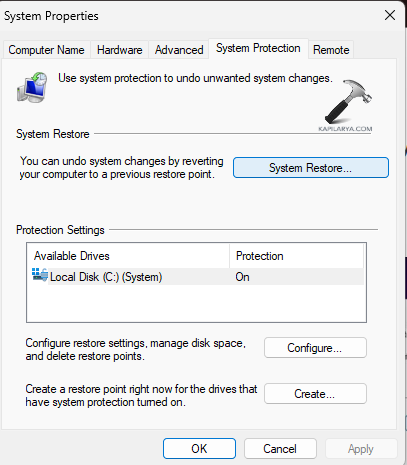
Step 1- Go to the Start menu. Next, type create a restore point and open the result.
Step 2- From the System Properties window, select the System Restore option.
Step 3- Select Next on the System Restore Window.

Step 4- A list of all the previously created Restore points will appear on the screen. Choose the required restore point.
Step 5- Furthermore, choose the Restore point and select Next as per the date, name and time. Moreover, if the desired restore points are not visible, select Show more restore points.

Step 6- Choose the desired drive that is to be restored and click Next.
Step 7- A final pop-up window will appear. It will consist of the selected restore point. It will also contain a warning telling to create a password reset disk. Moreover, to see which applications will be affected, click Scan for affected programs.
Step 8- After checking the affected programs, close it. Finally, select the Finish button. This will restart the Windows 11 PC and begin the process of System Restore. After the restoration process, see if the issue is resolved.

Fix 6- Formatting Partition/Drive
Formatting the drive with the instructions below can also help in solving the problem.
Step 1- Open File Explorer. Now, right-click the drive for formatting.

Step 2- Select Format. Now, in the format window, either select the default option, Quick or Full Format as per requirement.
Step 3- Further, add a drive name if necessary. Windows 11 has NTFS for hard disk. However, for external storage, choose other options like exFAT and FAT 32 as required.
Fix 7: Running executable files with Admin Privilege
If any of the above solutions do not work, then try running the files with administrative privilege for solving the issue. Try the steps below for running files with amin privilege.
Step 1- At first, in File Explorer go to the destination of the executable files.
Step 2- Next, right-click the file and select run as an administrator from the context menu.
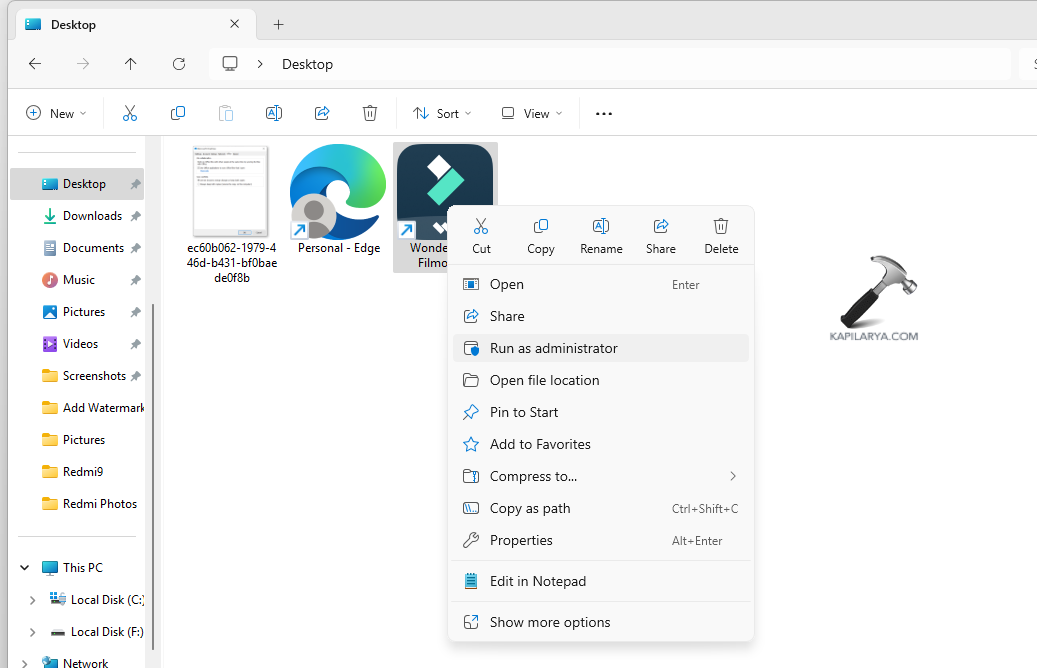
Step 3- Lastly, press Yes to all the prompts appearing on the screen for saving all the changes.
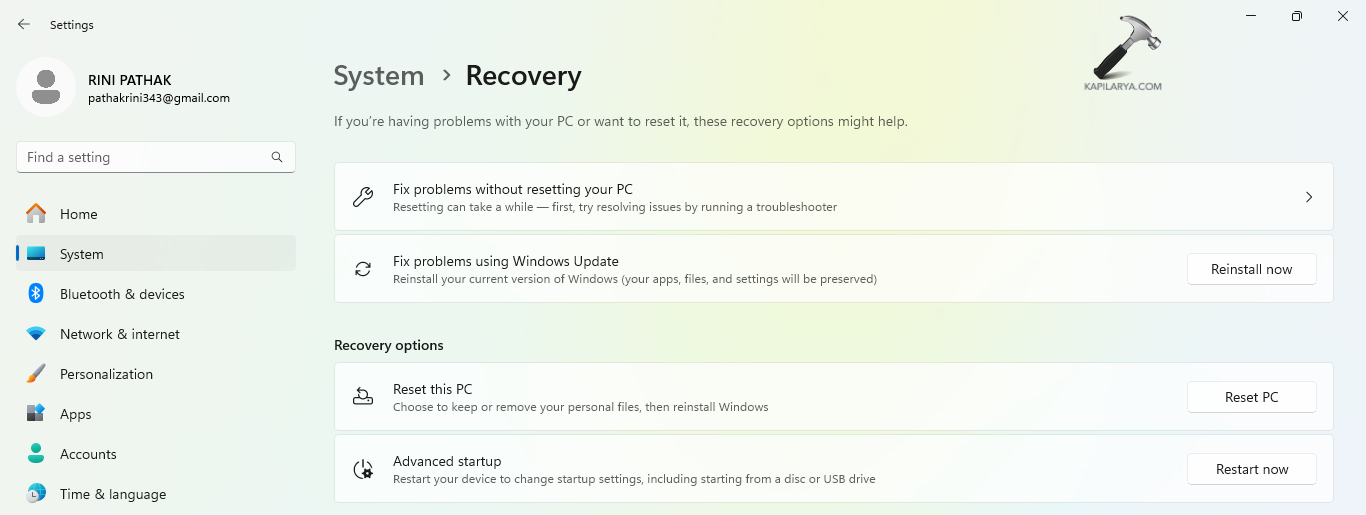
Fix 8: Resetting Windows 11
Apart from the fixes above, the users can also try factory resetting the PC using the steps below and see if this solves the error.
Step 1- Primarily, open Windows Search and search Reset this PC. Open the result.
Step 2- Now, press Reset PC under Recovery.
Step 3- Next, select Keep my files/Remove everything as required when prompted.

Step 4- Here, select either Cloud download or Local reinstall for resetting Windows 11.

Step 5- Further, select Change settings in Additional settings dialog box for changing any setting.

Step 6- Enable all the options and press Confirm.

Step 7- Finally, press Next > Reset for resetting the PC.

Fix 9: Running Program Install and Uninstall Troubleshooter
Running the program install and uninstall troubleshooter should also help in doing the necessary fix.
Step 1- Firstly, download the Program Install and Uninstall Troubleshooter from the Microsoft official website (https://support.microsoft.com/en-us/topic/fix-problems-that-block-programs-from-being-installed-or-removed-cca7d1b6-65a9-3d98-426b-e9f927e1eb4d).
Step 2- Next, extract the recently install file and press Run.

Step 3- Now choose whether the problem is with installing or uninstalling a program. It will then automatically identify and fix the issues with the on-screen prompts.

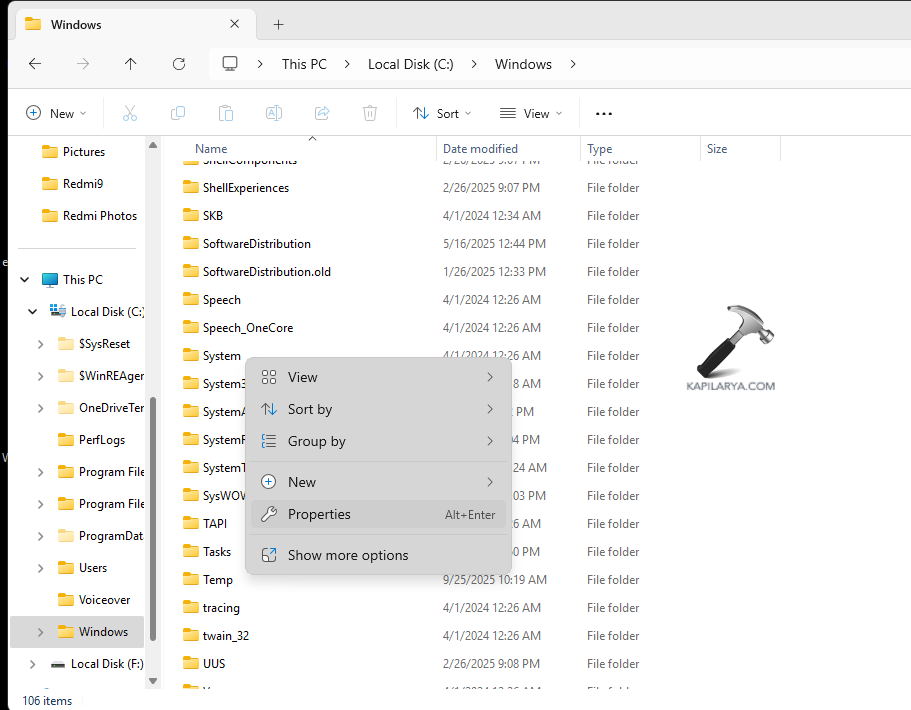
Fix 10: Assigning Full Control Permissions to the Temp Folder
Last but not the least, attempting to assign full control permissions to the temp folder can solve the issue. Therefore, follow the steps below for doing that
Step 1- Primarily open File Explorer.
Step 2- Now go to the location below-
C:\Windows\Temp
Step 3- Next, right-click the Temp folder and press Properties.
Step 4- Now, in the Properties window, go to the Security tab.
Step 5- Next, press the Edit button then the Add button.
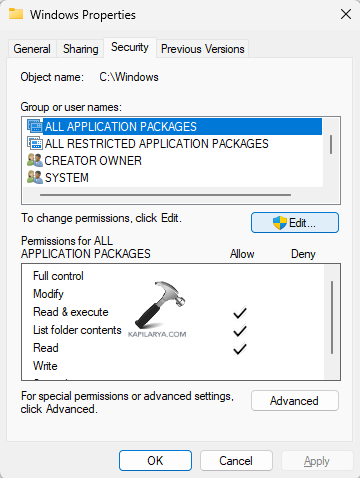
Step 6- Further, write the name of the user/group for granting permissions. Thereafter, press Find Now and choose the required user from the list.
Step 7- Next to the selected user/group select Full Control from the permissions list.
Step 8- Lastly, press Apply > OK for confirming the changes and close the windows.
That’s it!