RSAT failed to install on Windows 11 is a very frequent issue when trying to install Remote Server Administration Tools (RSAT) via Optional Features or Windows Settings. It can show an error code, get stuck at “Installing”, or the feature might not be added. For IT administrators and advanced Windows users, RSAT enables control of Windows Server roles such as Active Directory, DNS, Group Policy, and more, from a Windows 11 PC.
Don’t worry if you are getting a failure error while installing RSAT on Windows 11. In the following guide, we will be discussing why RSAT might not install and several practical solutions.
Page Contents
Ways to Fix RSAT failed to install on Windows 11
If RSAT installation fails on Windows 11, it is likely it is due to Windows Update, Optional Features, system components, Group Policy, and/or the Windows installation source configuration. To do that, let’s see what the best solution is to remedy the RSAT failed to install error on Windows 11.
Fix 1: Install RSAT Using Windows PowerShell
When the installation of RSAT fails in Settings, the alternate is usually PowerShell. Windows 11 contains PowerShell scripts to discover and install the capabilities available for RSAT.
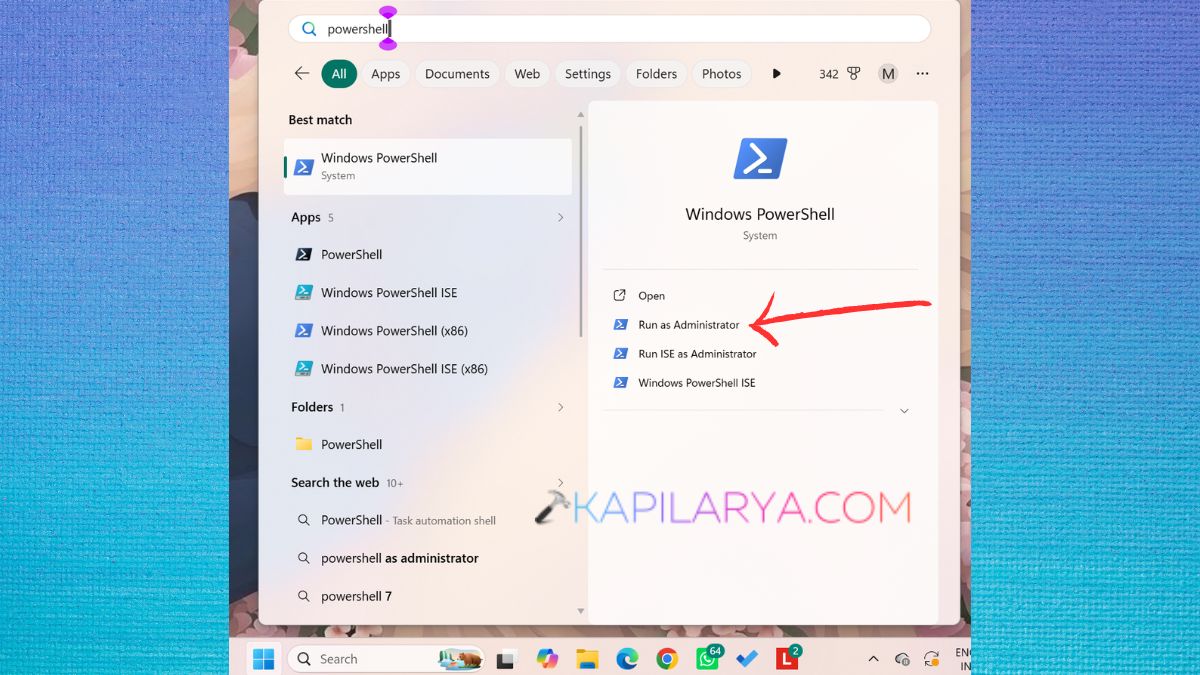
1. Open the search bar using Win key, type PowerShell, right-click on Windows PowerShell and choose Run as administrator. Click on “Yes” if you see User Account Control.
2. Type the following command.
Get-WindowsCapability -Online | Where-Object {$_.Name -like "RSAT*"}
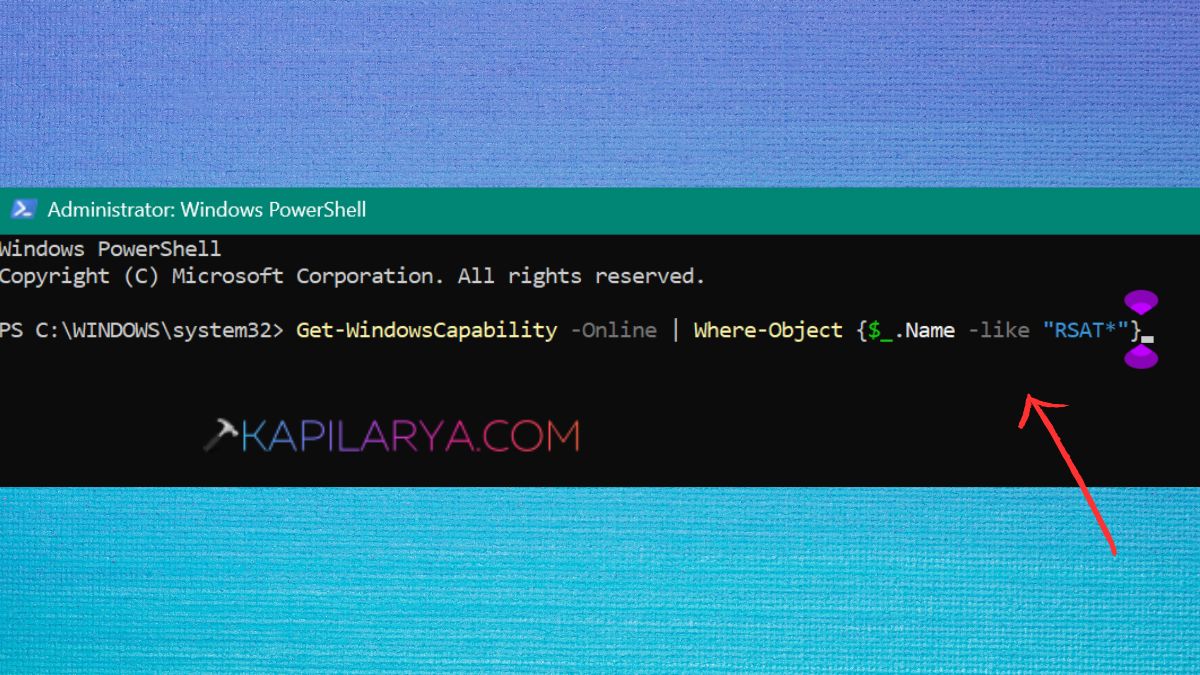
3. On your Windows 11 installation, you should be able to see the RSAT components installed. Their status would normally be NotPresent or Installed. This command is used to install a certain RSAT tool.
Add-WindowsCapability -Online -Name "CapabilityName"
Use CapabilityName as the value you got in the previous command.
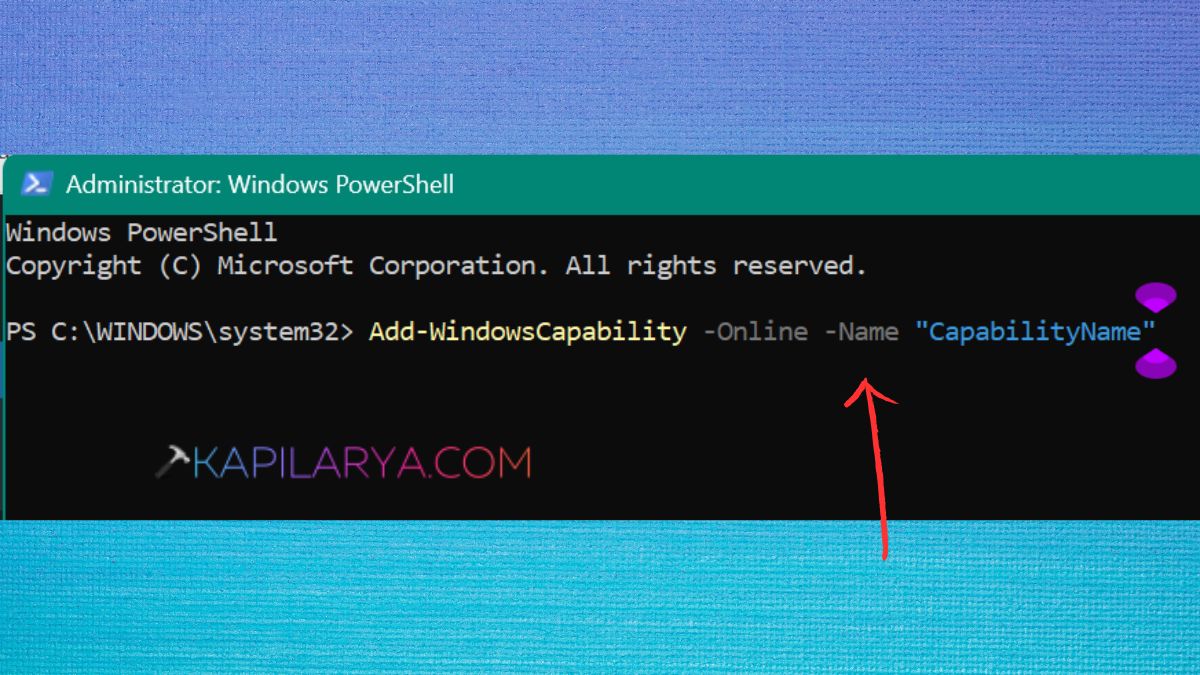
4. To add RSAT Active Directory tools, for example:
Add-WindowsCapability -Online -Name "Rsat.ActiveDirectory.DS-LDS.Tools~~~~0.0.1.0"
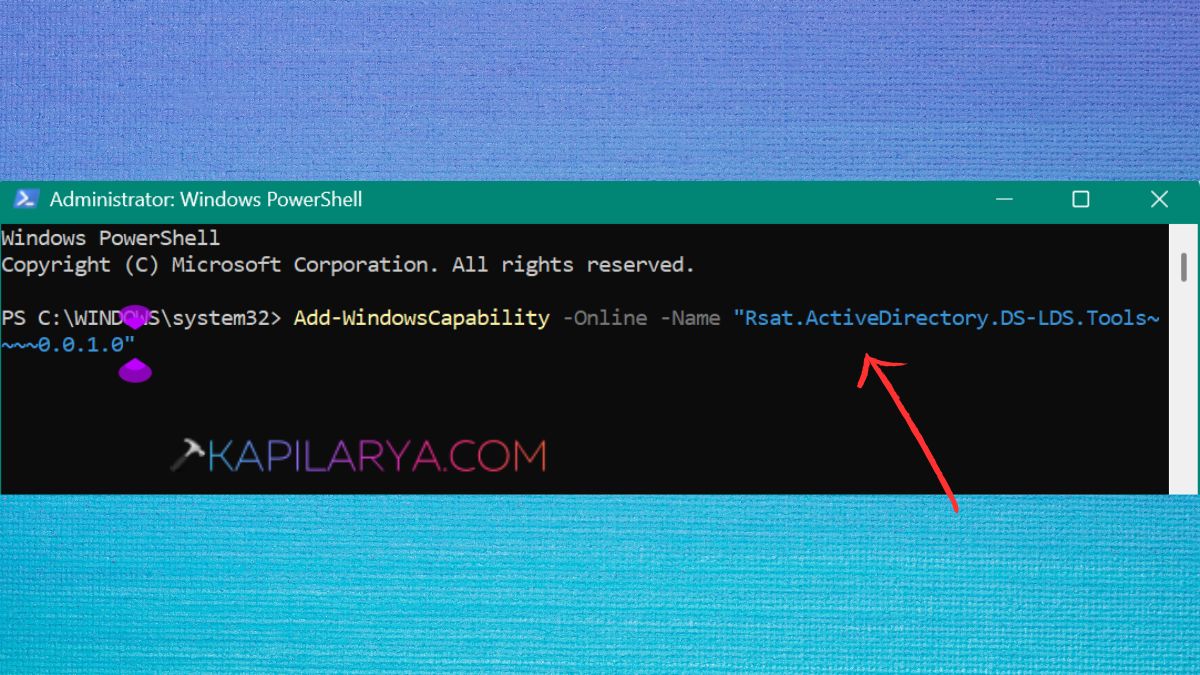
Wait until installed. Once installed, boot Windows 11 again and see if the necessary RSAT tools are installed.
Fix 2: Check Windows Update Before Installing RSAT
RSAT is a capability within Windows 11, and is installed as a Windows capability on supported Windows 11 versions, meaning that if Windows Update has a problem, these files won’t be downloaded.
1. Click Settings > Windows Update.
2. Tap “Check for updates” button and give Windows 11 a chance to download and install any updates.
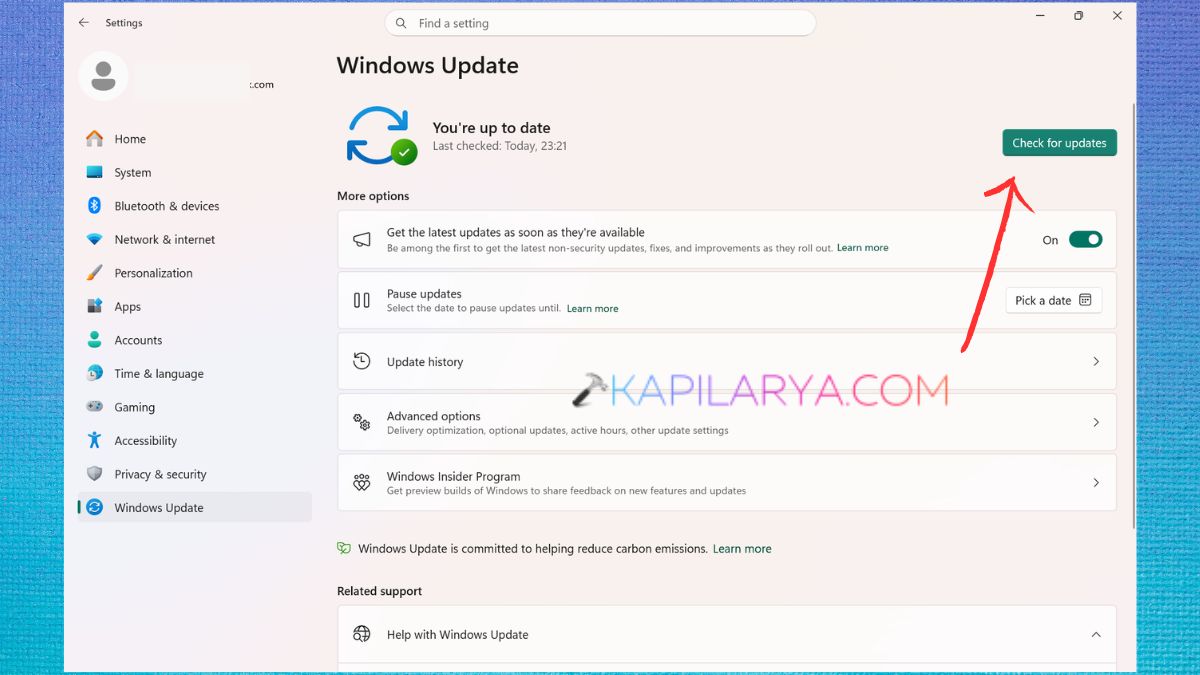
Reboot your computer after updating.
3. Now, open Settings > System > Optional features > View features.
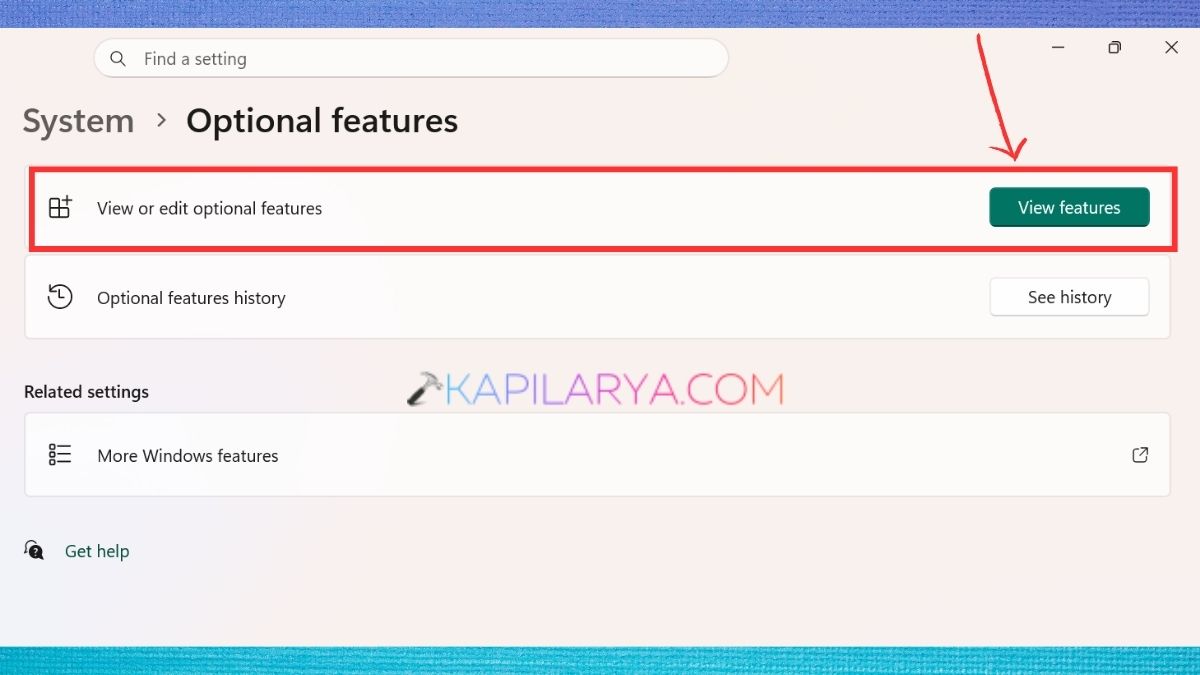
4. Look for the missing RSAT component, try to install it again.
Fix 3: Using Local Group Policy Editor
If the Group Policy settings are incorrect, Windows may not be able to get the optional component files. This can have a particular impact on computers under an organization’s control.
1. Press Windows + R, type this command.
gpedit.msc
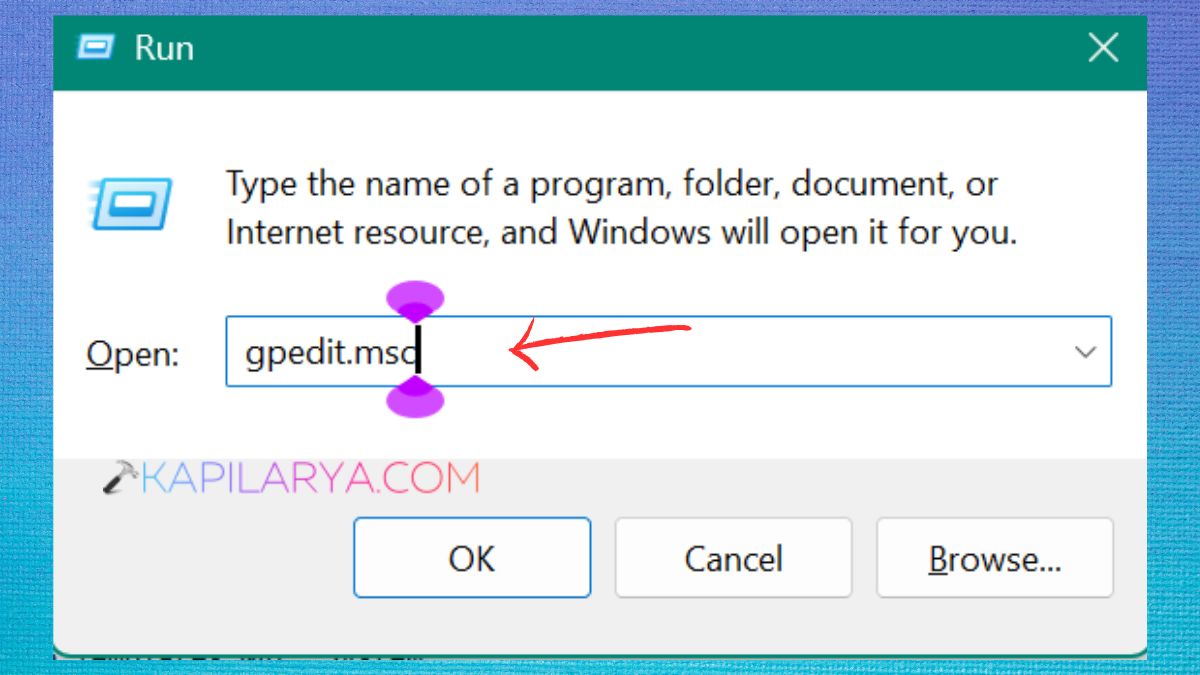
1. Go to Computer Configuration > Administrative Templates > System. Look for the policy named: “Specify settings for optional component installation and component repair”.
Double click on the policy and then click Enabled. Click on Apply and then OK.
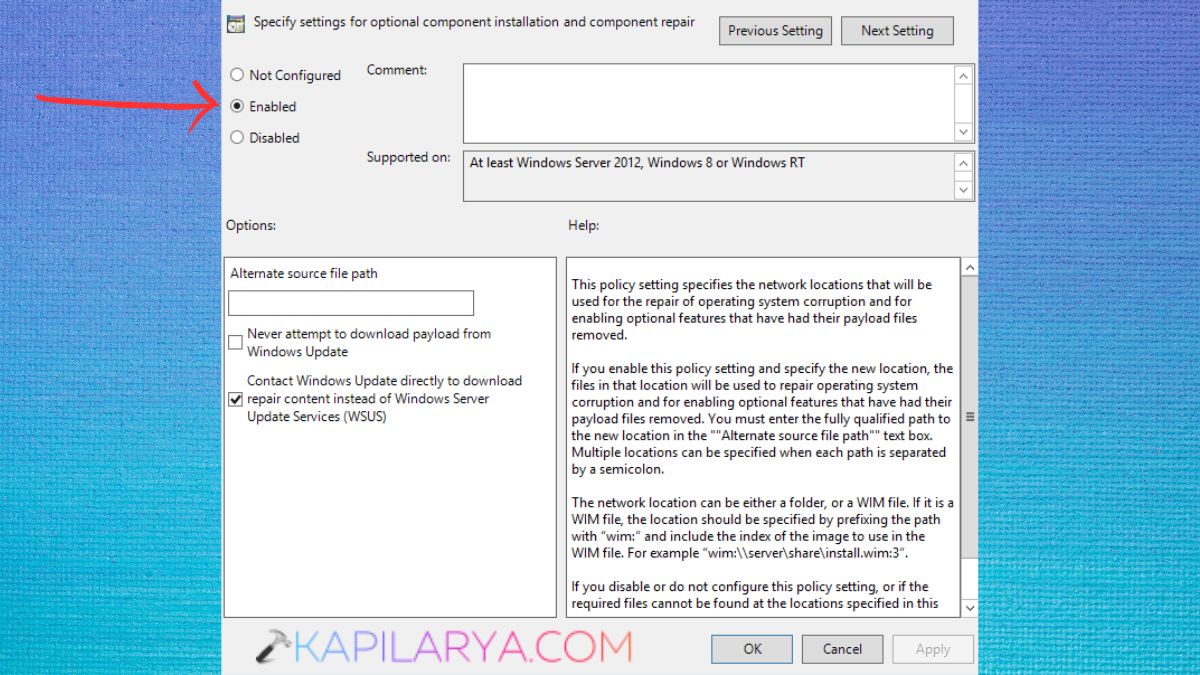
If your organization is configured the way it is, ensure that Windows can get optional component files from the right Windows Update Source. Reboot the computer and attempt to re Install RSAT.
Although, if you are using your PC for work, or if the PC is subject to corporate policies, please speak to your administrator before making these changes.
Fix 4: Modify the Windows Registry
If Group Policy settings are not to blame, then it might be a Registry configuration that is blocking Windows from accessing optional files.
1. Press Windows + R, type in this. If User Account Control prompts you for permission, select Yes.
regedit
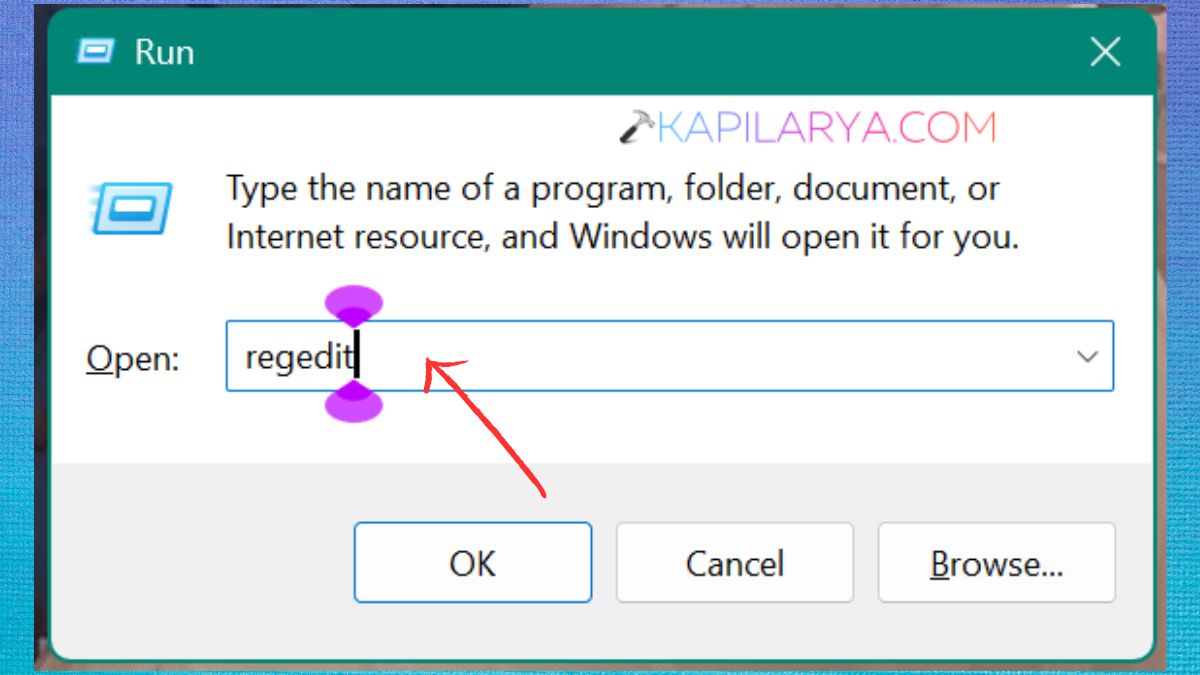
2. Go to the Relevant Location:
HKEY_LOCAL_MACHINE\SOFTWARE\Microsoft\Windows\CurrentVersion\Policies\Servicing
Search for a name called “RepairContentServerSource“. It can cause problems with installing RSAT if the value is present and the configuration prevents Windows from downloading the repair and/or optional component content from the correct source.
Hence, set it to “2” so that you can directly download optional features from Windows Update.
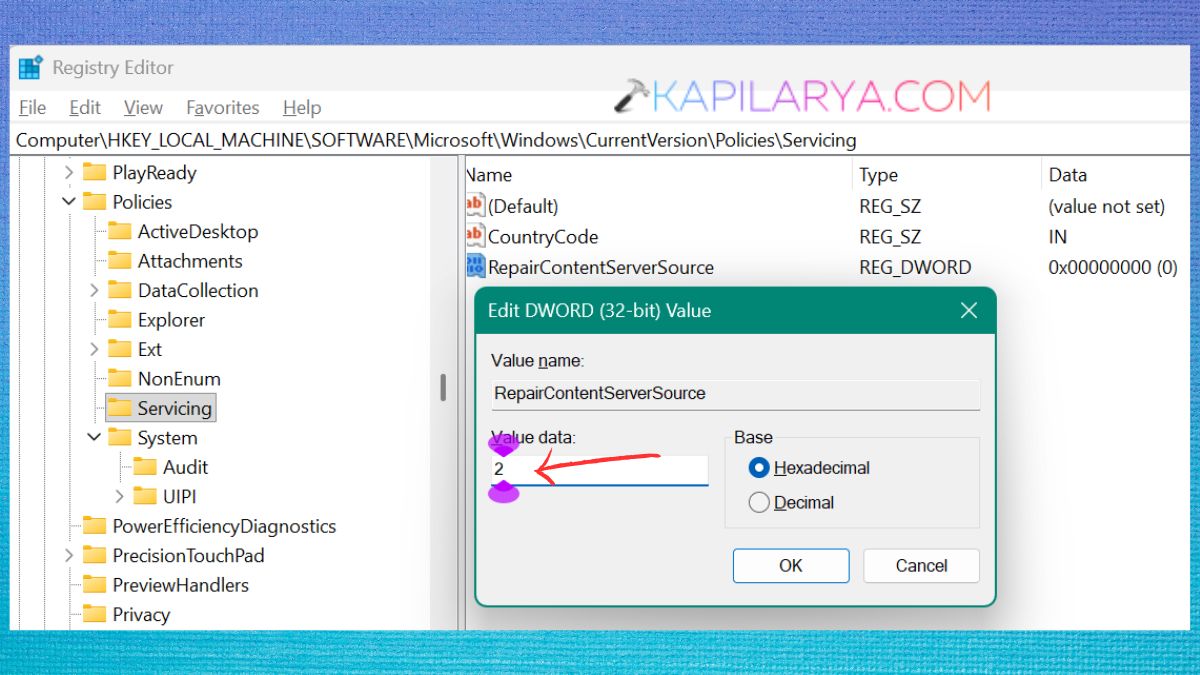
After making the appropriate change, restart your computer and try installing RSAT again.
Fix 5: Reset Windows 11 if RSAT Still Won’t Install
If none of the above solutions prove successful and RSAT keeps failing, there could be serious damage to the Windows component store or system configuration. Under those circumstances, Reset this PC can be an option to be considered as a last resort.
1. First, in Settings, select System > Recovery.
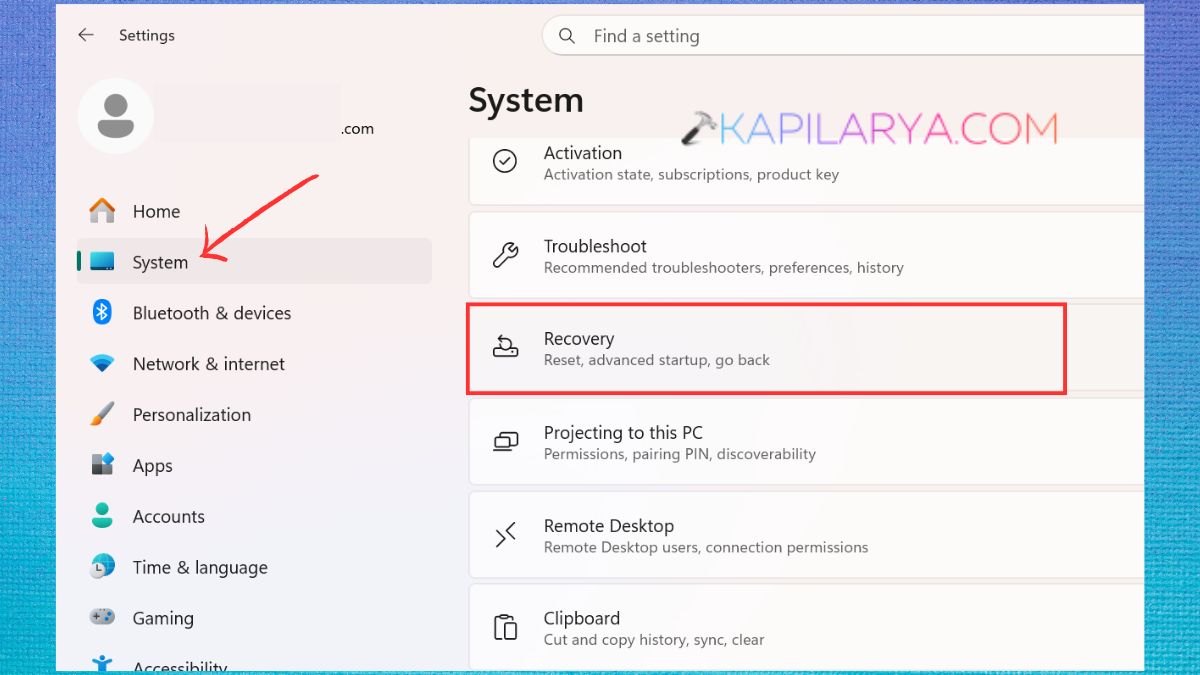
2. Click on Recovery options and then click on Reset this PC.
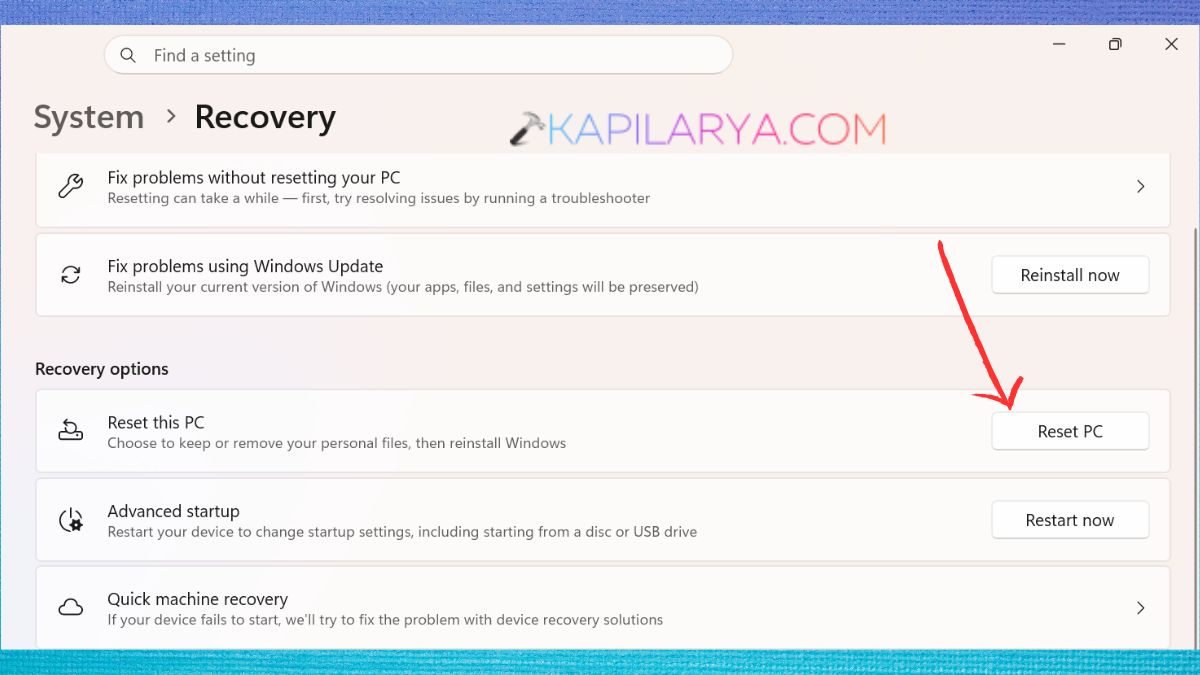
3. Windows will offer the following choices: “Keep my files” and “Remove everything”. Select Keep my files if you want to save your personal files. Some settings and applications might still be deleted, though. Proceed through the reset and let the reset process finish.
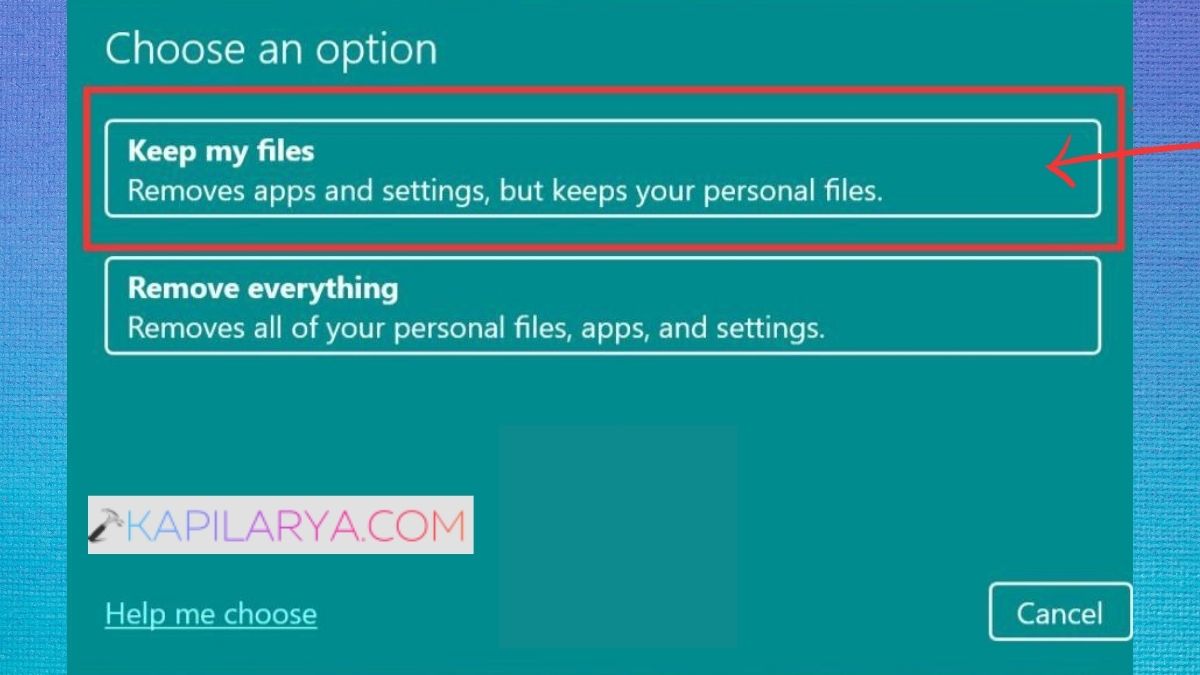
Once Windows is reinstalled/rebooted, install all updates and attempt to reinstall RSAT once more. Please back up all important files prior to resetting Windows. A reset may alter system configuration, settings and applications.