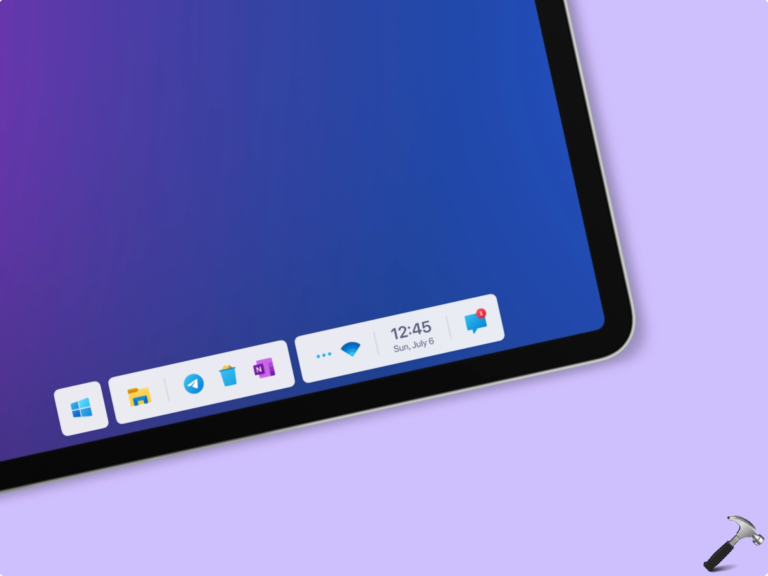
Taskbar is a crucial element in Windows 11. It can have the app icons for your favorite apps. You can manage the simple operations using these taskbar icons for these individual apps. Ever since the launch of Windows 11, users are demanding the flexibility to change taskbar position. Finally, Microsoft has allowed the users to change taskbar position in Windows 11. The options to change taskbar position are now available in the operating system.
Page Contents
How to change taskbar position in Windows 11
As of this writing, the change taskbar position settings are available to Windows Insiders. If you’re on the stable channel/release, you might expect these options with Windows 11 26H2 or later.
Method 1: Using Settings
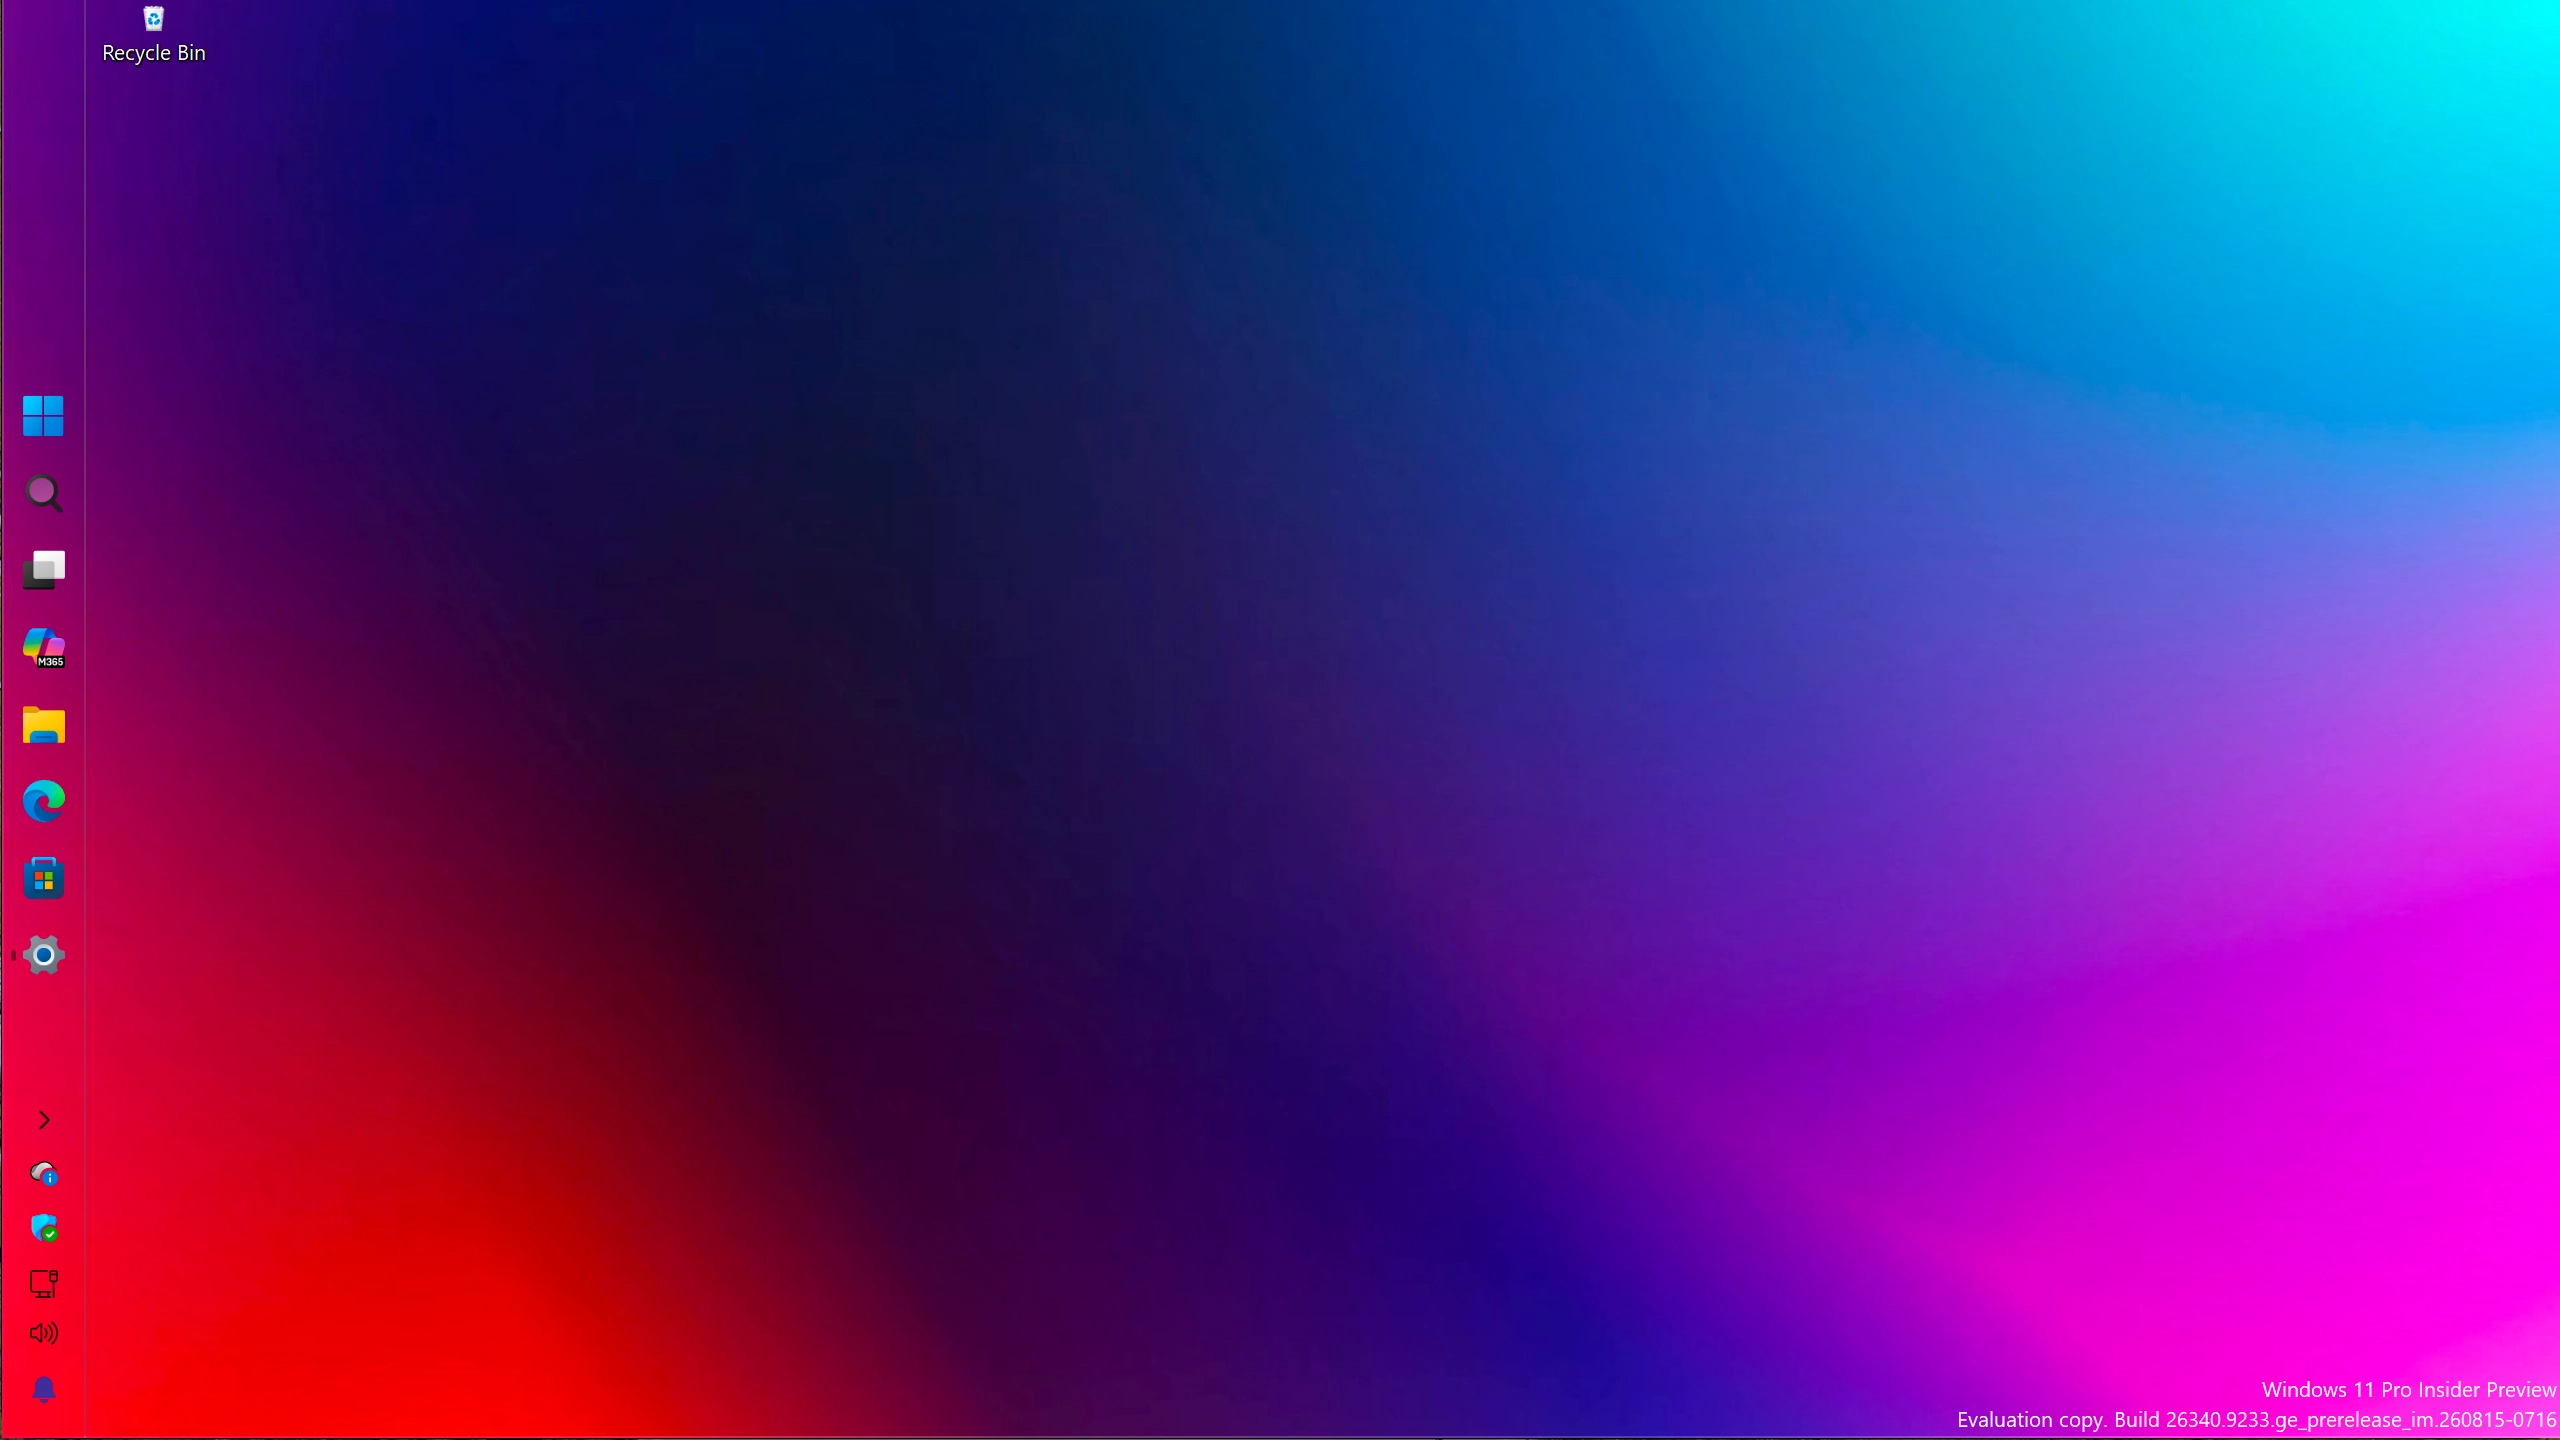
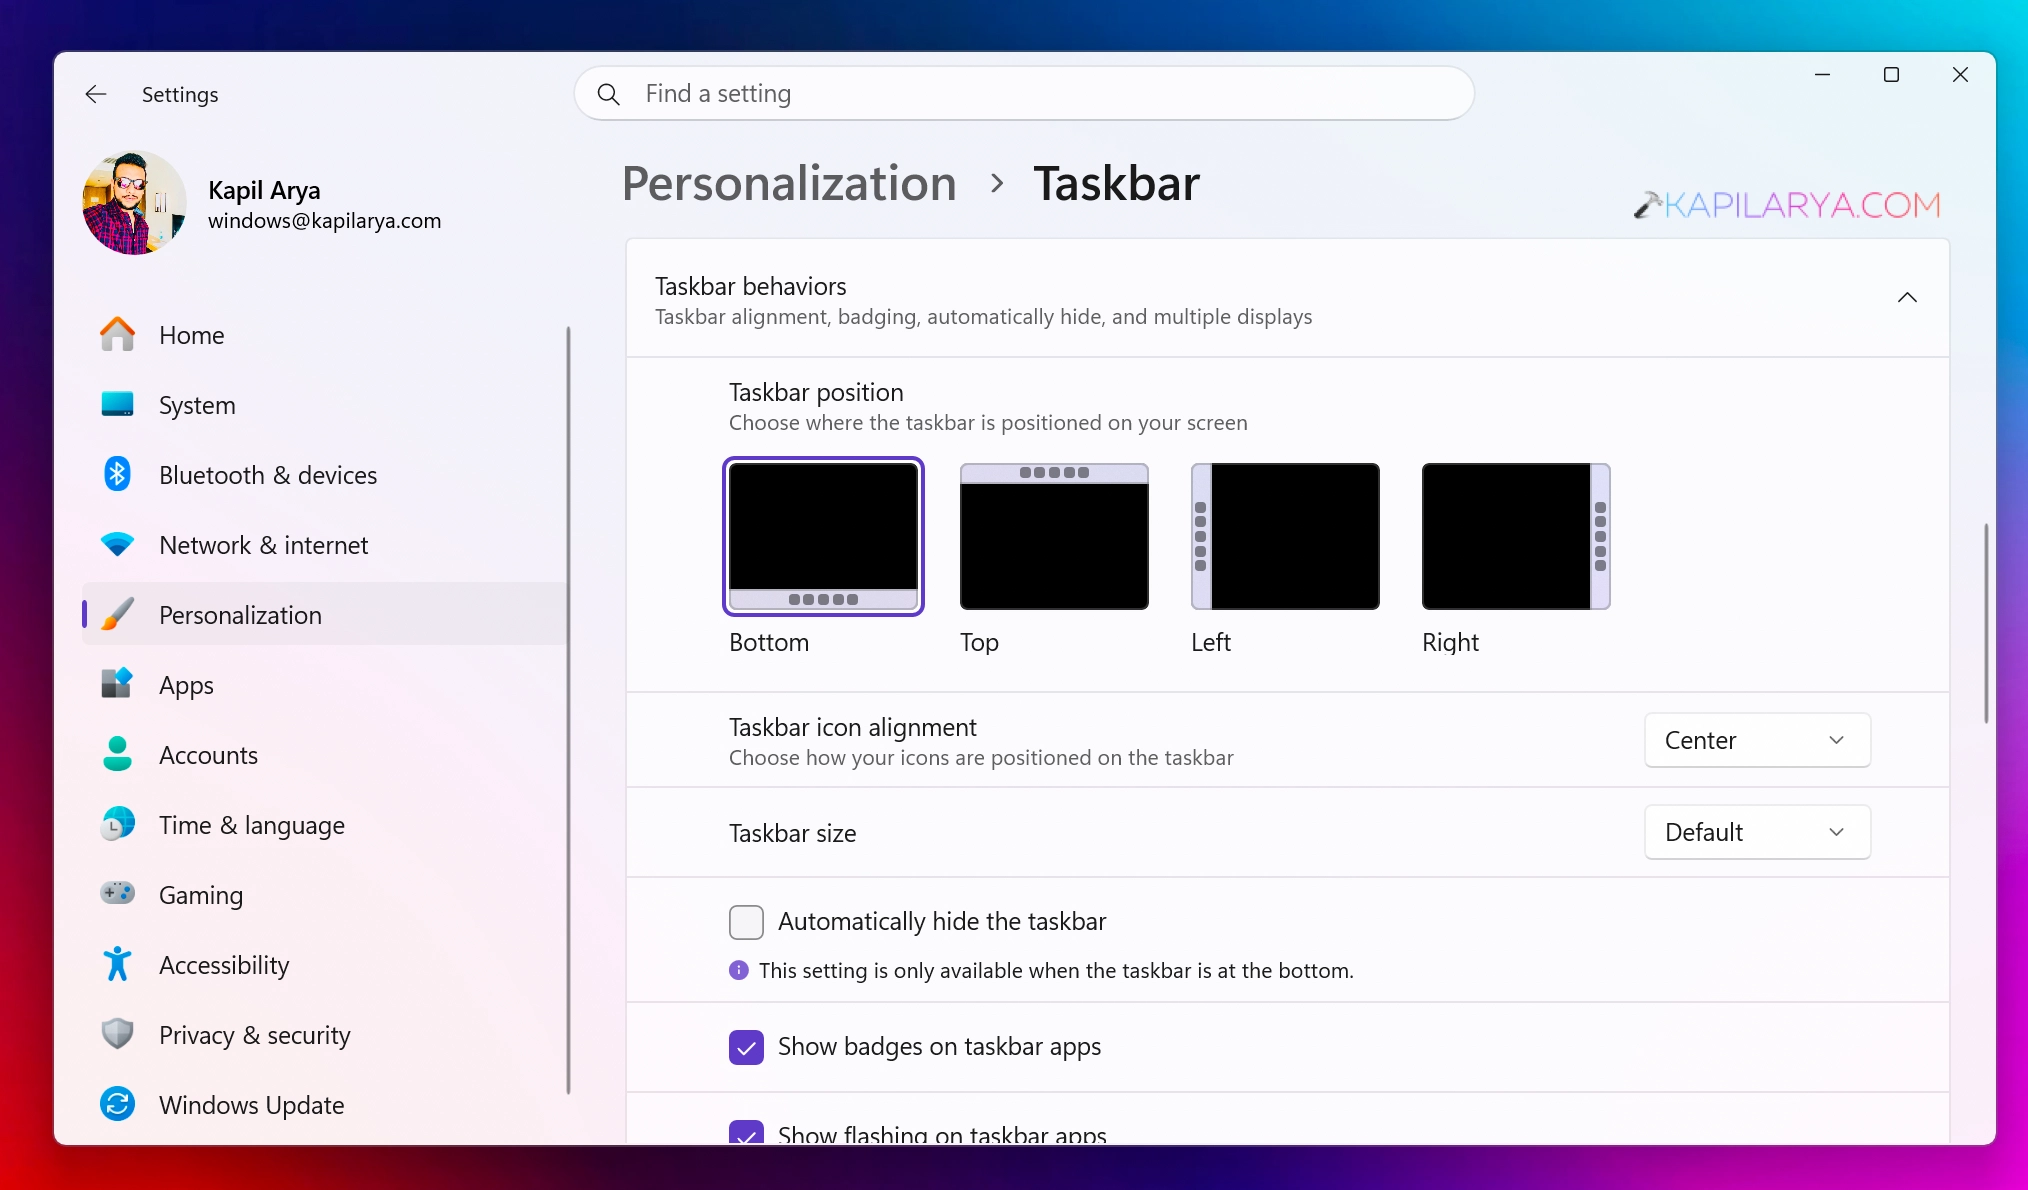
By default, the taskbar remains in the bottom of the screen. But you can now move it to top, left, right as per your requirement.
You can follow the steps mention below to change the taskbar position and get the one suits you.
1. Right click on the Start button and select Settings.
2. Once the Settings app opens, go to Personalization > Taskbar.
3. Here, you can scroll down and expand taskbar behaviors. From here you can now change taskbar position to top, left, right. As soon as you select any option, it is applied directly and you do not need to restart the system to make these changes effective.
4. Once done, you can close the Settings app and return to your work.
Method 2: Using Registry
If you want to make the changes for multiple devices, using registry is the best practice.
1. Right click on the Start button and select Run.
2. In Run, type regedit and click OK.
3. In Registry Editor, go to:
HKEY_CURRENT_USER\Software\Microsoft\Windows\CurrentVersion\Explorer\Advanced
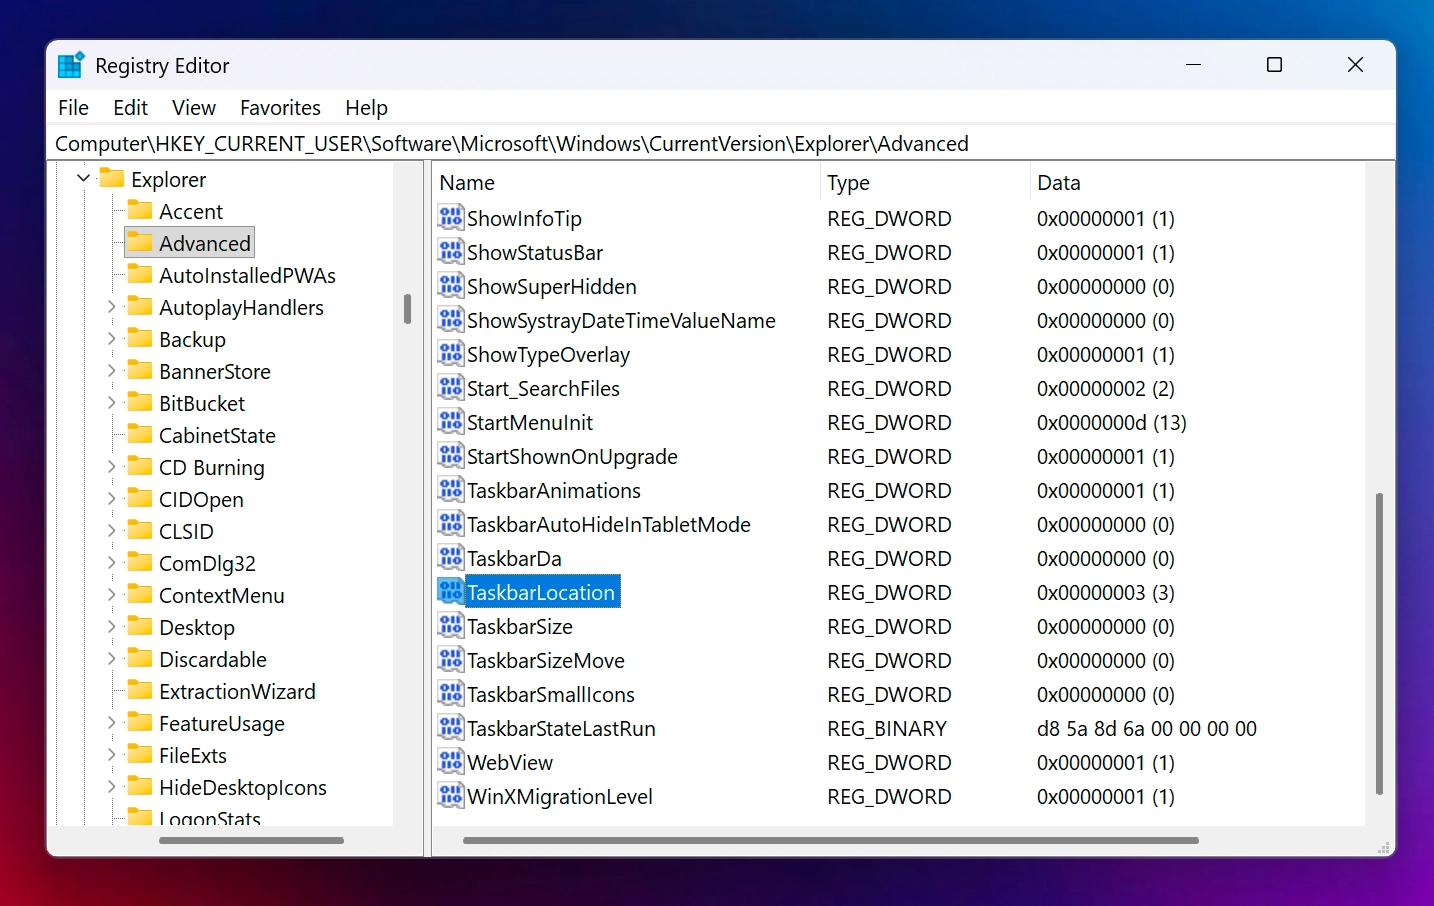
4. In the right pane, locate TaskbarLocation registry DWORD. Set it’s Value data to following, depending upon where you want the taskbar to appear:
- Left: 0
- Top: 1
- Right: 2
- Bottom (default): 3
The changes you will made would be applied immediately.
5. Close the Registry Editor.
Video guide
You can also checkout following video guide for live demonstration of above methods:
That’s it!