For a long time, I thought a messy desktop was just something I had to live with. Every Monday morning, I would spend ten minutes dragging shortcuts into folders, only to have the same clutter return by Wednesday. I tried creating a strict folder structure, but I never kept it up. The problem was not that I did not know how to organize files. It was that organizing them manually took more time and energy than I was willing to spare every day.
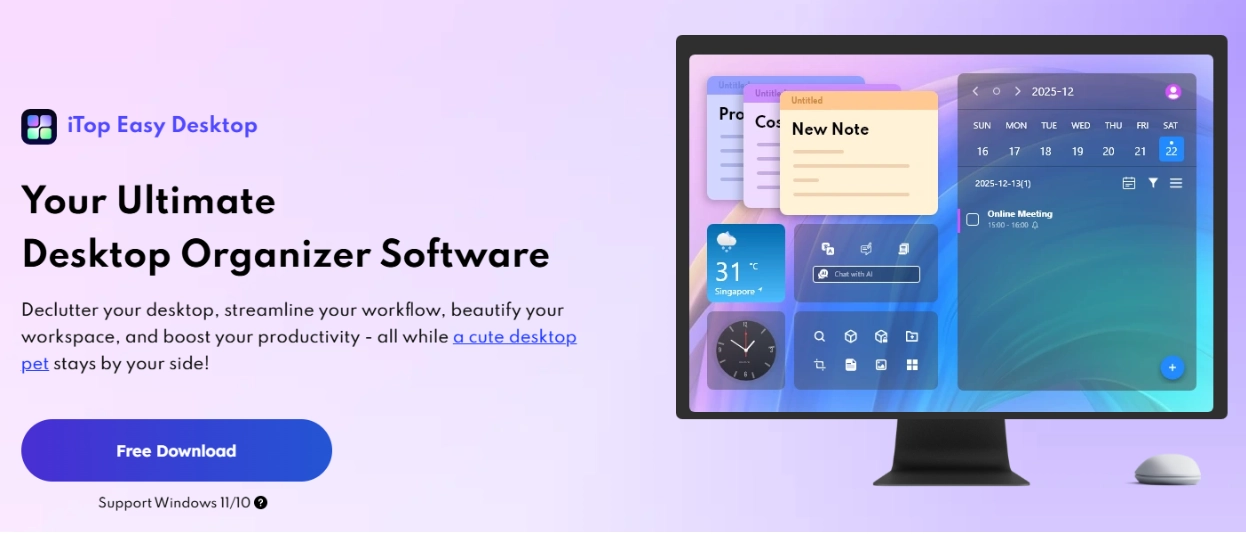
That is why iTop Easy Desktop caught my attention. It promised to automate the parts of the desktop organization I kept failing at, while still letting me decide how things should be grouped. I spent some time testing its main features to see whether it could actually make my Windows desktop easier to manage.
Page Contents
What I Look for in a Desktop Organizer
When I try a desktop organization tool, I am not just looking for fewer icons on the screen. I want a setup that helps me find files faster, keeps related items together, and does not require me to rebuild the same layout every week.
iTop Easy Desktop takes a flexible approach. Instead of forcing a fixed system, it lets me create my own groups and adjust them as my work changes. That flexibility matters to me, because different projects and tasks often need different kinds of organization.
How the Main Features Work in Practice
Automatic Organization That Saves Time
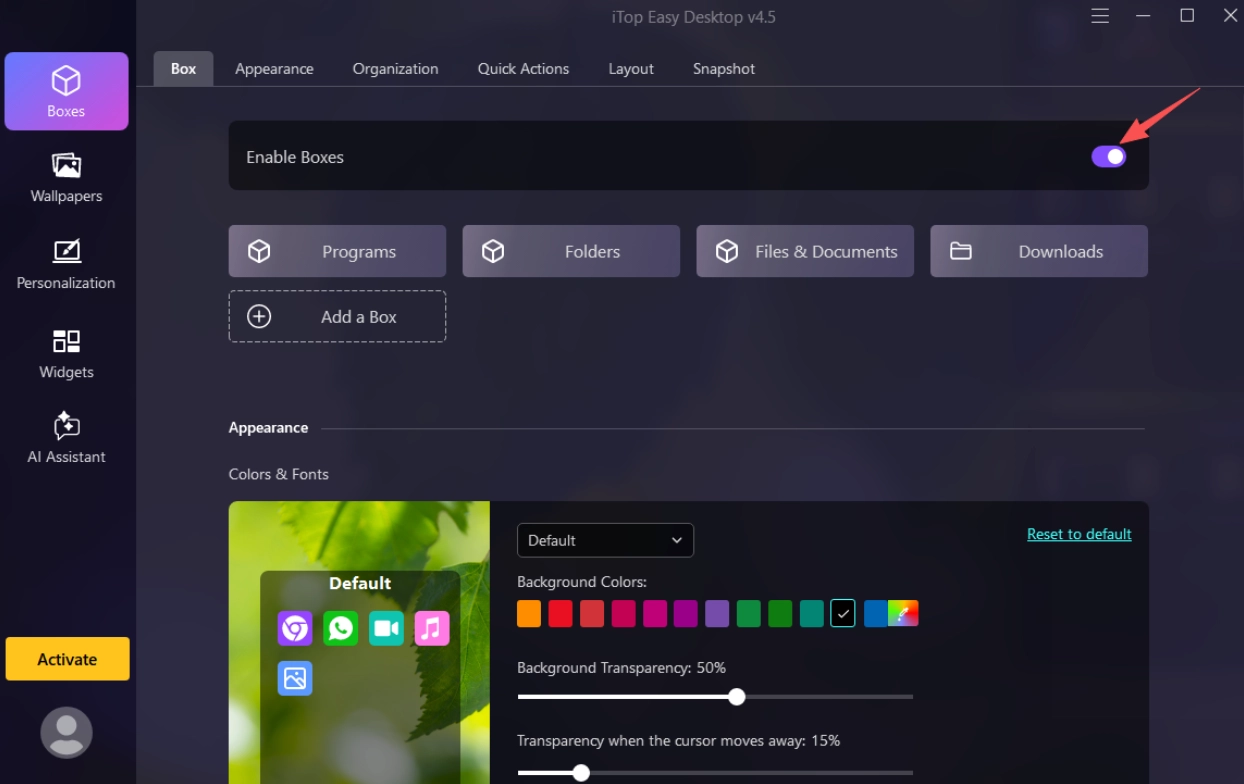
The One-Click Auto-Organization feature is where I started. Instead of moving every icon by hand, I can let the software sort desktop items into categories. This is especially useful after a busy day of downloading files, saving screenshots, and creating new shortcuts.
I still review the result, because automatic sorting is a starting point rather than a final answer. But it saves me from the tedious first step of dragging everything into place.
Custom Boxes for a Setup That Fits My Work
Custom Boxes let me divide the desktop by purpose. I could create one box for work documents, another for design files, a third for screenshots, and a fourth for personal items. Related files stay together, and I do not have to scan the whole screen to find what I need.
What I like most is that the boxes can change as my work changes. If a new project becomes a priority, I can create a dedicated box for it instead of reshuffling my entire desktop.
Search and Folder Portal for Faster Access
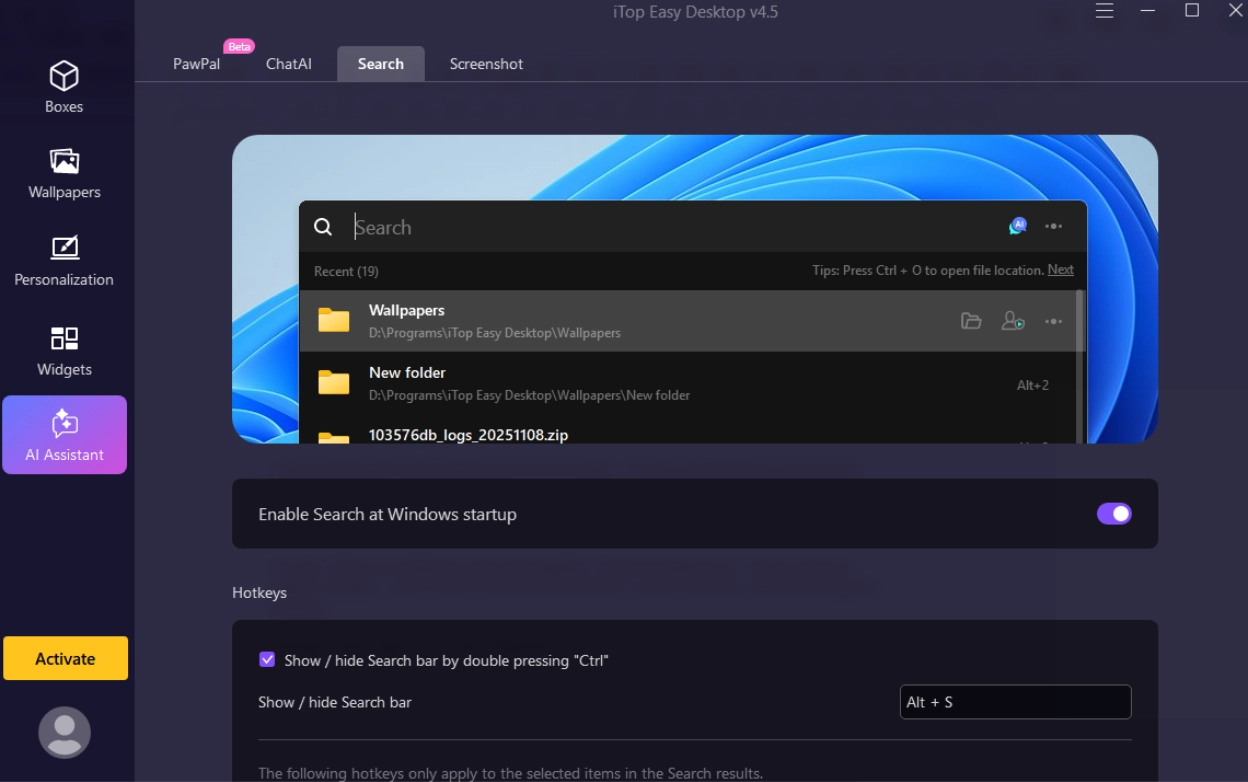
I often remember a file’s name but not its location. The global search feature lets me type a few letters and find the item without opening several folders. The Folder Portal adds a small file browser directly to the desktop, which makes checking folder contents quicker than opening a full Explorer window.
For me, these two features work well together. Search handles the “I know what it is called” situation, while Folder Portal is useful when I want to browse without leaving the desktop.
Double-Click Hide and Layout Backup
Some of the smaller features turned out to be more useful than I expected. Double-clicking the desktop hides all icons instantly, which is handy during screen sharing or when I want a clean screen for a screenshot.
The auto-save layout feature also addresses a problem I have run into before. Windows updates or display changes can sometimes rearrange icons, and restoring the layout manually is frustrating. Having a saved version means I can return to my preferred setup without starting over.
Private Lock Box for Sensitive Files
The Private Lock Box gives me a separate space for files I do not want visible on the regular desktop. I would use it for contracts, personal documents, or anything that should stay out of casual view. It is a useful organizational feature, though I would still rely on strong passwords and backups for real data security.
A Simple Workflow I Would Follow
If I used iTop Easy Desktop regularly, I would start by creating a few boxes based on my main categories: work, personal, screenshots, and current projects. Then, at the end of each day, I would run One-Click Auto-Organization to keep the desktop from getting out of hand.
When I need a specific file, I would use global search first. If I want to check a folder’s contents, Folder Portal would save me from opening a separate window. During meetings or screen recordings, I would double-click to hide the desktop and keep the focus on my work. And if I ever needed to restore my layout, the auto-save feature would give me a quick way back.
Download and Setup Steps
Step 1: Download from the official website
Visit the official iTop Easy Desktop website, check the Windows compatibility information, and download the installer from the official source. Save it to your computer before running it.
Step 2: Install and create your first boxes
Run the installer and follow the on-screen instructions. Once the app opens, create custom boxes for your main file categories, such as work documents, applications, and personal files.
Step 3: Organize and adjust the layout
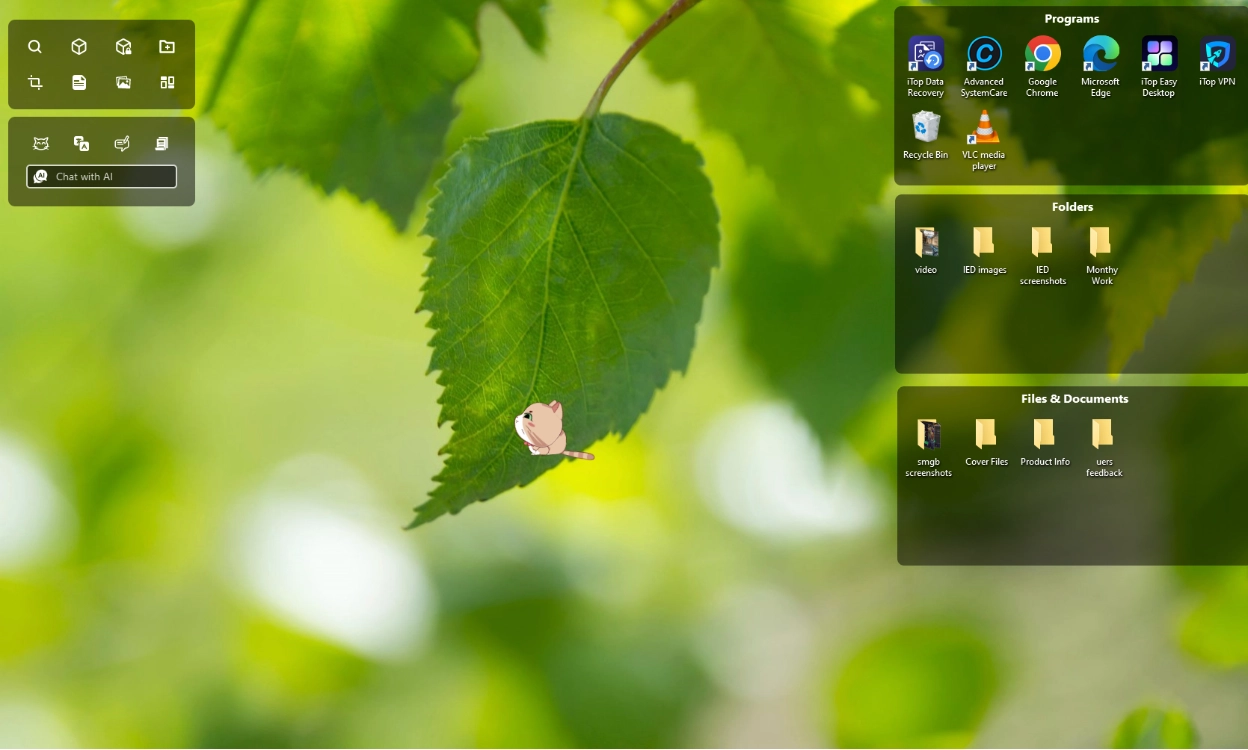
Try One-Click Auto-Organization, then adjust the boxes and layout to match your habits. Explore global search, double-click hide, and the private lock box to complete your setup.
Is It Worth Trying?
After testing its main features, I think iTop Easy Desktop is a practical choice for anyone who regularly struggles with a cluttered Windows desktop. Its strength is not a single standout feature but the way several tools work together: automatic sorting, custom boxes, quick search, hiding, layout backup, and a private lock box.
That said, a desktop organizer software cannot replace good file management habits. I would still delete unnecessary downloads, use clear file names, and keep important documents backed up. I would also review the app’s permissions and privacy settings before storing sensitive files through any additional feature.
Overall, I see iTop Easy Desktop as a useful tool for keeping a Windows desktop manageable without spending time on manual organization every week. For me, the real benefit is being able to find what I need, keep my layout consistent, and spend less time cleaning up my desktop when I could be working instead.