
While running an update on Windows 11, if you receive a message that says One of the update services is not running properly, it indicates Windows Update services error. It can occur when one or more critical Windows Update services, like Windows Update or Background Intelligent Transfer Service (BITS), are disabled due to corrupt files, conflicting third-party software, or malware. This can cause a delay in updating Windows. To fix this, here’s a guide to various suggestions to resolve this error message.
Page Contents
One of the Update Services is not running properly in Windows 11
Fix 1: Check Background Services
Here are the steps you should follow to check if there’s a Windows Update Services error.
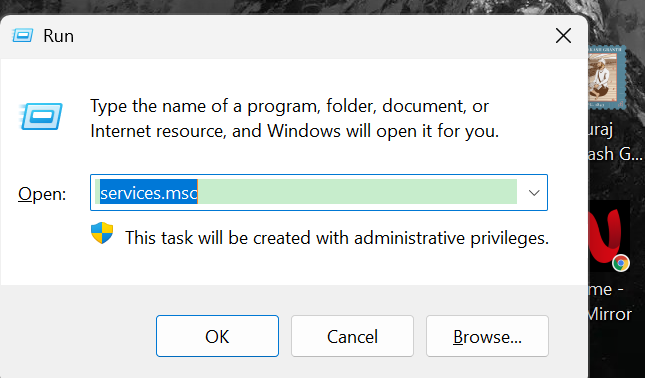
Step 1: Press the Win + R keys to open the Run command box. Then type services.msc and press the Enter key.
Step 2: In the pop-up window, find and double-click the Windows Update service.
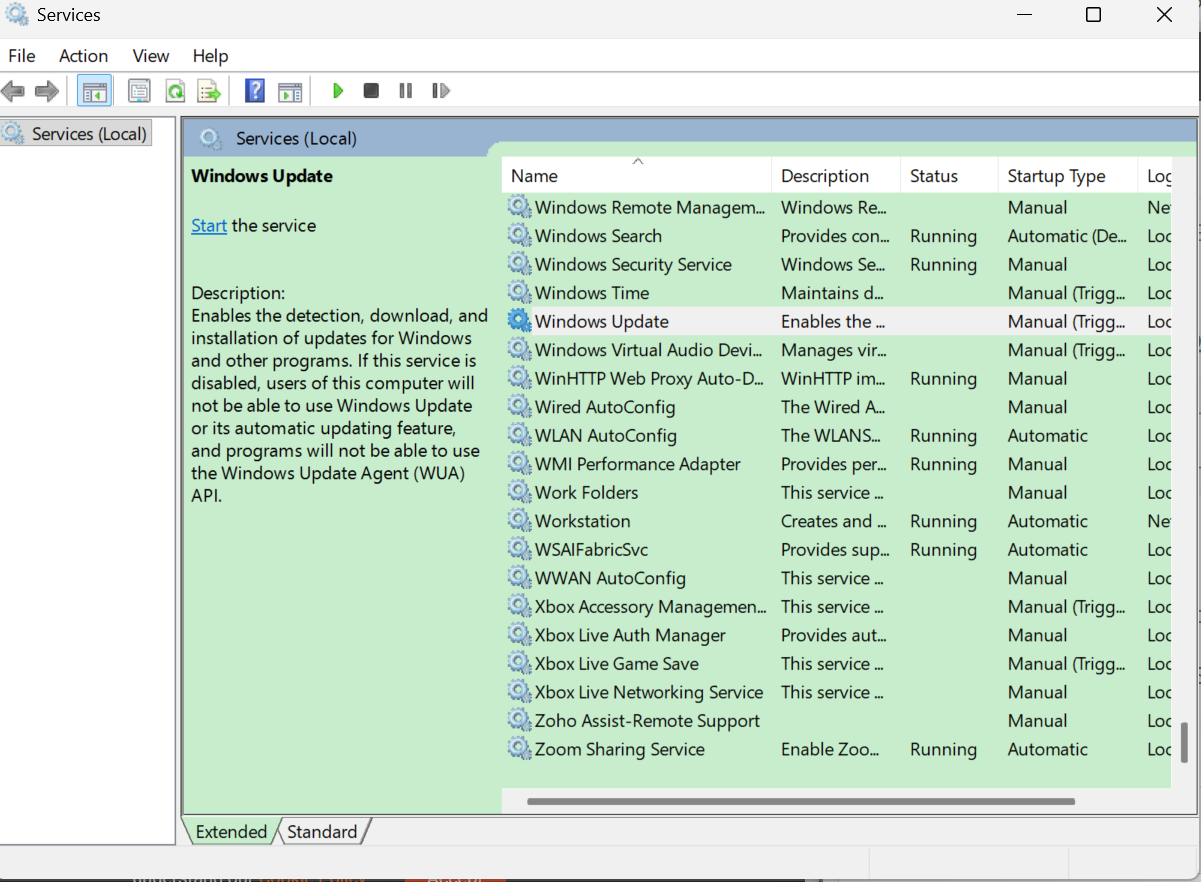
Step 3: The Windows Update Properties window will appear, and set the Startup type to Automatic.
Step 4: Then, if the Service status is Stop, click Start. Then click Apply and OK sequentially.

Step 5: Go back to the Service window and find Background Intelligent Transfer Service and double-click it.

Step 6: Make sure that the Startup type is set to Automatic in the pop-up window.
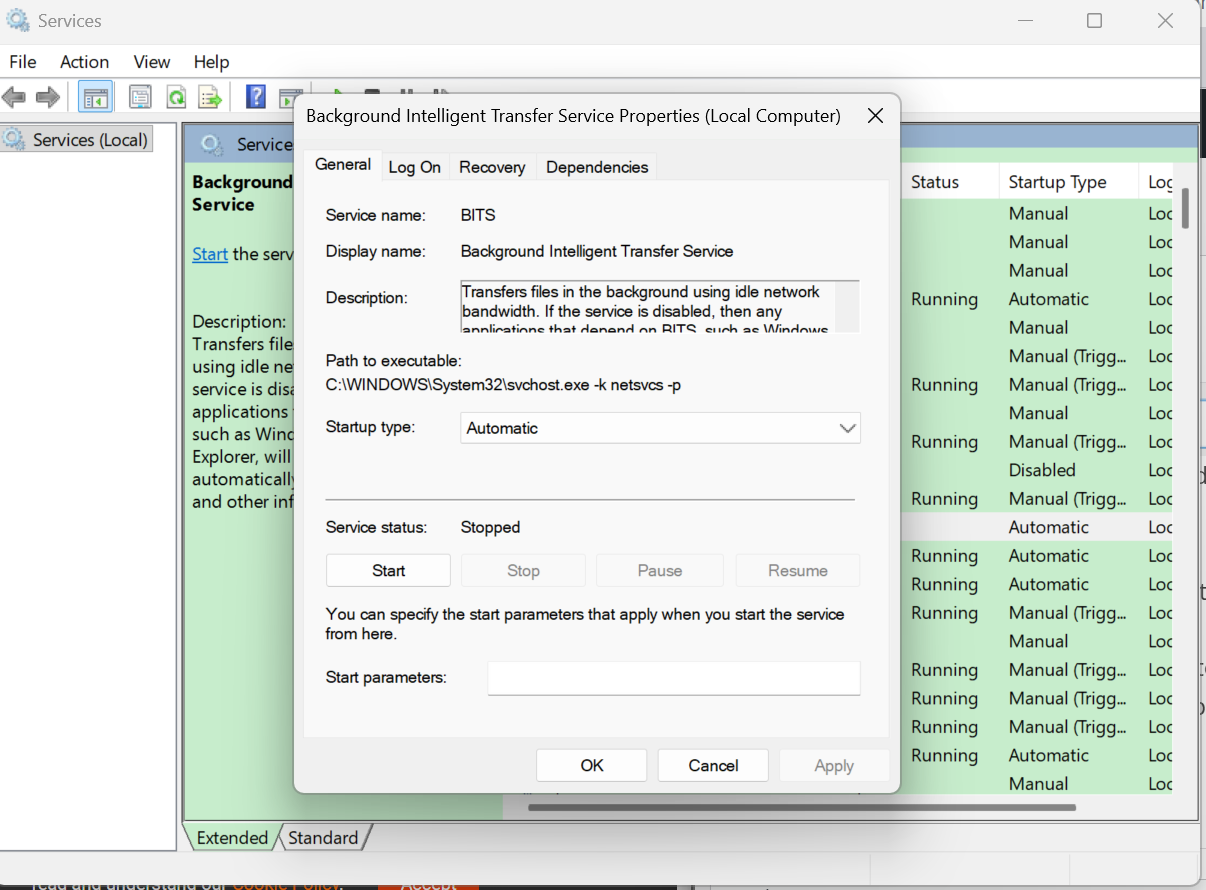
Step 7: Then, click Start if the Service status is Stop. Click Apply and OK to save the changes. After following all the steps, restart your computer and check if the error is now fixed.
Fix 2: Run the Windows Update Troubleshooter
If the error still exists, you can run the Windows Update Troubleshooter by following the given steps:
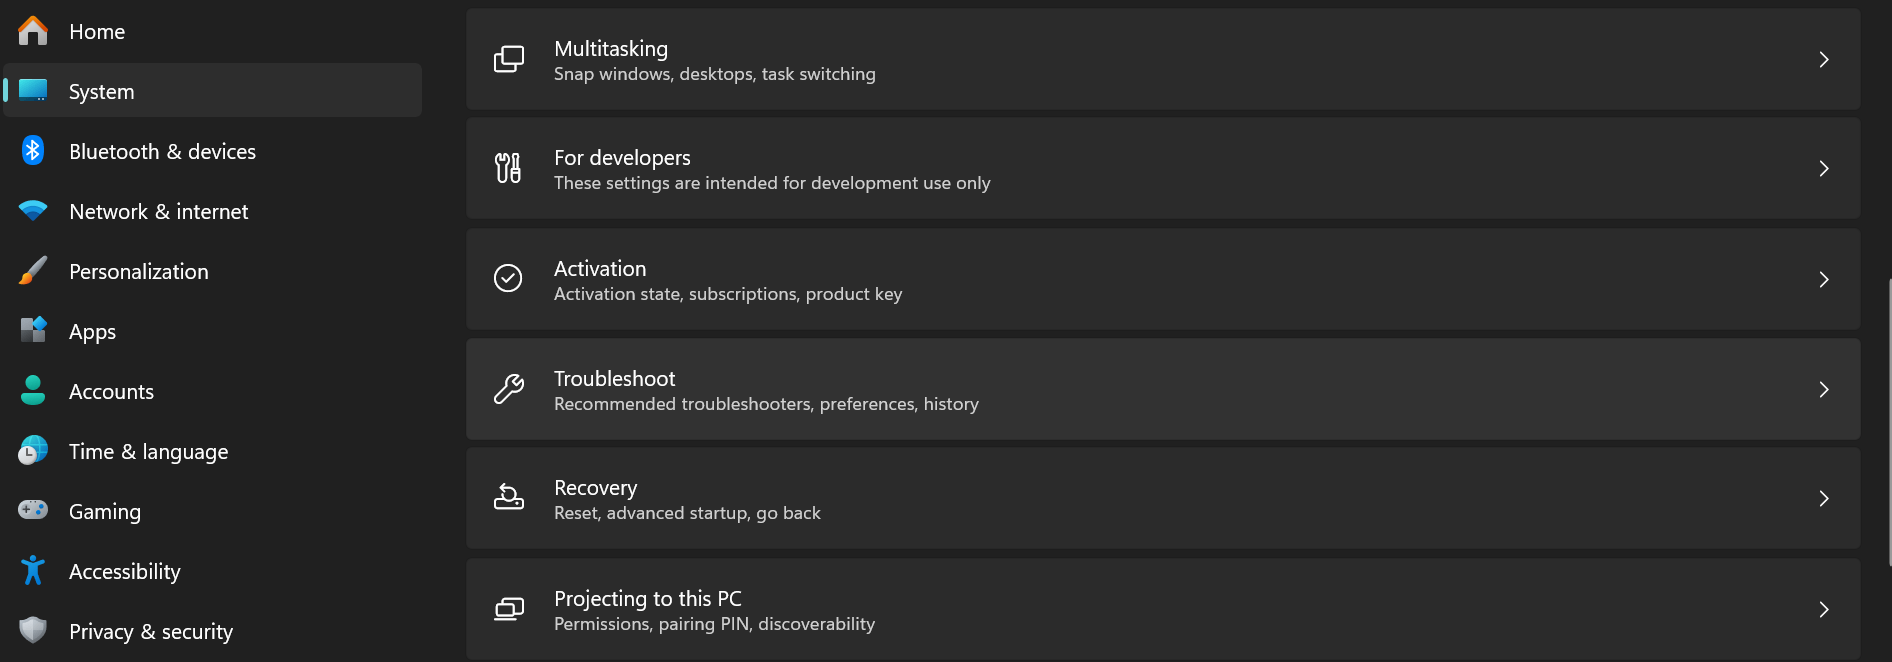
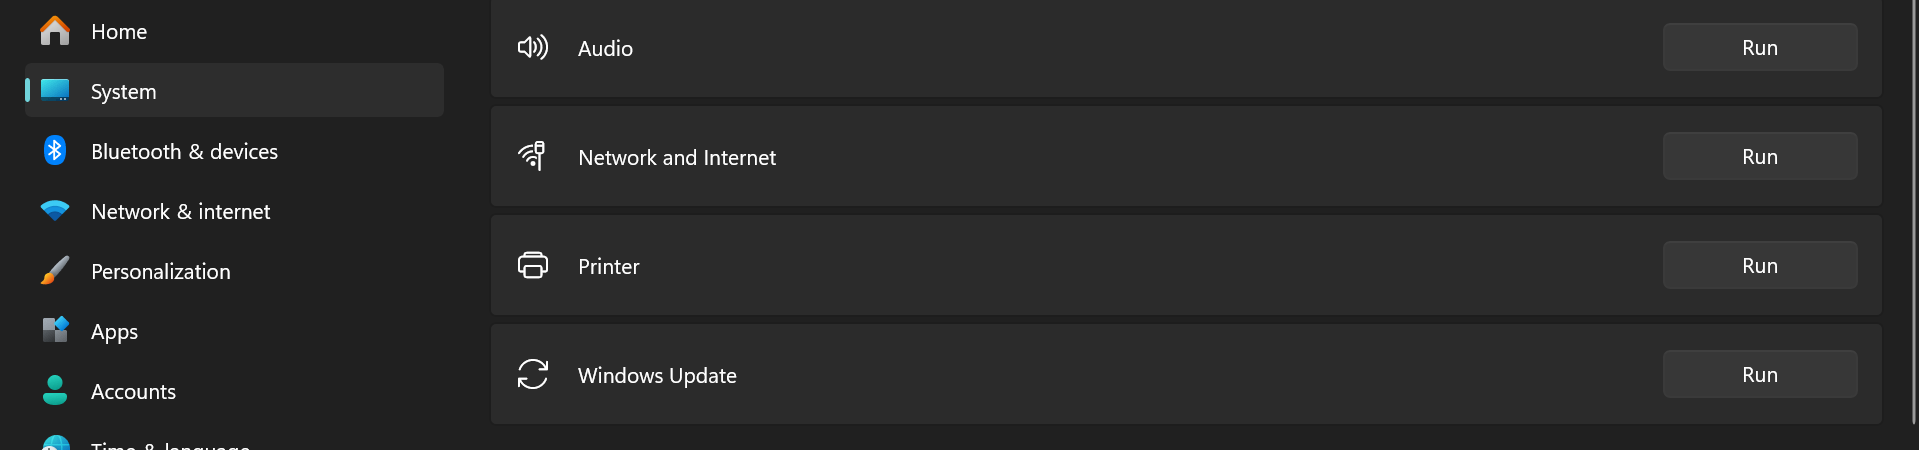
Step 1: Go to the computer’s settings, find System on the left side
Step 2: Select Troubleshoot on the right side and navigate towards Other Troubleshooters.

Step 3: Select the Windows Update option and click on Run.
Fix 3: Uninstall the Conflicting Apps
If the Windows Update Services error continues, you can try removing the conflicting apps. In order to find out the conflicting apps, you need to perform a clean boot by performing the given steps.
Step 1: Open Run by pressing Windows + R → type msconfig → Enter.
Step 2: In System Configuration, choose Selective startup, uncheck Load startup items, keep Load system services checked, and use the original boot configuration.

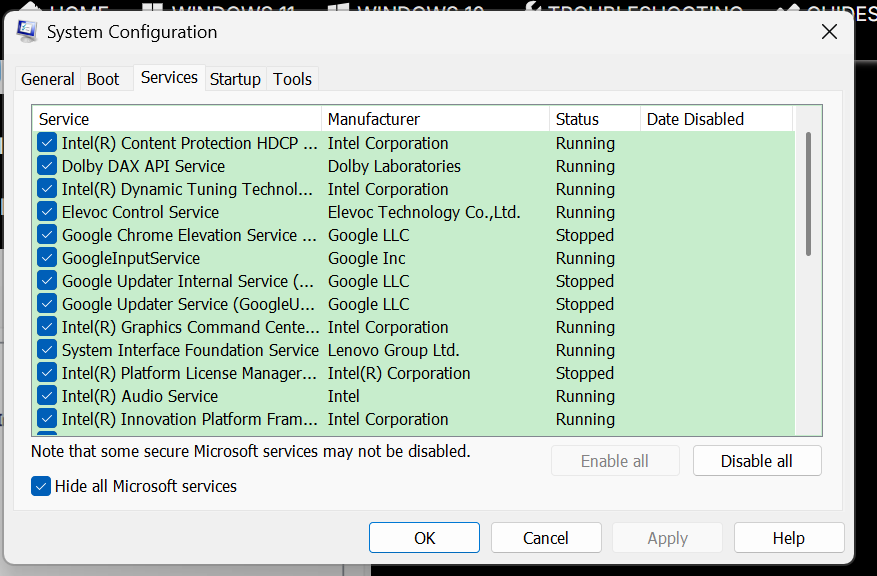
Step 3: In the Services tab, tick Hide all Microsoft Services and click Disable all.
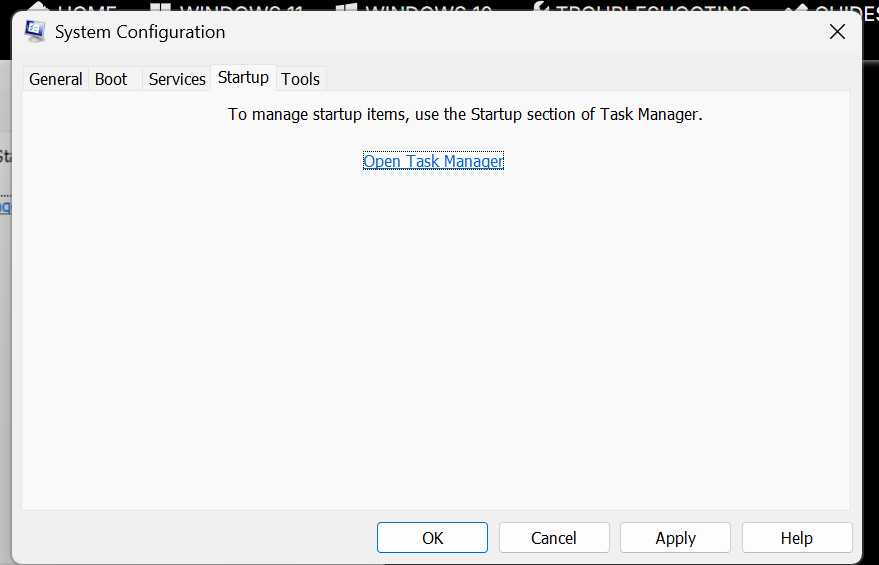
Step 4: Head to Startup → Task Manager → Startup apps, then disable all items. Click Apply → OK, and reboot if required.
After performing a clean boot, check if you can update the Operating System.
Following this, enable the apps or processes, or services one by one till you find the problematic apps. After you find it, you can uninstall the conflicting apps.
Fix 4: Try Updating Windows Manually
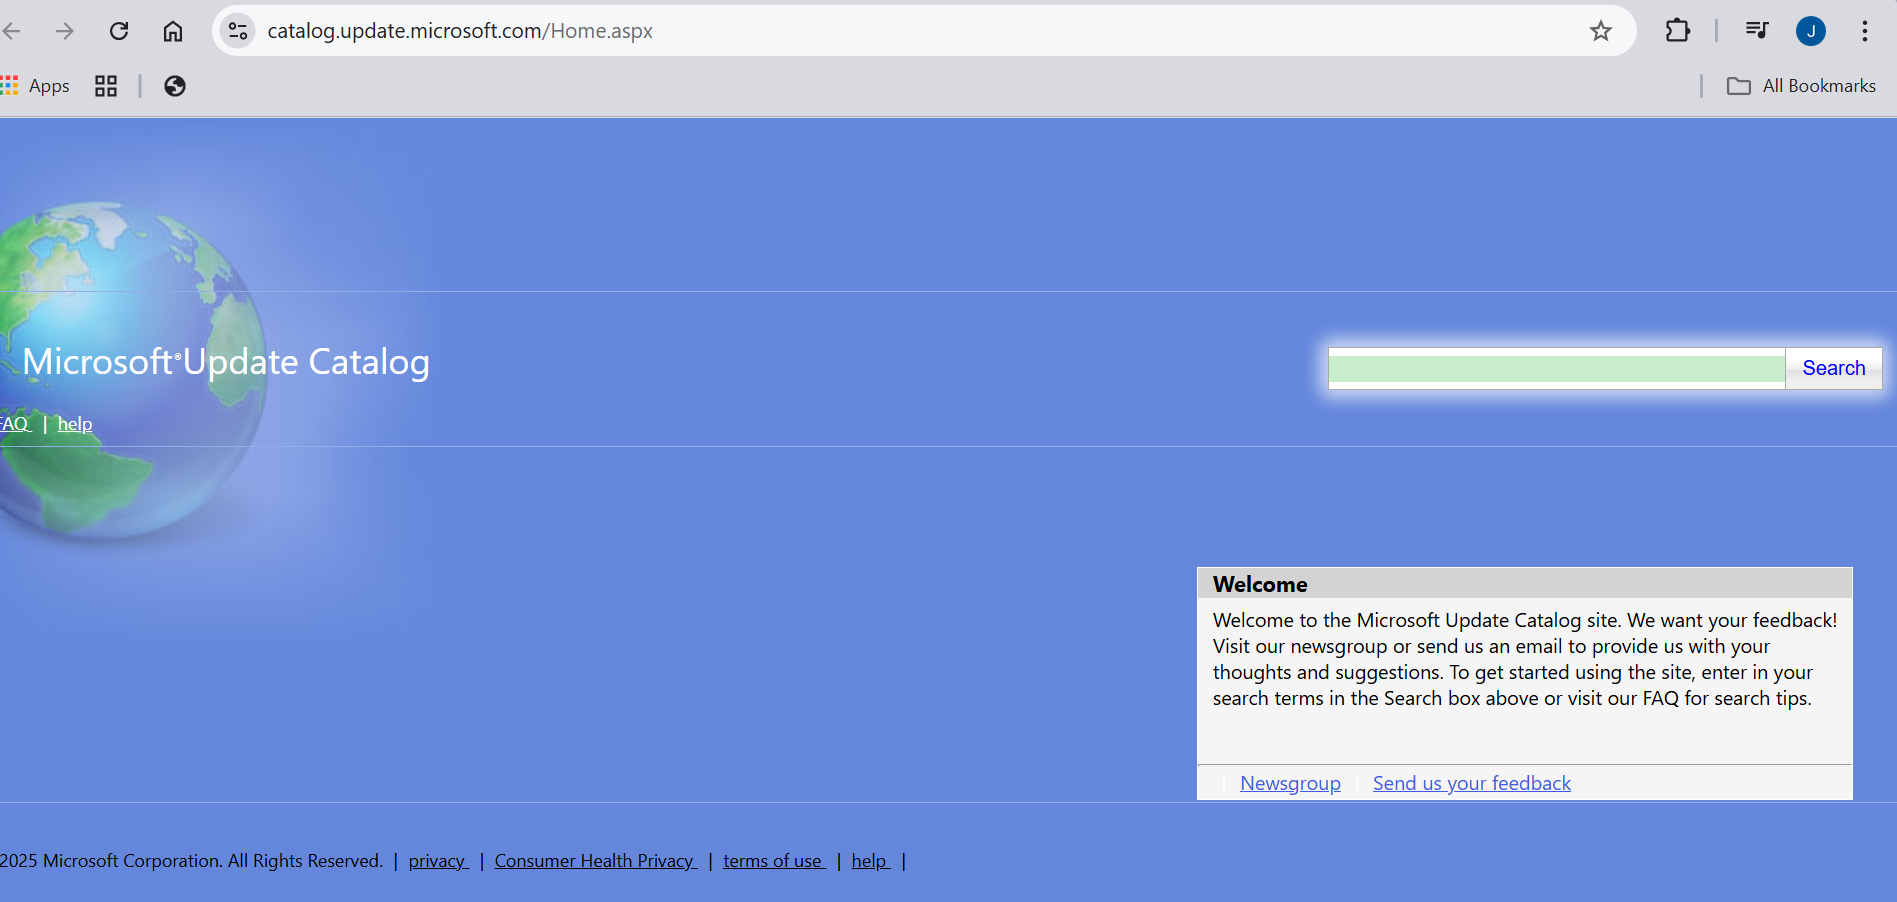
You can manually download and update Windows from the Microsoft Update catalog (https://www.catalog.update.microsoft.com/Home.aspx). You can search for the specific update code in the Microsoft Update Catalog and click on Download. Then, by following the installation instructions, finish installing the update.
Hope this helps!


![[Latest Windows 11 Update] What’s new in KB5089549?](https://www.kapilarya.com/assets/Windows11-Update-768x651.png)