In Windows 11, the Network path not found may appear when you try to access a shared folder or network drive, but Windows cannot connect to the computer or device hosting it. The error message may accompanied with code 0x80070035.
You can follow the methods below to troubleshoot the problem and restore access to the shared folder.
Page Contents
How to Fix Network Path Not Found in Windows 11
Fix 1: Check the Network Path Connection in Windows 11
First, check whether the computer or device you are trying to access is turned on and connected to the same network as your Windows 11 PC.
1. On the computer containing the folder, open Command Prompt.
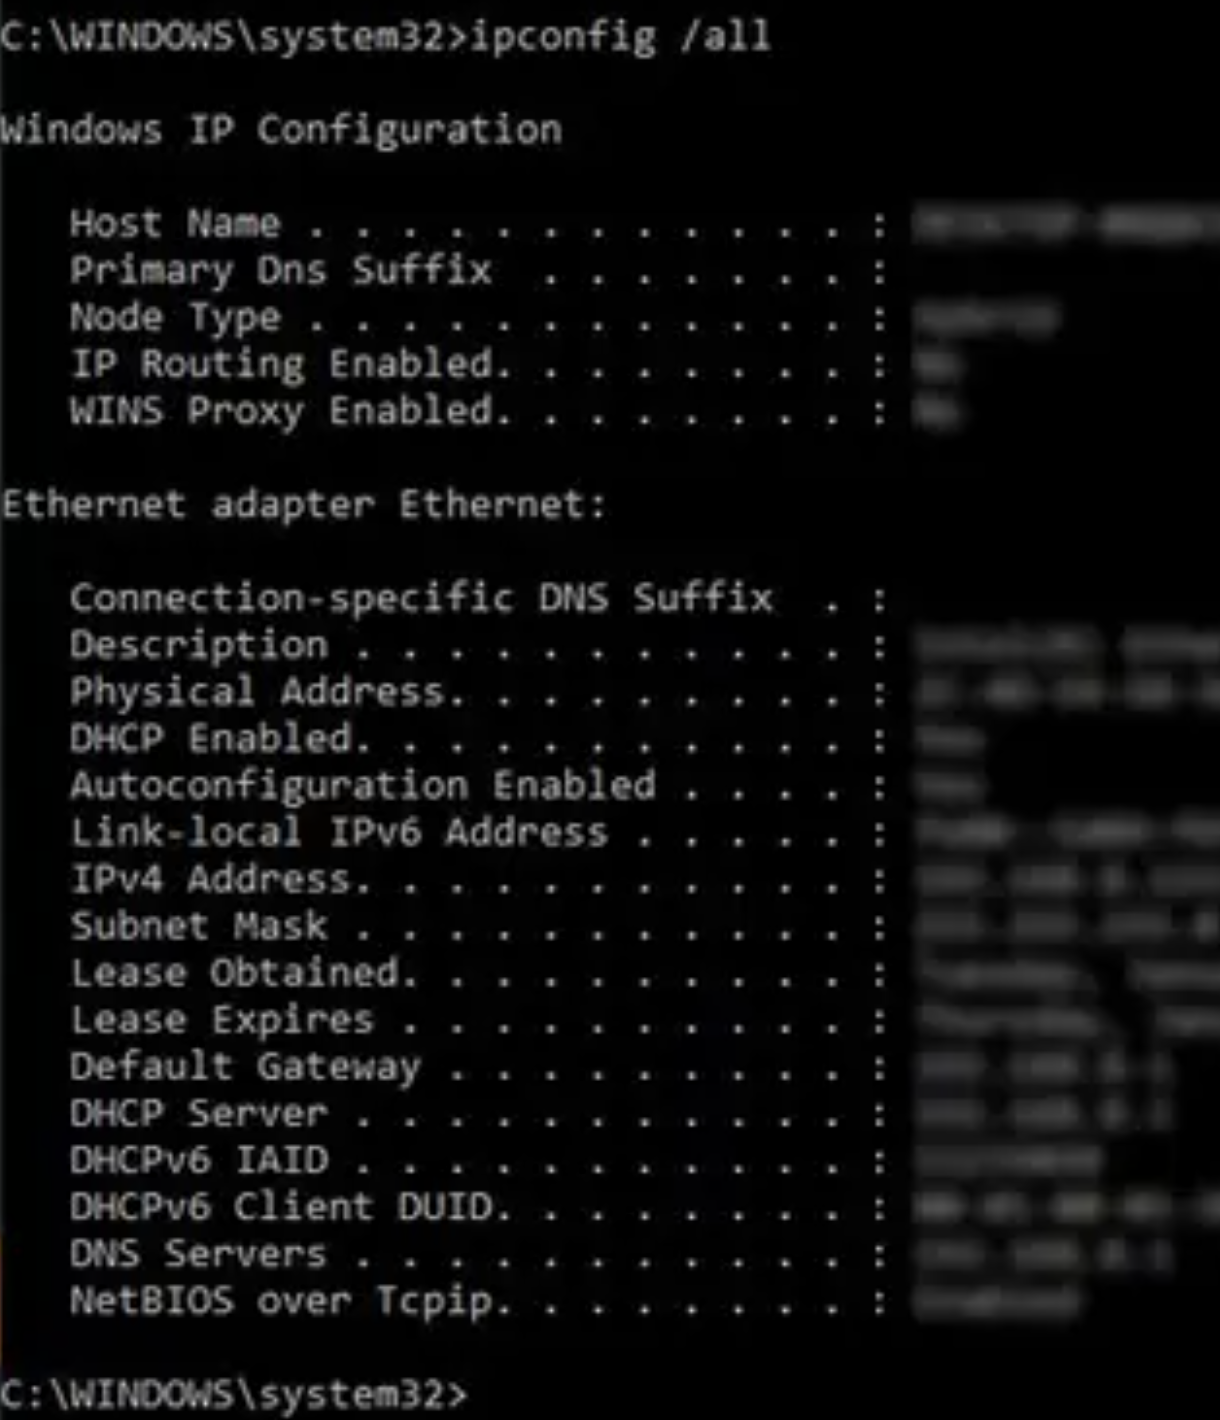
2. Type ipconfig and press Enter.
3. Find the IPv4 Address under the active network adapter and note it down.
4. On your Windows 11 PC, press Win + R to open the Run dialog box. Type the following address, replacing the example IP address and folder name with your own: \\192.168.1.20\Public
5. Press Enter and check whether the folder opens.
If Windows still cannot access the location, proceed to the next fix.
Fix 2: Enable Network Discovery and File Sharing
If you are sharing folders between two Windows PCs, check whether network discovery and file sharing are enabled on both computers.
1. Open Settings and go to Network & internet.
2. Select Wi-Fi or Ethernet, depending on your connection.
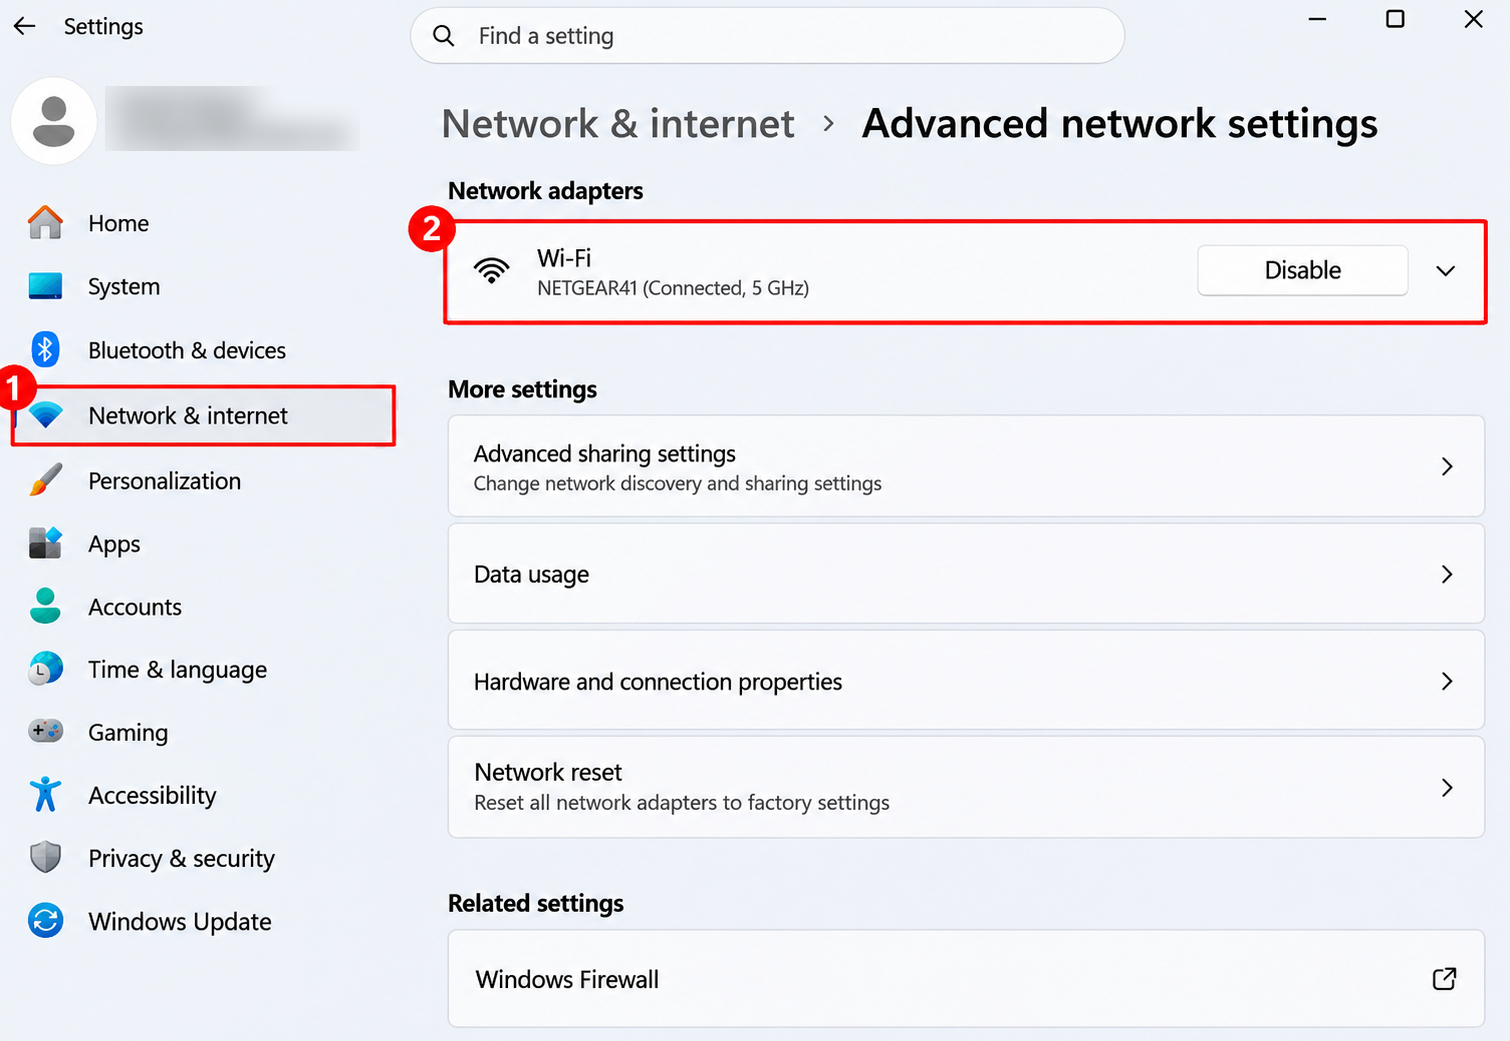
3. Open your connected network and set Network profile type to Private network.
4. Once you do this, return to the Network & internet page. Then select Advanced network settings and open Advanced sharing settings.
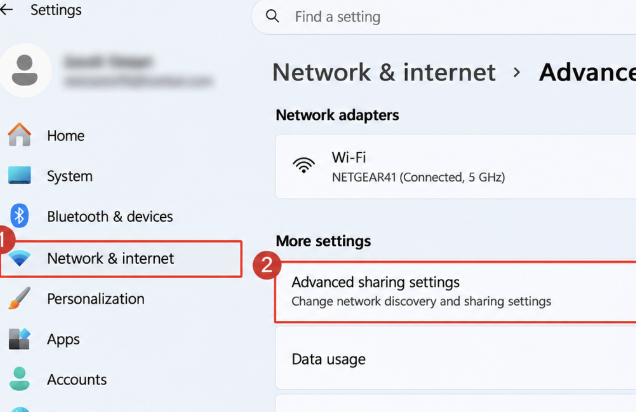
5. Expand Private networks. Here, turn on Network discovery and File and printer sharing.
6. Next, press Win + R, type services.msc and press Enter.

7. For each of the following services said below, right-click it, and select Properties:
- Function Discovery Provider Host
- Function Discovery Resource Publication
- SSDP Discovery
- UPnP Device Host
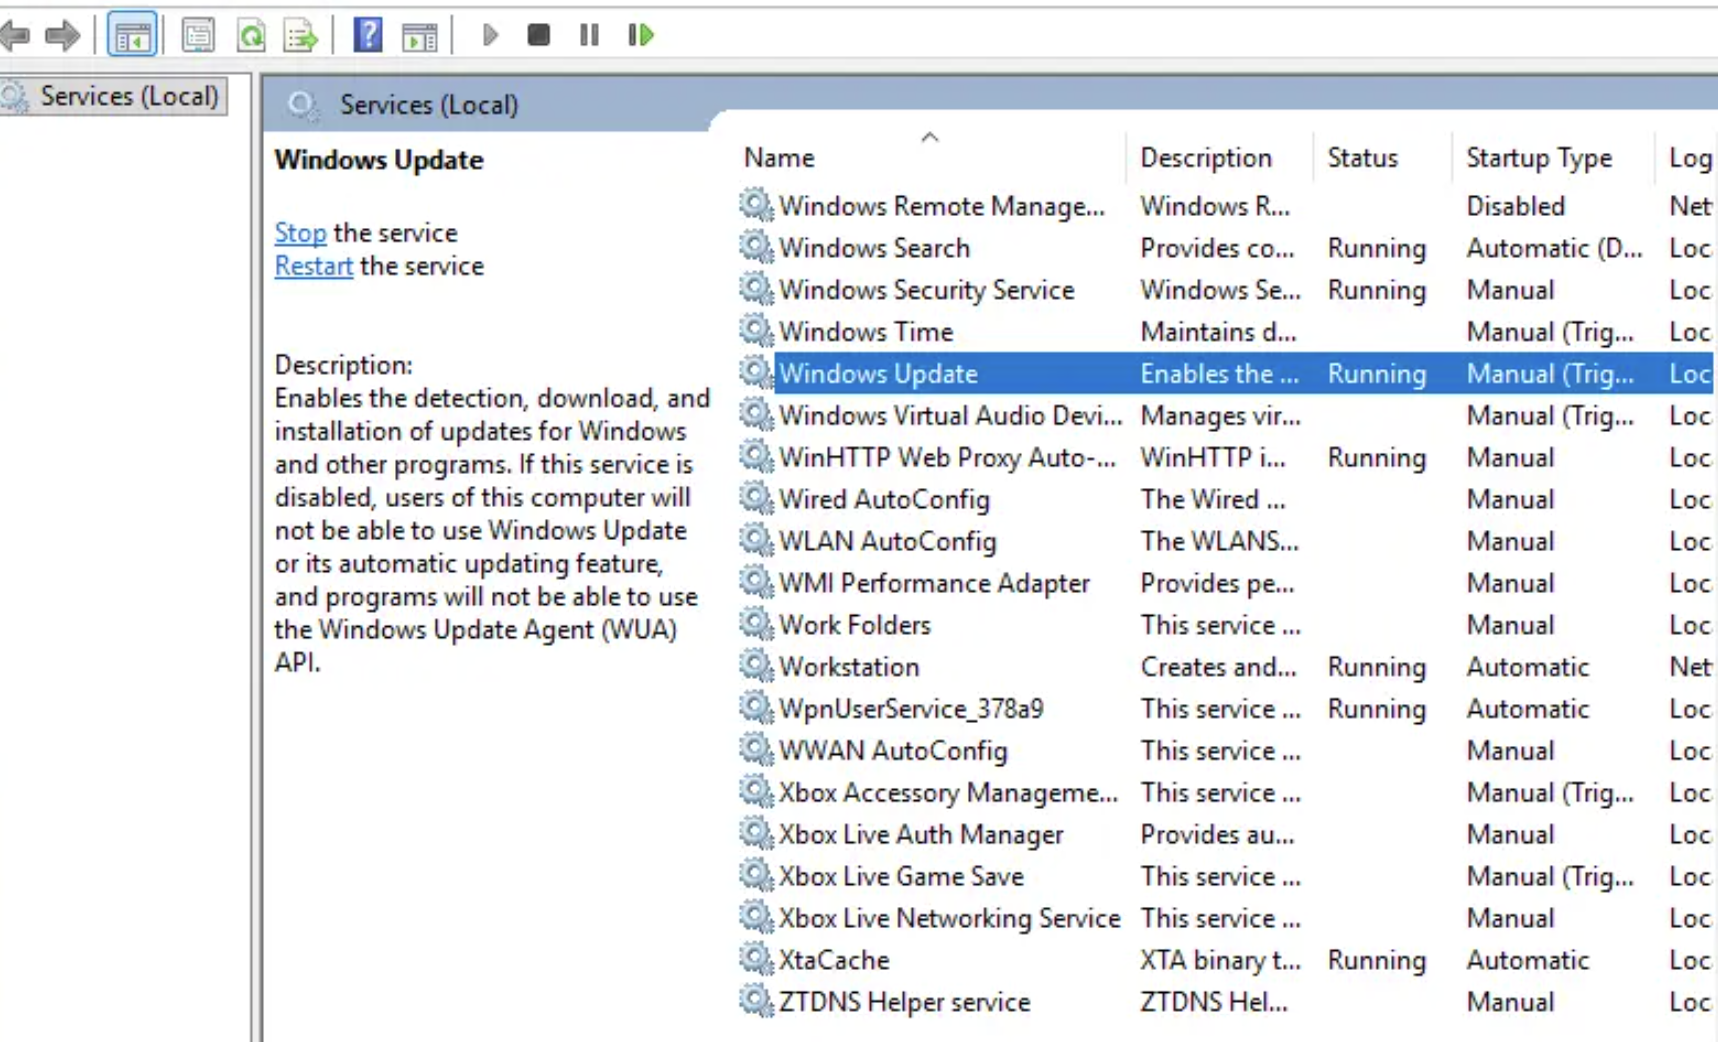
8. For each, set Startup type to Automatic. At the same time, if any service is stopped, select Start.
9. Repeat these steps on the other Windows PC and restart both computers.
Fix 3: Check the Shared Folder Name, Permissions, and Firewall
On the computer hosting the folder, open Command Prompt and run the command: net share
1. Check whether the shared folder appears in the list. If it is missing, open File Explorer and right-click the folder you want to share.
2. Select Properties and open the Sharing tab.
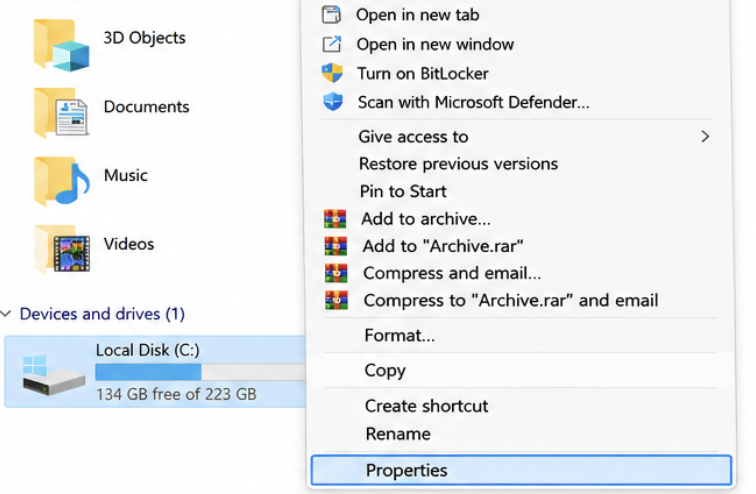
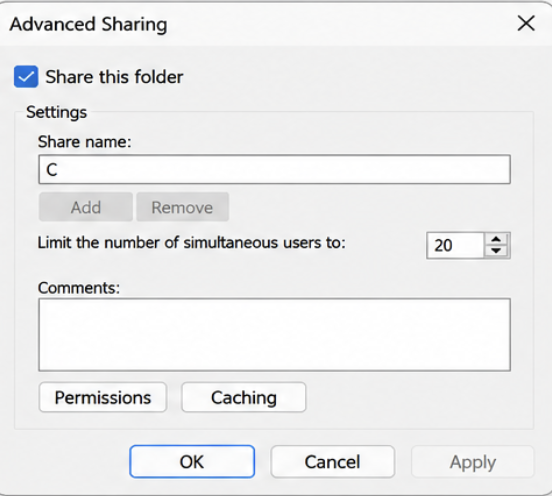
3. Select Advanced Sharing. Tick Share this folder and check the share name.
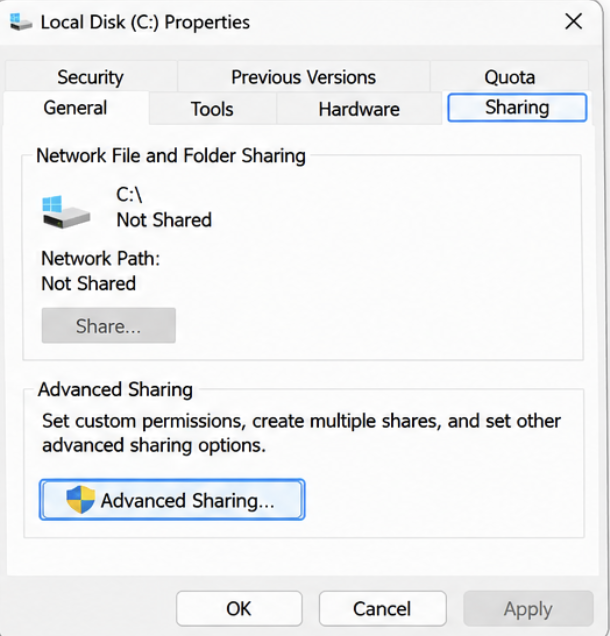
4. You can select Permissions and add the account that needs access.
5. Then, you must open the Security tab and give the same account Read permission.
6. Next, open Windows Security and go to Firewall & network protection. Select Allow an app through firewall.
7. Make sure File and Printer Sharing is allowed for the Private network.
Now, return to the other computer and open the shared folder using its network path: \\PCNAME\ShareName. Here, replace PCNAME and ShareName with the actual computer and folder names.
8. You can also type \\localhost in File Explorer on the host computer to view the shares available from that PC.
If the folder opens, the network path is working. The issue may have been caused by an incorrect path. If Windows still displays The network path was not found, continue to the next fix.
Fix 4: Remove Old Network Connections and Saved Credentials
If you have changed your credentials recently, and windows uses old username or password when connecting to a shared folder, the connection may fail.
1. First, close all open File Explorer windows.
2. Then, open the Command Prompt and run the following command: net use
3. To remove the existing network connections, run: net use * /delete /y
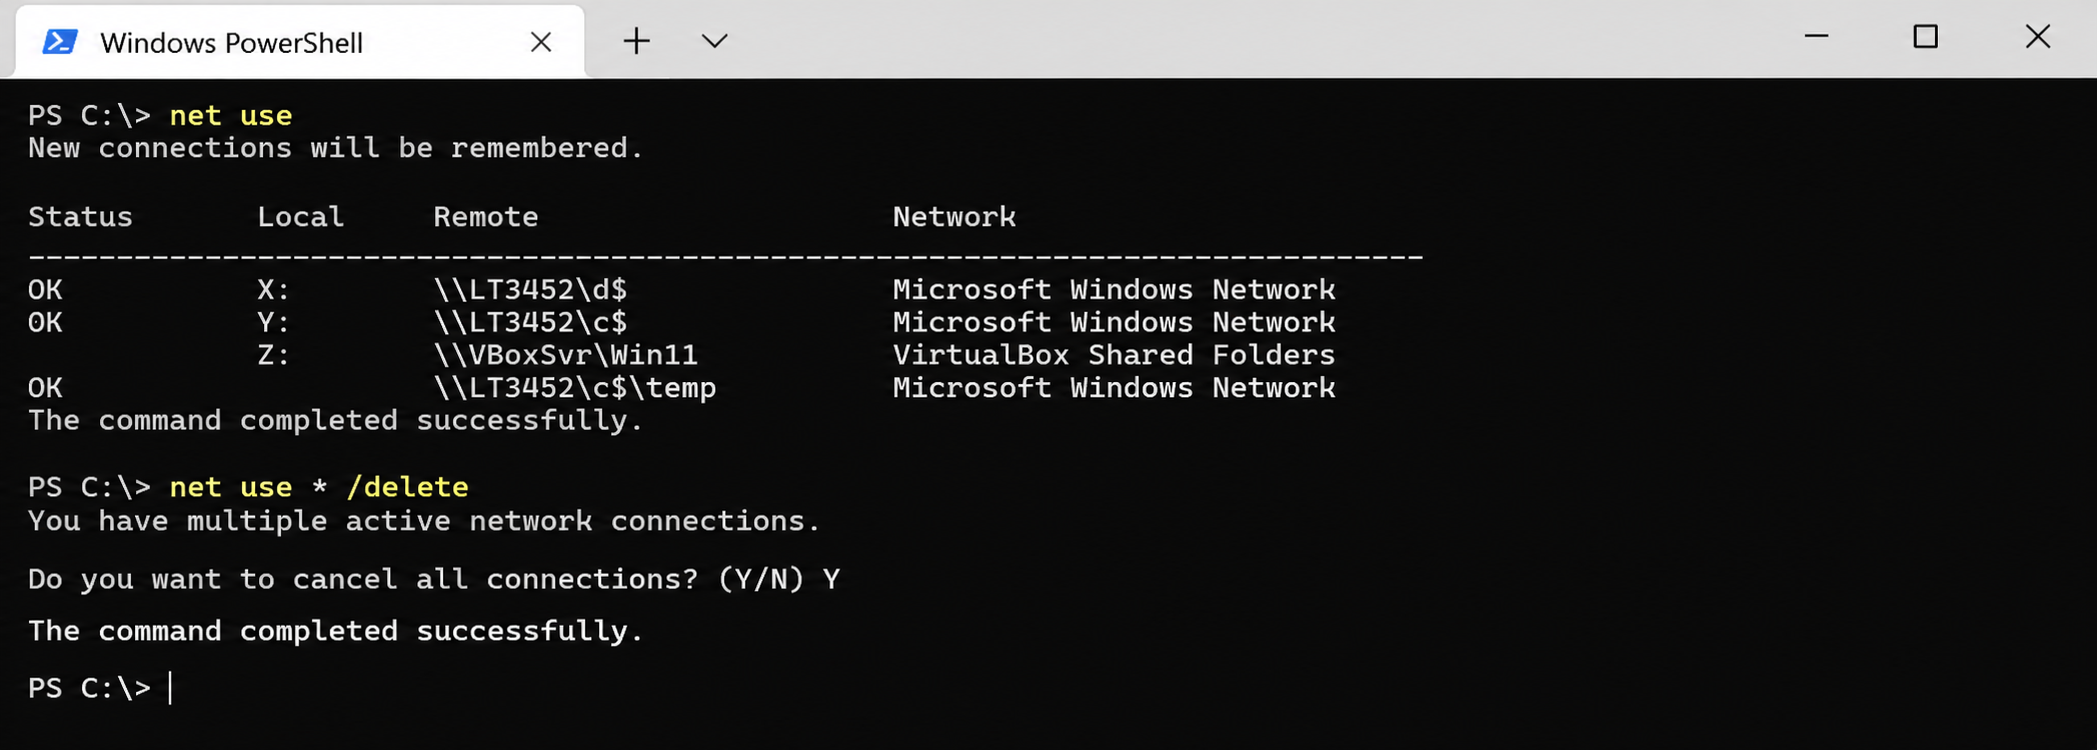
This disconnects all currently mapped network drives. You should reconnect them again.
4. Then, open Control Panel and go to User Accounts.

5. There, select Credential Manager and open Windows Credentials.
6. Find the saved credentials associated with the network device. Remove the entries associated with its computer name or IP address.
Now, connect to the shared folder again using the correct account.
Fix 5: Fix Network Name Resolution in Windows 11
If the shared folder opens using its IP address but does not open with its computer file name, the problem may be related to network name resolution. To fix this, open Terminal in Admin mode.
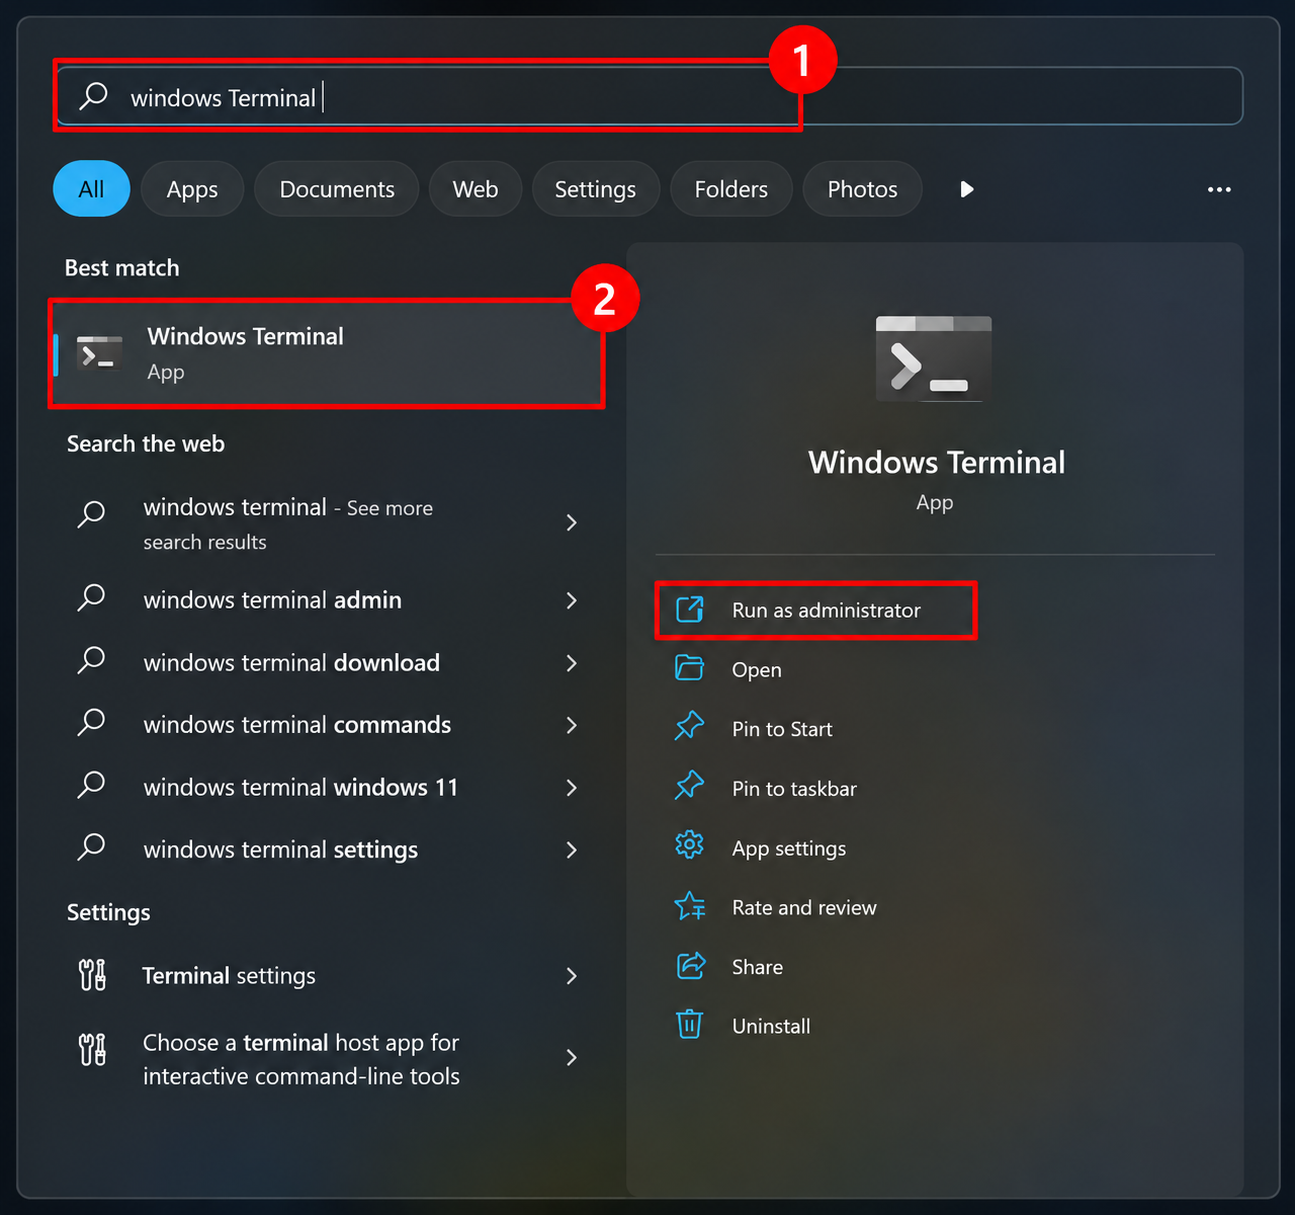
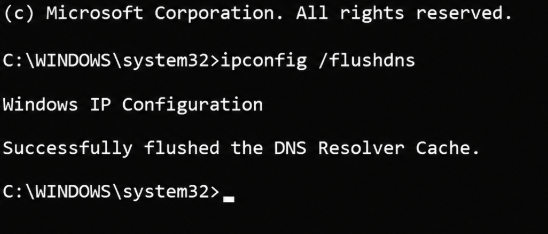
1. Run the following command to clear the DNS cache: ipconfig /flushdns
2. Next, run: nbtstat -R
3. Now, try opening the shared folder using its computer name again.
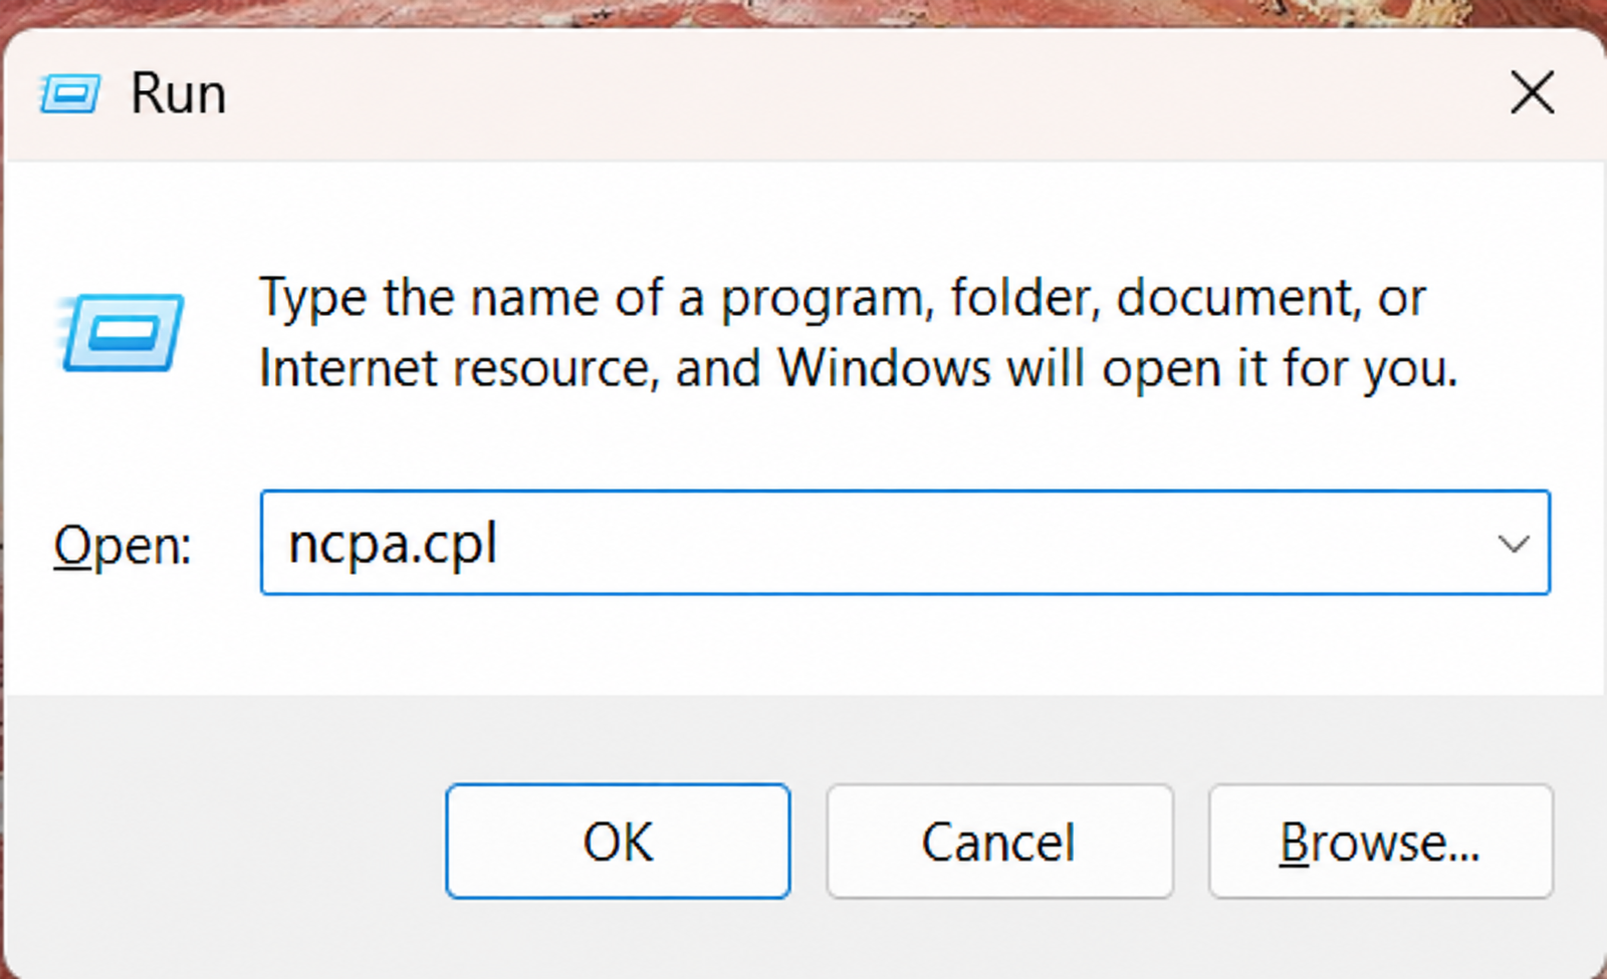
4. If the issue continues, press Win + R, type ncpa.cpl, and press Enter.
5. Right click your Wi-Fi or Ethernet adapter and select Properties.
6. Now select Internet Protocol Version 4 (TCP/IPv4) and click Properties.
7. Then click Advanced and open the WINS tab.
8. Here, select Enable NetBIOS over TCP/IP and click OK.
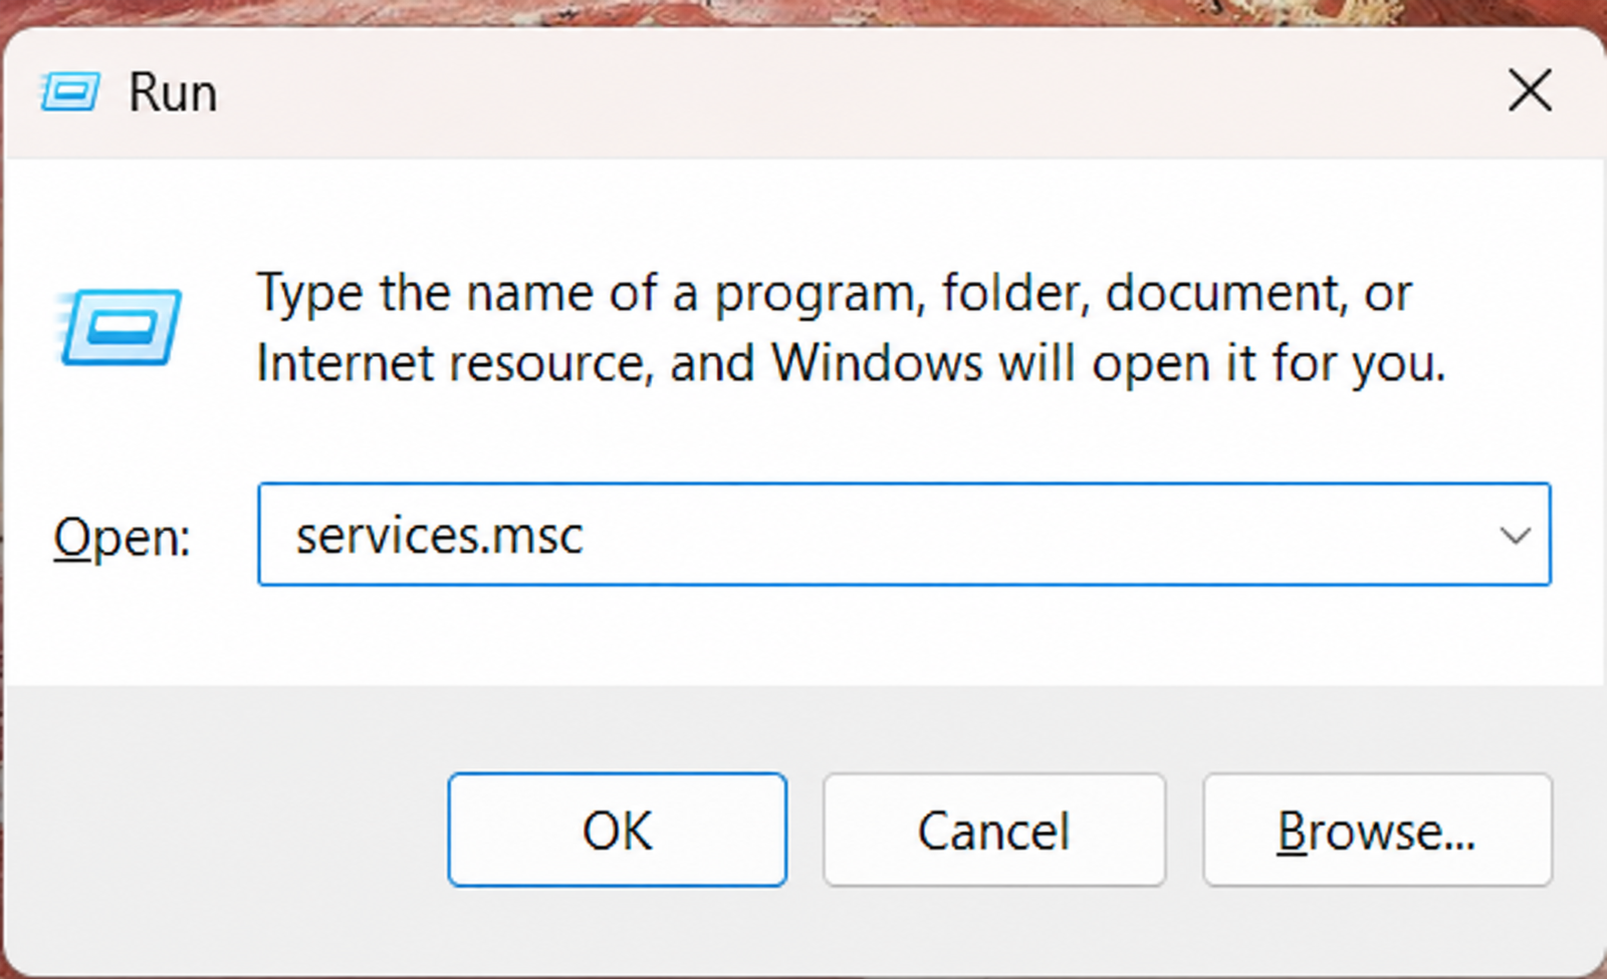
9. Now, press Win + R, type services.msc, and press Enter.
10. Here, find TCP/IP NetBIOS Helper, open its Properties, and set Startup type to Automatic.
11. If the service is stopped, select Start and click OK.
Restart your computer and try opening the shared folder again.
That’s it!