
When you are searching for a domain name or loading your favorite websites, it is the DNS (Domain Name System) server that is responsible for making it possible in your system. Your Windows 11 device has IPv4 and IPv6 DNS servers assigned to the network adaptor. In a case where you subscribe to the Internet Service Provider (ISP), the device users their DNS server by default. You can find out which server is used and even change it as well. This article presents various options guiding you on how to find DNS servers used in Windows 11 device of yours.
Page Contents
How to find DNS servers used in Windows 11
The used DNS server in your system could be custom DNS for the browsers (like Google Chrome, Firefox, Microsoft Edge), or connected to the VPN, to the router, or could be the one provided by your ISP. To find out which server is used in your Windows 11 device, there are following six different options along with step-by-step process on how to go about them.
Option-1: Settings Application to find DNS Servers
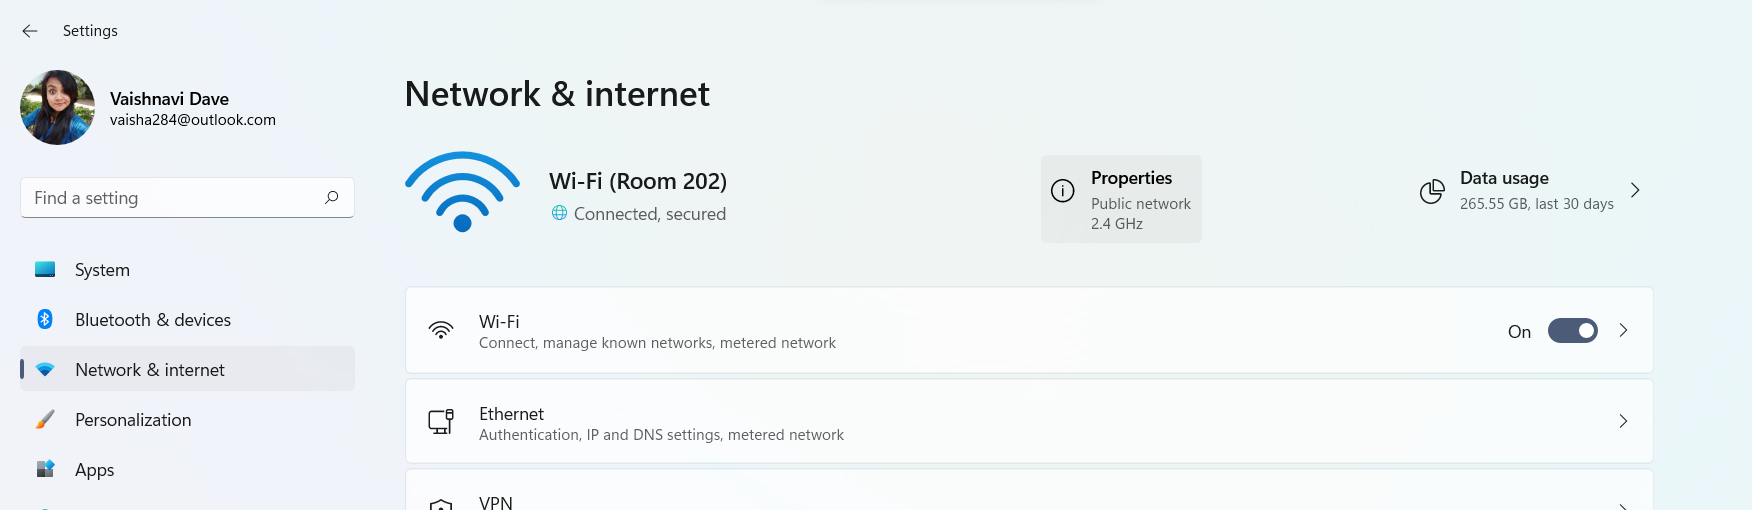
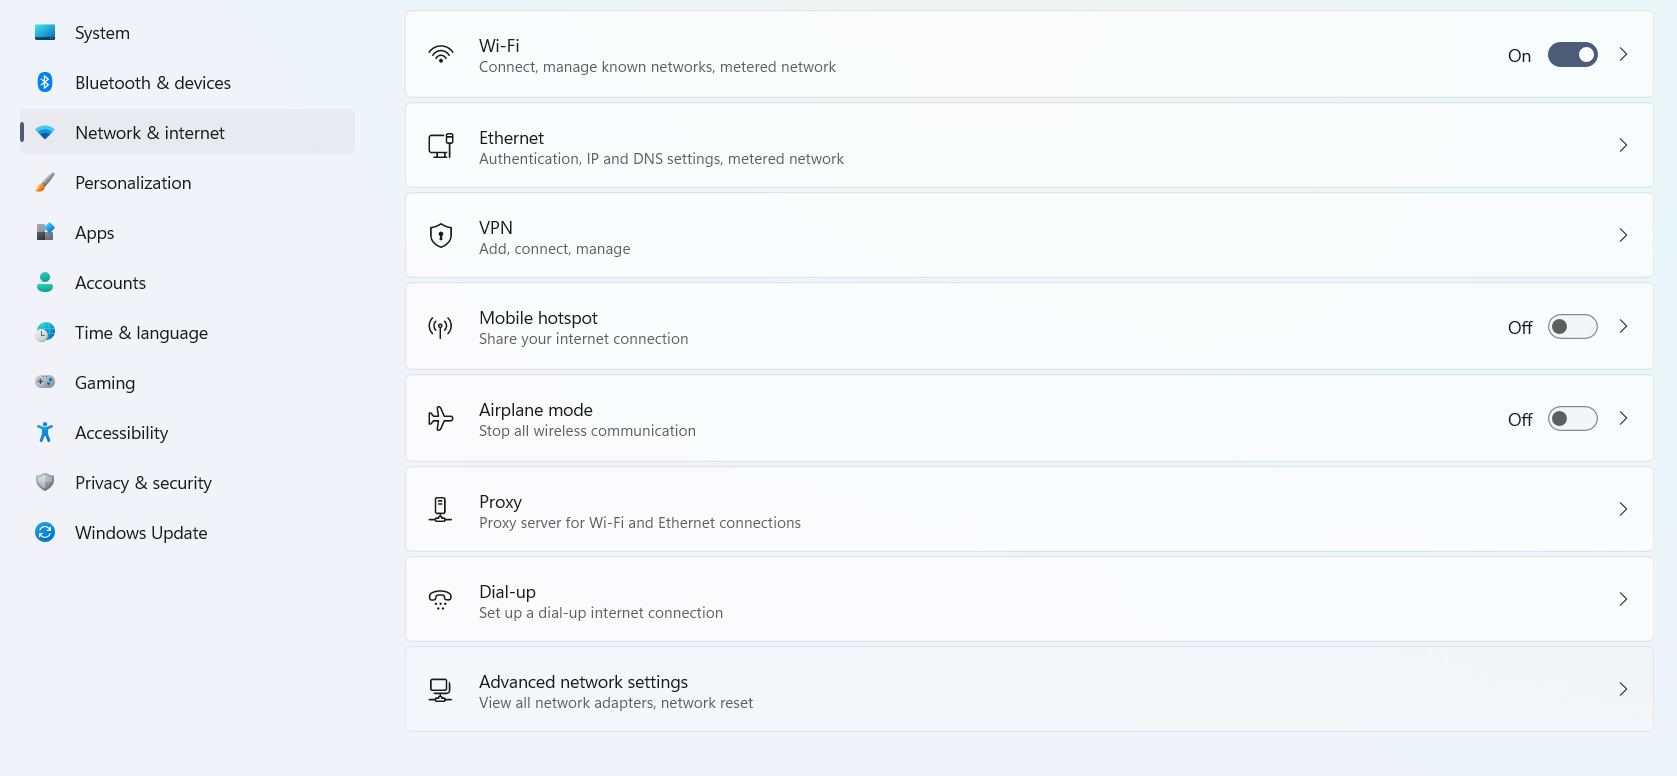
- First, Open the Settings Application and go to Network & Internet.
- Here, tap on Properties for the connected Network as shown in the screenshot below.
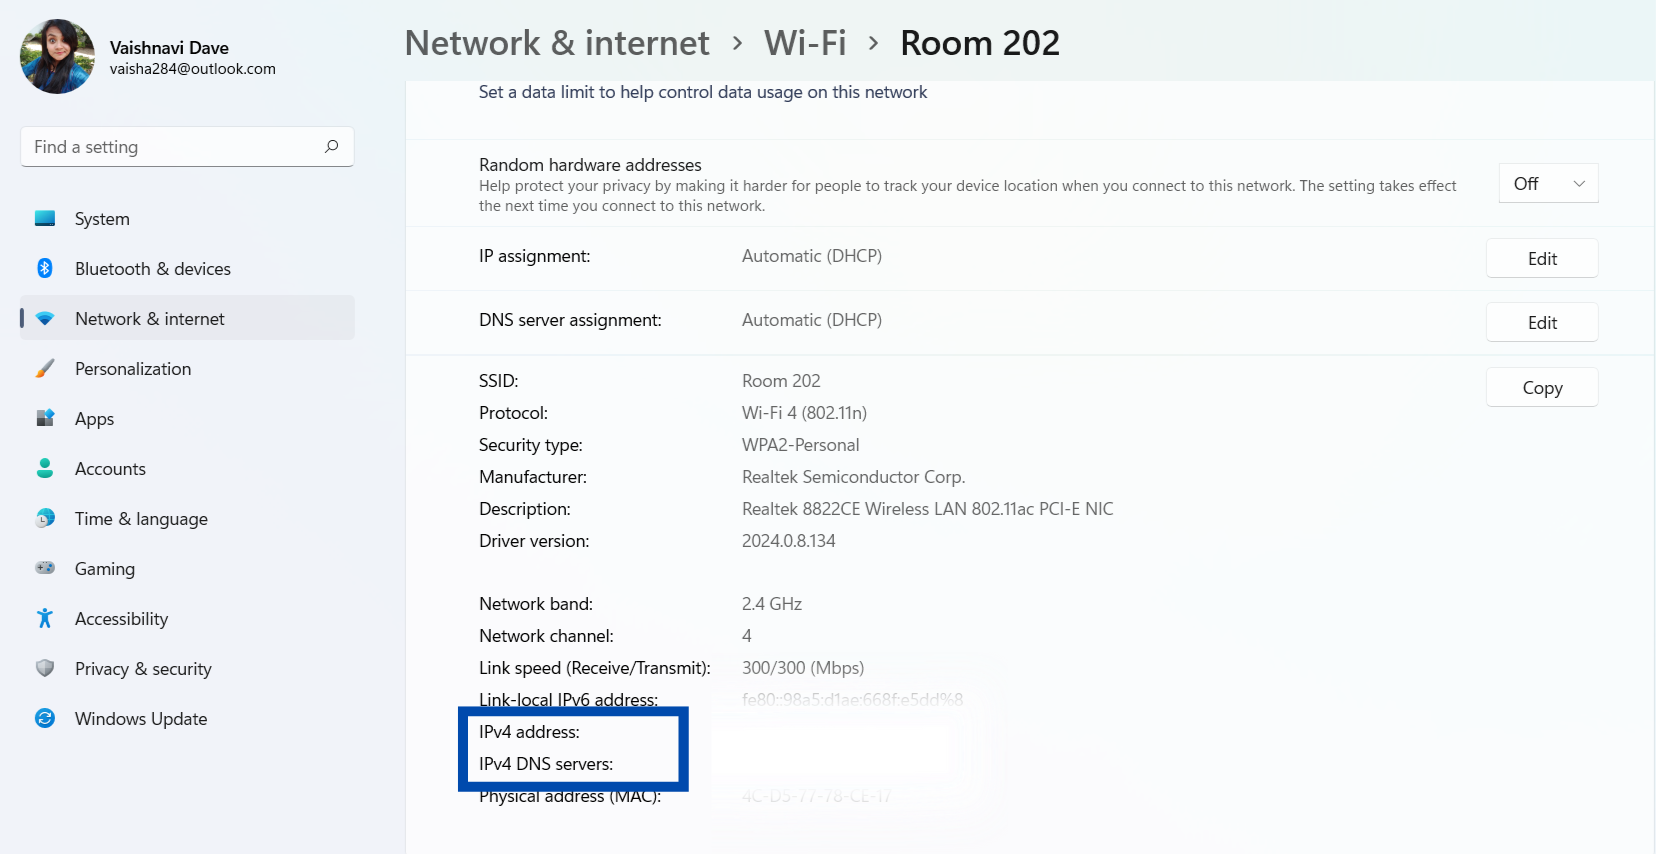
- Now click on the network connection that you want to know the DNS server details for. It will expand and show you the details of the IPv4 DNS Servers and IPv6 DNS server addresses used by this network.
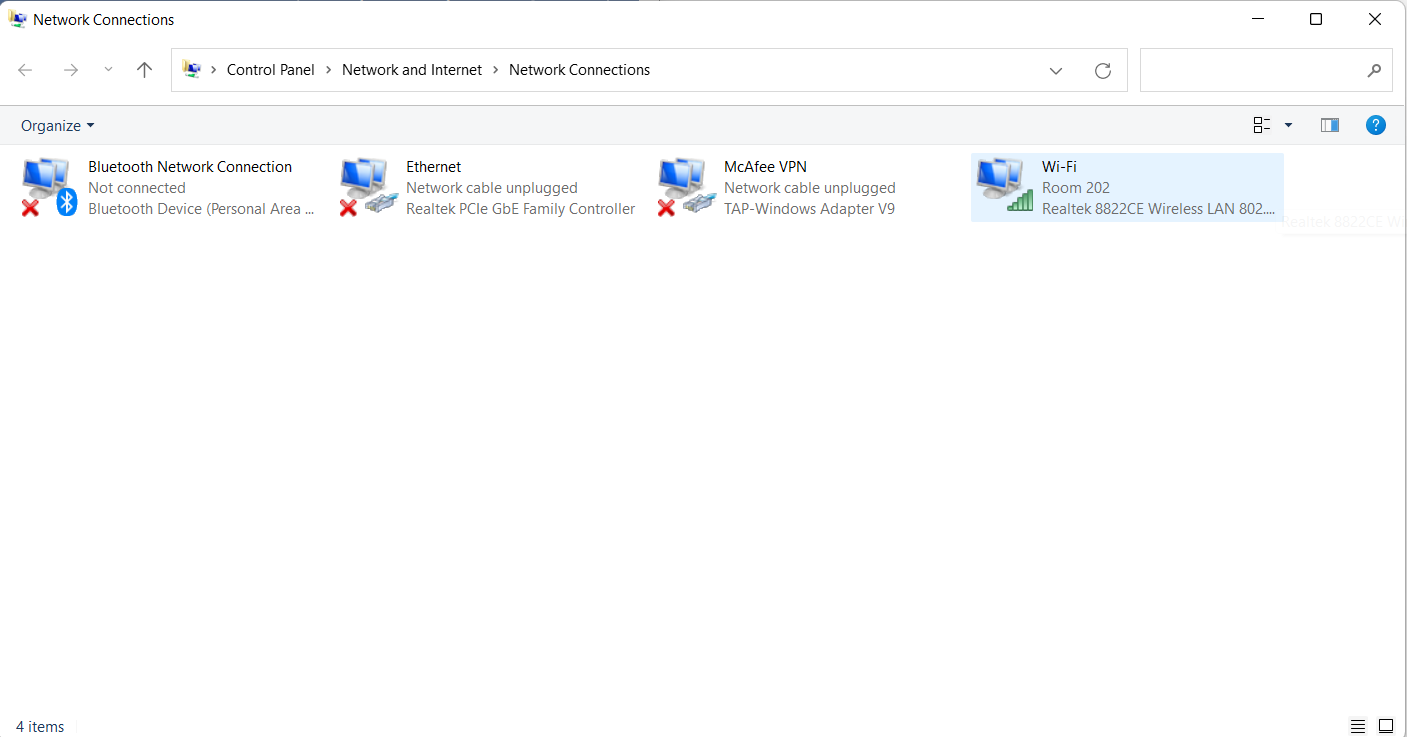
Option-2: Network Connections in Control Panel to find DNS servers
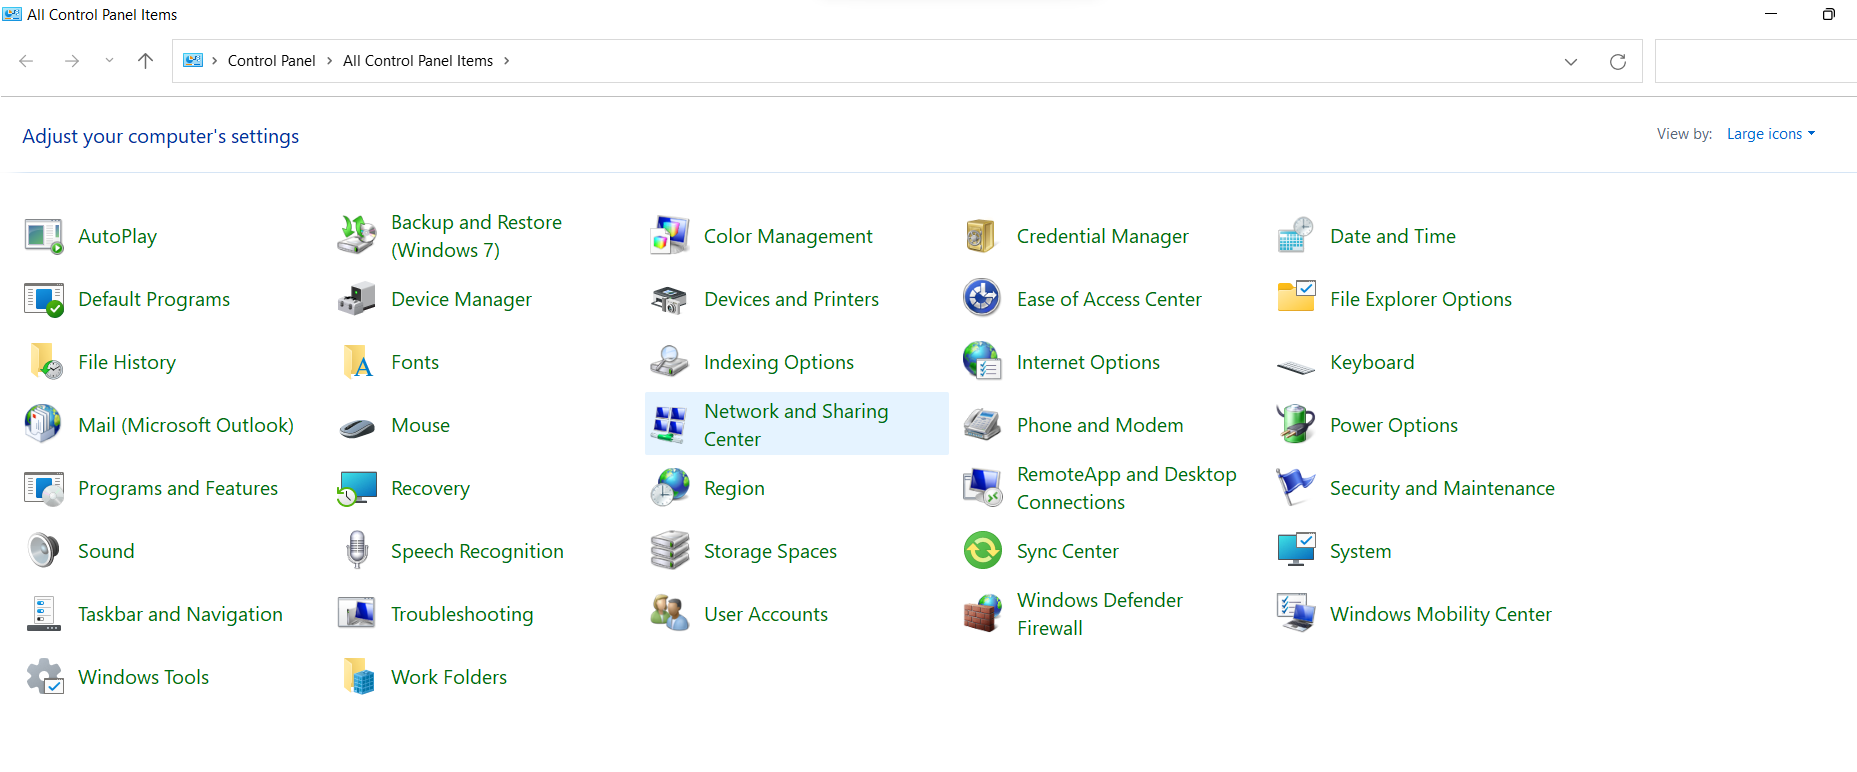
- Open the Control Panel by searching for it in the windows Menu.
- Here, go to Network and Sharing Center.
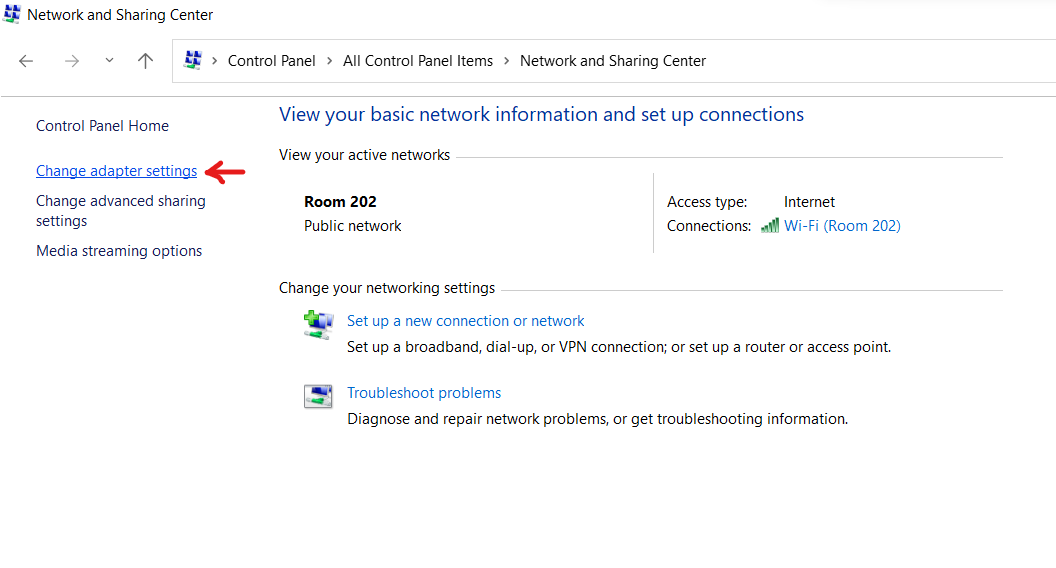
- Now, click on Change Adapter Settings in the left side of the screen.
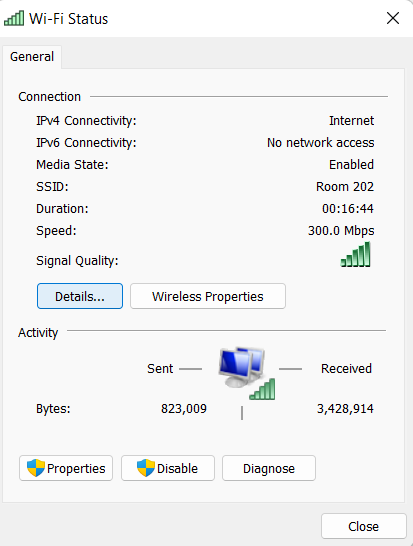
- Click on the network adaptor you want to know the DNS server details for.
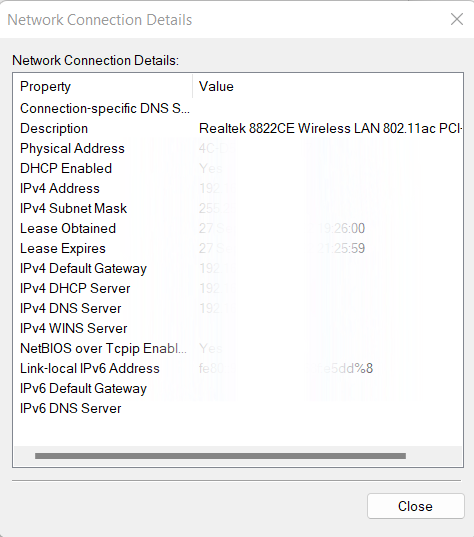
- In the box that opens, click on details… to find out about the DNS servers used by this network connection.
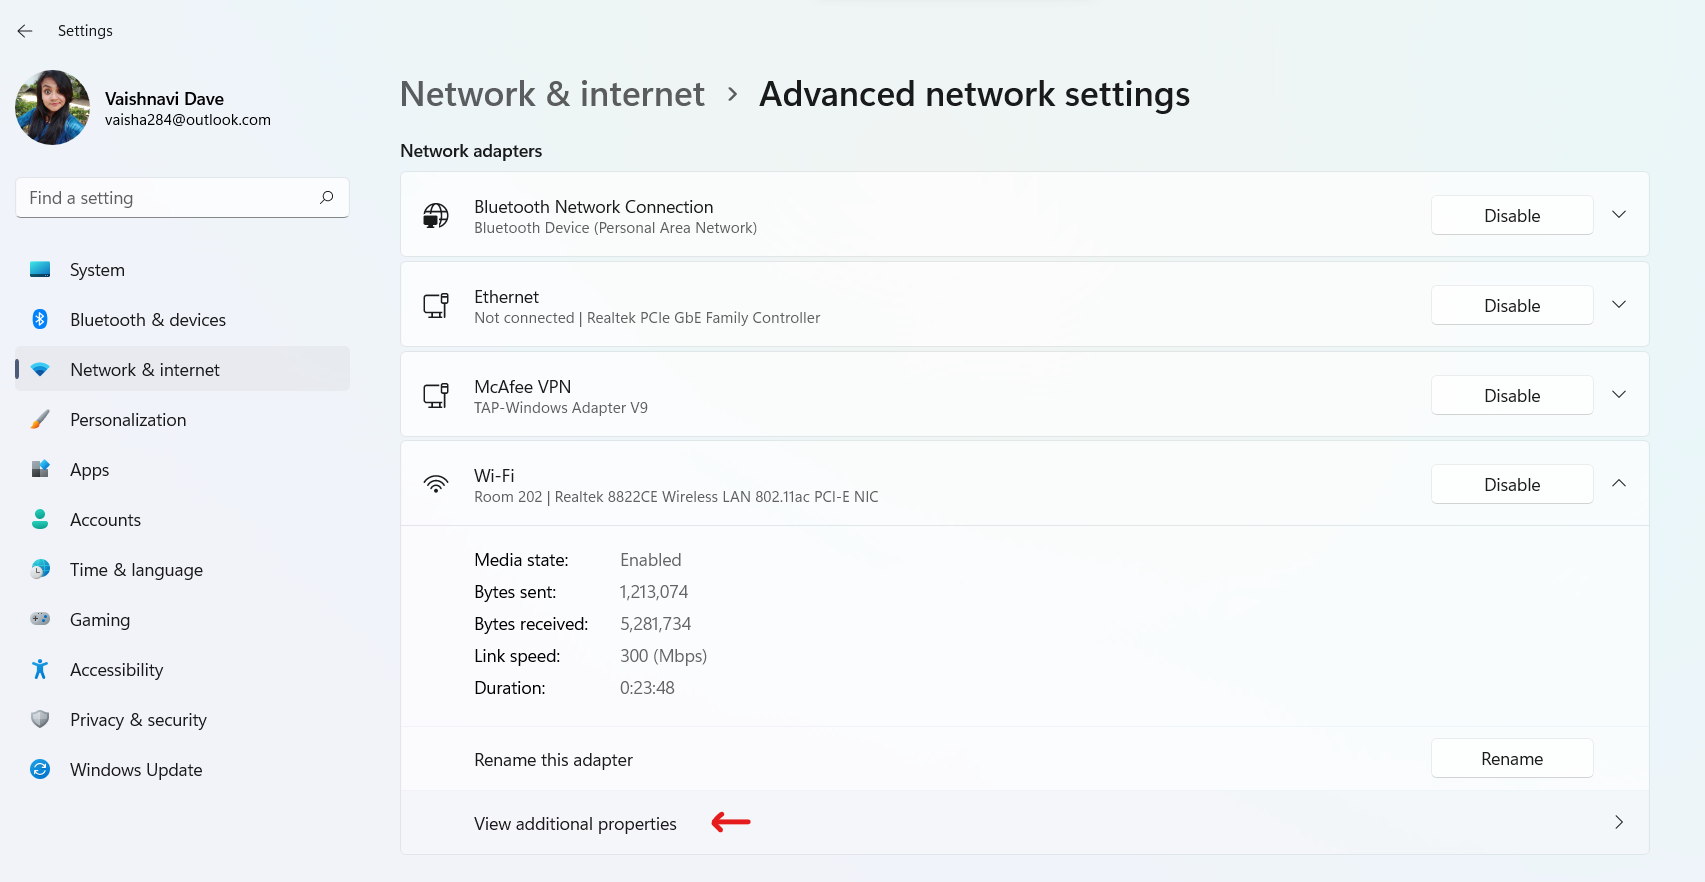
Option-3: Advanced Network Settings
- Using the settings application, go to the Network & Internet section and click on Advanced Network Settings.
- Here, from the list of Network Adaptors, choose the one you wish to know the details for. Once it expands, click on View additional Properties.
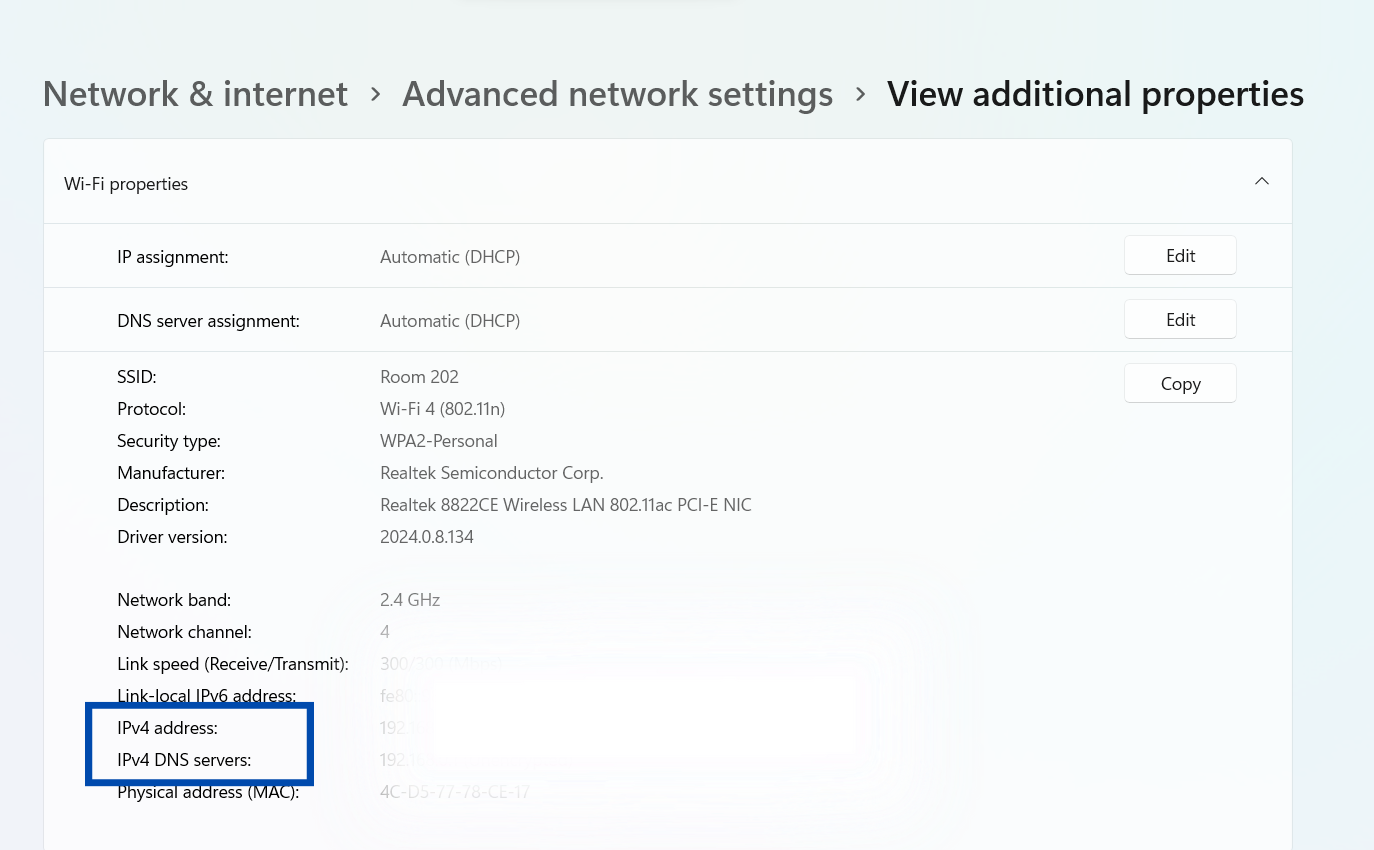
You will be able to see the IPv4 and IPv6 DNS details for this network connection.
Option-4: Using “Get-DnsClientServerAddress” command
- Search for Windows Powershell in the Start Menu and open it.
- Type the command mentioned below in the black window that opens and press Enter.
Get-DnsClientServerAddress | Format-Table -AutoSize
You will be able to see DNS server details for all the Networks used on your device.
Option-5: Using “ipconfig” command
- This method can be carried out with the help of Windows Powershell or the Command Prompt. Search for either in the Start Menu and run it as administrator.
- In the black window that opens, write the following command and press Enter.
ipconfig /all
This will show all Server address used by all available network adaptors.
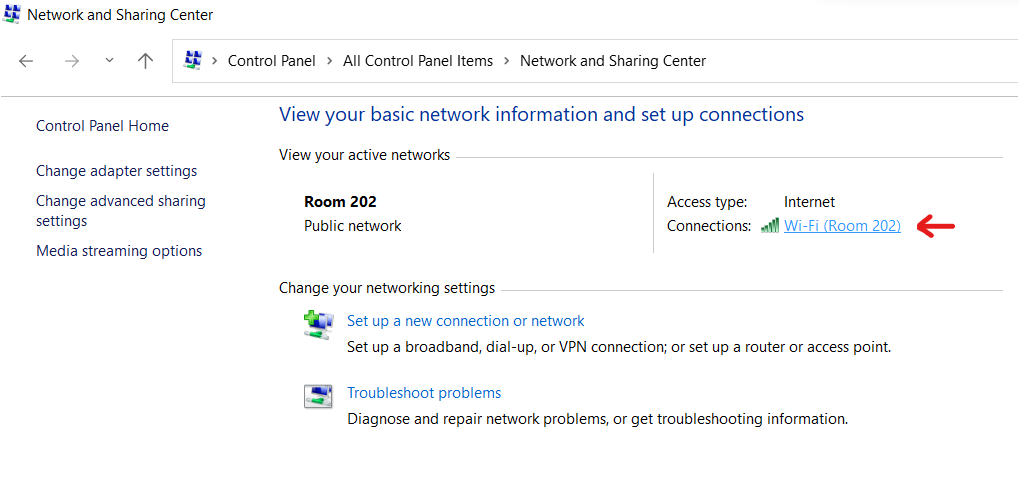
Option-6: Through Network and Sharing Center
- Open the Control Panel from the Windows menu and go to the Network & Sharing Center as shown in option 2.
- In this screen, click on the network connection link that you will find next to the connection for which you wish to know the DNS server address details.
- You will see a box as shown in option 2. Click on Details…
Hence, we have covered six different ways to guide you on how to find can find DNS servers used in Windows 11 device.


![The mapped network drive could not be created [Detailed fix]](https://www.kapilarya.com/assets/Network-Drive-768x511.jpg)

![Stop sharing a folder in Windows 11 [Guide]](https://www.kapilarya.com/assets/Network-768x522.png)