The system name on Windows helps us to identify a computer when connected on network and in other places on system itself. Since you can always personalize your Windows, it is possible to rename your system with the name you want. In this guide, we’ll see how to rename your Windows 11 PC.
To rename your Windows 11 system, there are multiple ways possible. You can use Settings app, or older System Properties under Control Panel, or use the Windows PowerShell to rename your system. All the ways are mentioned below, try them as per your convenience.
Page Contents
How to rename your Windows 11 PC
Method 1 – Using Settings App
1. Press  + X keys and select Settings to open the app.
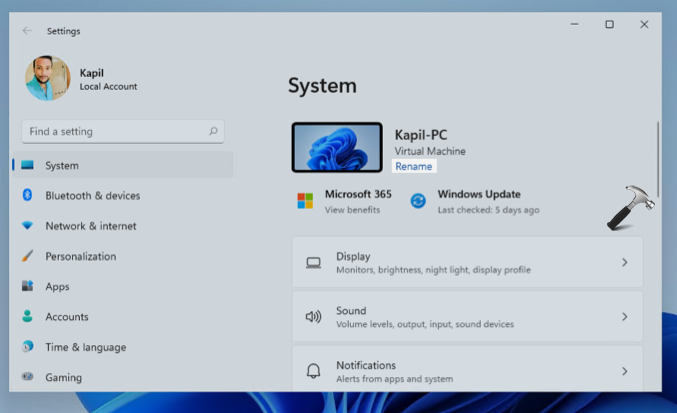
2. In the Settings app, under System, you’ll find your system name mentioned in top of right pane. Click on Rename link below it.
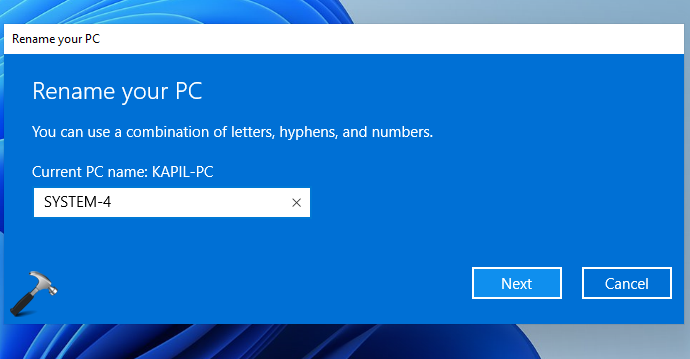
3. In Rename your PC, type in the name you want to use. You can only use letters, hyphens and numbers in the new name. Click Next.
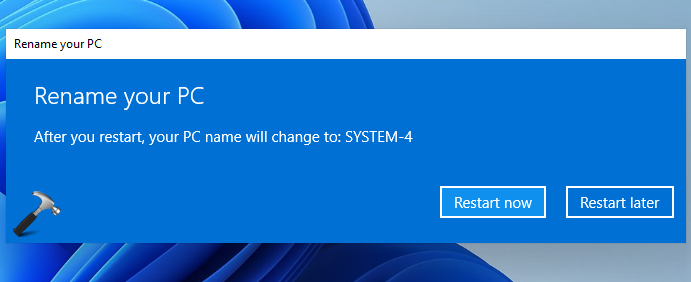
4. Then click on Restart now and your PC named should be changed after reboot.
Method 2 – Using System Properties
1. Press + R and type sysdm.cpl in Run. Click OK or press Enter key.

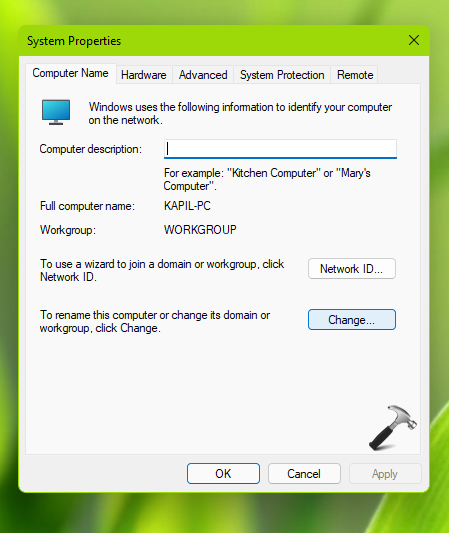
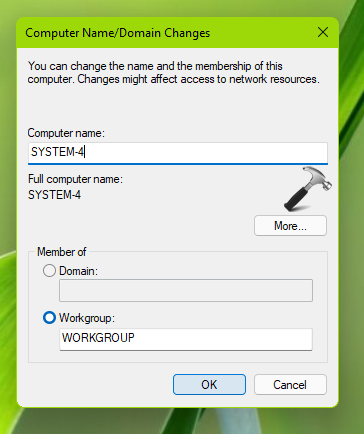
2. In System Properties window, under Computer Name tab, click on Change button.
3. In Computer Name/Domain Changes window, under Computer name, type a new name and click OK.
4. After this, you will be asked to restart the system, so do that and your system name should be changed after reboot.
Method 3 – Using Windows Terminal/PowerShell
1. Press + X keys and select Windows Terminal (Admin).

2. In User Account Control prompt, click Yes.

3. As of this writing, Terminal by default, opens to Windows PowerShell. Else, you can open it using this guide.
4. Type following command by replacing NEW-SYSTEM-NAME with name you want and press Enter:
Rename-Computer -NewName "NEW-SYSTEM-NAME" -Restart
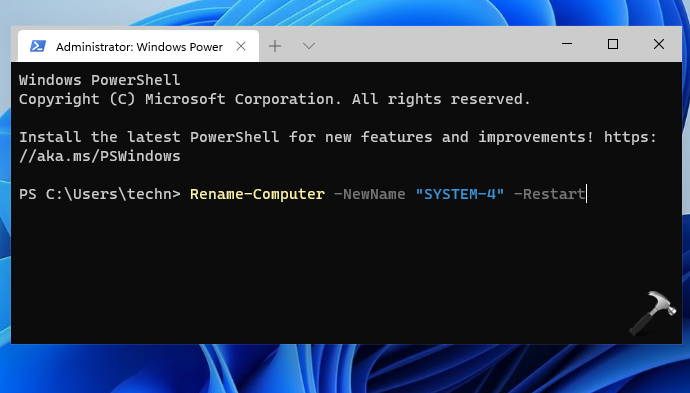
5. Restart your system and the system name should be changed.
That’s it!
Read next: Windows 11 keyboard shortcuts you must know.