The error code 0x80070103 on Windows 11 is something that many users have to deal with when using drivers update tools or applying system update. This is usually experienced when Windows wants to install a driver which is either already installed or incompatible with the hardware device thus causing an installation failure.
Even though it is not a critical threat to your system, facing the 0x80070103 on Windows 11 error repeatedly can be annoying. In this article, you will learn how you can easily and efficiently rectify this, so that future updates on your Windows 11 device do not pose a problem.
Page Contents
Fix Install error 0x80070103 on Windows 11
Fix 1: Manually Install the Update
1. Open the Windows Settings > Windows Update > Update history.
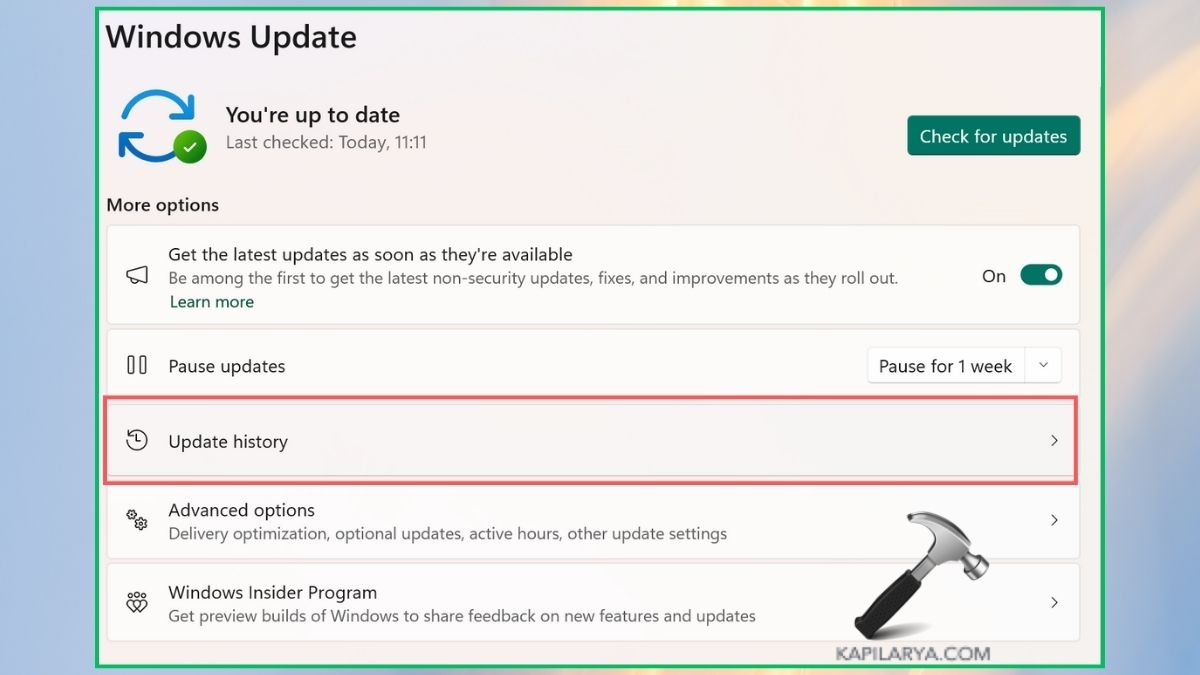
2. Copy the failed update number.
3. Go to the Microsoft Update Catalog (https://www.catalog.update.microsoft.com/home.aspx) and paste the number here. Then, download the package and install it.

Fix 2: Pause and Resume Windows Updates
1. Again, go to Windows Setting > Windows Update.
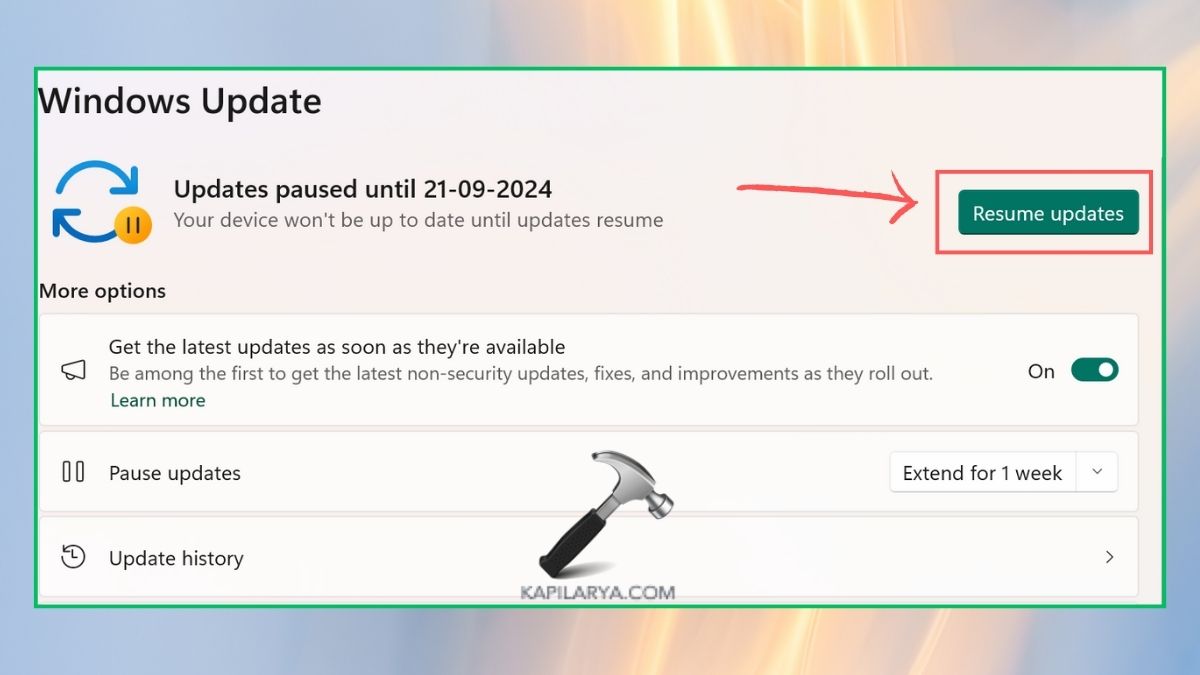
2. In the Pause Update, tap on “Pause for 1 week”.

3. Then, click on “Resume updates”.
Fix 3: Run the Windows Update Troubleshooter
Window’s in-built Troubleshooter can help solve the error code 0x80070103 on Windows 11.
1. Go to Windows Settings > System > Troubleshoot.
2. Select “Other troubleshooters”. On the Windows Update, tap “Run”.

Fix 4: Flush the SoftwareDistribution Folder
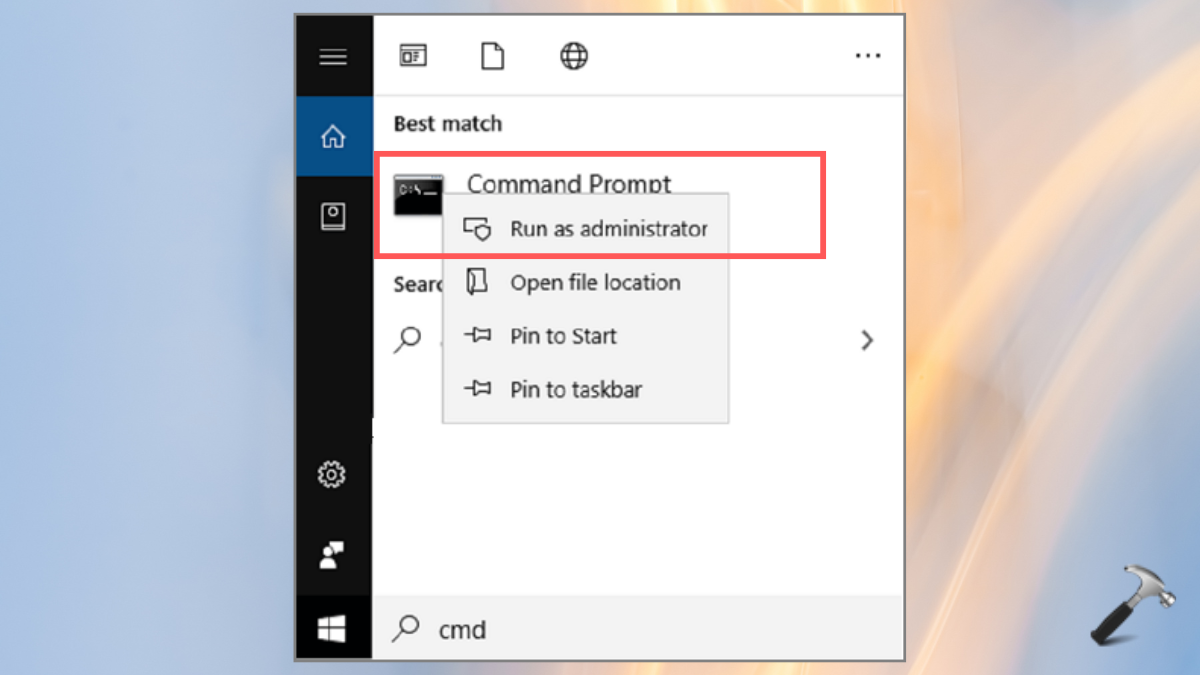
1. Search for “Command Prompt” and right-click on it to tap “Run as Administrator”.
2. Paste the below command and hit Enter key.
net stop wuauserv

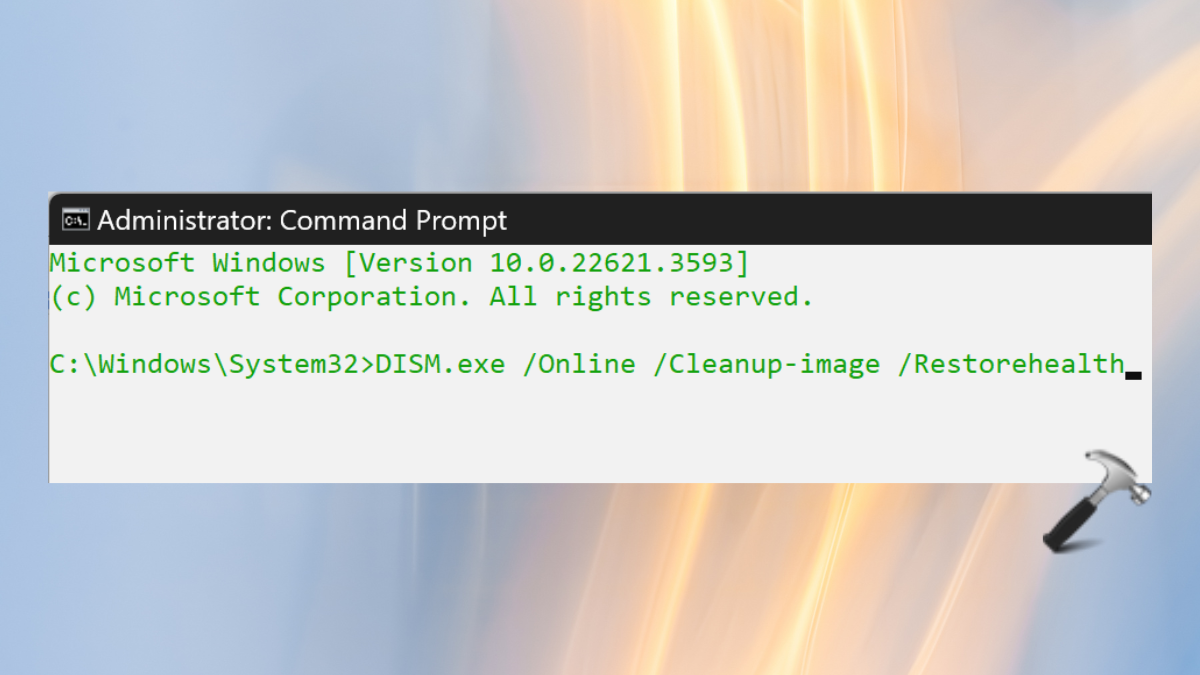
Fix 5: Repair System Files With SFC and DISM Scans
1. Again, open the Command Prompt as done in the above step.
2. Paste the below command and hit Enter key after pasting every command.
sfc /scannow
DISM /Online /Cleanup-Image /RestoreHealth
We hope these methods help you well. If you experience any error while performing any of these methods to fix Install error 0x80070103 on Windows 11, leave a comment below so we can help you out.
That’s it!