Public Wi-Fi is everywhere now. Airports, cafes, hotels, and even malls. But using open networks can put your browsing data at risk. That is why you need to turn on VPN in Mozilla Firefox. It is a feature inside Firefox for eligible users.
You can also use the separate Mozilla VPN app or install a third-party VPN extension if the feature is unavailable in your region.
Page Contents
How To Turn On VPN In Mozilla Firefox
Method 1: Turn On Firefox Built-In VPN
Mozilla recently added a browser-only VPN feature in Firefox. It protects only the traffic inside the browser.
Enable the VPN
Follow the steps below to turn on VPN in Mozilla Firefox:
1. Open Mozilla Firefox.
2. Look for the VPN shield icon in the top-right corner.
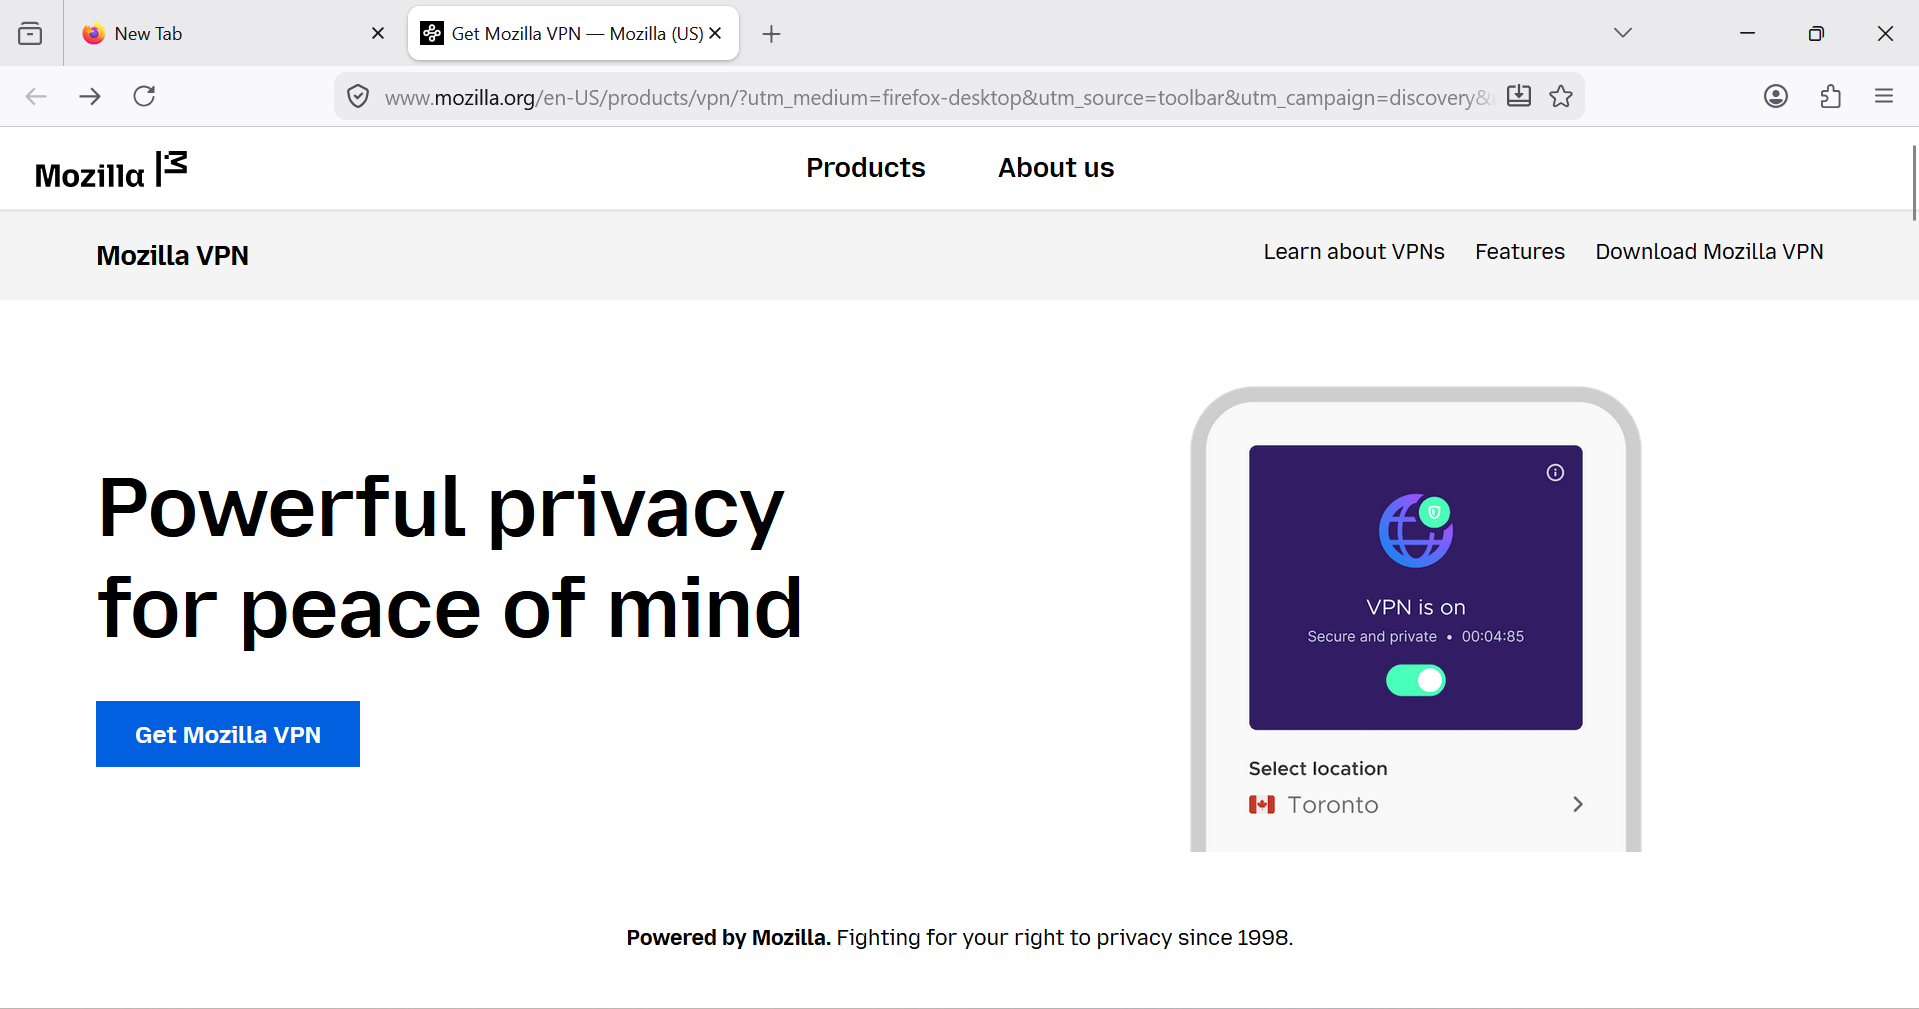
3. Click the icon and select Get Started.
4. Sign in with your Mozilla account.
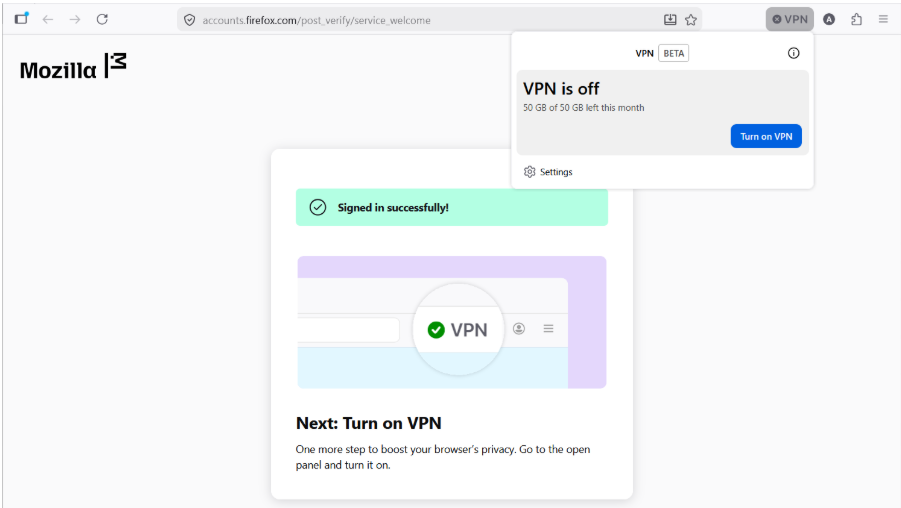
5. Turn on the VPN toggle.
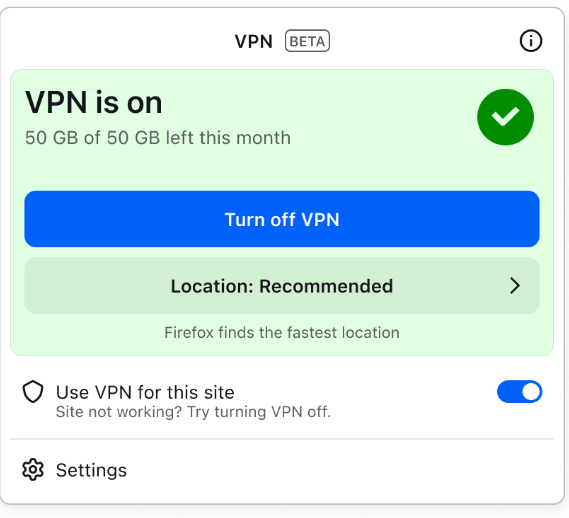
Once enabled, the shield icon turns green. Firefox will now route your browsing traffic through a secure server.
Change VPN Location
You can also select a different region for browsing.
1. Click the VPN icon.
2. Open the location list.
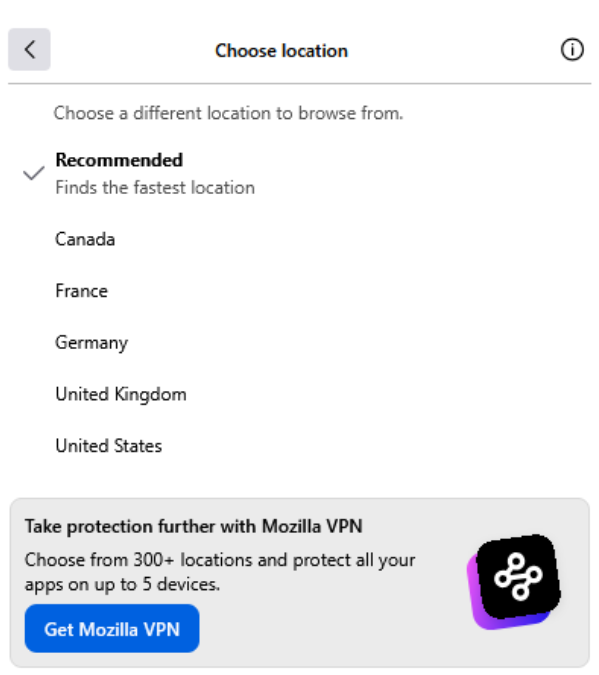
3. Choose a country like the United States, Canada, Germany, France, or the UK.
You can also use the Recommended option for the best automatic connection.
Method 2: Install A VPN Extension In Firefox To Turn On VPN
If Firefox’s built-in VPN is not available in your country, you can use a trusted VPN extension.
Add a VPN Extension
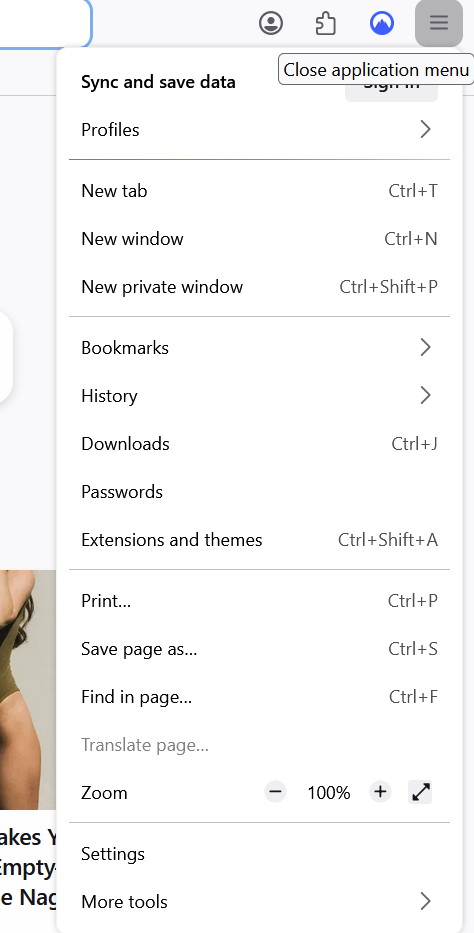
1. Click on the Application menu in the right corner and click on More Tools.
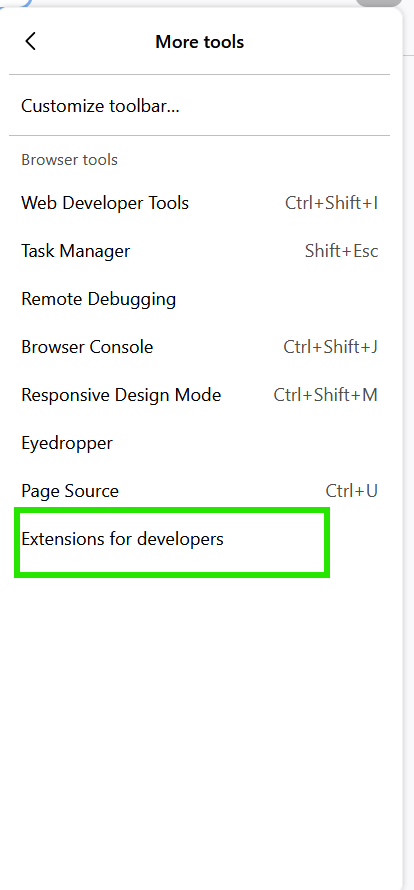
2. Open More tools and click on Extensions for developers.
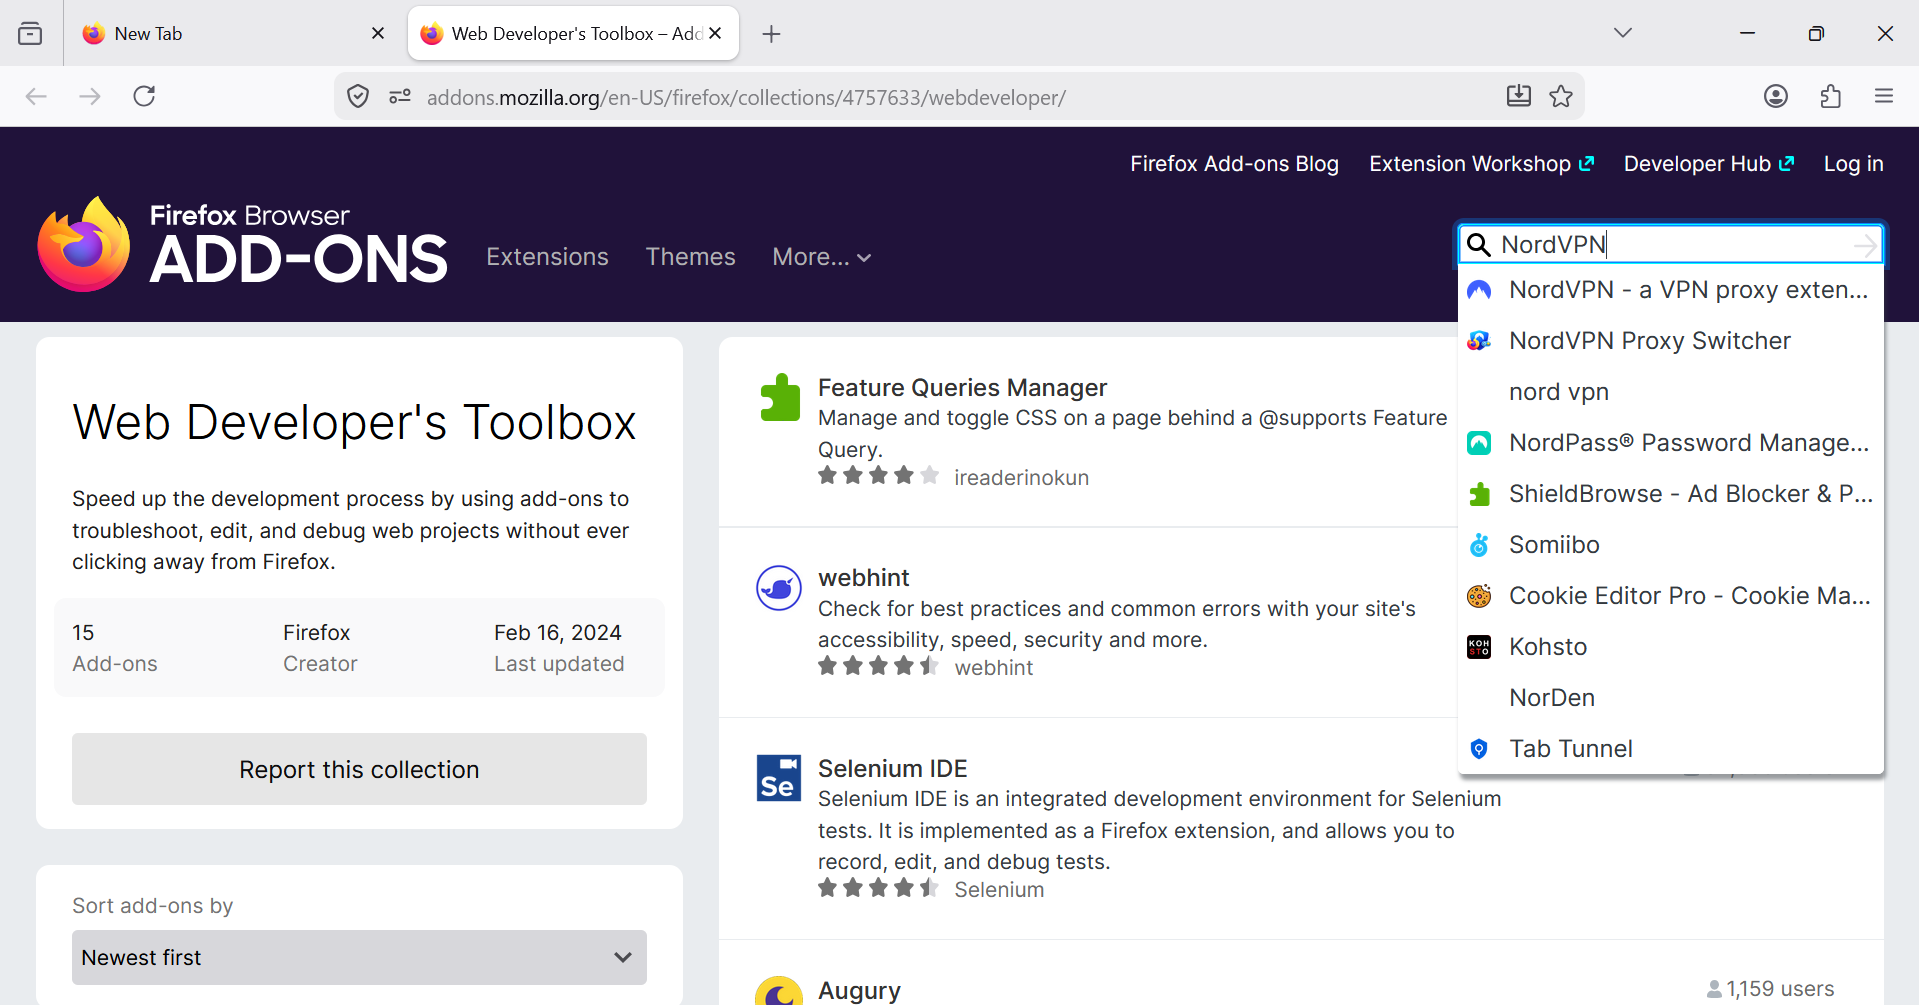
3. Search for a VPN extension, like NordVPN.
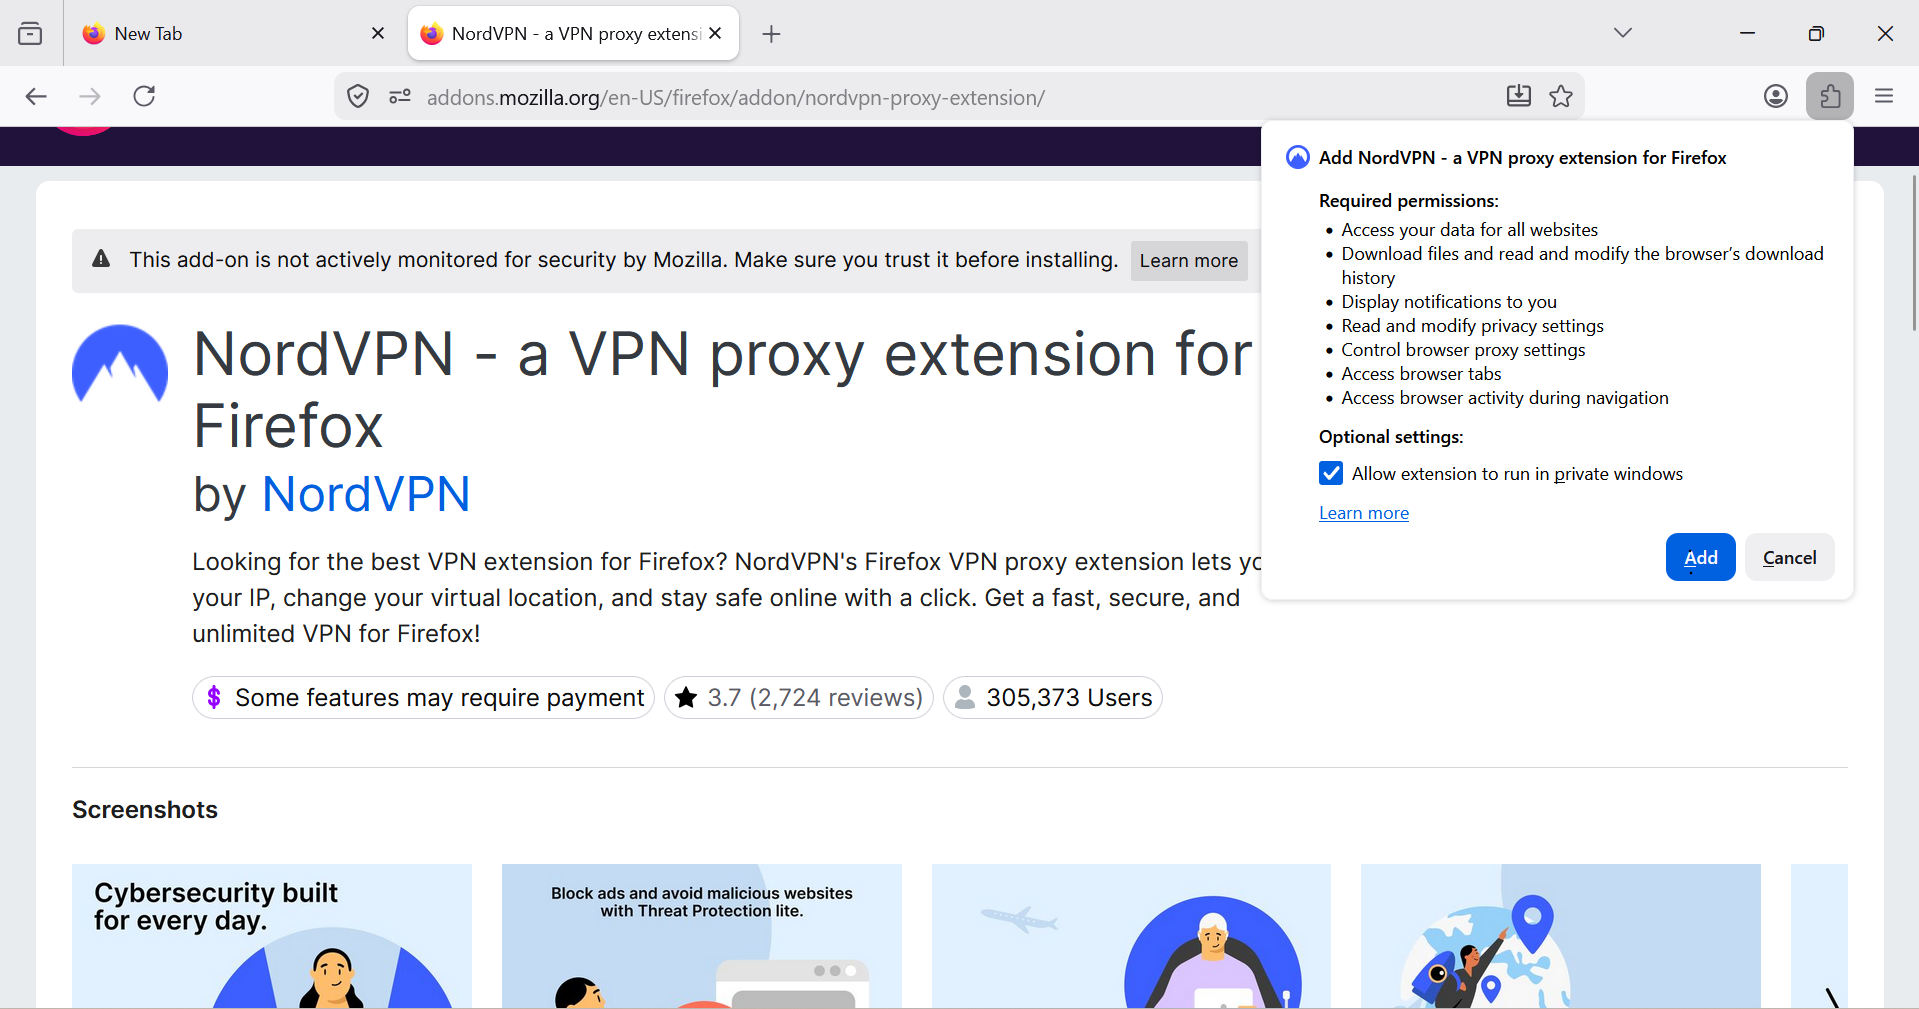
3. Click Add to Firefox.
4. Log in to the extension.
5. Enable the VPN connection.
This is a simple option for users who want quick browser protection without installing extra software.
So, now you know, turning on a VPN in Mozilla Firefox is quick and easy. It helps protect your privacy and keeps your browsing more secure on public networks.