Earlier, we’ve seen how to join Windows to a domain. You enter the domain name. Click Join, but couldn’t connect. Well, you’re not alone as many others may also see this issue with Windows 11 device. The issue can be usually linked to DNS settings, time sync problems, Windows edition limitations, or Active Directory conflicts.
Page Contents
Why Windows 11 Won’t Join A Domain
A domain connection fails when either of these is true:
- DNS settings are incorrect
- The PC time is out of sync
- Your account lacks permission
- A computer account with the same name already exists
- You’re using Windows 11 Home
- The normal join method is not working
Can’t Join Domain In Windows 11
Here are the easiest ways to fix it.
Fix 1: Check Your Windows Edition
Windows 11 Home does not support domain joining. Ensure you check your Windows 11 edition:
1. Open Settings.
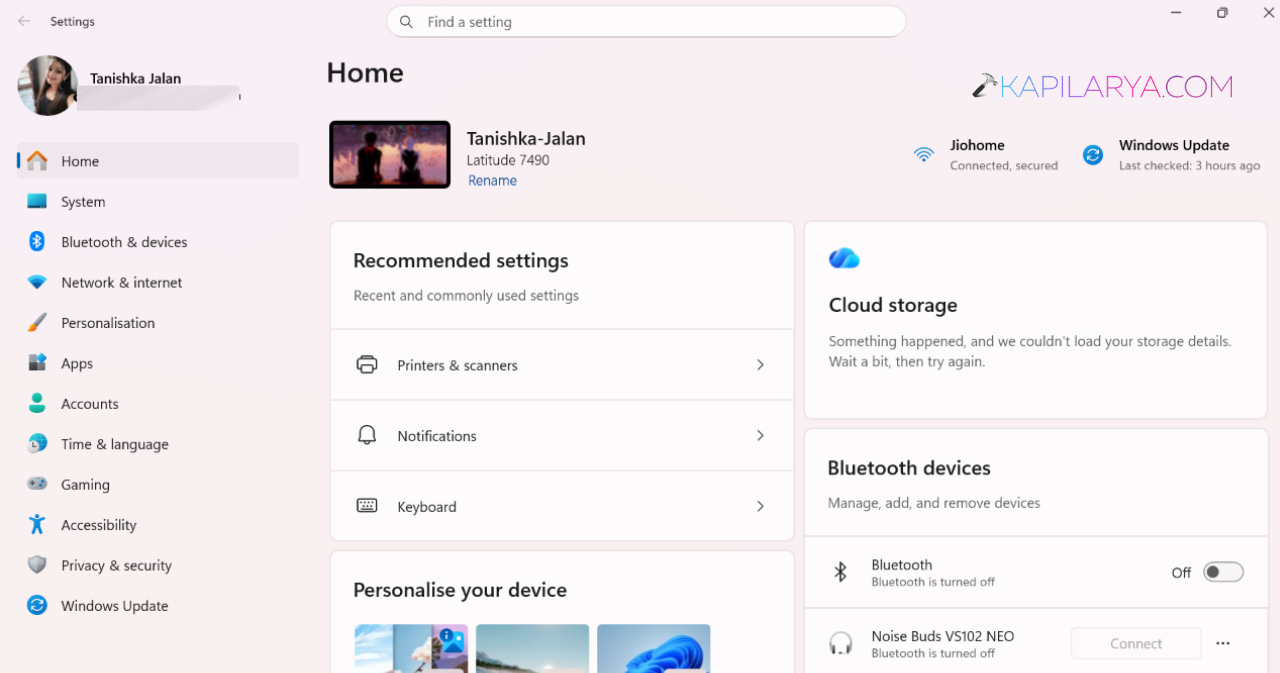
2. Go to System > About.
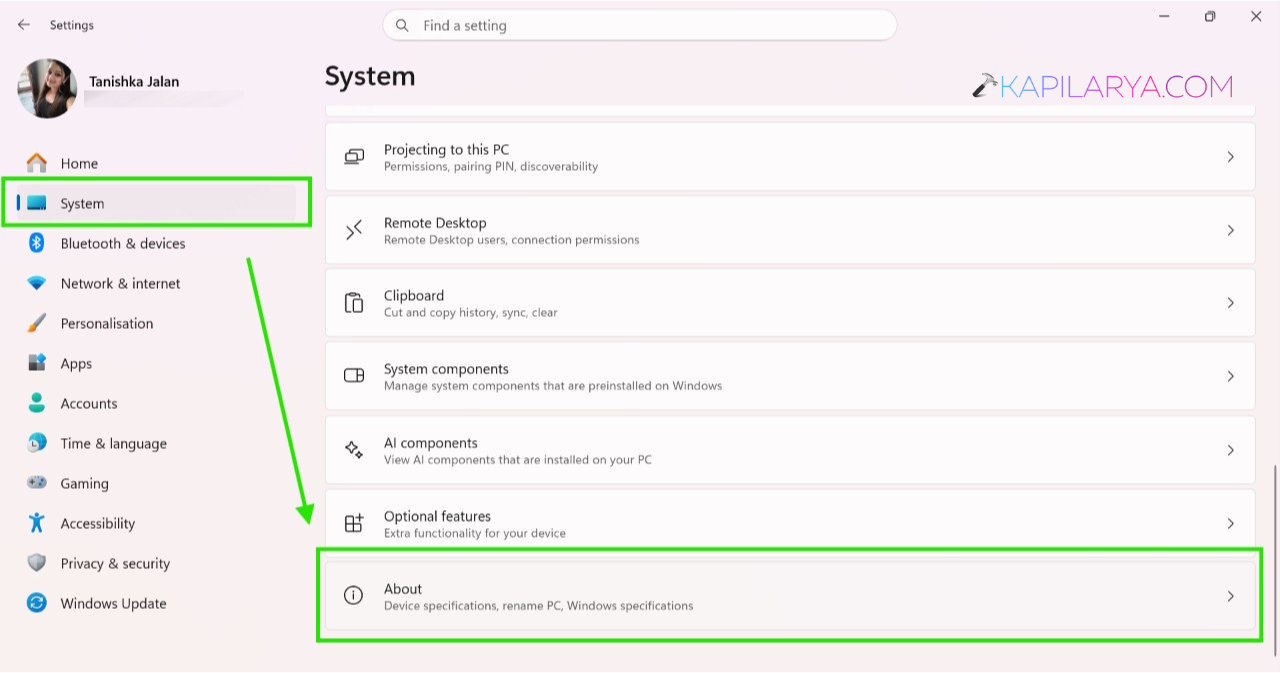
3. Check the Edition section.
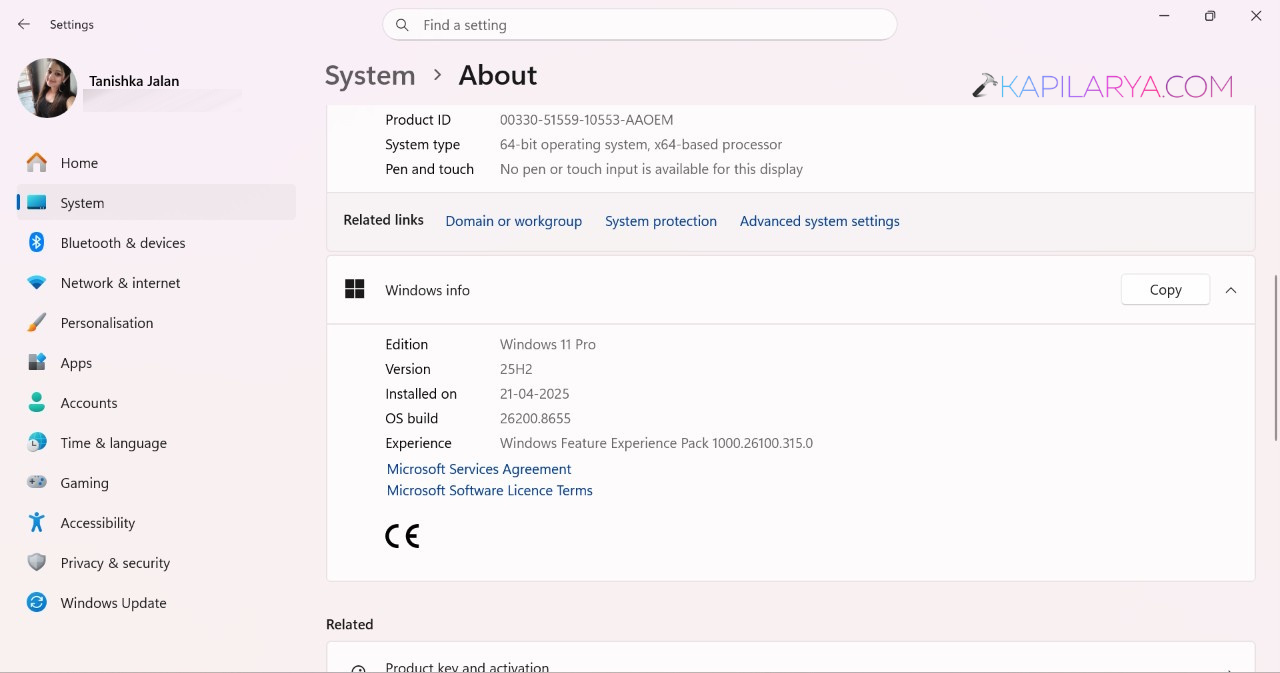
If you see Windows 11 Home, you must upgrade to Windows 11 Pro or Enterprise before joining a domain.
Fix 2: Correct DNS Settings
Windows uses DNS to find the domain controller. If DNS is wrong, the connection will fail.
1. Open Control Panel.
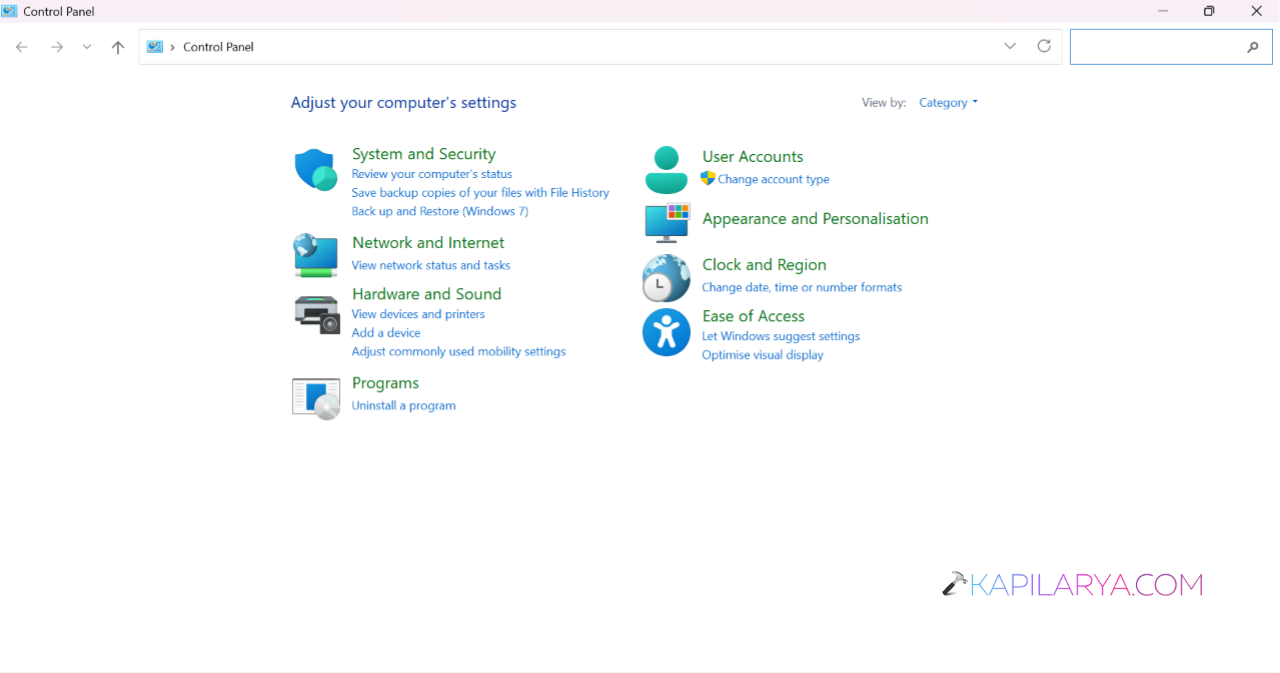
2. Search for Network and Sharing Centre.
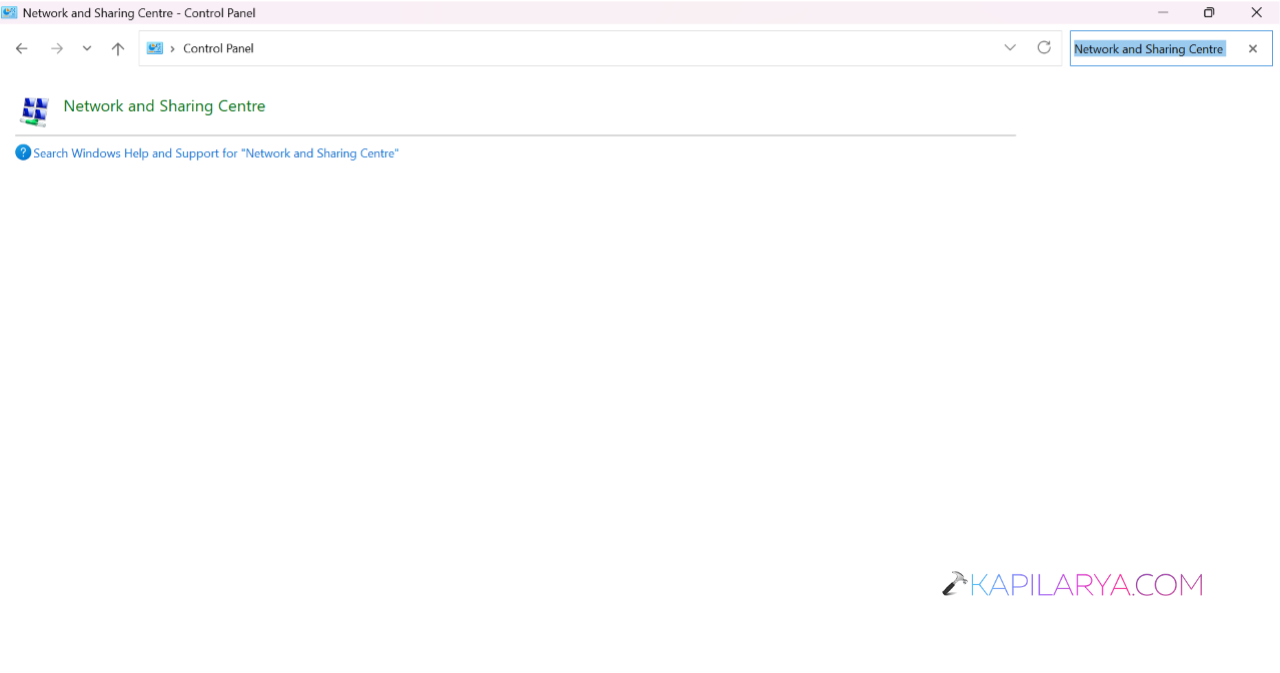
3. Select Change adapter settings.
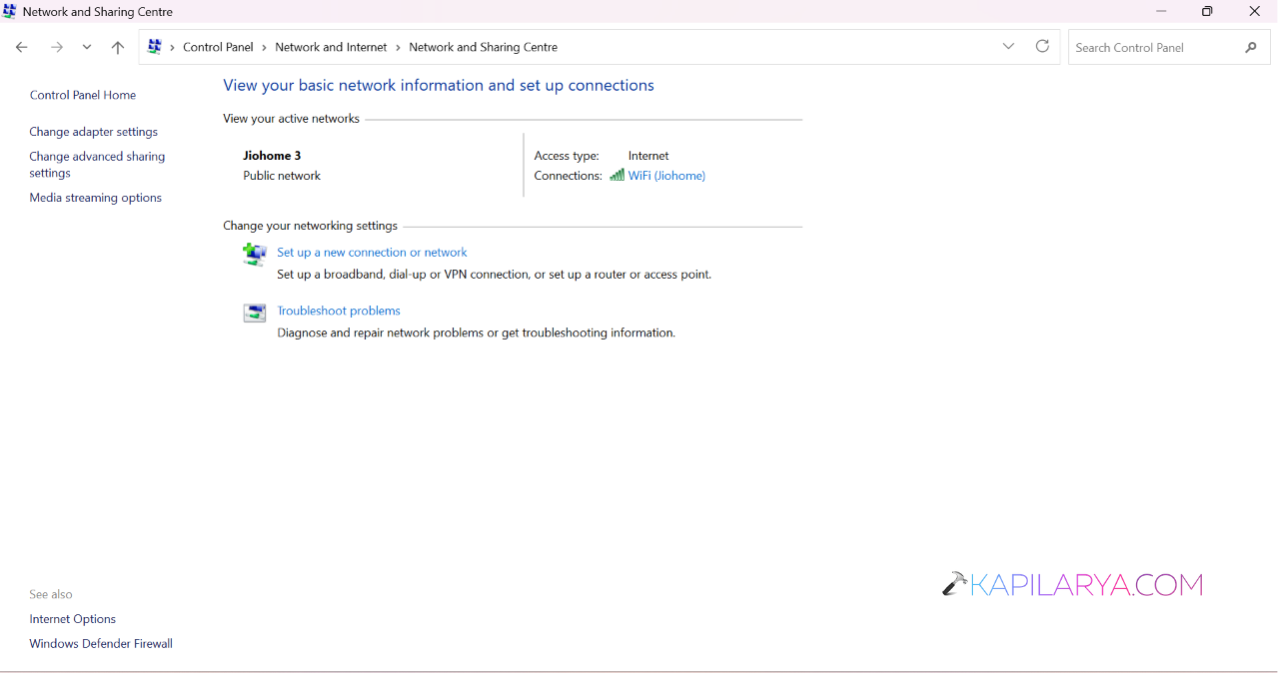
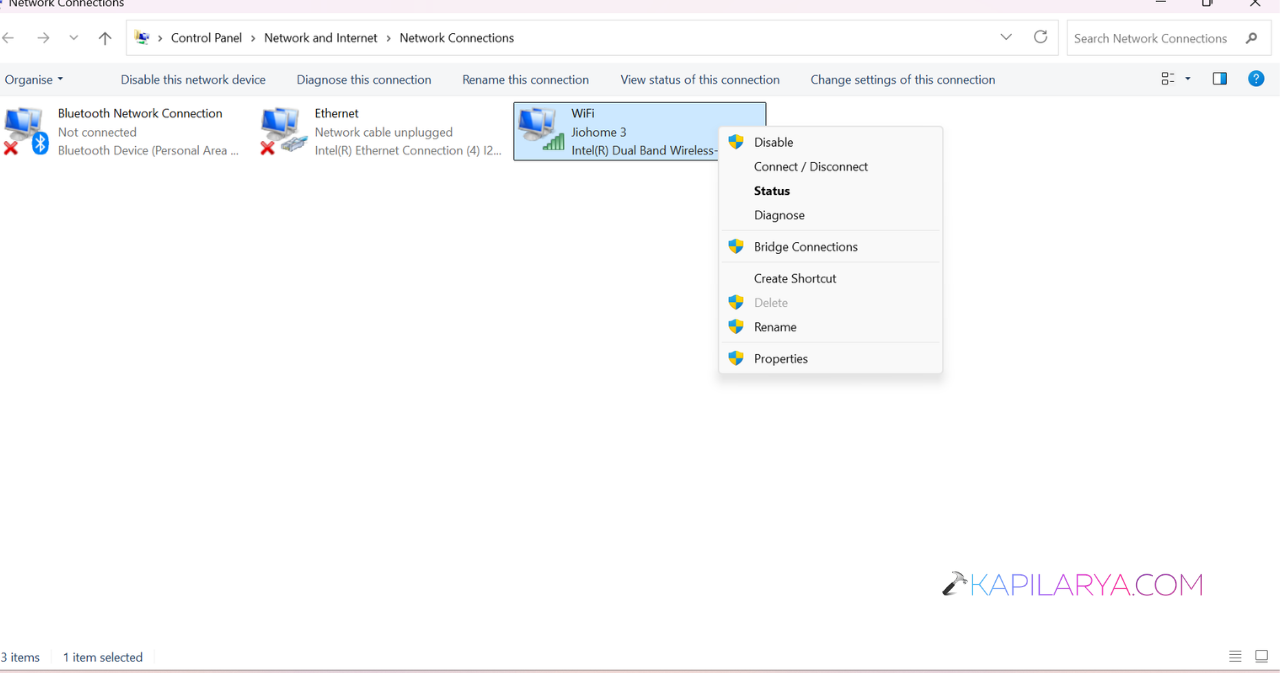
4. Right-click your active network adapter and choose Properties.
5. Open Internet Protocol Version 4 (TCP/IPv4).
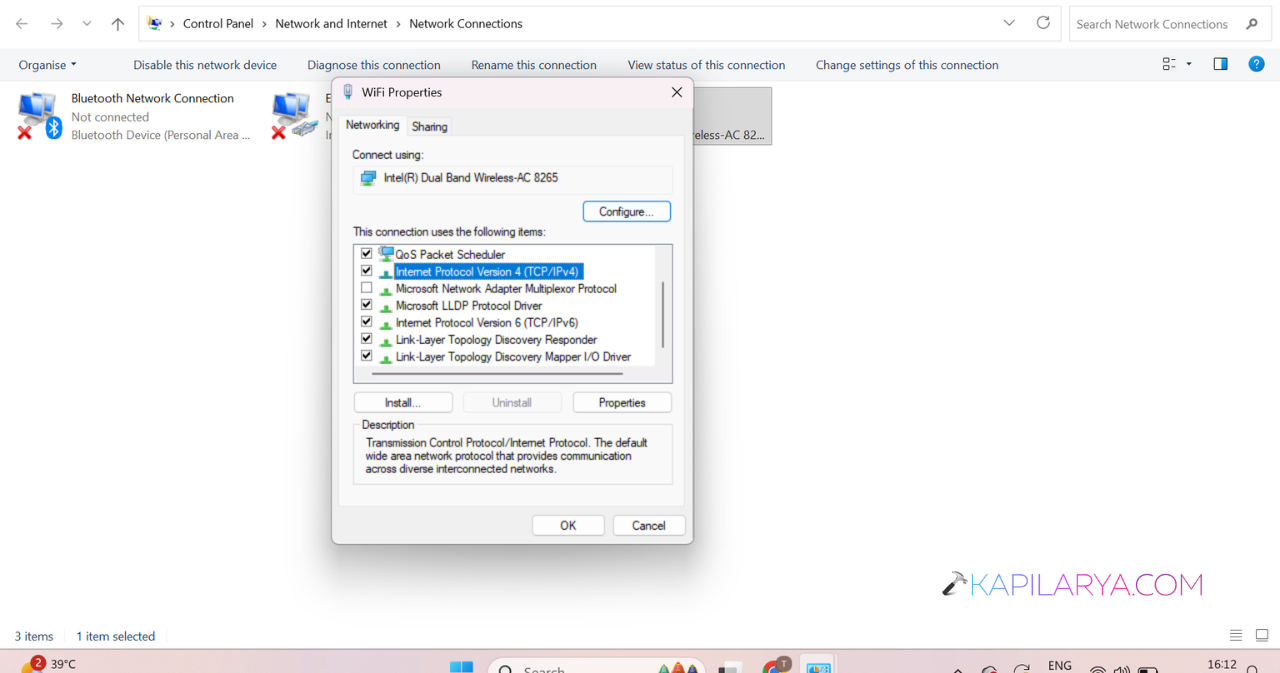
6. Enter your domain controller’s IP address as the preferred DNS server.
7. Save the changes.
After that, open Command Prompt as Administrator and run:
ipconfig /flushdns

Fix 3: Sync The Date and Time
Windows domain authentication requires the computer and server times to be closely synchronised.
1. Open Settings.
2. Go to Time & Language > Date & Time.
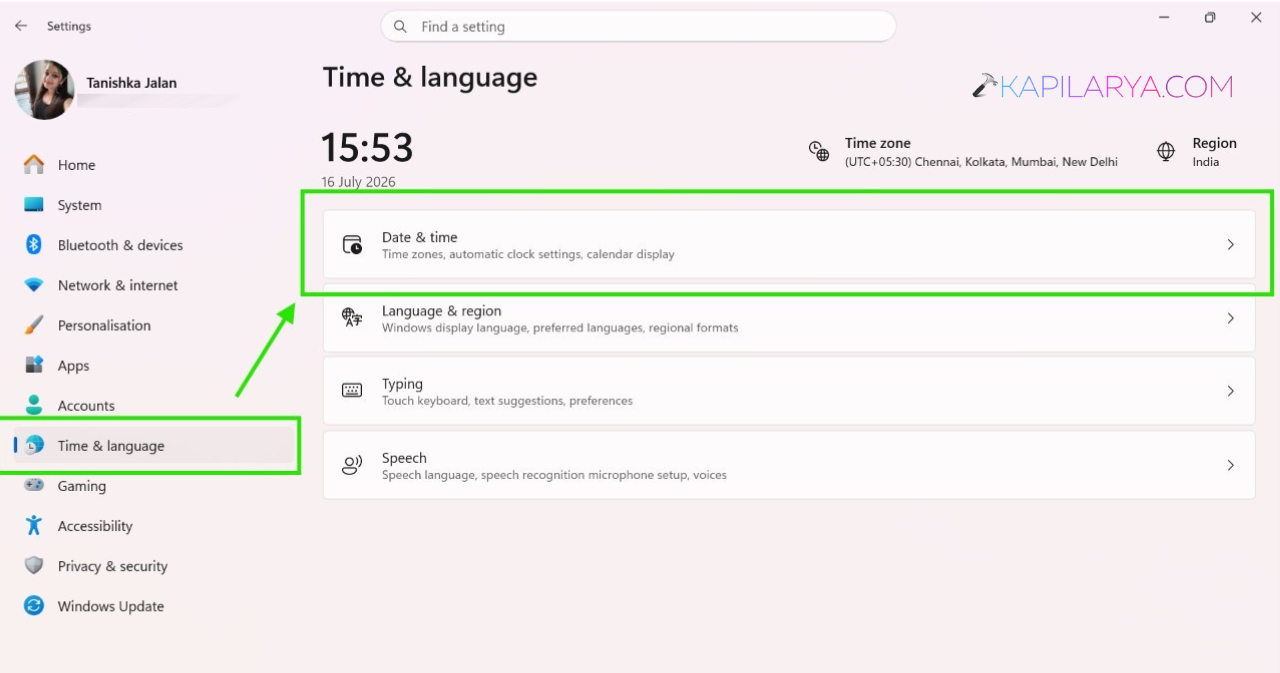
3. Turn on Set time automatically.
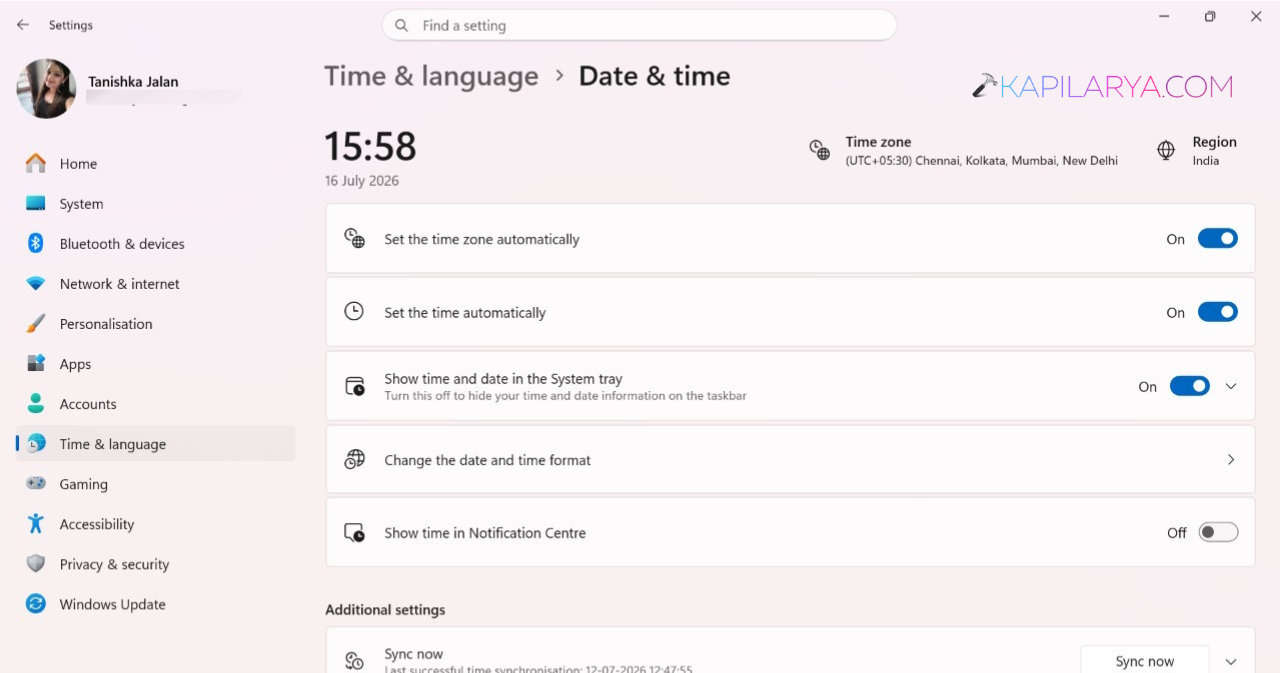
4. Click Sync now.
You can also run this command in an elevated Command Prompt:
w32tm /resync

Fix 4: Try Another Domain Join Method
If the Settings app does not work, try another method.
Using Control Panel:
1. Open System Properties.
2. Select Computer Name.
3. Click Change.
4. Choose Domain and enter the domain name.
Using PowerShell:
Add-Computer -DomainName "YourDomainName" -Credential (Get-Credential) -Restart
Substitute YourDomainName with your actual domain name.
Enter your administrator credentials when prompted.
Fix 5: Check Active Directory
A computer account with the same device name may already exist in Active Directory.
Ask your domain administrator or IT admin to check for:
- Disabled computer accounts
- Old device entries
- Duplicate hostnames
Removing or resetting the existing entry often resolves the problem.
And that’s how you can fix this issue.