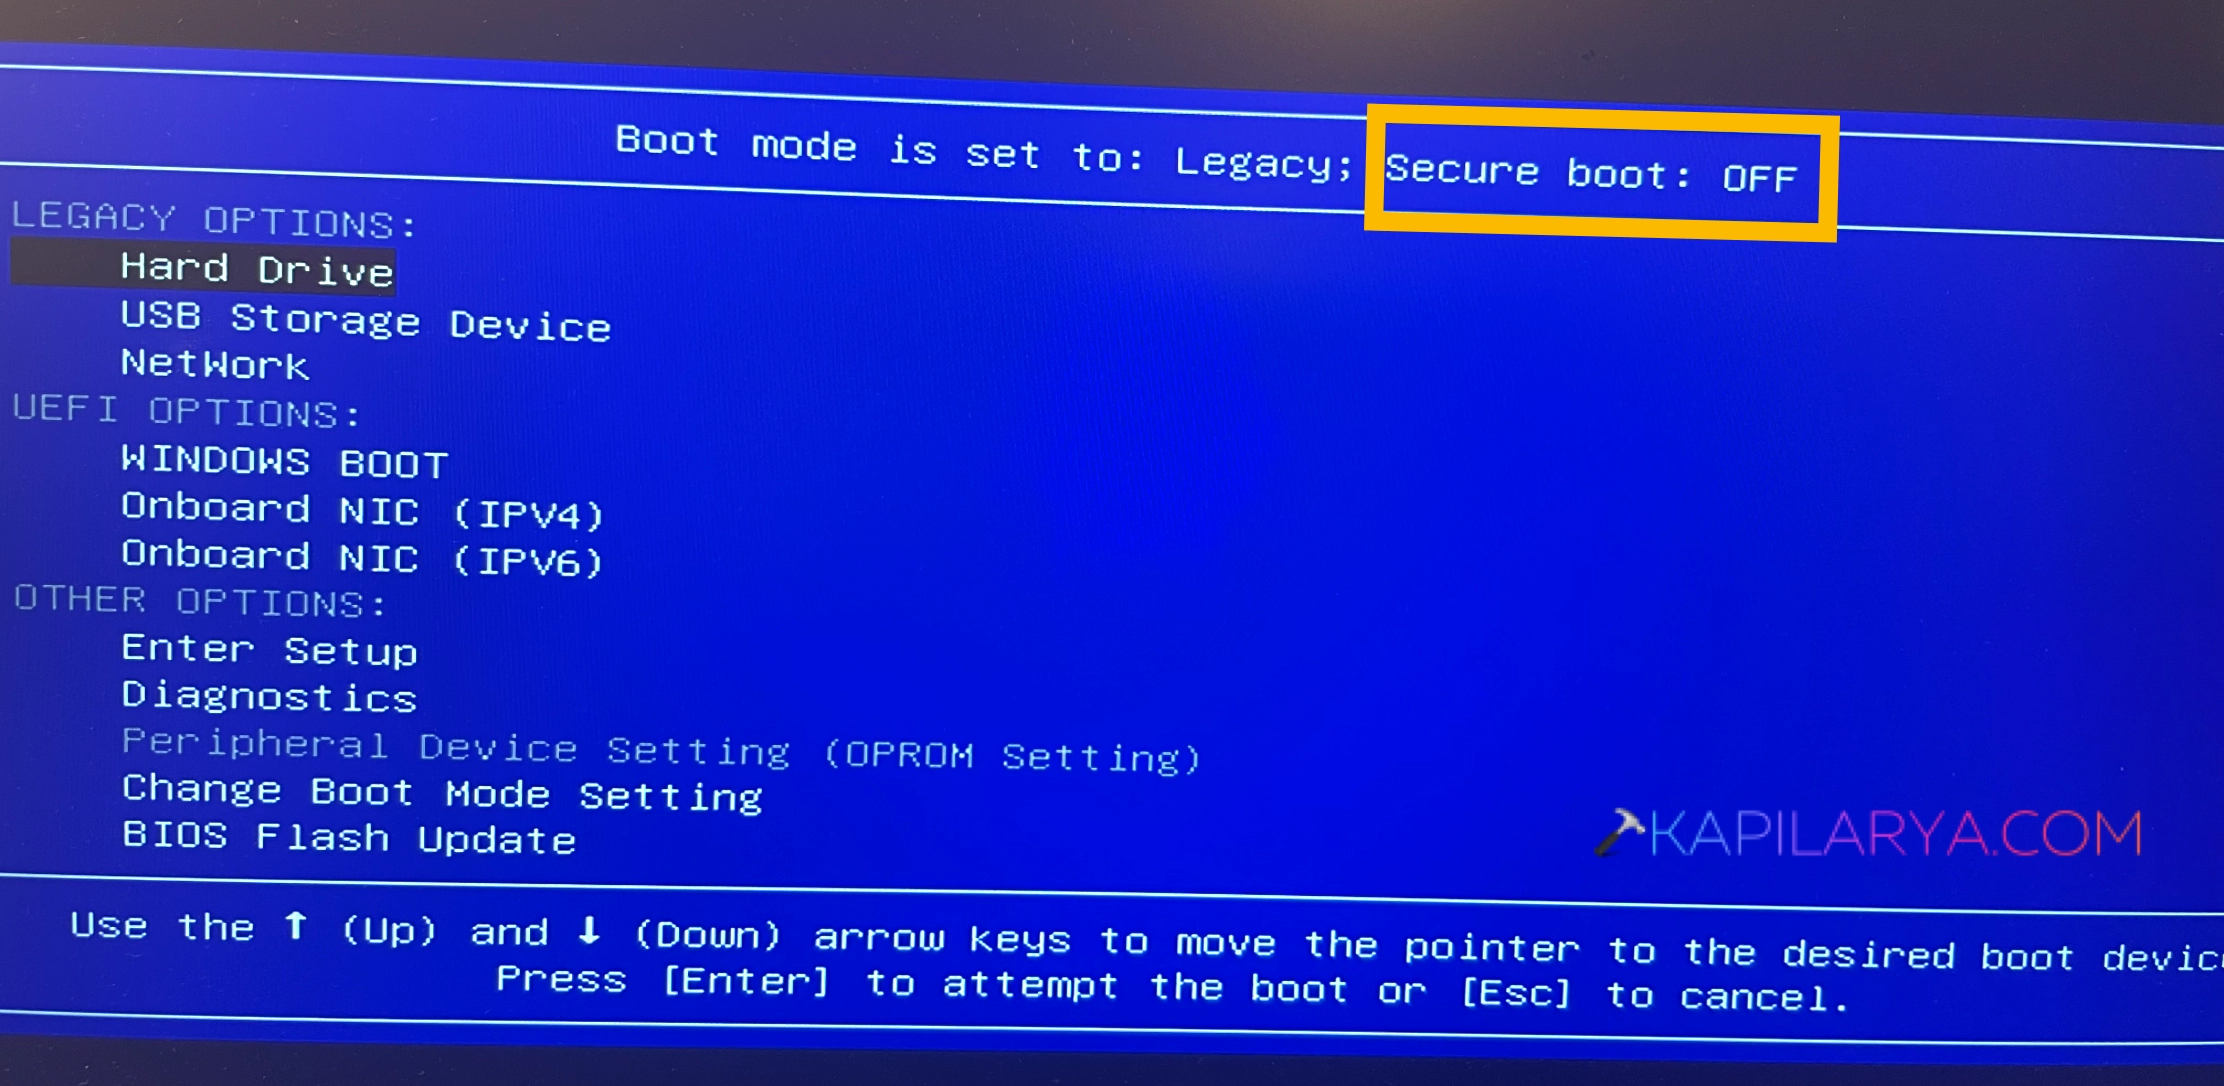
Secure Boot in Windows 11 helps you to boot your device to the firmware that has been recognizing by your device manufacturer. While Secure Boot being the primary requirement for Windows 11, sometimes you might need to disable it. The cases when you would need to disable it is for installing the older operating system that works on legacy BIOS settings. This guide would help you to enable or disable the Secure Boot in Windows 11.
Page Contents
Enable or disable Secure Boot in Windows 11
Option 1: Enable Secure Boot in Windows 11
If your device comes with Windows 11 pre-installed, you must have the Secure Boot already turned on.
Here is how you can enable the Secure Boot, in case if it is disabled on your device:
1. Access the BIOS setting according to your device manufacturers instructions. Usually while your system is booting, you can press the function keys or the designated key such as F1, F2 F10, F12 to access the BIOS menu. This varies from device to device.
2. Once you access the BIOS menu, go to the Boot settings. Now locate Secure Boot setting. You may be able to find out this setting in either Security tab, Boot tab or Authentication tab. The setting placement may vary from device to device. If unsure, you may need to check with your device manufacturer.
3. Once you locate the Secure Boot setting, and if it is set to Disabled state, toggle it to Enabled and save the changes and restart the system.
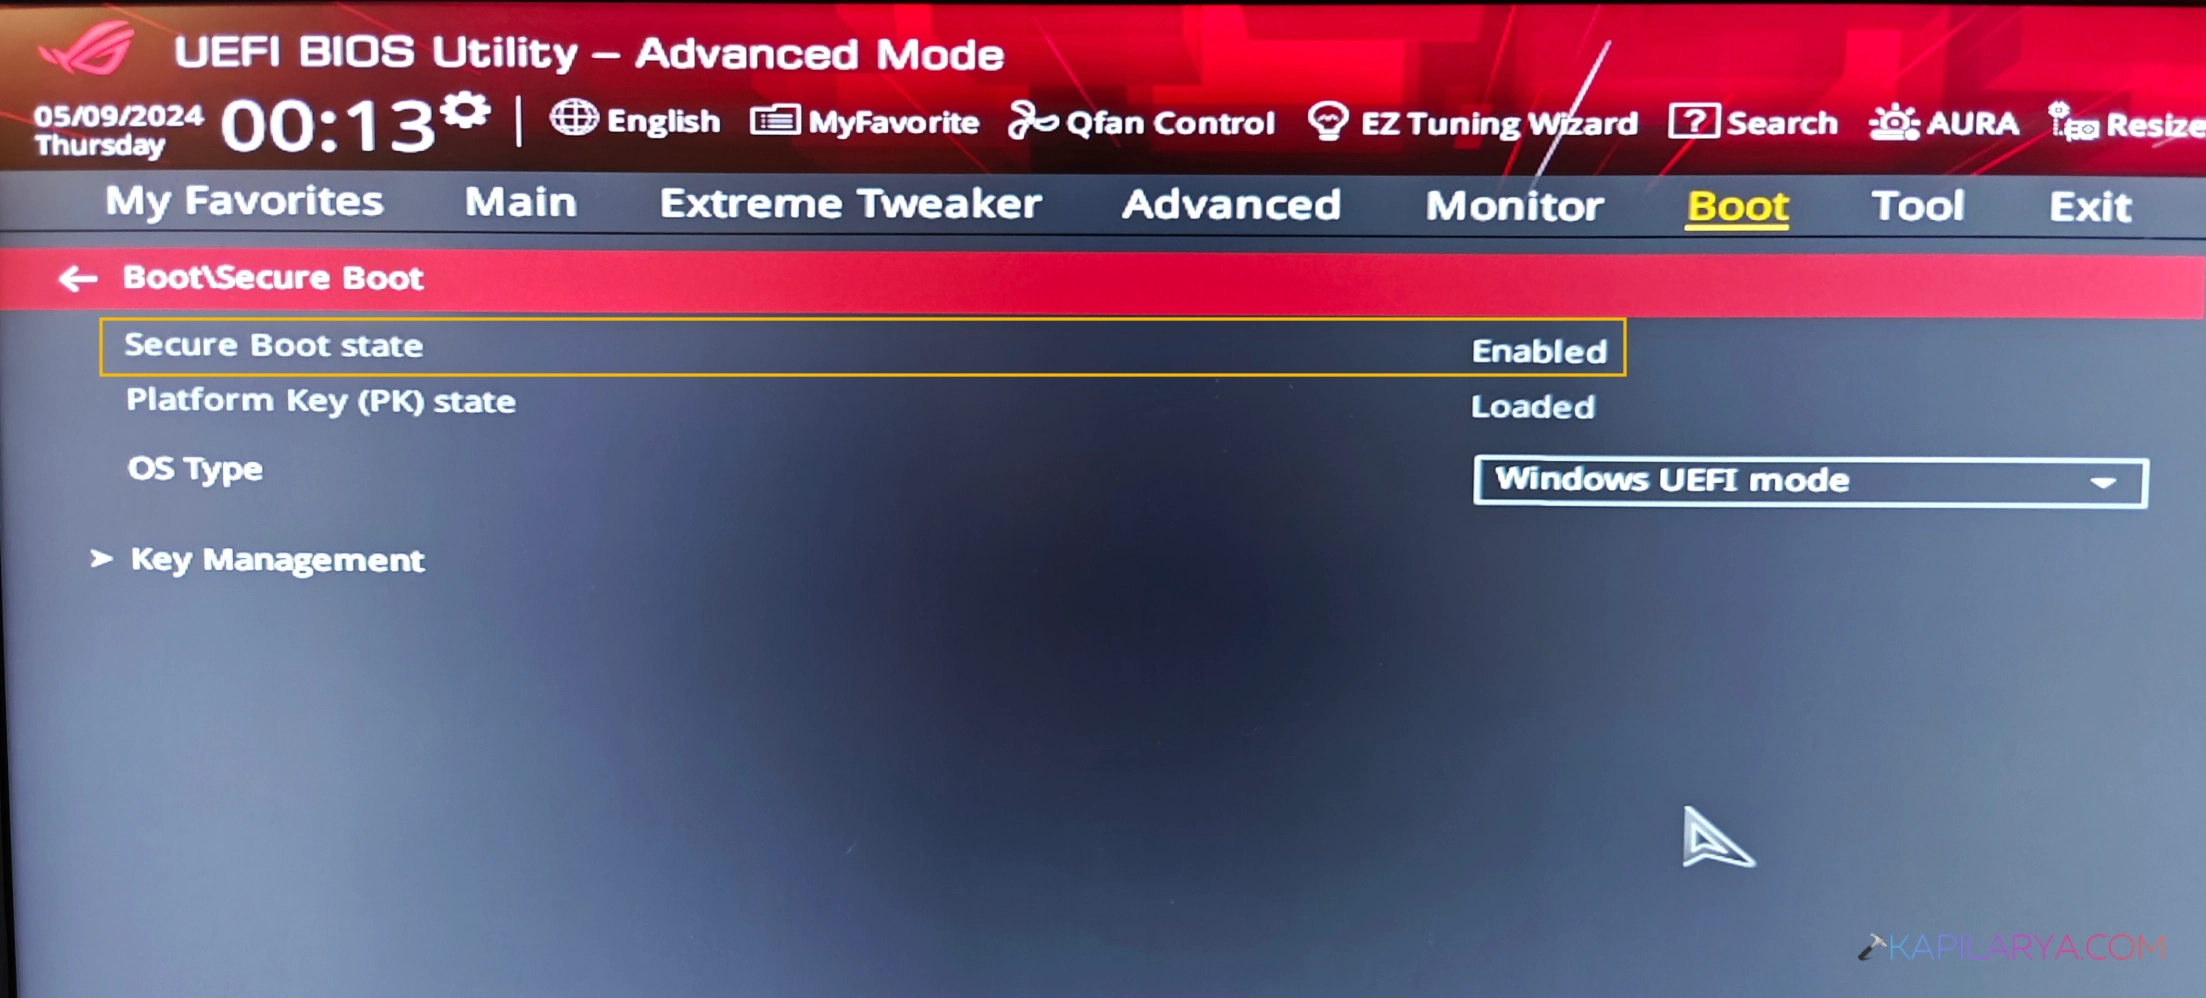
In case if your system is not bootable after turning on the Secure Boot, you can turn it off back and refer to your device manufacturer’s support for assistance.
In some cases, you might need to factory reset to its original state before you can turn on the Secure Boot.
Option 2: Disable Secure Boot in Windows 11
If you want to turn off Secure Boot, here is how you can. It is really important you understand the necessity of Secure Boot.
If the secure boot is turned off, it usually reduces the security for your system. If you’re about to install older operating system, and you need legacy BIOS, disable Secure Boot is you want.
1. Access the BIOS settings for your device using the designated key. Alternatively, while on Windows, you can simply hold the shift key while restarting your system. This would take you to Troubleshoot screen. Navigate towards Advanced options > UEFI firmware settings.
2. Locate the Secure Boot setting. This can be located either on the Security tab, the Boot tab, or on the Advanced tab.
3. Set the Secure Boot setting to Disabled. On some devices, you may have also have setting to clear Secure Boot key, proceed with that.
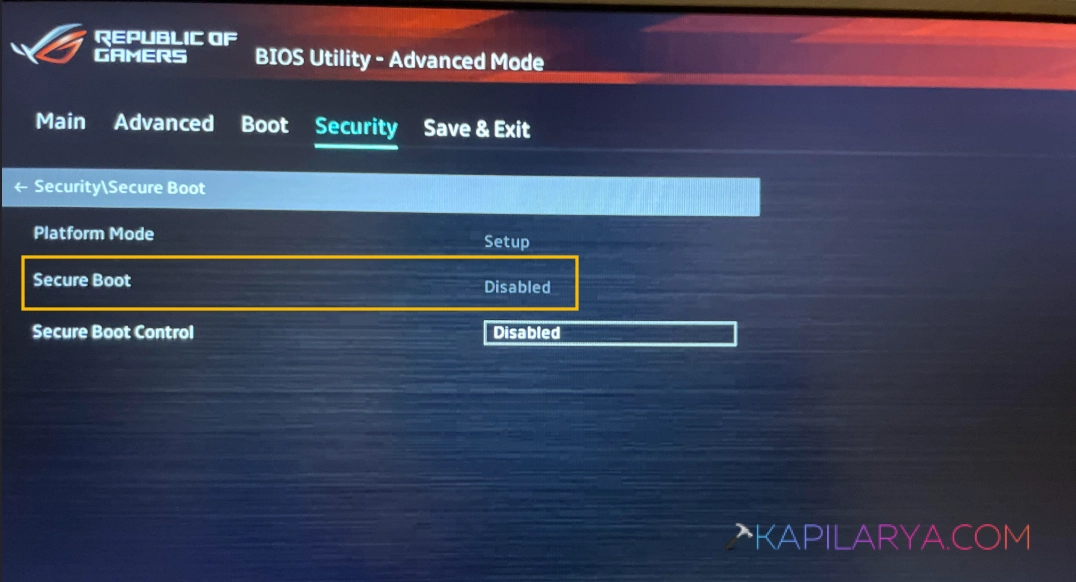
4. Save your changes and and restart your system to apply the changes.
5. Now you can install the component you want to go ahead without Secure Boot.
On some devices, you might need to enable Compatibility Support Module (CSM) additionally to support legacy BIOS booting for older operating systems.
That’s it!