In the realm of technology, operating systems play a crucial role in ensuring seamless and efficient computer performance. However, even the most advanced systems can encounter occasional issues that disrupt the user experience. One such problem that Windows 11 users might encounter is high disk usage, causing sluggishness and decreased responsiveness. This article delves into the various potential fixes for this vexing problem, offering practical solutions to alleviate the burden of high disk usage and fix the system’s optimal functionality.
Page Contents
Fix: Windows 11 high disk usage
Fix 1: Disable Connected User Experiences and Telemetry
1. Open Run by pressing Windows + R keys. Type services.msc and press Enter key.

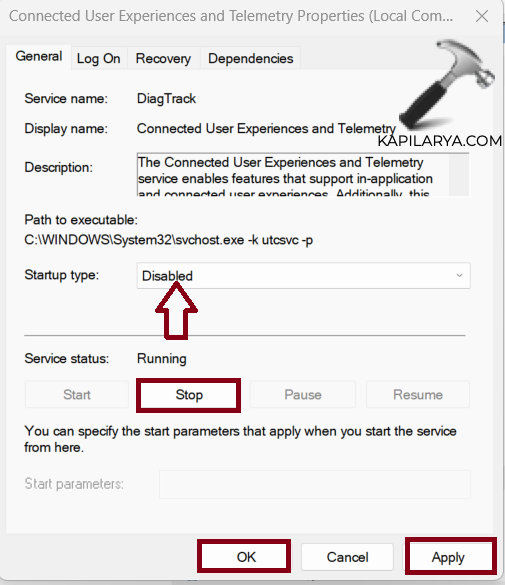
2. Double-click on “Connected User Experiences and Telemetry”.

3. Choose the startup type as “Disabled”.
4. Click on Stop > Apply > OK.
Fix 2: Disable the Windows Update Service
1. Open Run by pressing Windows + R keys. Type services.msc and press Enter key.
2. Double-click on “Windows Update”.

3. Choose the startup type as “Disabled”.
4. Click on Stop > Apply > OK.

Fix 3: Disable Unnecessary Startup Apps
1. Open Task Manager.
2. Click on “Startup apps”.
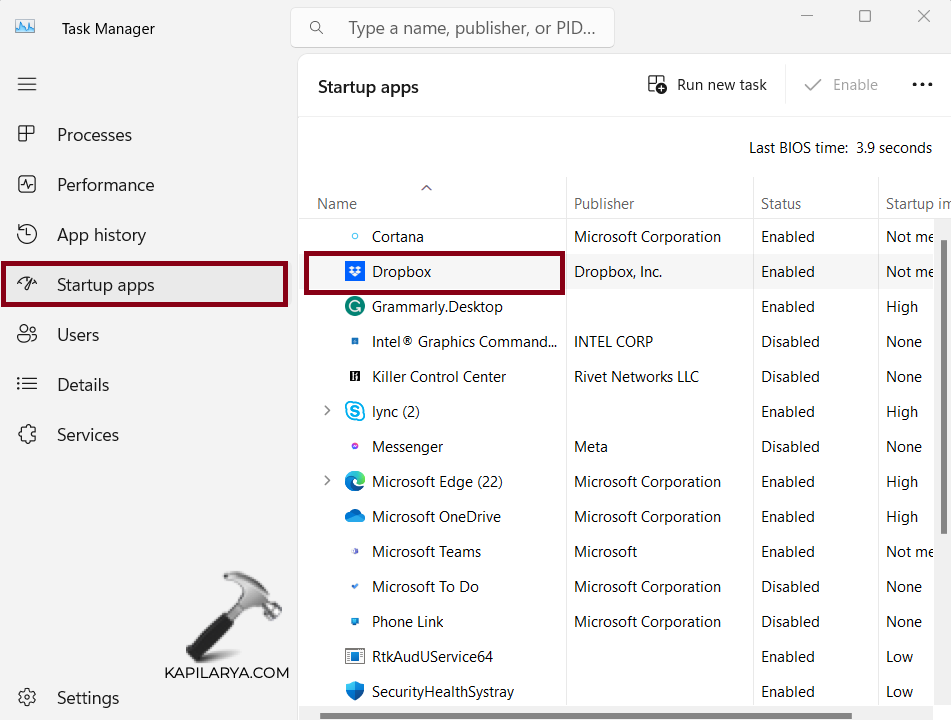
3. Right-click on the app which you want to disable and choose the “Disable” option from the context menu.
Fix 4: Reset Virtual Memory
1. Open Run and type sysdm.cpl. Press Enter key.

2. Click on the “Advanced” tab. Then click on “Settings” in the “Performance” section.

3. Click on the “Advanced” tab. Then click the “Change” button.
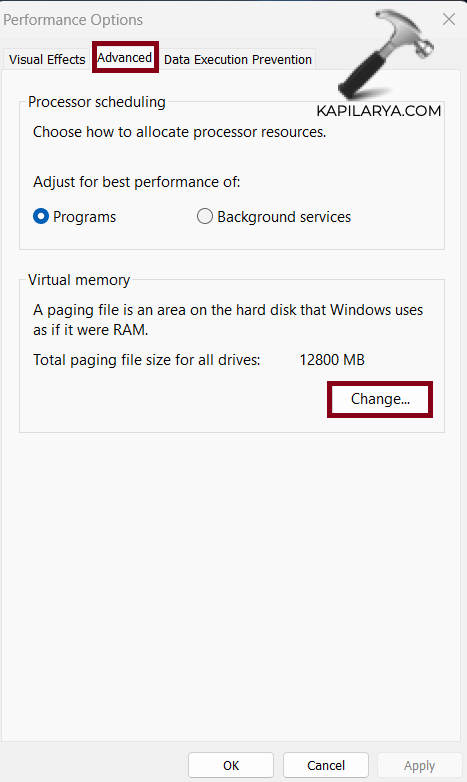
4. Uncheck “Automatically manage paging file size for all drives”.
5. Click on the “Custom size” option button and Enter the initial size and maximum size as per your choice.
6. Click Set > OK.

7. Restart your computer.
Fix 5: Scan Your Computer for Viruses and Malware
1. Open Windows Security.
2. Click on “Virus & threat protection”.
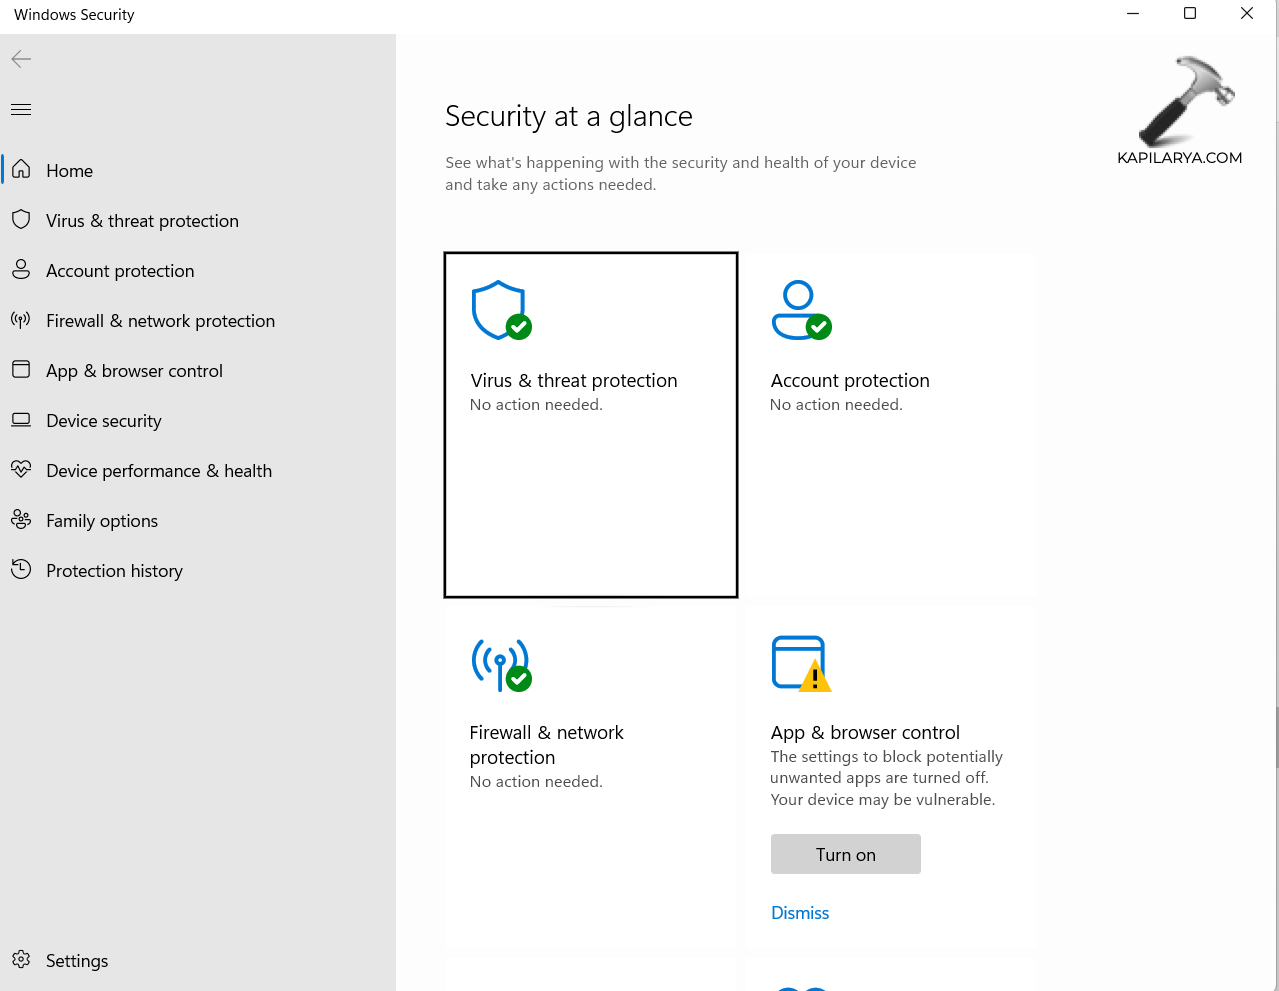
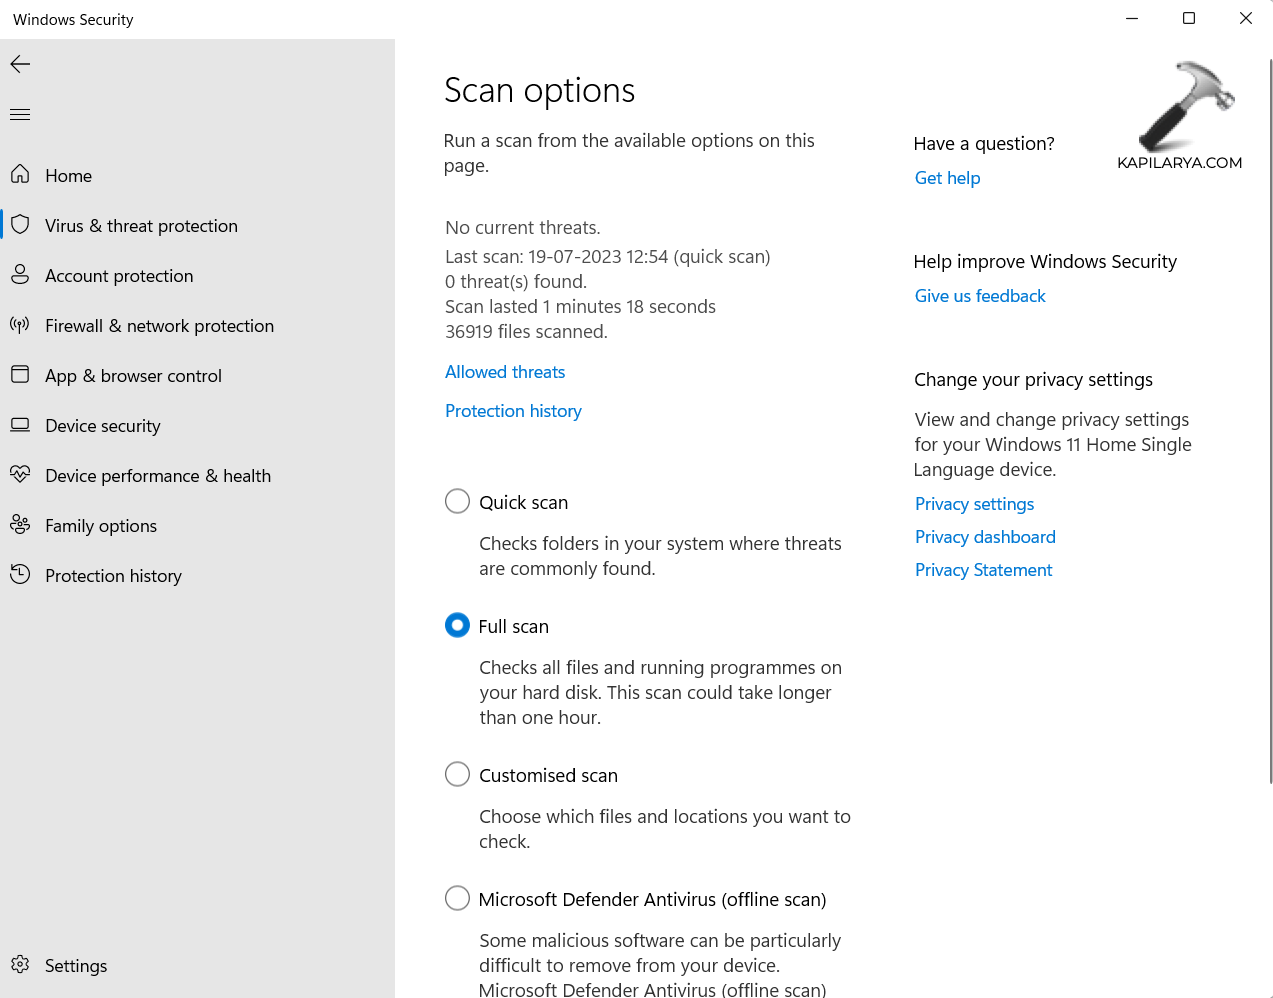
3. Click on “Scan options” > “Full scan”.
4. Click on “Scan now” to begin the scanning process.
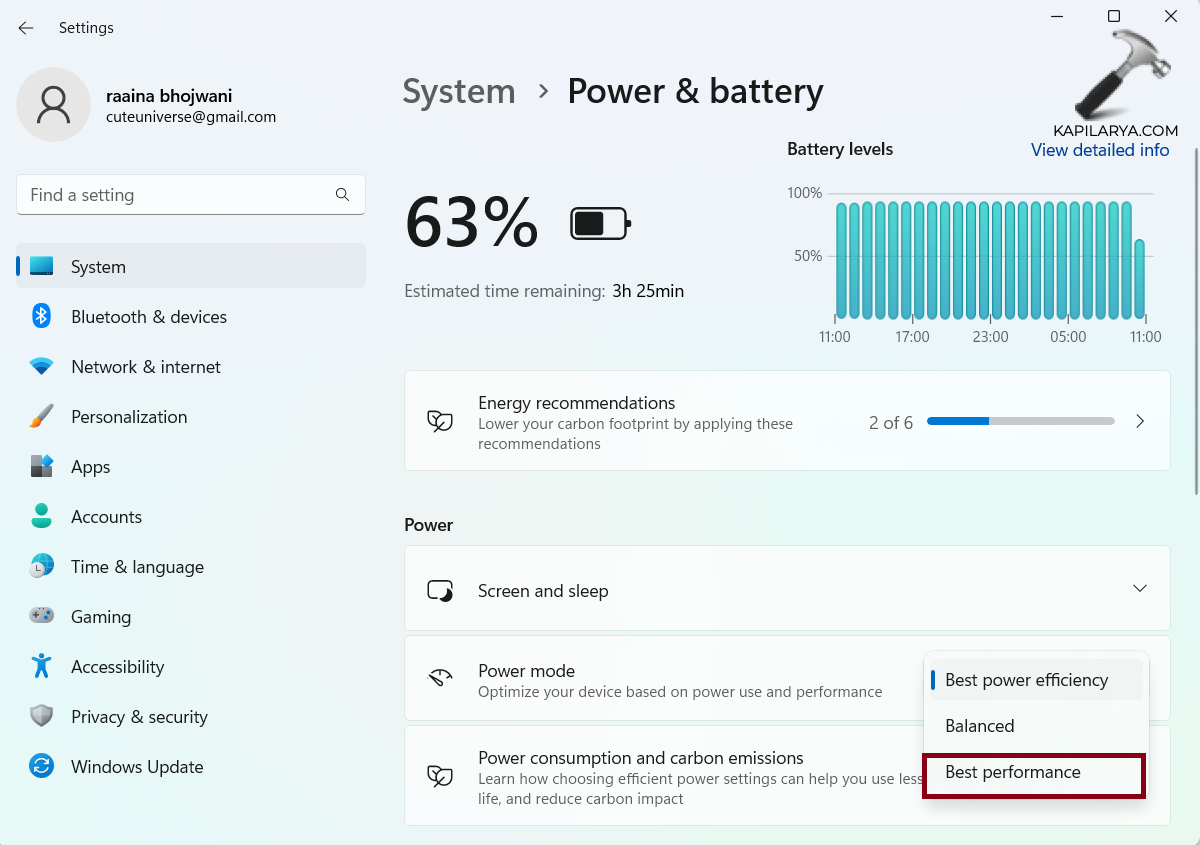
Fix 6: Change Power Mode to Best Performance
1. Open Settings by pressing the Windows + I keys.
2. Next click on “Power & battery”.
3. Now expand the “Power mode” options and choose “Best performance”.
Fix 7: Disable SysMain
1. Open “Services”.
2. Double-click on “SysMain”.

3. Choose Startup type to “Disabled”.
4. Click on “Stop”.
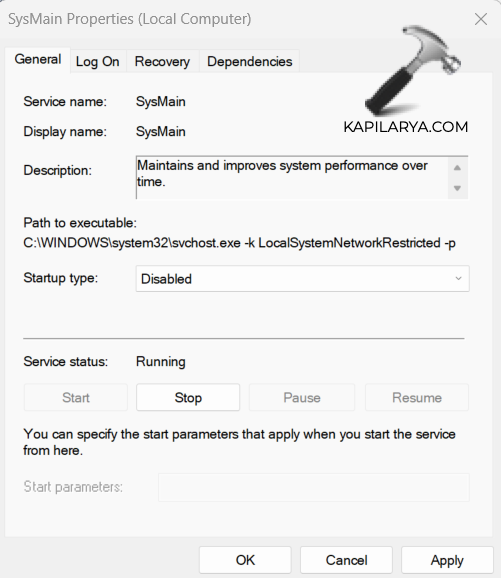
5. Click on “Apply” > “OK”.
Fix 8: Disable Windows Search
1. Open Services and double-click on “Windows Search”.
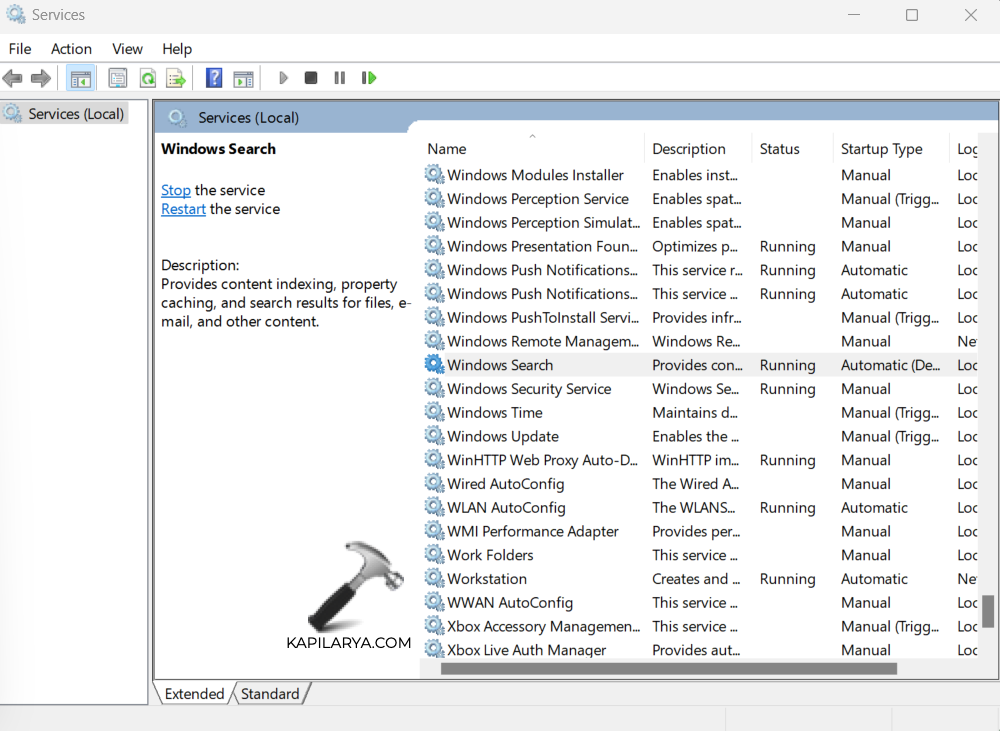
2. Choose the “Disabled” option in “Startup type”.

3. Click on “Apply” > “OK”.
Fix 9: End Unnecessary Running Apps and Services
1. Open Task Manager.
2. Click on the app/service you want to close.
3. Click on “End task”.

Fix 10: Close or Uninstall Third-Party Anti-Virus Software
If you are facing a high disk usage issue on Windows 11, one potential solution is to close or uninstall third-party anti-virus software. While third-party anti-virus programs are designed to protect your system from malware and threats, they can sometimes conflict with the built-in security features of Windows 11. This conflict may result in excessive disk usage, causing your system to slow down and become unresponsive.
Fix 11: Install the Latest Windows 11 Updates
1. Open Settings by pressing the Windows + I keys.
2. Click on “Windows Update” > “Check for updates”.

3. Click on “Download and install”.
Fix 12: Run CHKDSK to fix Windows 11 high disk usage
1. Open Command Prompt as an administrator.
2. Type chkdsk /f /r c: and press Enter key.

3. Type Y and press Enter key.
4. Restart your system.
By implementing these troubleshooting steps, users can bid farewell to the issues caused by excessive disk activity and enjoy a smoother computing experience with Windows 11.
Video fix
For further help, you can also refer this video guide:
That’s it!