If the pagefile.sys size keeps growing in your Windows 11, this article is for you. You can change how Windows manages virtual memory, to deal with this. The paging file uses storage space to support your system’s RAM when it is running low. If the file is taking up too much space, you can adjust its settings to limit its size.
Here are five methods you can try.
Page Contents
How to Reduce Pagefile.sys Size in Windows 11
Solution 1: Enable Windows to Manage the Page File Automatically
Enabling automatic management allows Windows to adjust the paging file size as needed.
1. In search, enter sysdm.cpl.
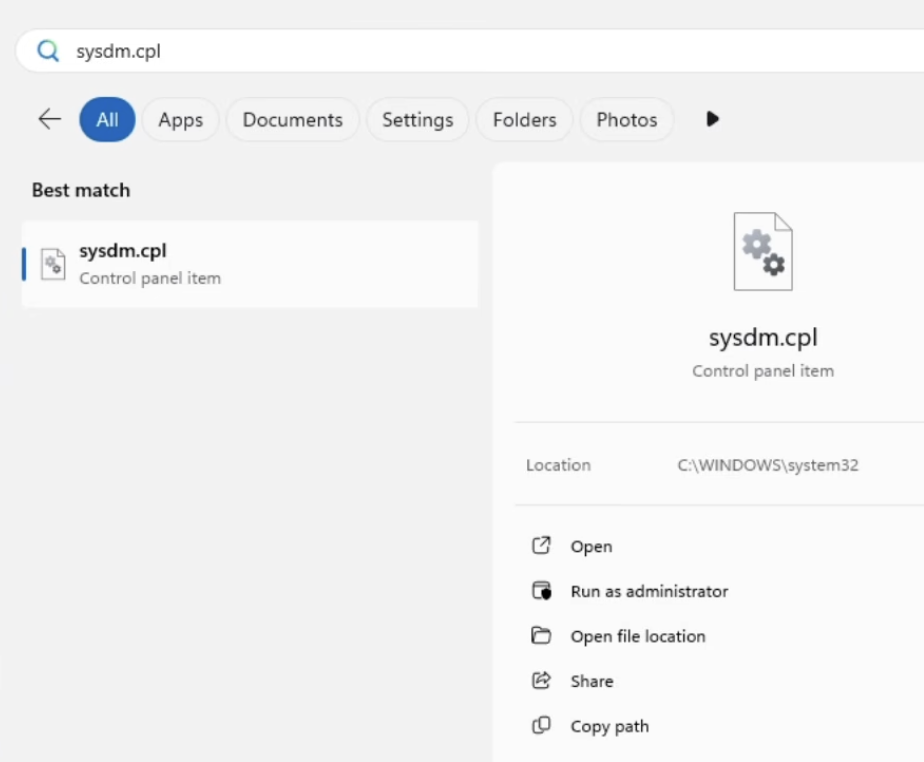
2. This will now open the system properties. Now, click on Advanced. Then click on Settings under Performance
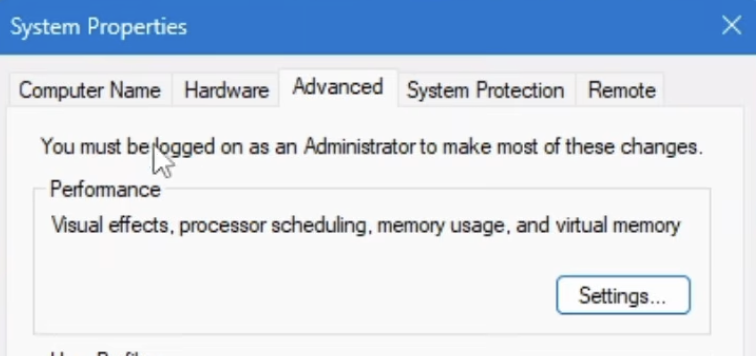
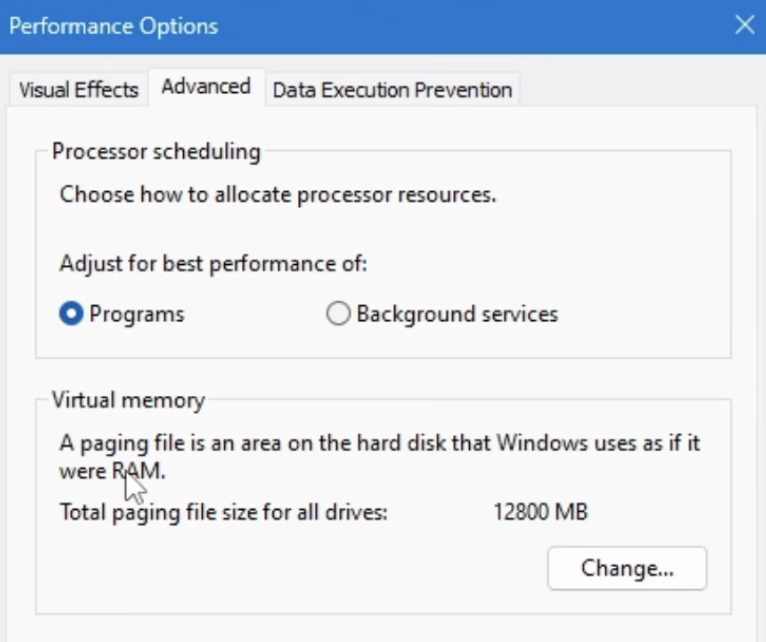
3. Again, click on Advanced. Under Virtual memory, click Change.
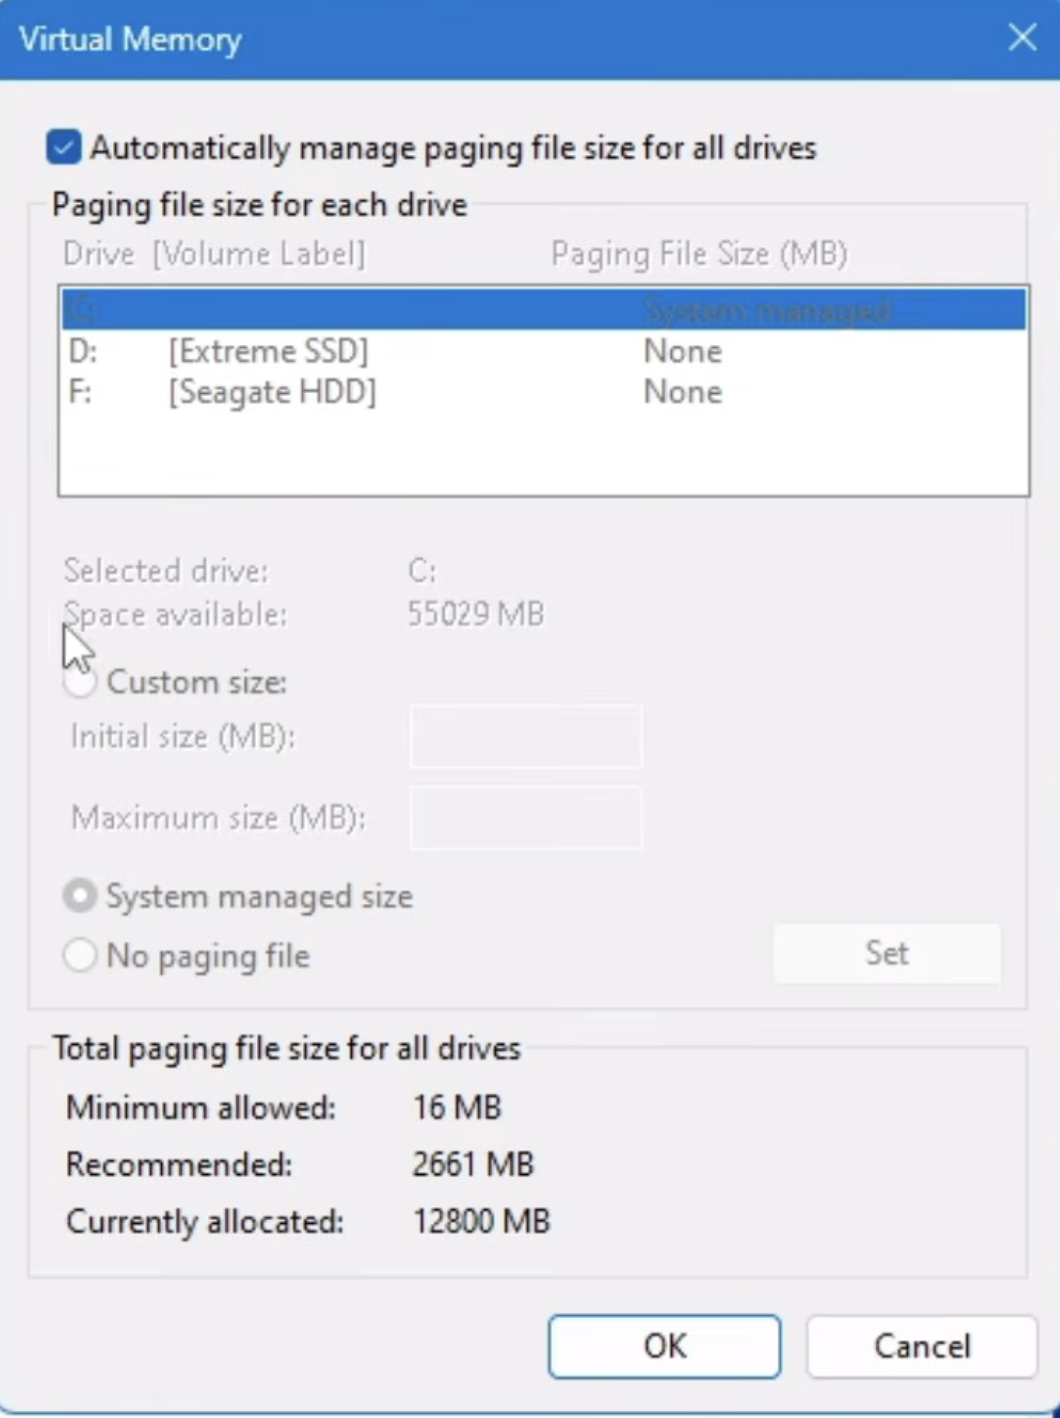
4. Enable Automatically manage paging file size for all drives.
5. Click OK to save the changes.
Restart your PC.
Solution 2: Reset the Page File
Resetting the page file can help resolve problems caused by incorrect virtual memory settings. Follow these steps:
1. Follow all steps till step 3 in solution 1.
2. Uncheck Automatically manage paging file size for all drives.
3. Select System managed size and click Set.
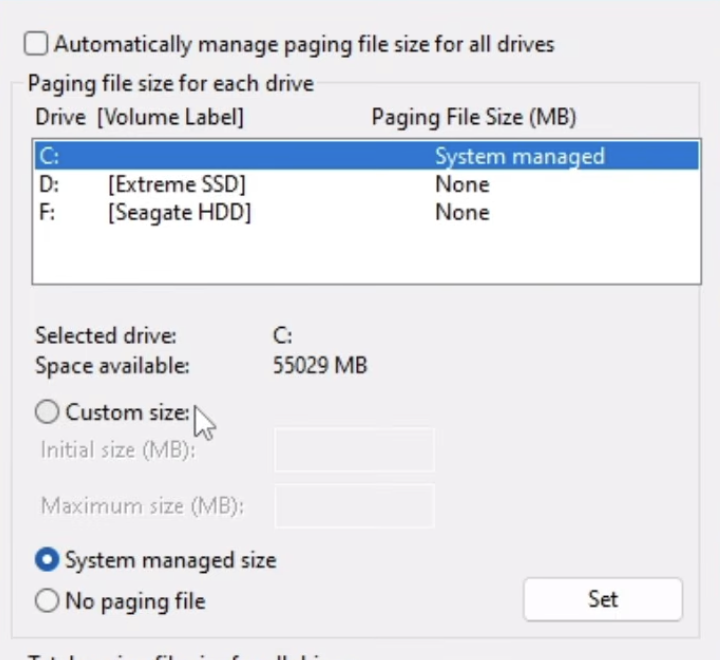
Click OK to apply the changes and restart your PC.
Solution 3: Set a Custom Maximum Page File Size
If automatic management does not provide the storage usage you want, you can specify a custom maximum size for the paging file. This limits how much disk space it can use.
1. Follow all steps till step 2 in solution 2.
2. Select Custom size.
3. Enter the required values in the Initial size (MB) and Maximum size (MB) fields.
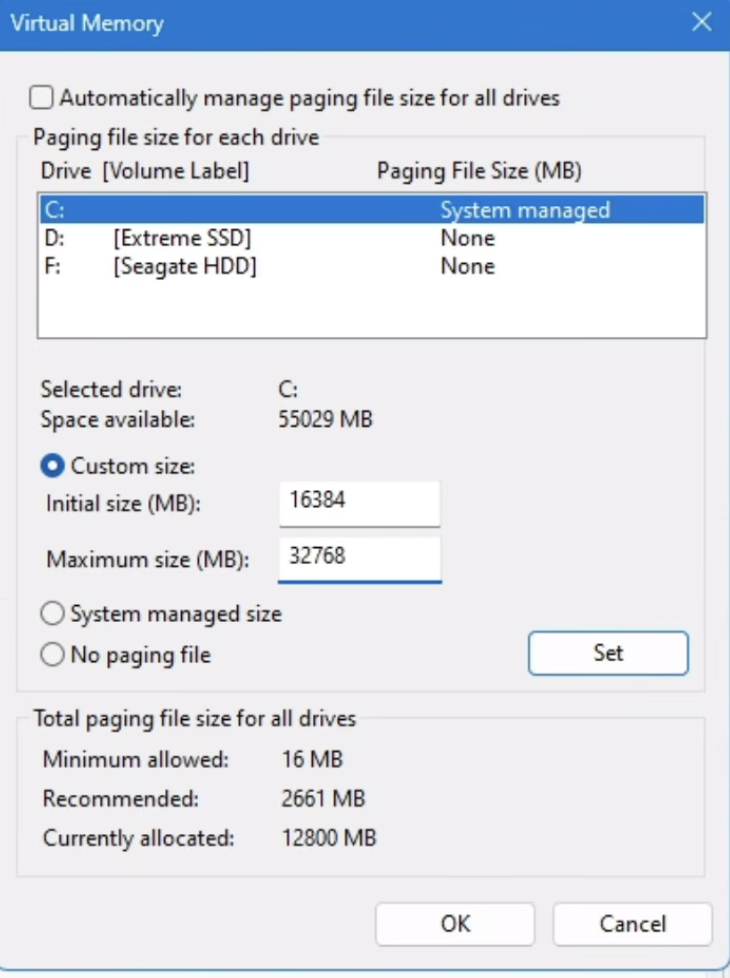
Click Set, followed by OK. Once done, Restart your PC.
Solution 4: Move the Page File to Another Drive
If your C: drive does not have enough free space and you cannot extend its capacity. You can move the paging file to another drive. You can choose a drive with sufficient available storage.
1. Follow all steps till step 2 in solution 2.
2. Select the C: drive from the list.
3. Click on No paging file and click Set.
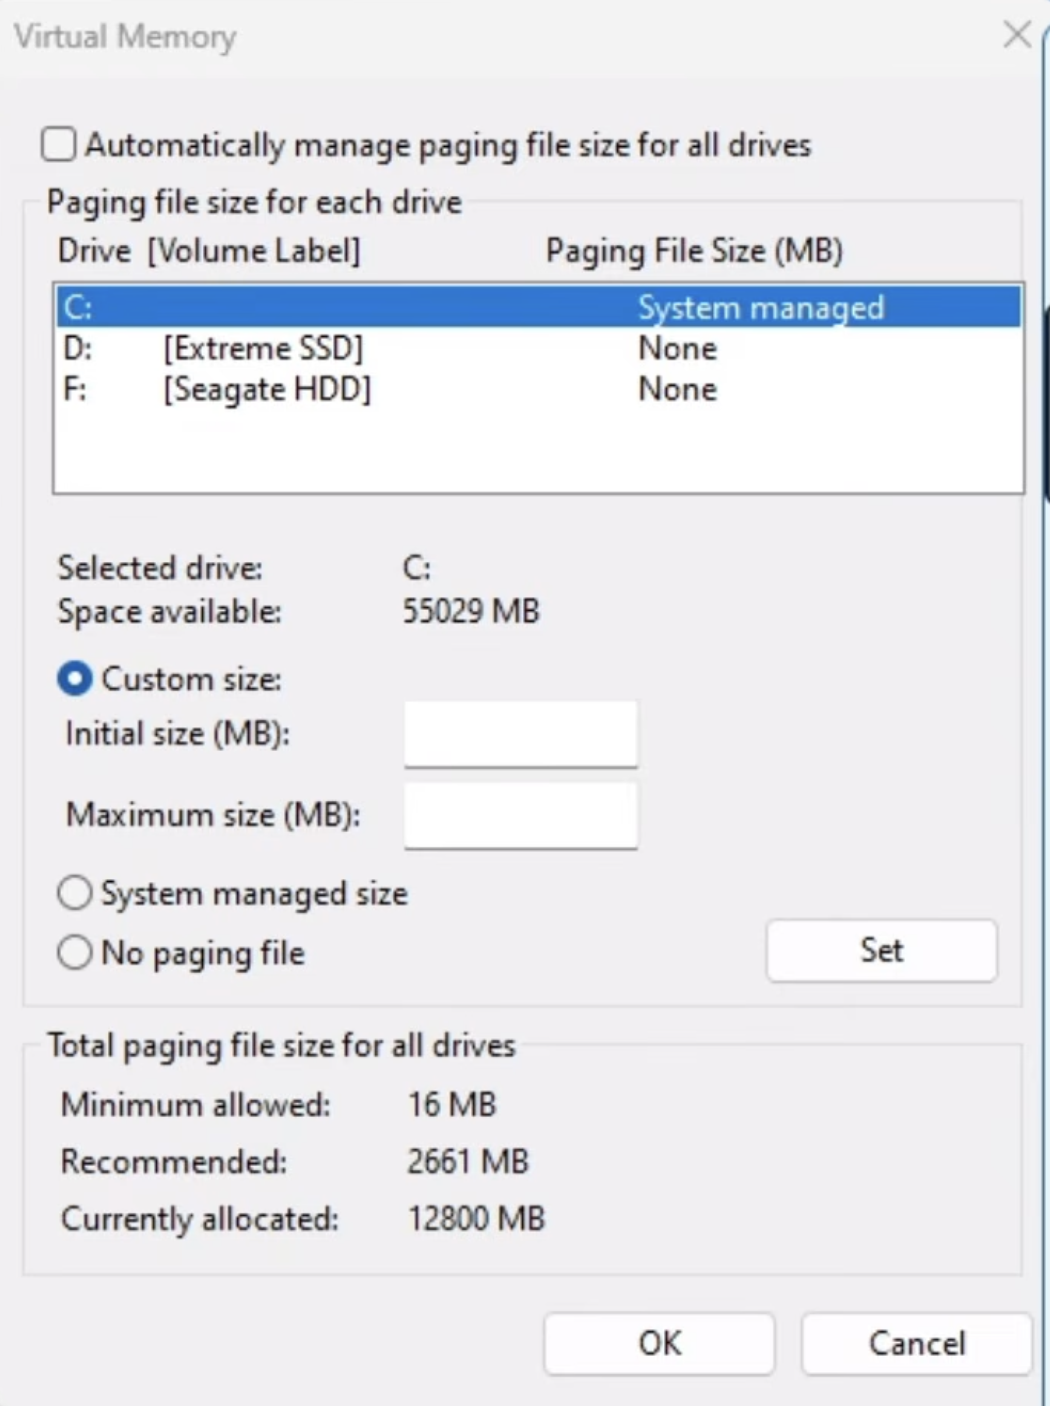
4. If any warning is displayed, just review it and click Yes to continue.
5. Then, select the other drive where you want to store the paging file.
6. Just like the previous solutions, you can choose either System managed size or a custom size.
Click Set, followed by OK. Once done, Restart your PC.
Solution 5: Extend the C: Drive
If the C: drive has limited storage space, then extending its partition can provide additional room for the paging file and other system files. You can use Disk Management to extend the partition if space is available.
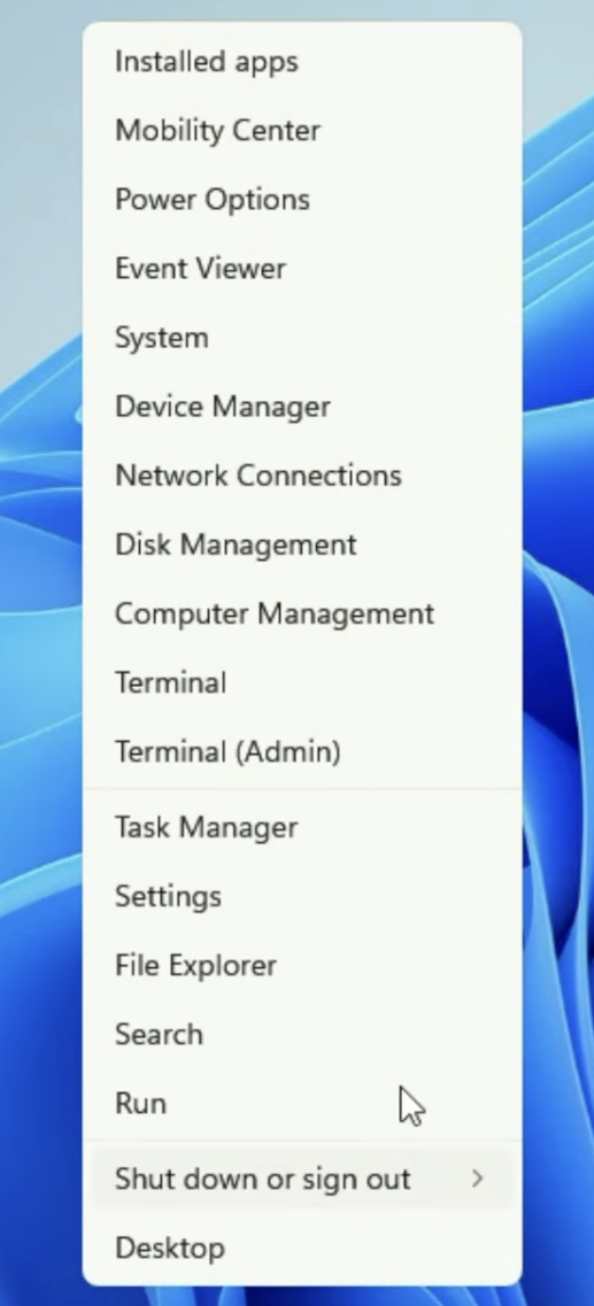
1. Press Win + X and select Disk Management.
2. Locate the C: drive in the list of volumes.
3. Check whether unallocated space is available immediately after the C: partition on the same disk.
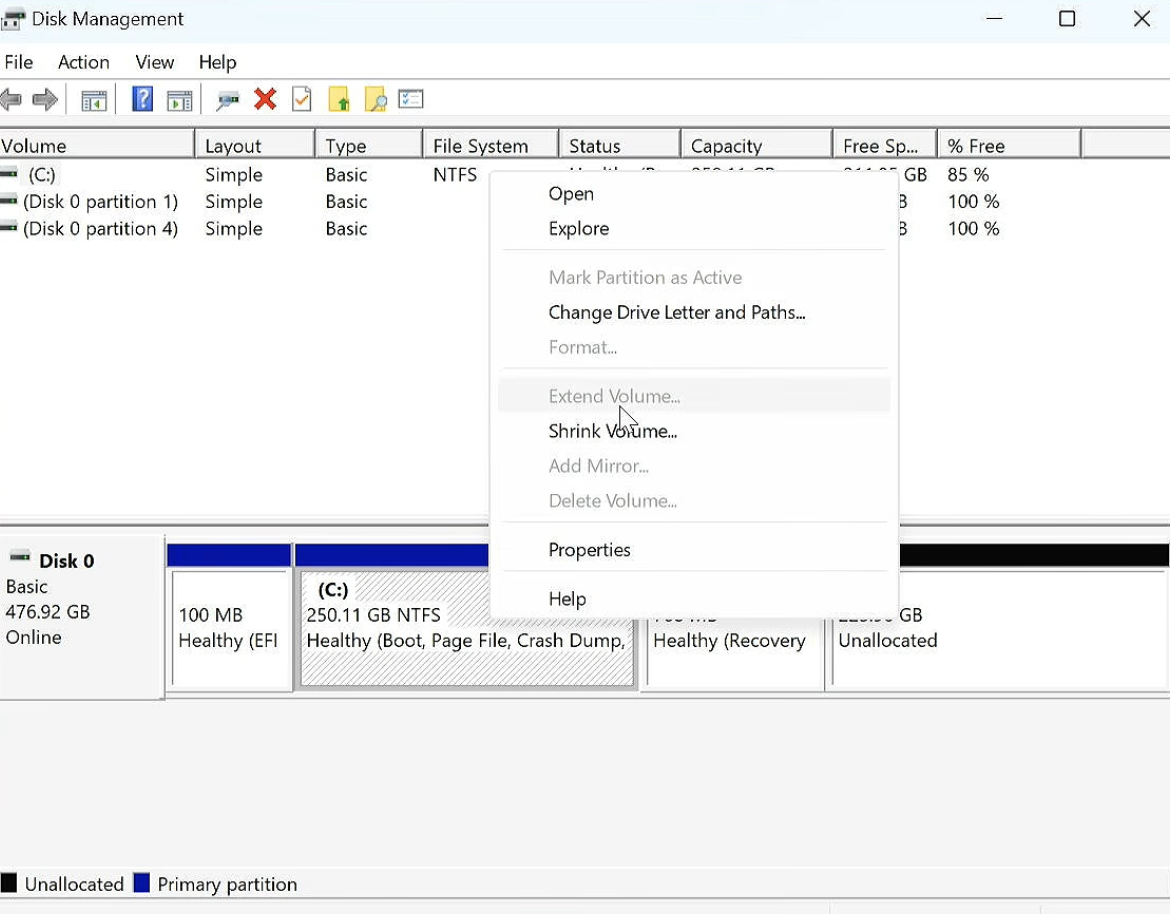
4. If it is available, right-click the C: drive. Select Extend Volume.
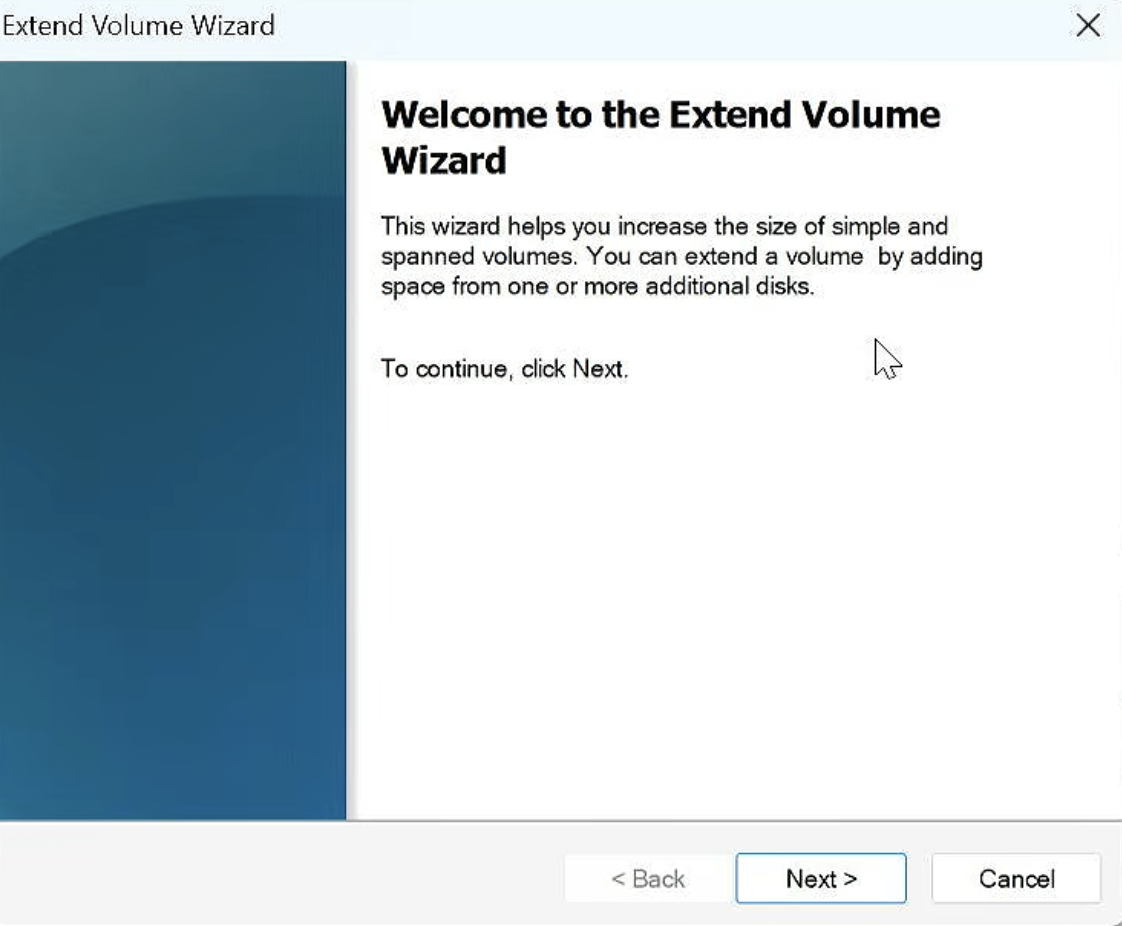
5. Follow the Extend Volume Wizard to add the available space, and click Finish to complete the process.
That’s it!