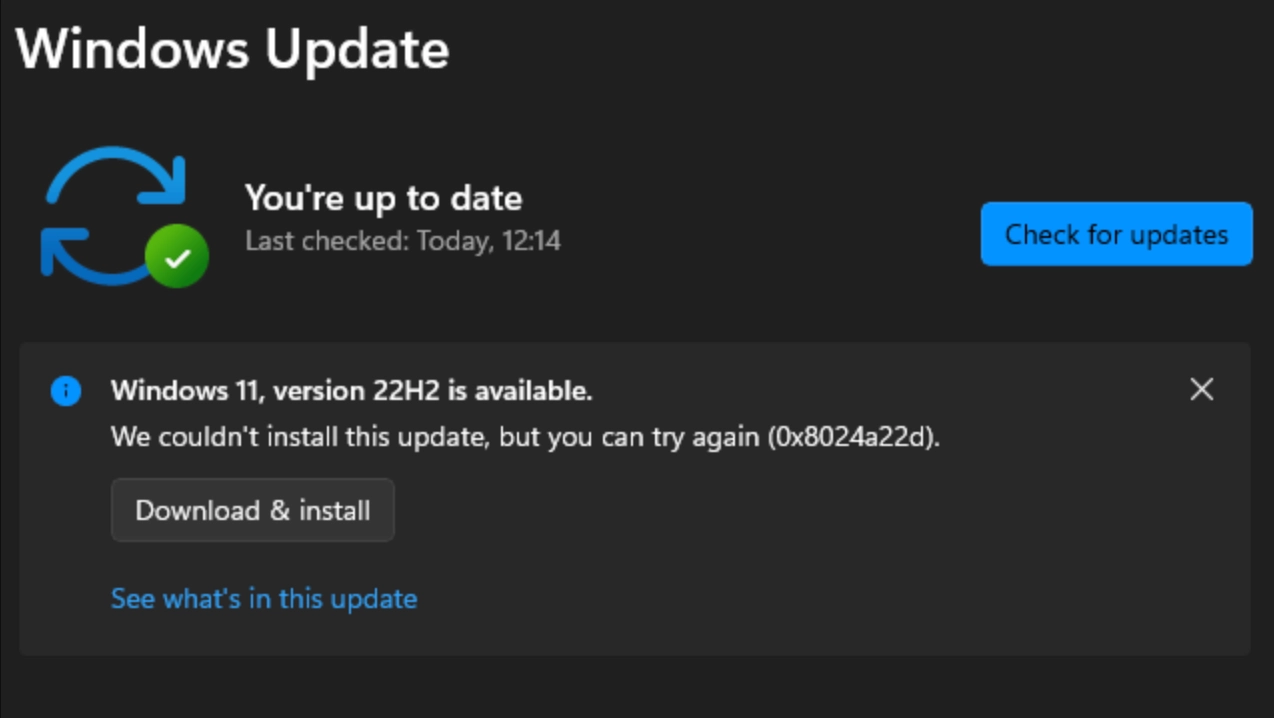
Windows Update error 0x8024a22d appears when Windows fails to install an update. It usually happens with a new Windows 11 version 22H2 or 25H2. Restart your PC, it will solve the problem. If not, follow the steps mentioned below.
Page Contents
How to Fix Windows Update Error 0x8024a22d in Windows 11
Fix 1: Restart Your PC and Retry the Update
A pending restart or interrupted update can cause this error.
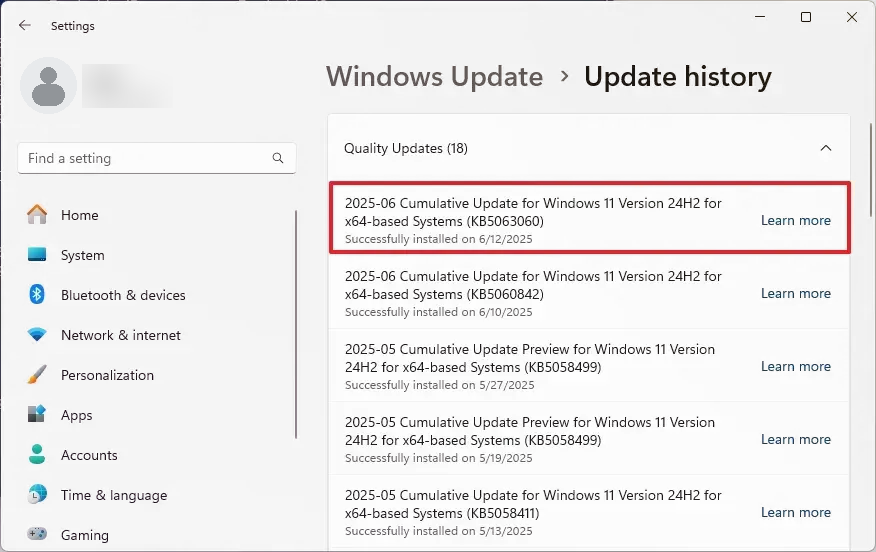
1. First, restart your PC. Then, open Settings > Windows Update > Update history.
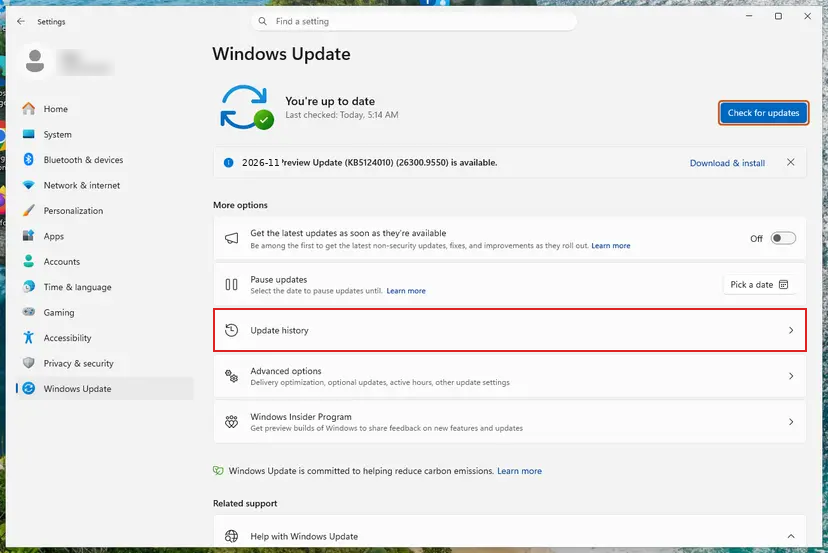
2. Check if there are any failed updates there. Then, go back to Windows Update, and update your PC.
If nothing is shown, follow the next step.
Fix 2: Run the Windows Update Troubleshooter
Follow the instructions specified here to run your windows update troubleshooter.
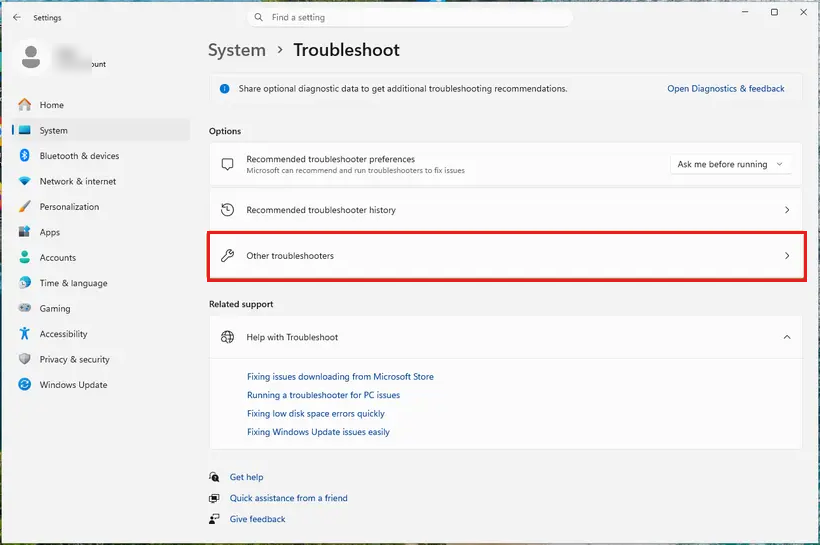
1. Open Settings > System > Troubleshoot > Other troubleshooters.
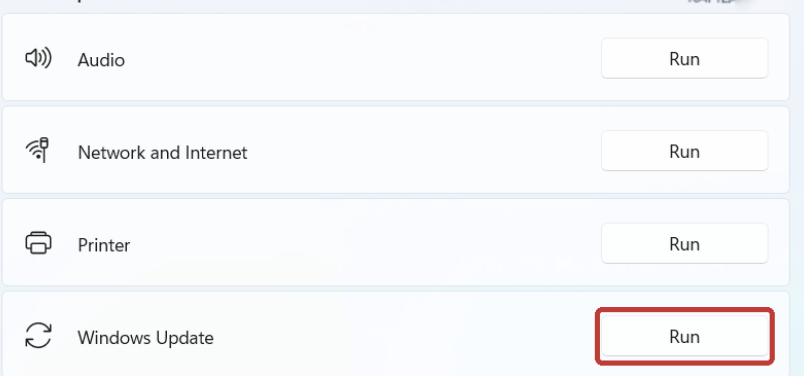
2. Select Run next to Windows Update. Follow the on screen instructions.
3. Restart your PC and check for updates again.
Fix 3: Install the Failed Update Manually
If the same update keeps failing, you can download it directly from the Microsoft Update Catalog.
1. Note the KB number from Update history.
2. Search for that number in the Catalog.

3. Download the update that matches your Windows version and processor type.
4. Run the downloaded file and restart your PC.
Fix 4: Perform a Clean Boot
Sometimes, another program may be interfering with the Windows Update. In that case,
1. Search for msconfig and open System Configuration. Inside, click on Services and tick Hide all Microsoft services.
2. Select Disable all.

3. Open the Startup tab and select Open Task Manager. Here, disable enabled startup apps and restart your PC.
4. Now, try installing the update.
Fix 5: Reset Windows Update Components
Open Command Prompt as administrator and run these commands one by one:
net stop wuauserv
net stop bits
net stop cryptsvc
ren %systemroot%\SoftwareDistribution SoftwareDistribution.old
ren %systemroot%\System32\catroot2 catroot2.old
net start cryptsvc
net start bits
net start wuauserv
Once done, you can restart your PC and check for updates.
Fix 6: Check for Faulty Drivers
Sometimes, the problem could be faulty drivers.
1. Open Device Manager and check for devices with warning marks.
2. If the list keeps refreshing or a device has stopped working, update or uninstall then reinstall its driver using the device manufacturer’s website.
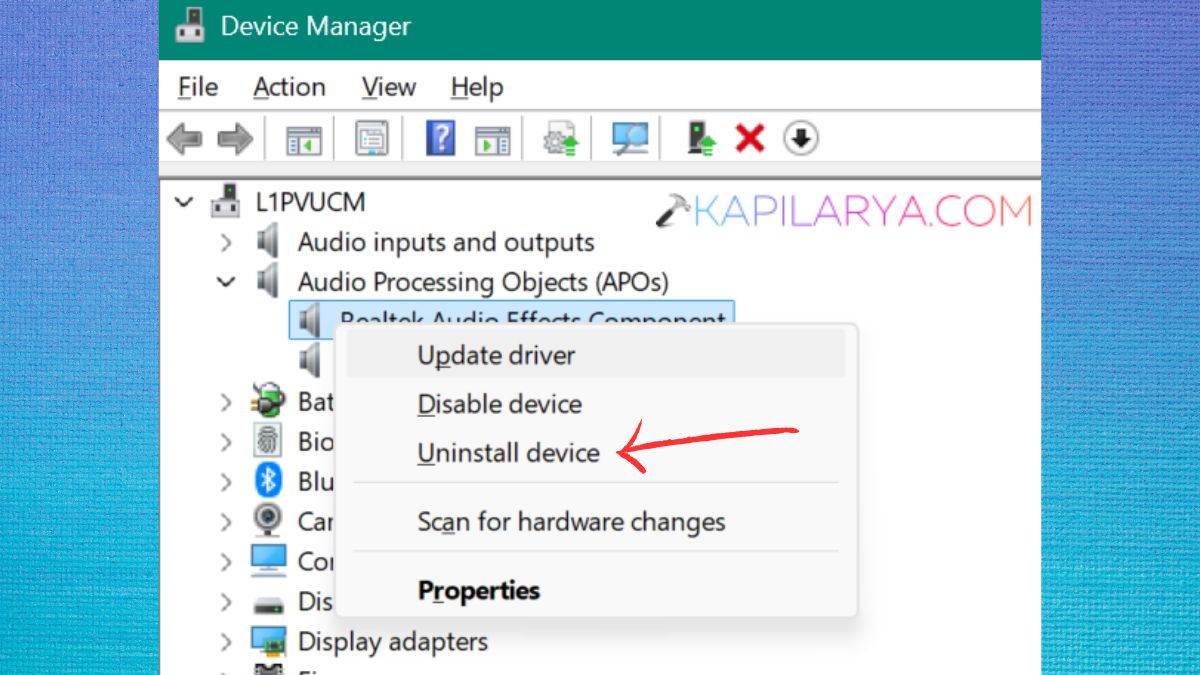
This should rectify the problem.
Fix 7: Repair Windows System Files
Follow the steps specified below:
1. Open Terminal in Admin mode and click on run.
2. Type the following commands:
sfc /scannow
DISM.exe /Online /Cleanup-Image /RestoreHealth

Wait for both scans to finish, then restart your PC.
Fix 8: Use the Windows 11 Installation Assistant
If 25H2 fails again, or installs and then undoes the changes at restart follow this.
1. Download the Installation Assistant from Microsoft’s Windows 11 download page.
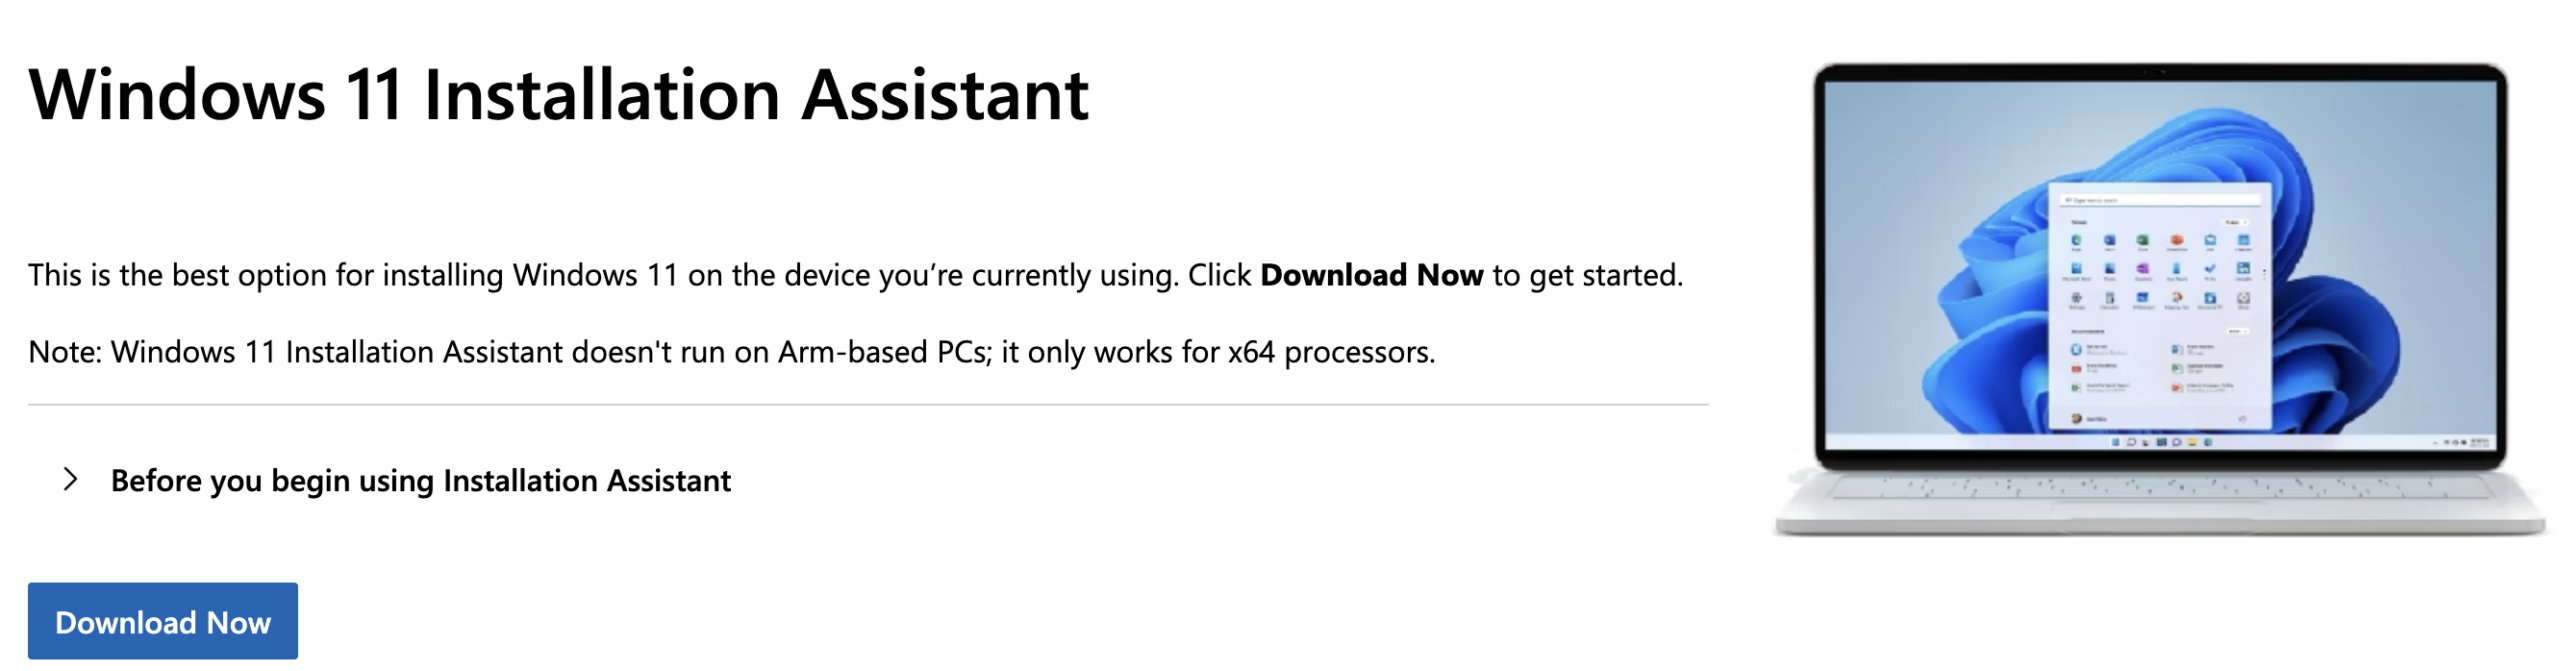
2. Follow the instructions and set it up.
You can also install using a Windows 11 ISO.
Make sure you back up important files before starting this process.
Fix 9: Reinstall Windows Using Windows Update
If all the other methods have failed, follow this.
1. Open Settings > System > Recovery.
2. Under Fix problems using Windows Update, select Reinstall now.
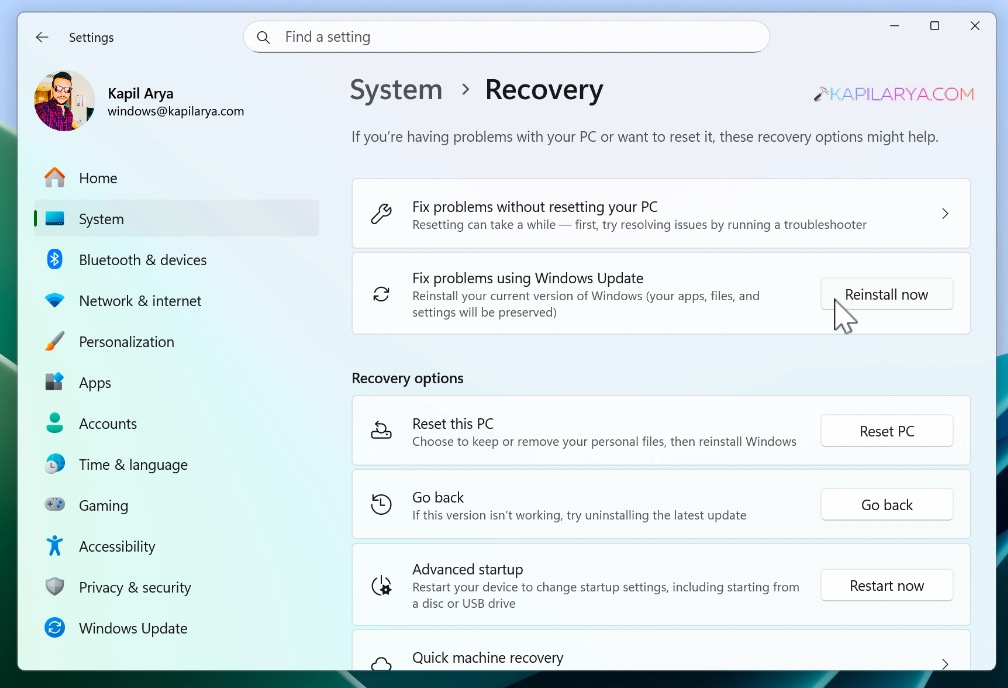
This reinstall the current Windows version while keeping your apps, files, and settings.

That’s it!