By default, Windows 11/10 comes with font smoothing enabled. According to Microsoft, they use ClearType antialiasing method for font smoothing because it improves font display resolution over traditional antialiasing.
You can see font smoothing is enabled, as shown in below screenshot:
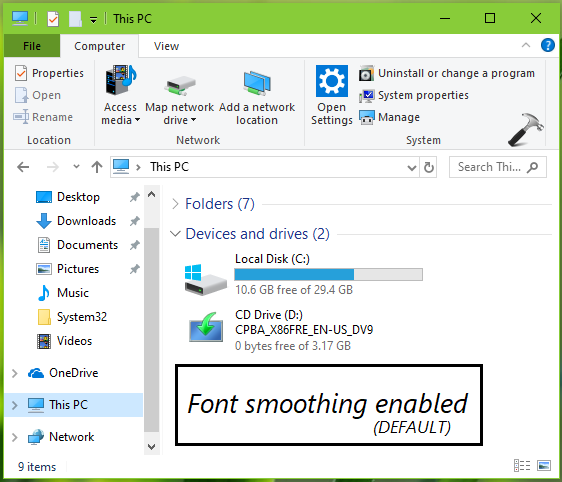
In case if you’ve a special requirement to manage or configure font smoothing, this article will show you how to enable/disable font smoothing.
Page Contents
Enable or disable Font Smoothing in Windows 11/10
Method 1: Using System Properties
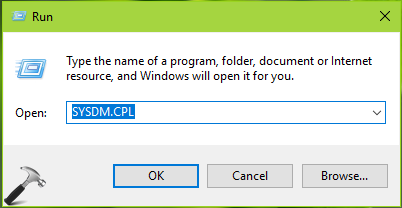
1. Press  + R and type
 SYSDM.CPL in Run. Click OK or press Enter key.
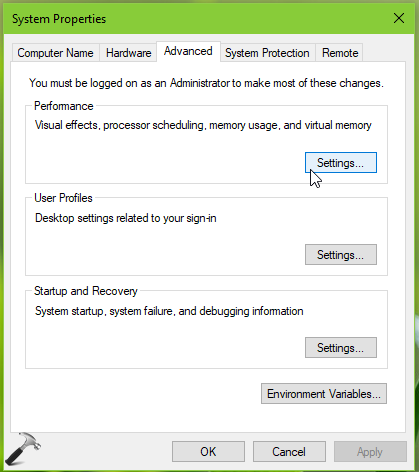
2. In System Properties window, on Advanced tab, click Settings button under Performance heading.
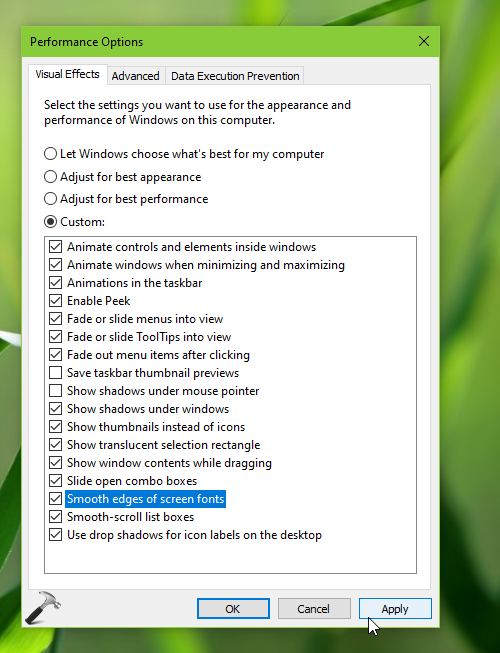
3. Next, in Performance Options window, on Visual Effects tab, select Custom. Then uncheck Smooth edges of screen font to disable font smoothing in Windows 10. Or check same option to let font smoothing enabled, which is default setting as well. Click Apply, OK.
Your configured setting will applied immediately, so there is no need to restart the machine.
Method 2: Enable/Disable Font Smoothing Via Registry
Registry Disclaimer: The further steps will involve registry manipulation. Making mistakes while manipulating registry could affect your system adversely. So be careful while editing registry entries and create a System Restore point first.
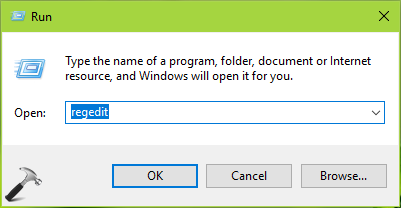
1. Press Windows + R and type regedit in Run dialog box to open Registry Editor (if you’re not familiar with Registry Editor, then click here). Click OK.
2. In left pane of Registry Editor window, navigate to following registry key:
HKEY_CURRENT_USER\Control Panel\Desktop

3. Now in the right pane of Desktop registry key, look for the registry string (REG_SZ) named FontSmoothing. It must be having its Value set to 2 by default, which means font smoothing is enabled. Double click on the string to modify its Value data:

4. Set the Value data to 0 to disable font smoothing. Click OK. Similarly, double click on FontSmoothingType registry DWORD (REG_DWORD) and set its Value data to 1, again, to disable font smoothing. Click OK and close Registry Editor.

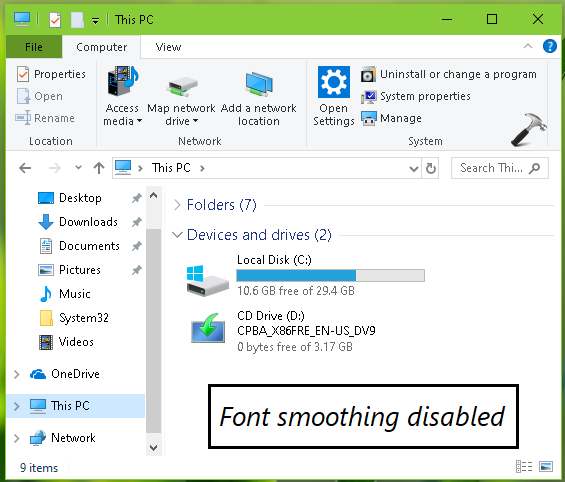
Restart your system to make changes effective. After reboot, you’ll see font smoothing is disabled.
To enable font smoothing later, simply check Smooth edges of screen font option as shown in Method 1.
That’s it!