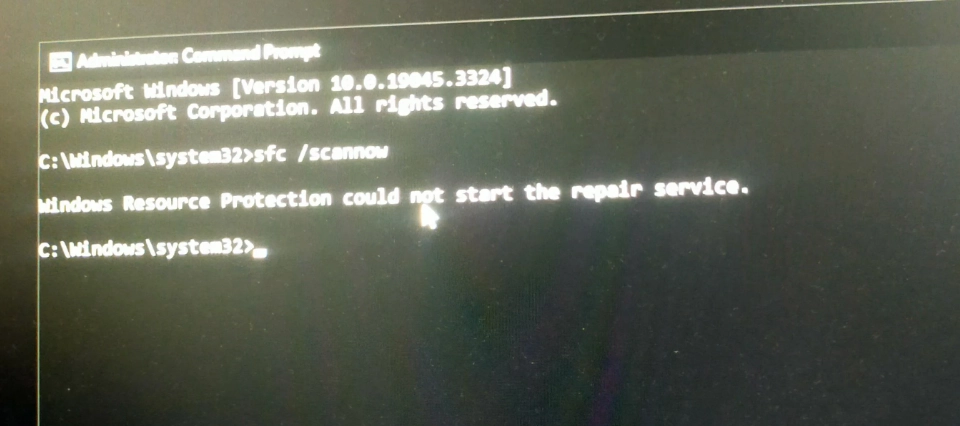
Windows Resource Protection could not start the repair service blocks the Windows 11 system files from being scanned and repaired with SFC (System File Checker). If this happens, it also means that critical Windows services, like the Windows Modules Installer (TrustedInstaller), may be missing, broken or not running correctly.
This will cause your PC to become unstable, fail to update or cause errors to keep happening. Fortunately, this is a problem that typically doesn’t require Windows re-installation. Let’s discuss how this error can occur and introduce you to step-by-step solutions that will get your Windows system running again without any hassle.
Page Contents
What Does “Windows Resource Protection could not start the repair service” Mean?
The SFC /scannow command uses some of the built-in services of Windows to scan and repair protected system files. If, however, one of these services is not running or if it fails to run (most frequently, TrustedInstaller or Windows Modules Installer), the scan stops immediately, and an error message is displayed: Windows Resource Protection could not start the repair service.
It doesn’t necessarily mean you have a lot of damage to your Windows installation. Many of the issues stem from disabled services, corrupted system components, pending Windows updates, or configuration issues that can be fixed with the built-in repair tools.
If you know what is causing this error, then you’ll be better equipped to apply the proper solution rather than going through trial and error.
Fix: Windows Resource Protection could not start the repair service
Solution 1: Enable the Windows Modules Installer Service
Windows Modules Installer (TrustedInstaller) installs, updates and repairs protected Windows files and files. If this service is not running, then SFC won’t be able to make repairs. Follow these steps.
1. Press Windows + R to bring up the Run window. Type in this command and press Enter.
services.msc
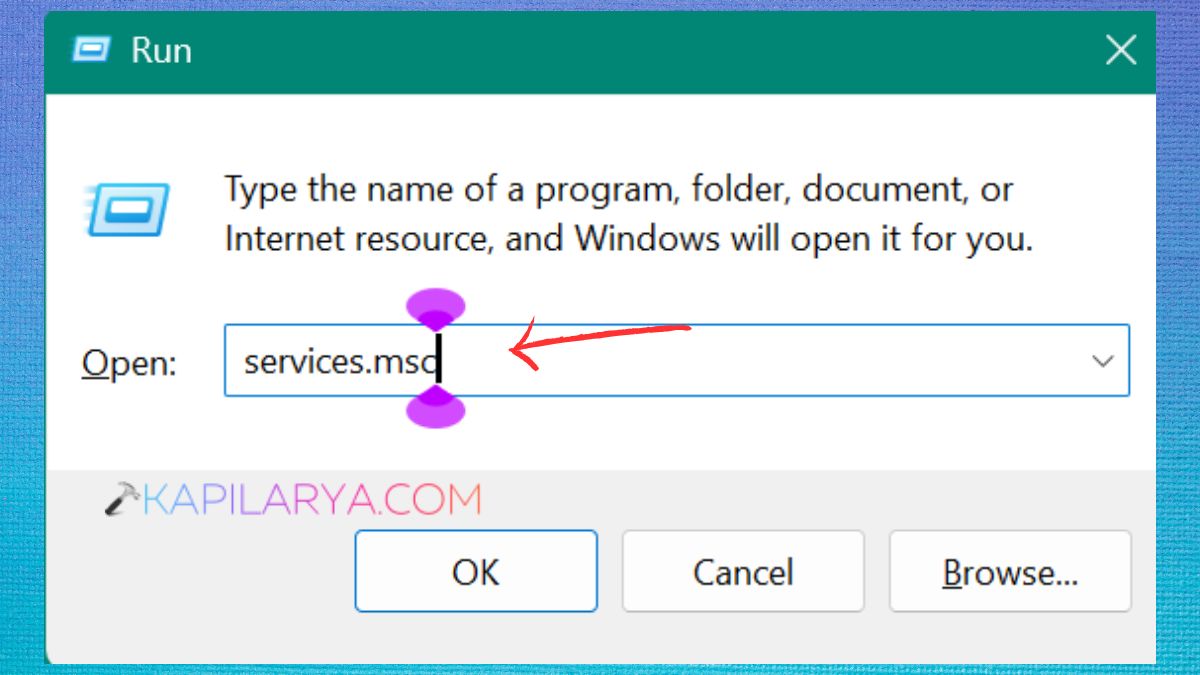
2. Find Windows Modules Installer. Double-click the service. Select “Manual” or “Automatic” for “Startup type.
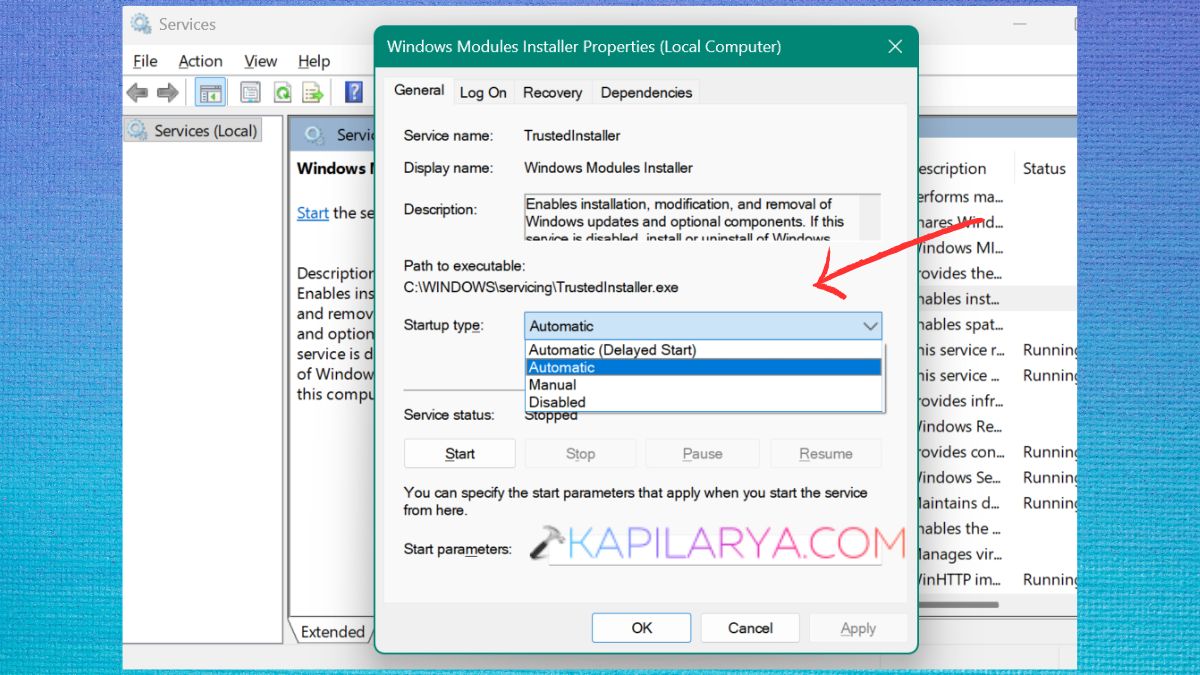
3. Click Start if the service isn’t running. Click on Apply and OK.
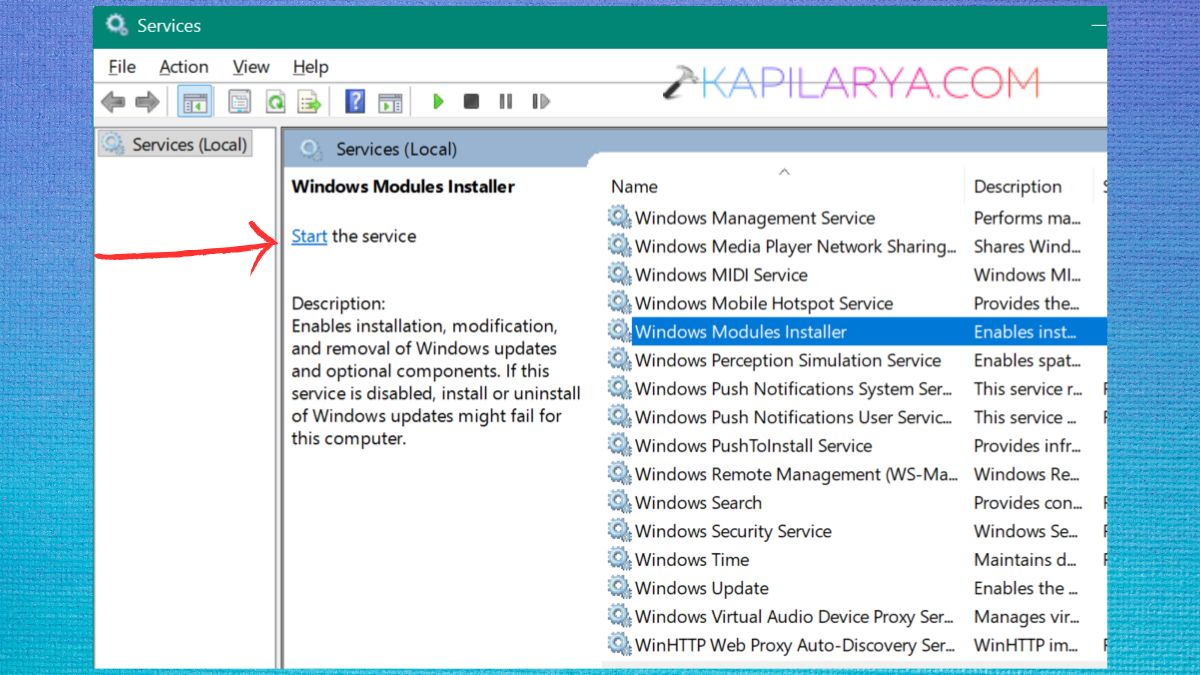
Restart your computer.
4. Now, as an administrator, open the Command Prompt.
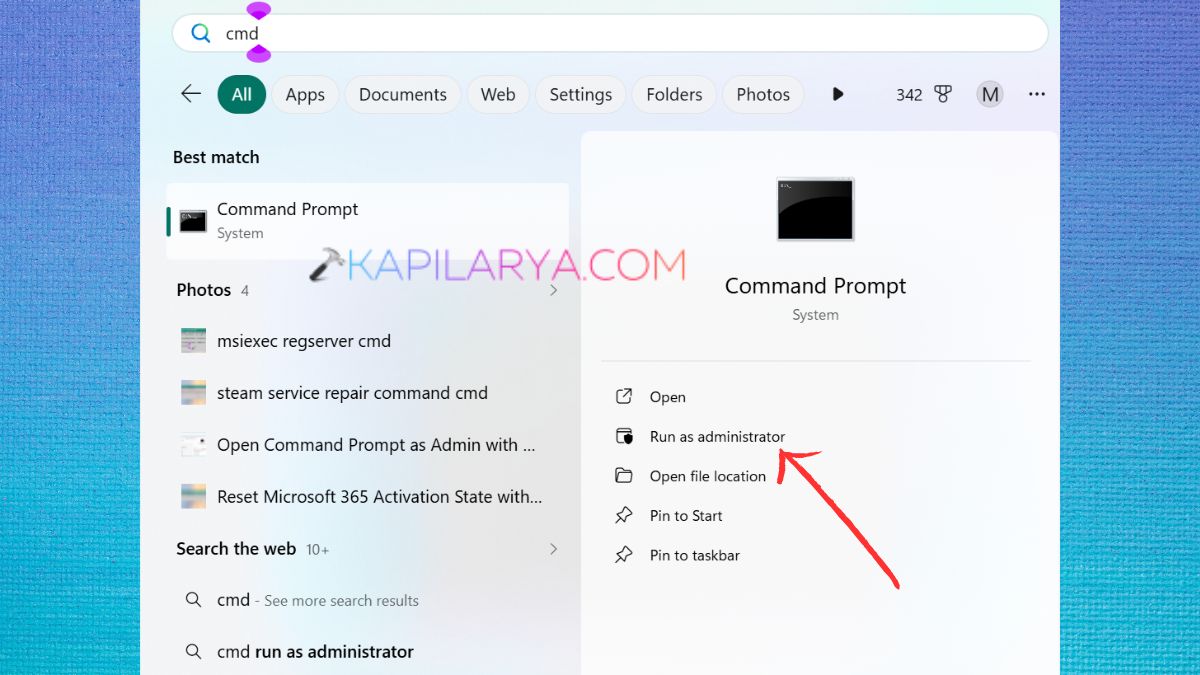
5. Type or copy/paste this command.
sfc /scannow
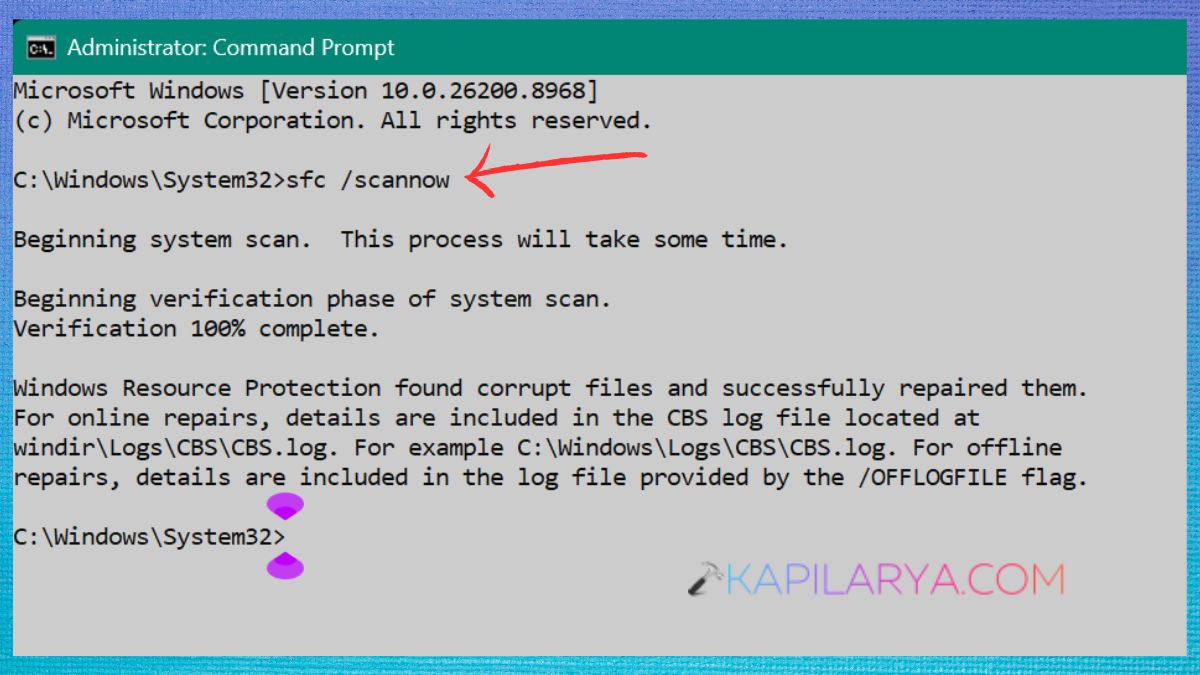
Test to see if the repair service begins properly.
Solution 2: Repair Windows Components Using DISM
The repair service might not be able to run if there’s a corrupt file for the Windows components. DISM fixes the Windows image on Microsoft’s servers.
1. Run the Command Prompt as administrator.
2. Execute the following commands, sequentially. Execute the following commands, one at a time.
DISM /Online /Cleanup-Image /CheckHealth
DISM /Online /Cleanup-Image /ScanHealth
DISM /Online /Cleanup-Image /RestoreHealth
Wait until 100% until process.
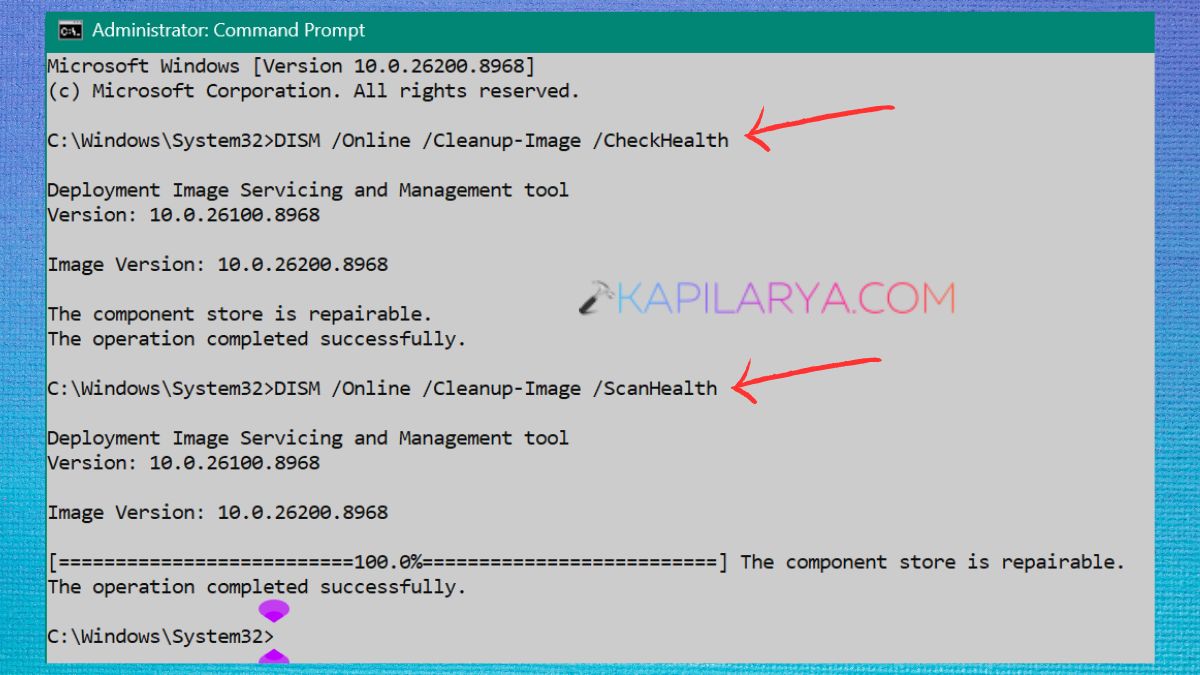
Restart your PC.
3. Run the SFC command. This usually fixes some of the root causes of corruption that are responsible for Windows Resource Protection failures.
Solution 3: Launch the TrustedInstaller Service from Command Prompt
The TrustedInstaller service is sometimes present, but does not start automatically. You can restore Windows Resource Protection from the Command Prompt.
1. Right-click on Command Prompt and select Run as Administrator.
2. Enter this command. Press Enter.
sc config trustedinstaller start= demand
Now execute these.
net start trustedinstaller
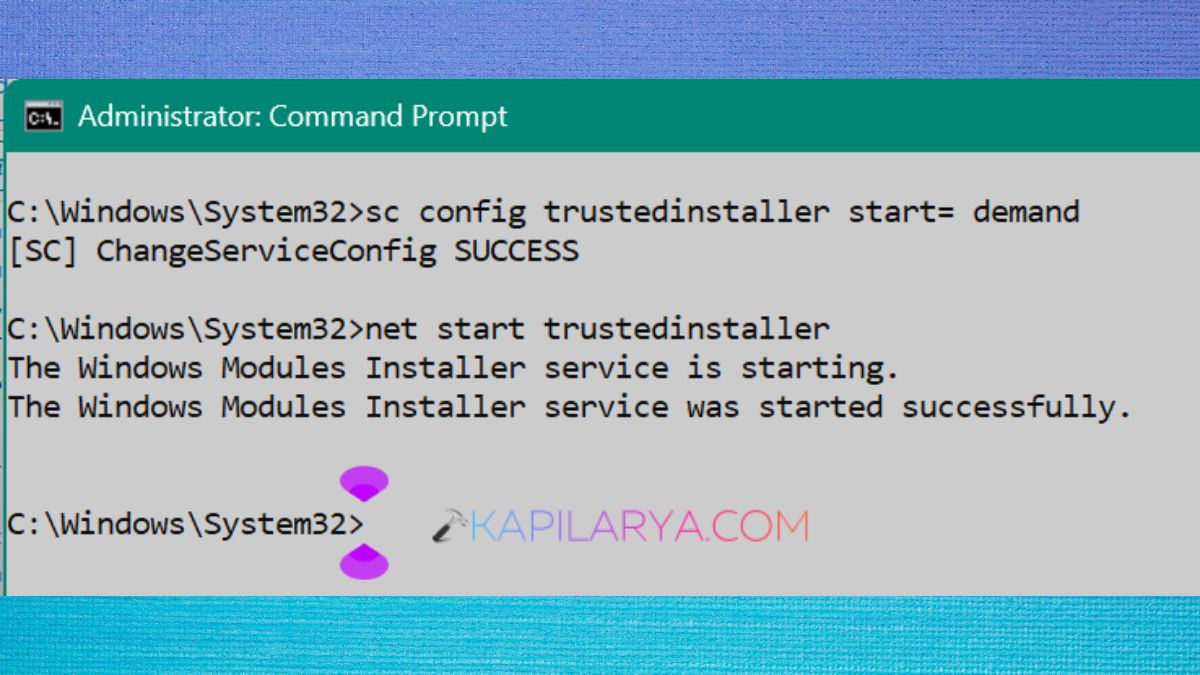
Once you’ve received success message, repeat the sfc command. If the scan is normal, then the problem has been fixed.
Solution 4: Run System File Checker in Safe Mode
There may be background applications or services interfering with the Windows repair services. Safe Mode loads Windows with just the necessary drivers.
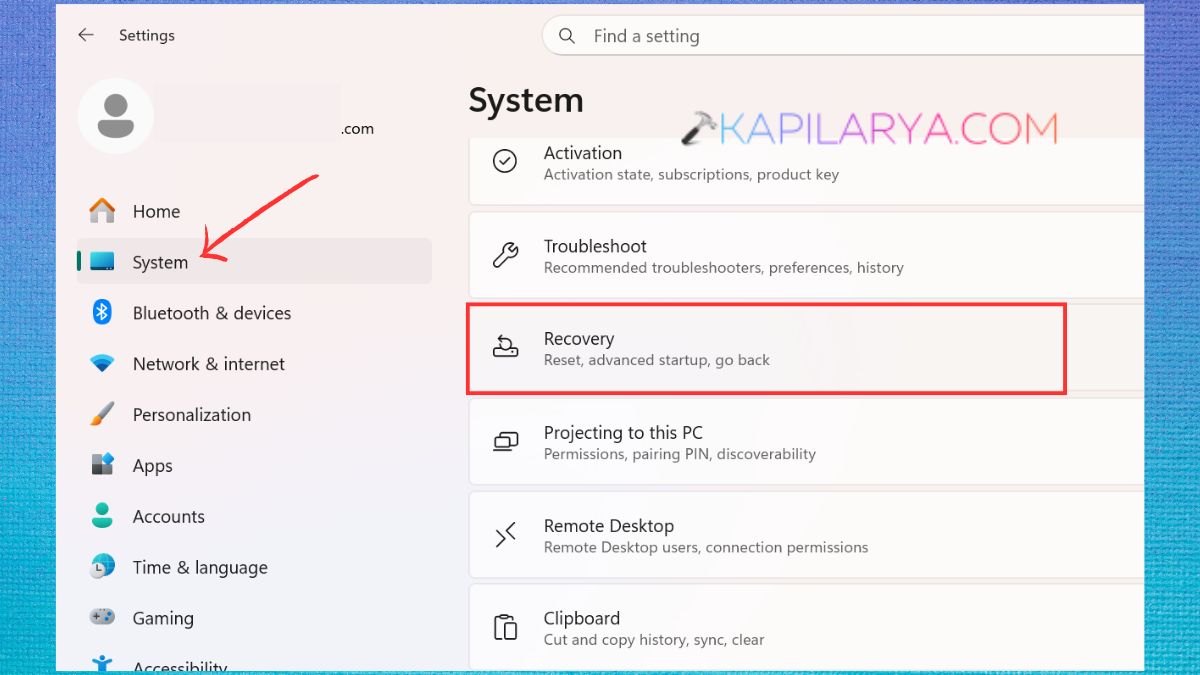
1. Press the Windows + I keys to open Settings. Go to System > Recovery.
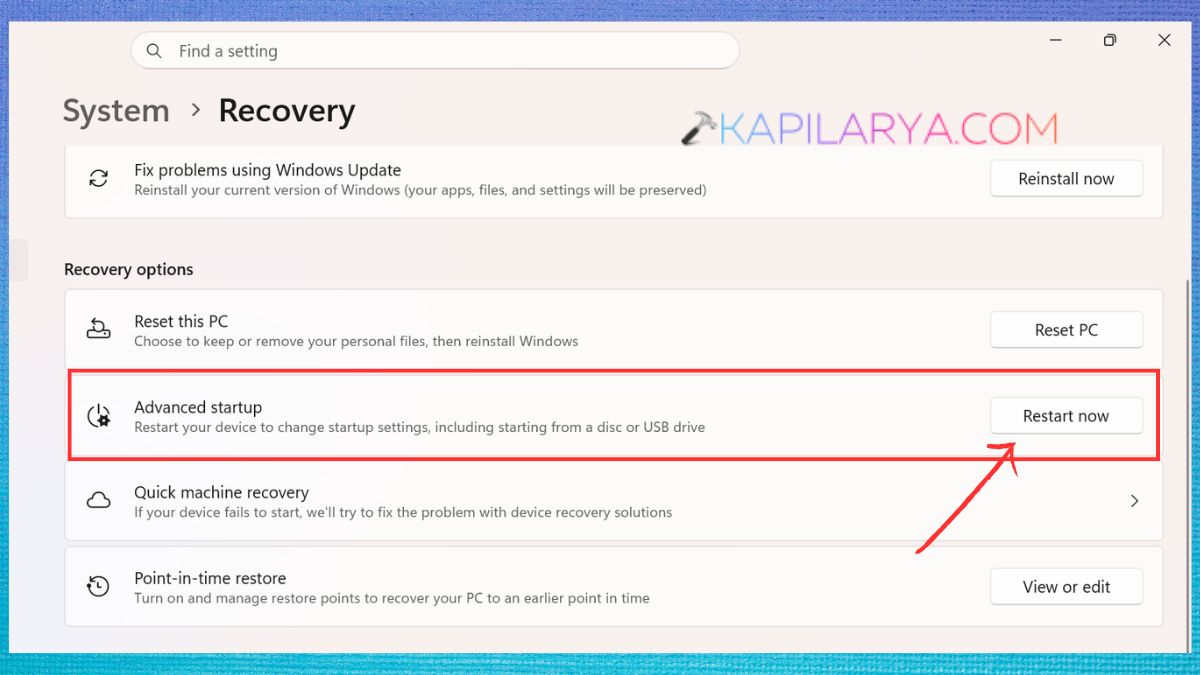
2. In Advanced Startup, select “Restart now”.
3. Click these: Troubleshoot > Advanced Options > Startup Settings > Restart.
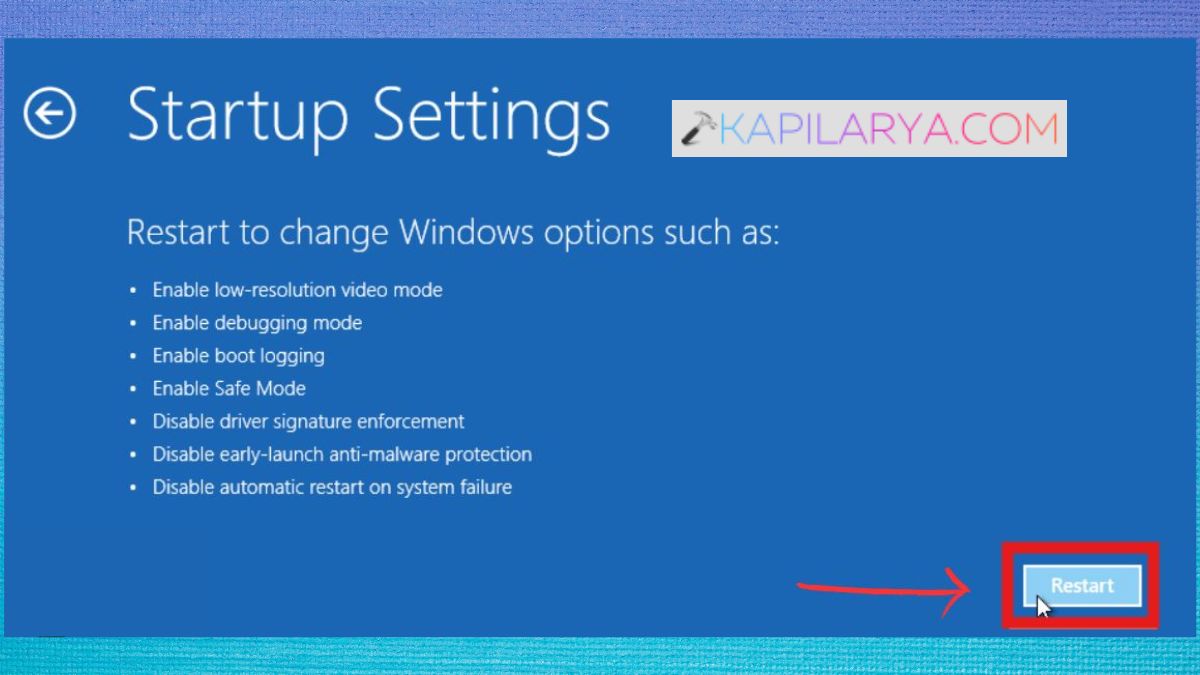
4. To boot into Safe Mode, press key “4”.
5. Try to execute the SFC command in Command Prompt. If SFC successfully runs in Safe Mode, then another application is probably preventing the repair service from running in normal mode.
Solution 5: Verify Windows Service Dependencies
There are multiple background services that are required for Windows repair services. The Windows Resource Protection system may fail if one of them is not running.
1. Click and open Services in the Start Menu.
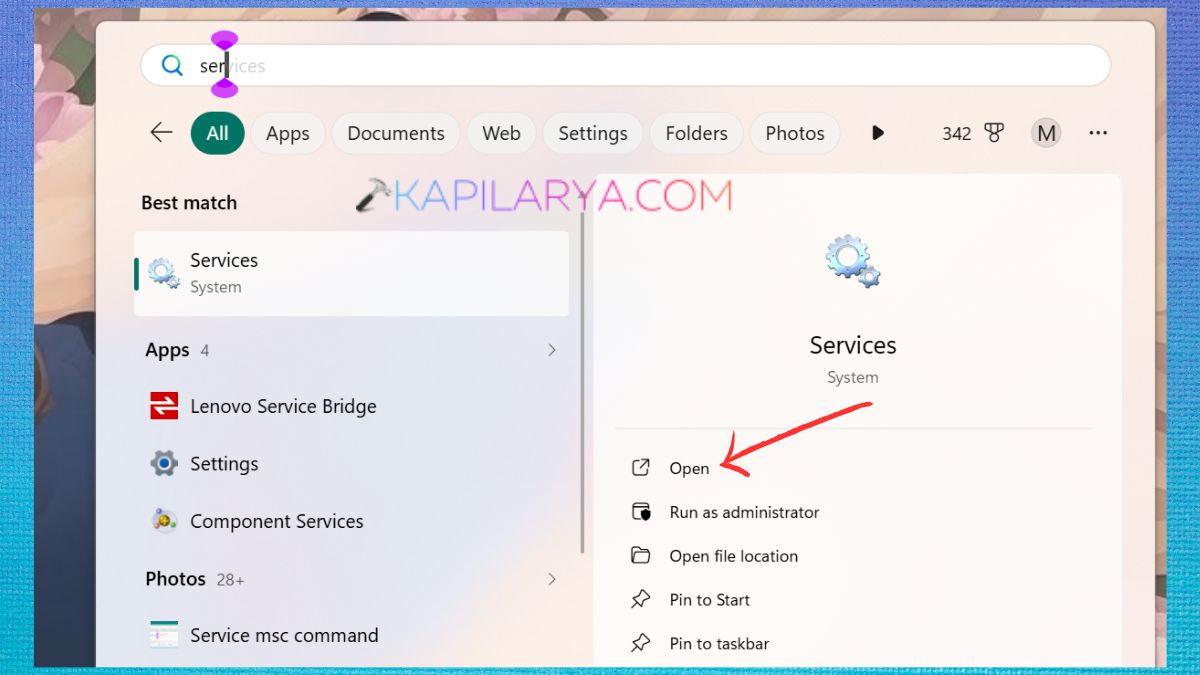
2. Find Windows Modules Installer. Open its Properties.
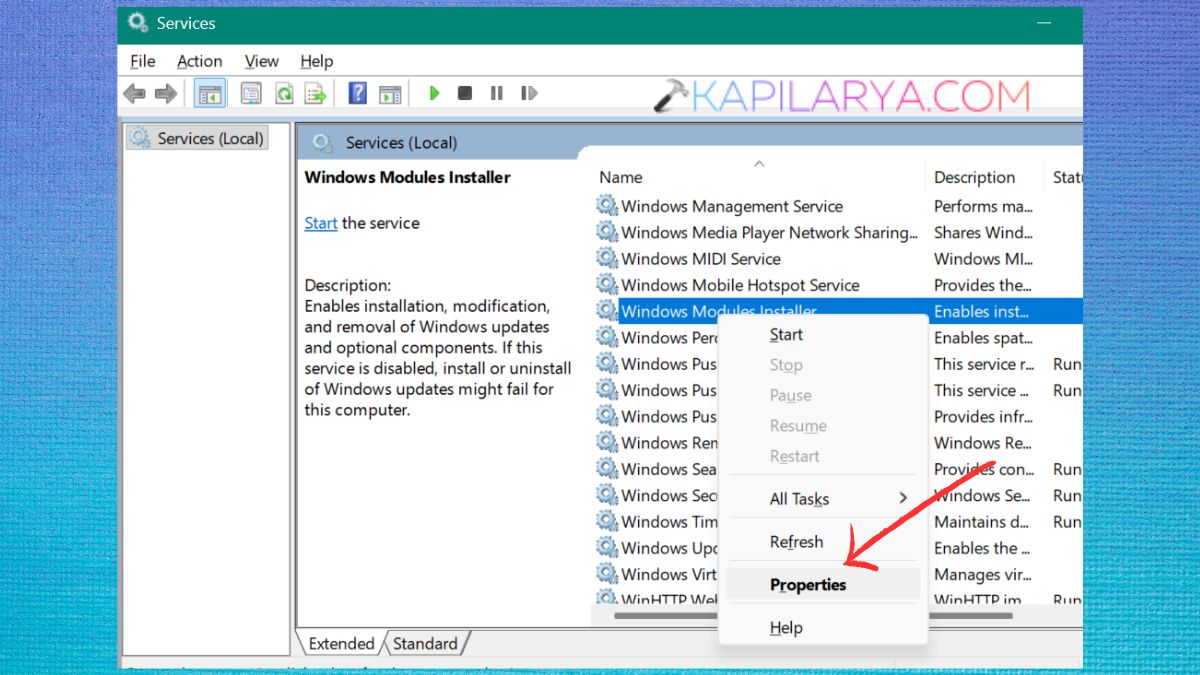
3. Click on Dependencies tab. Make sure that all the services listed are running. If any dependency available, double-click any service that is stopped. Set the “Startup Type” back to “Automatic”.
4. Restart your PC. Repeat the SFC command after.
Solution 6: Install the Latest Windows Updates
Microsoft periodically posts fixes to address system bugs, service failures and Windows corruption problems.
1. Open Settings. Click on Windows Update.
2. Tap Check for updates. Install all updates.
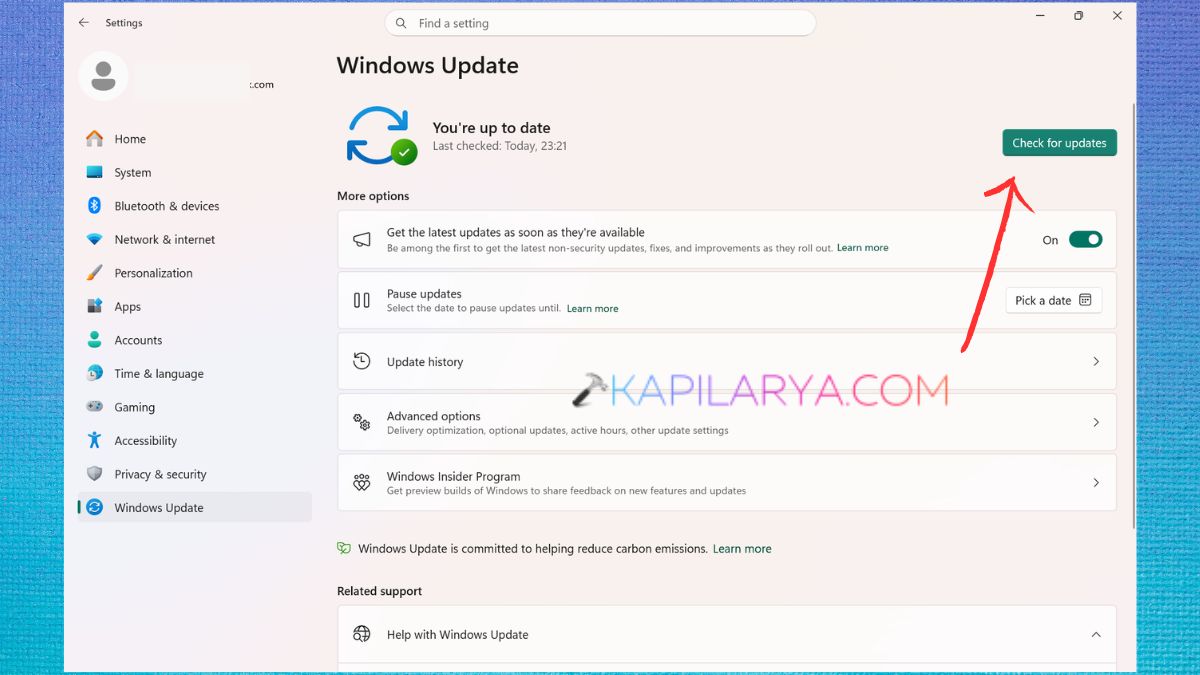
3. Restart your computer. Run Command Prompt as administrator. Once again, execute the sfc command.
Applying pending updates will automatically replace broken system parts.
Solution 7: Repair Registry Entries (Advanced Users Only)
If registry entries related to Windows repair services are not correctly made, then TrustedInstaller might not work.
1. Click on Windows + R, and type this.
regedit
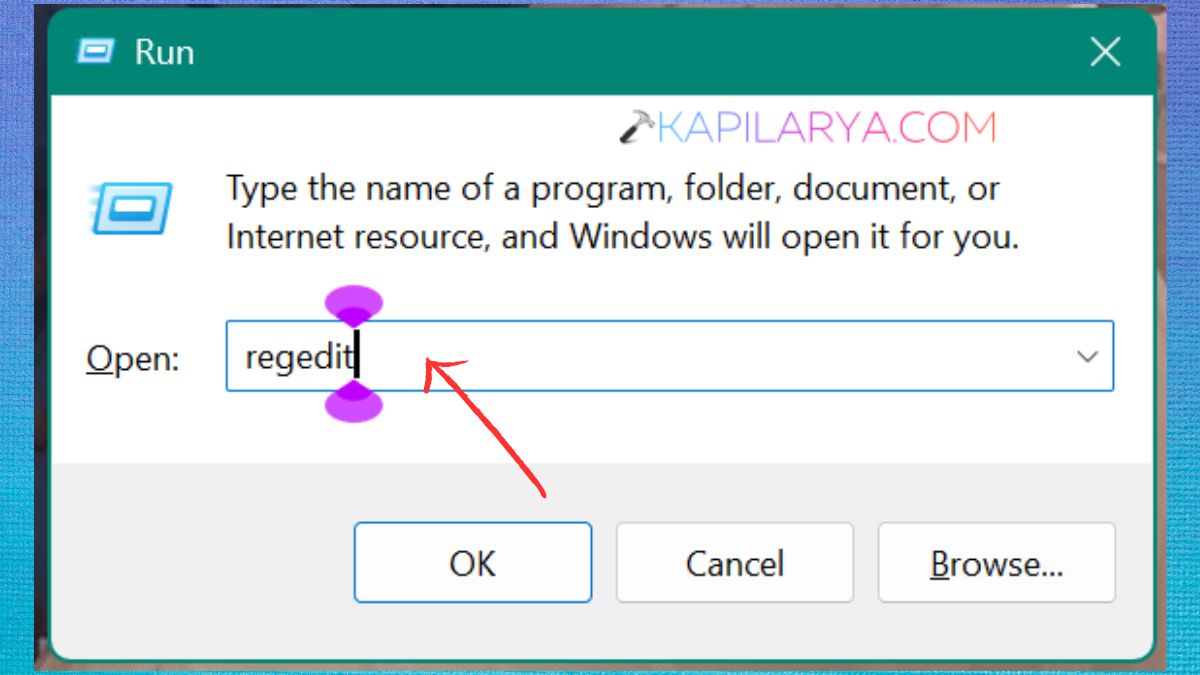
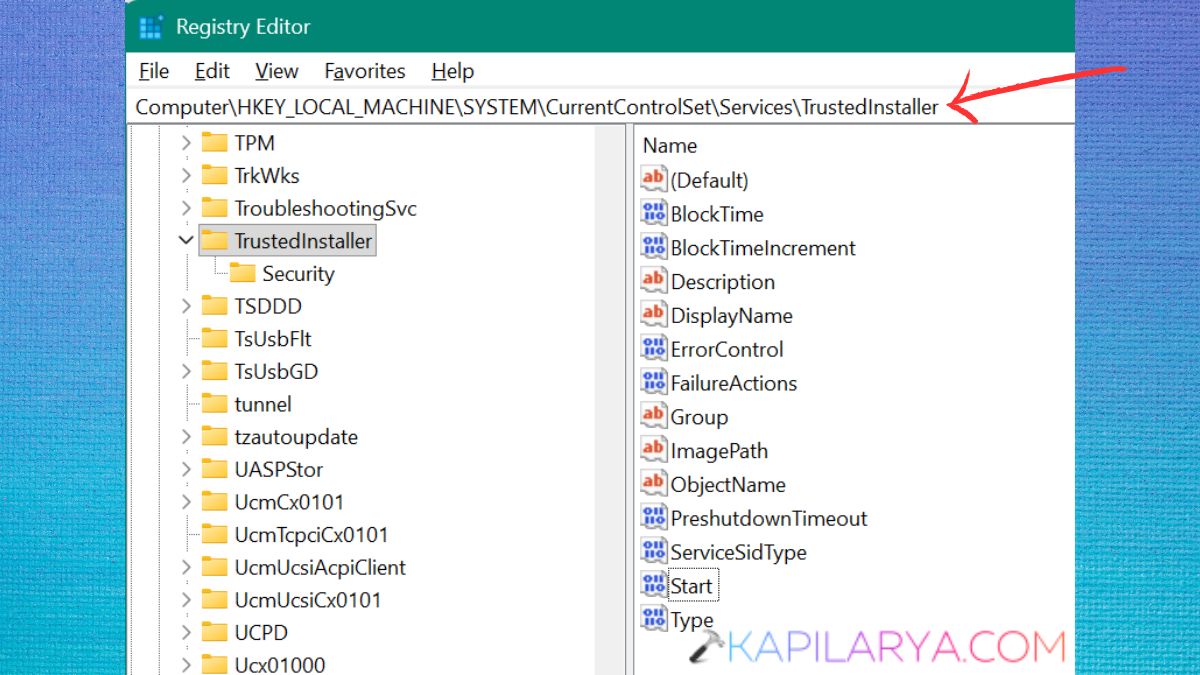
2. Go to this route.
HKEY_LOCAL_MACHINE\SYSTEM\CurrentControlSet\Services\TrustedInstaller
Check that: Start is set to 3 (Manual), and the path for the services is correct.
3. Close Registry Editor. Restart Windows.
4. Restart your computer and repeat the SFC scan.
Solution 8: Check Your Drive for File System Errors
Windows Resource Protection might not be able to access protected system files if there’s an error in the hard drive.
1. Open the Command Prompt as administrator.
2. Enter this. If asked, press “Y”.
chkdsk C: /f /r
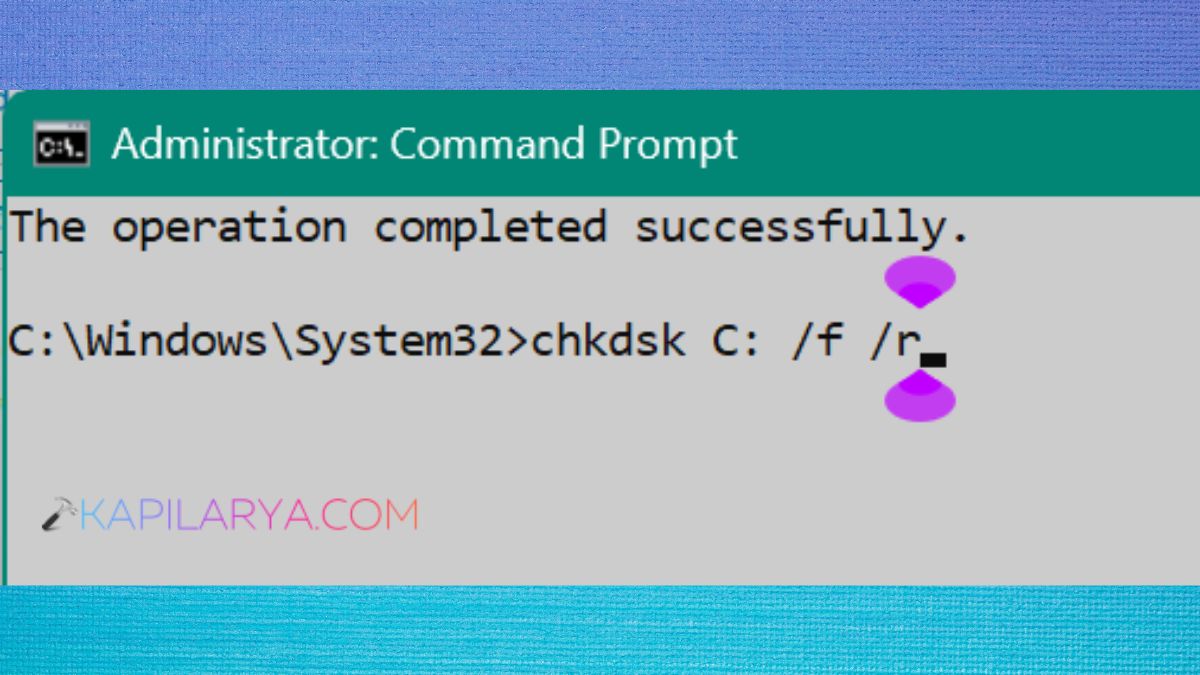
3. Restart your PC. Wait for the disk scan to finish.
4. After you log on to Windows, repeat the SFC command. CHKDSK might be able to fix the problem if it was caused by bad sectors or file system problems.
Video fix
Here’s a video fix to help you more on this: