In Windows 11 operating system, Windows Security comes pre-installed and provides the basic security and threat protection to your system. Many protection features already added and you do not need to pay for them, since its free to use. Microsoft has improved this security app continuously. Now the company has added a new feature called Smart App Control to Windows Security. In this article, we will see what is this feature about and how to enable Smart App Control in Windows 11.
Smart App Control is the new feature Microsoft added with Windows 11 Preview Build 22567. As per Microsoft, Smart App Control adds significant protection from malware, including new and emerging threats, by blocking apps that are malicious or untrusted. Smart App Control also helps to block potentially unwanted apps, which are apps that may cause your device to run slowly, display unexpected ads, offer extra software you didn’t want, or do other things you don’t expect.
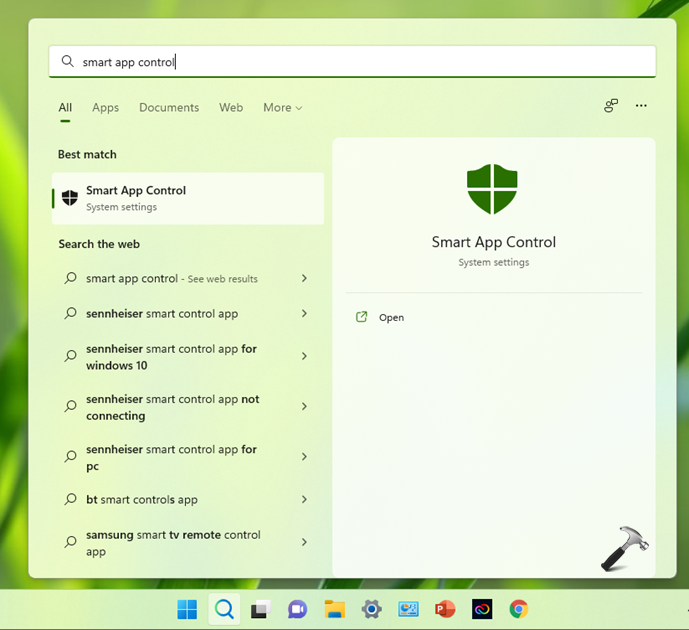
When a make a search for Smart App Control, you can directly access this new feature.
Here’s how Smart App Control works basically. When you try to run an app on Windows, Smart App Control will check to see if Microsoft cloud-based security service is familiar with it. If the app is known to be safe, Smart App Control will let it run. If the app is known to be unsafe or potentially unwanted then Smart App Control will block it. Usually unsafe apps doesn’t have a valid digital signature from the developer. Tampered apps will also fall under untrusted or unsafe apps.
Page Contents
How to enable Smart App Control in Windows 11
Method 1: Using Settings
1. Press Windows + X keys and select Run.
2. In Run, type windowsdefender: and press Enter key.
3. Inside Windows Security/Defender app, go to App & browser control. Click on Smart App Control settings.

4. Inside Smart App Control settings, you can set the feature to On to enable the feature. Now whenever Smart App Control spots an malicious or untrusted app, it will immediately block it.

Method 2: Using Registry
1. Press Windows + R, type regedit and click OK to open Registry Editor.
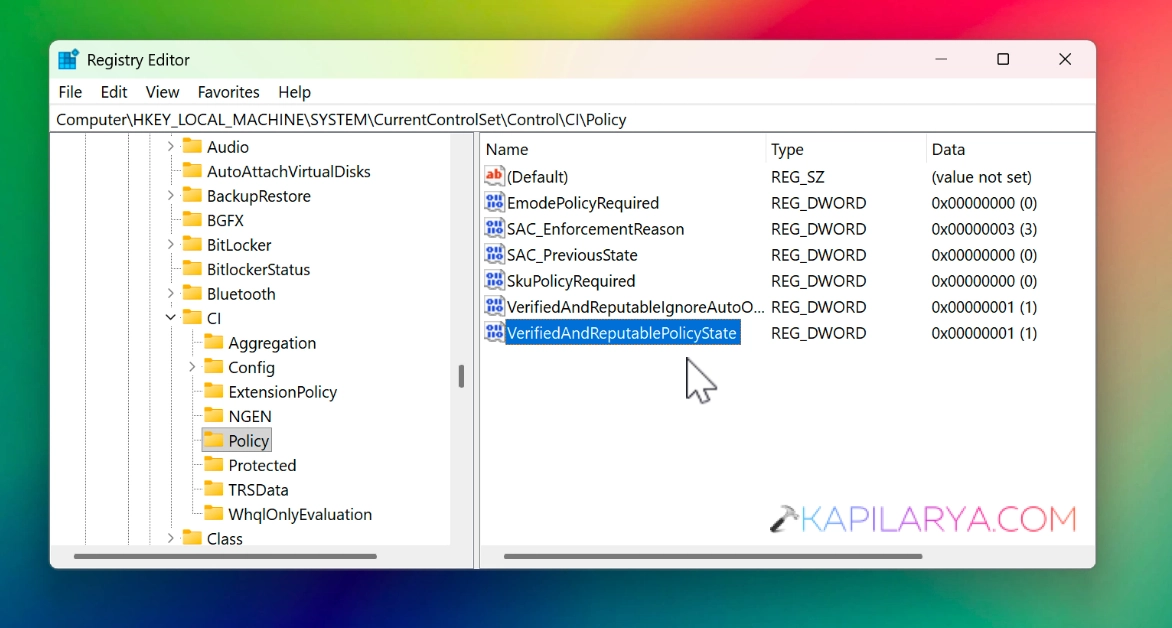
2. Go to following registry key:
HKEY_LOCAL_MACHINE\SYSTEM\CurrentControlSet\Control\CI\Policy
3. In the right pane of Policy, locate VerifiedAndReputablePolicyState. If it is set to 0, it would disable Smart App Control. Setting the Value data to 1 will enable Smart App Control.
4. Close Registry Editor and restart your system.
Video guide
Here’s a video guide for illustration:
Interested readers may refer to this Microsoft support article read further about Smart App Control feature.
That’s it!