Windows Update error code 0x800704c7 can appear with any random update and prevent your Windows PC from installing the necessary updates and other performance enhancements. The Windows 11 update may freeze in the middle, fail to install multiple times, or show you a 0x800704c7 error message; whatever the issue, you’re in the right place.
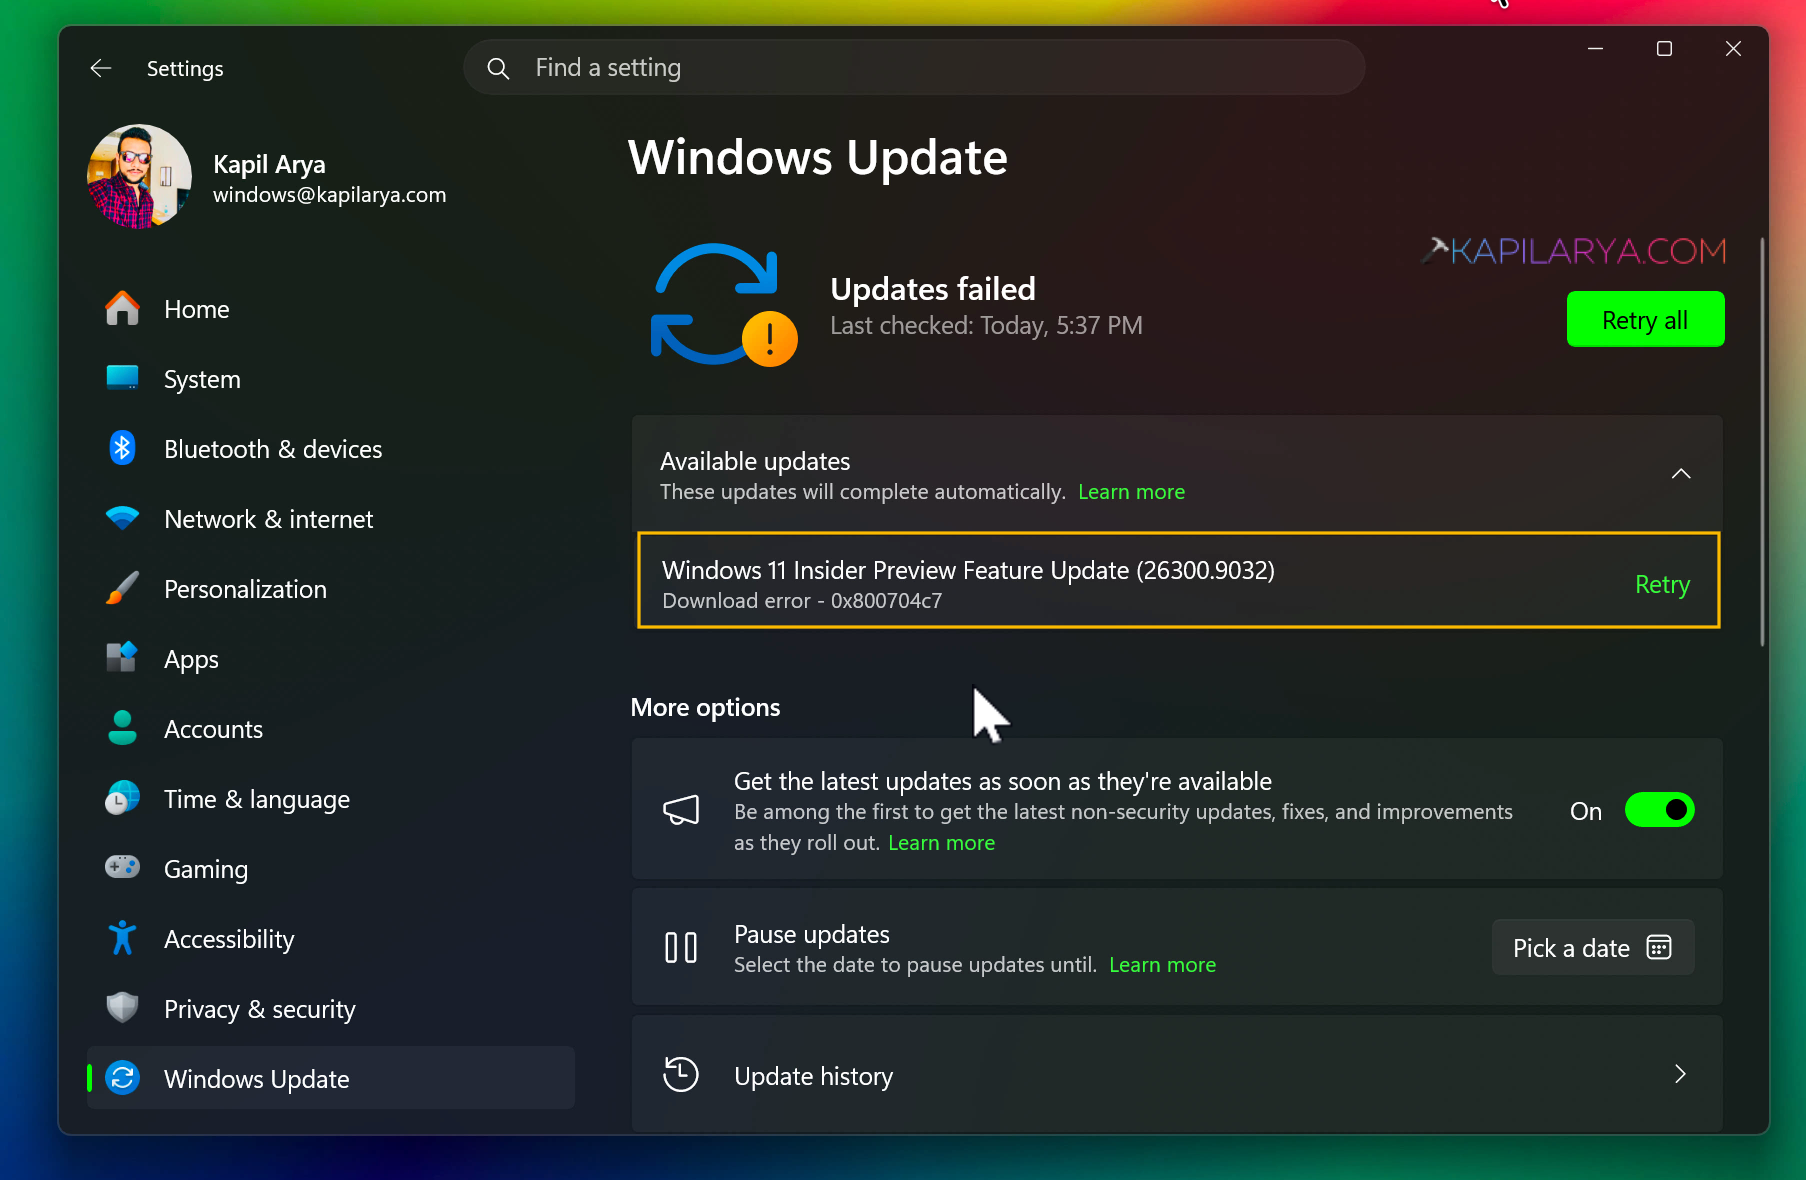
Fortunately, it doesn’t always require advanced technical expertise to fix. This detailed article will help you to understand the code 0x800704c7 error in Windows Update, as well as step-by-step solutions to fix the error.
Page Contents
Fix: Windows Update error code 0x800704c7
Using the steps described in this guide, you can restore Windows Update to your system and maintain its security, stability and updates.
Fix 1: Run the Windows Update Troubleshooter
A built-in troubleshooter in Windows will automatically identify and fix common issues with updates.
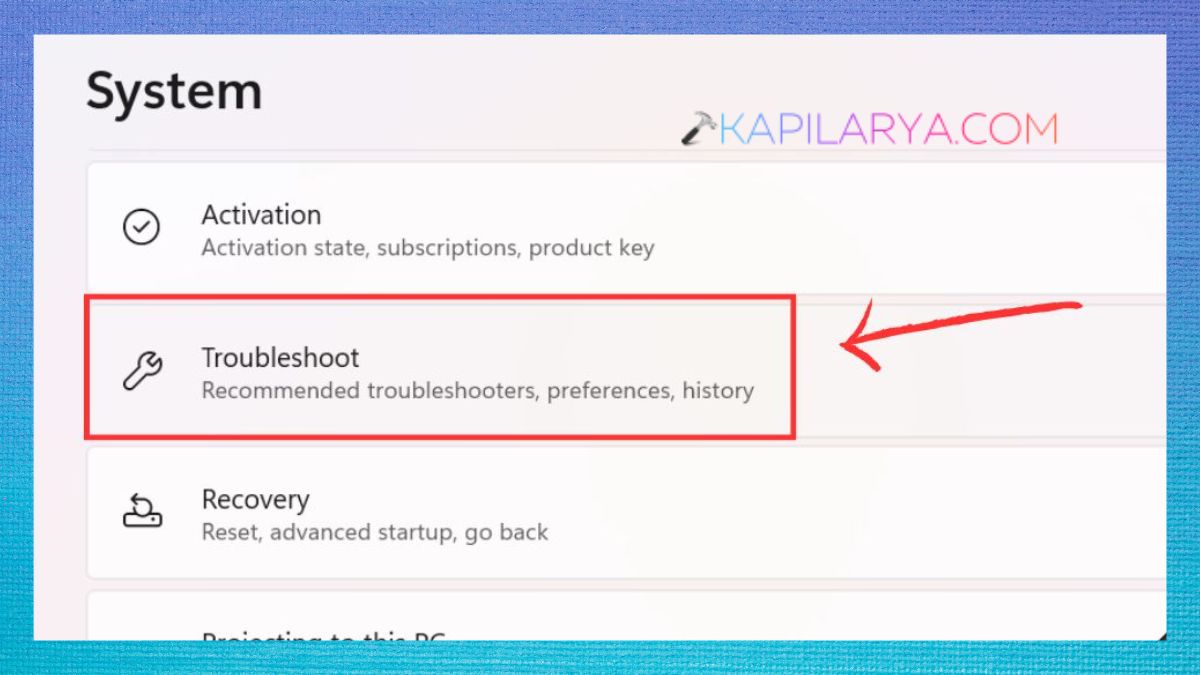
1. Click on Windows+I for Settings. Tap on System > Troubleshoot.
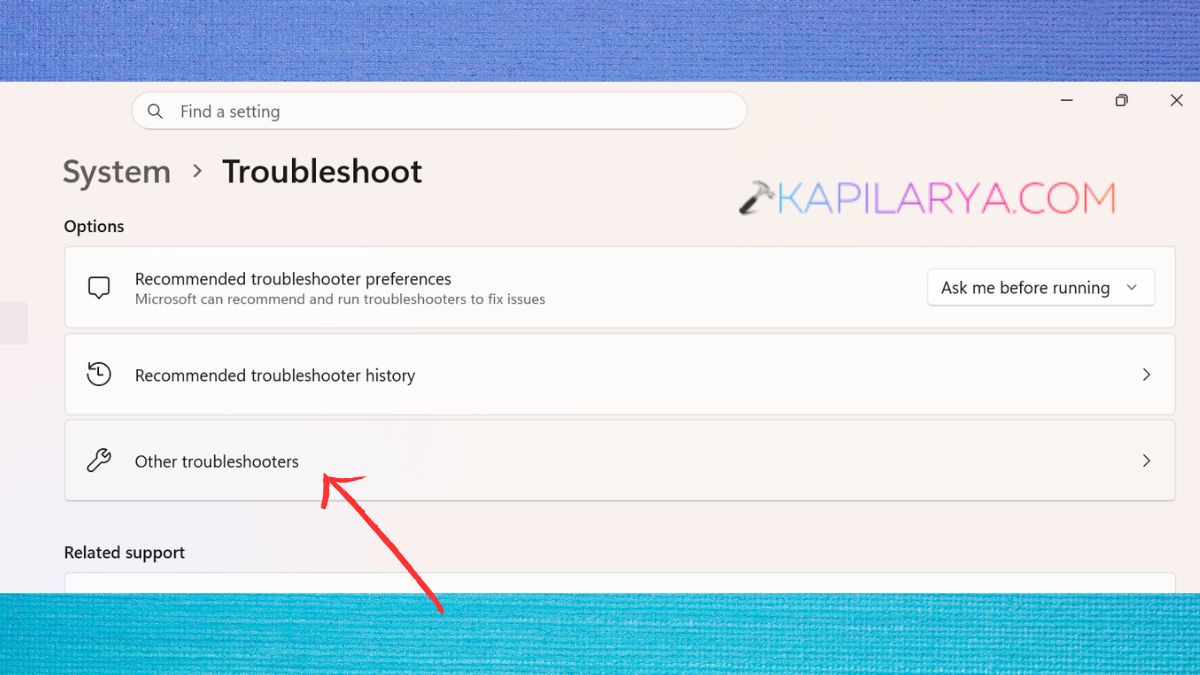
2. Click Other troubleshooters.
3. Find Windows Update. Click Run.
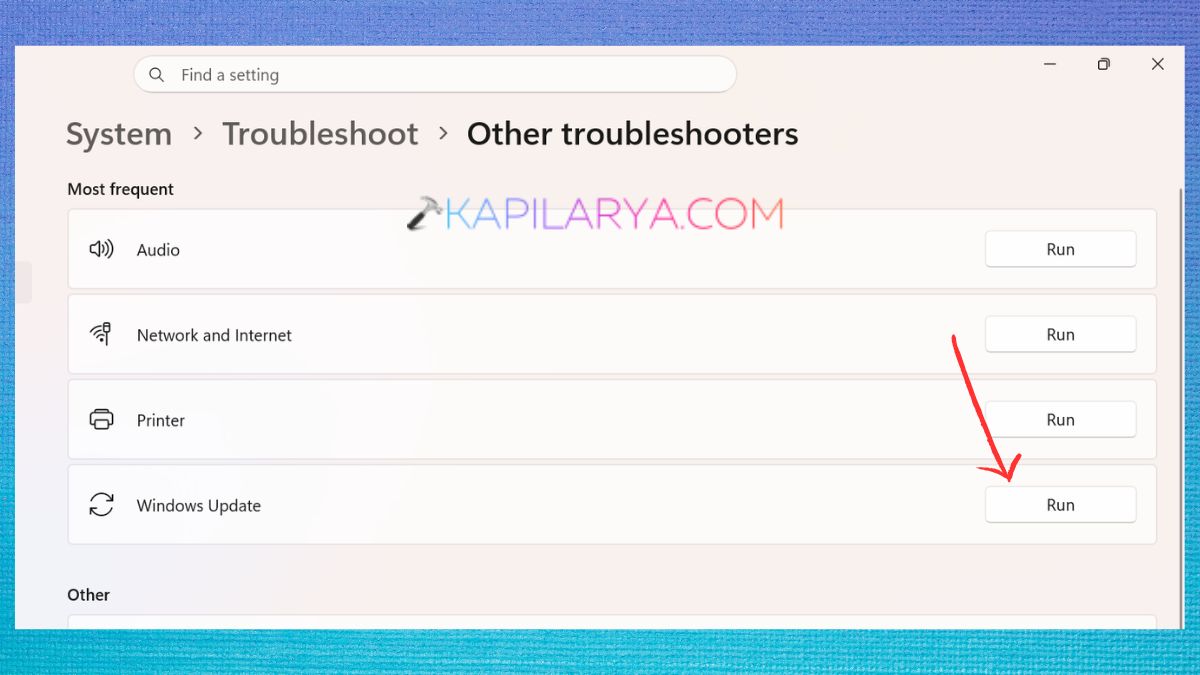
Allow Windows to identify issues. Implement any suggested corrections.
4. Restart your PC. Repeat the installation of the update.
Why is this best for all users? This is because the troubleshooter fixes the common Windows Update configuration problems automatically, restarts needed services, and resets some Windows Update components.
Fix 2: Clear the Windows Update Cache
Error 0x800704c7 can be caused by corrupted update files in the SoftwareDistribution folder.
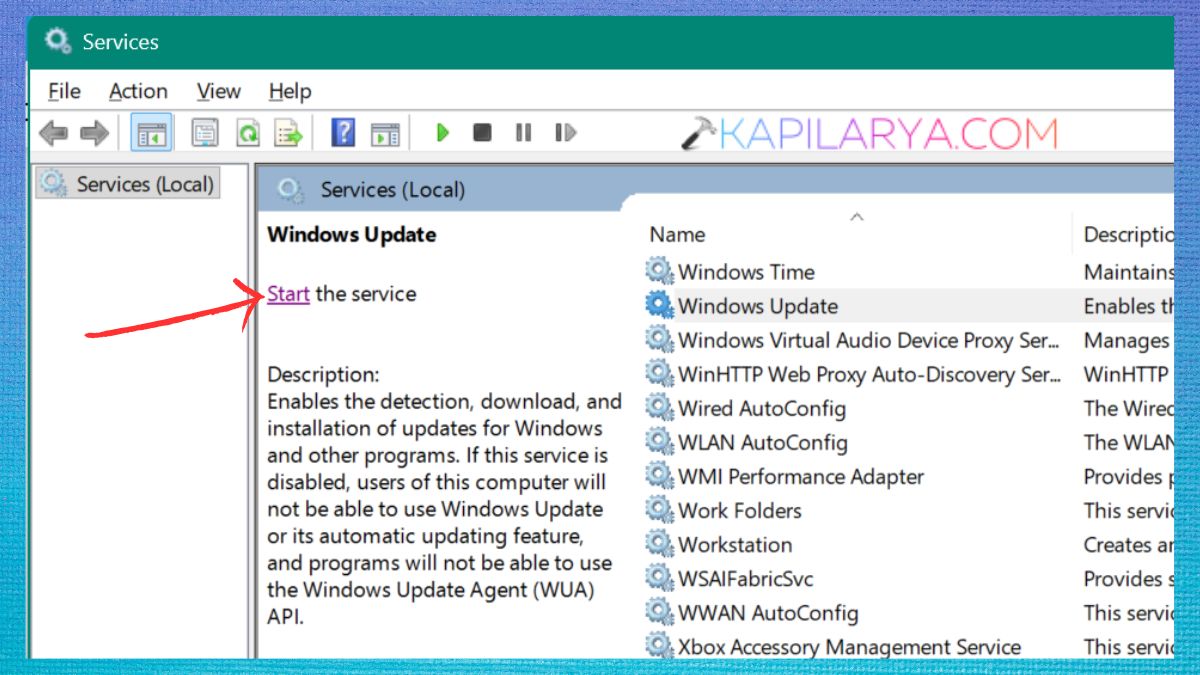
1. Click on the Win key, type in Services and open the window.
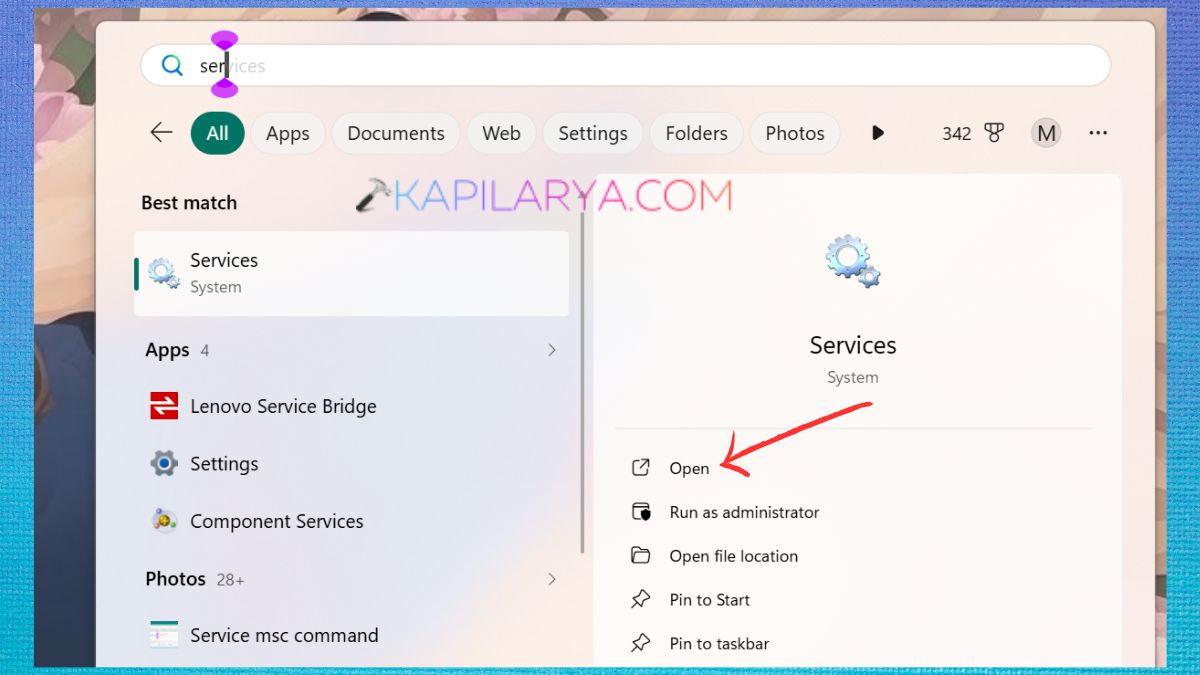
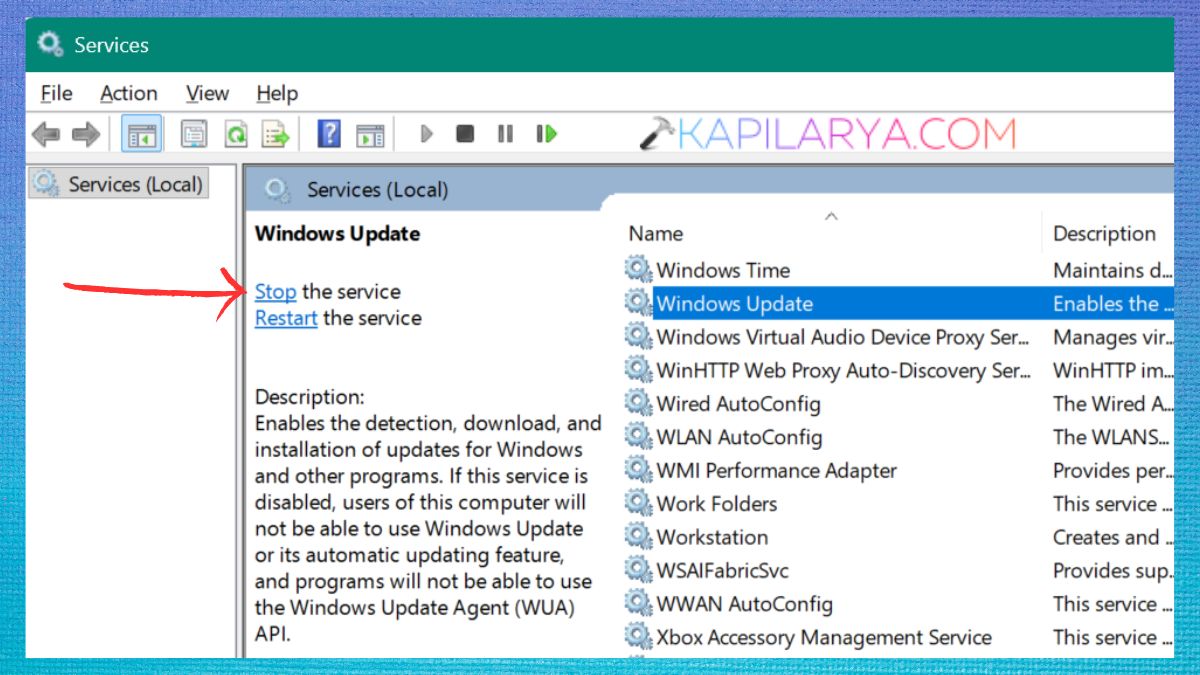
2. Locate Windows Update. Right-click it and press Stop.
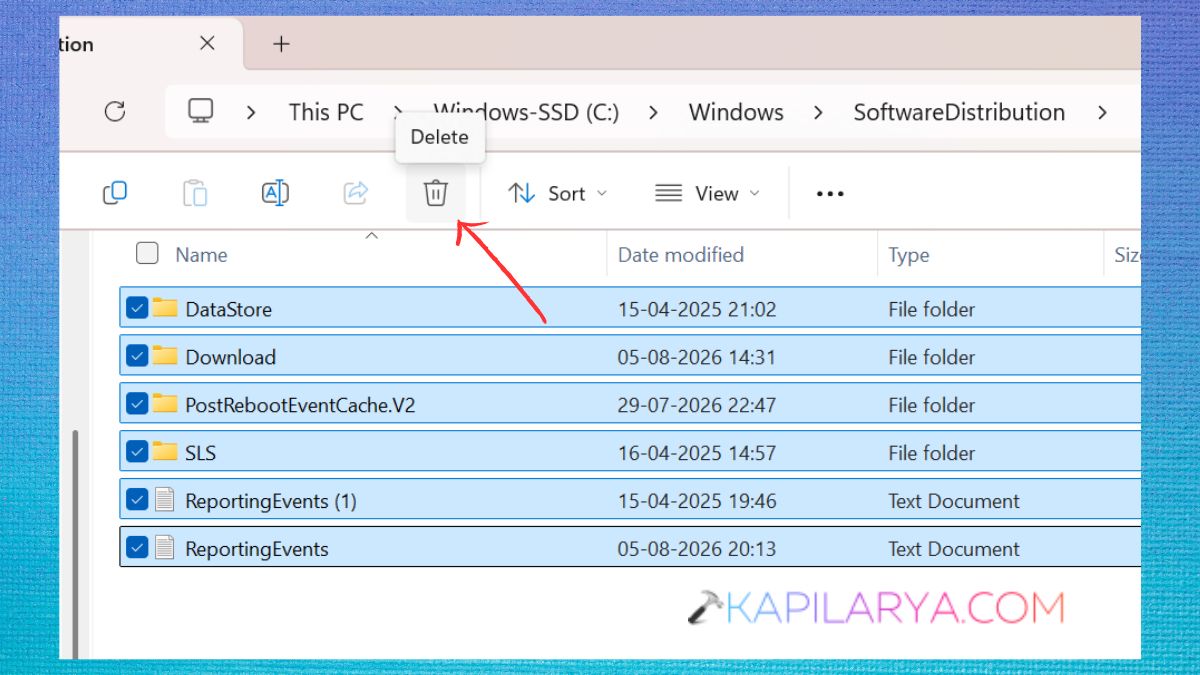
3. Open File Explorer and go to this location.
C:\Windows\SoftwareDistribution
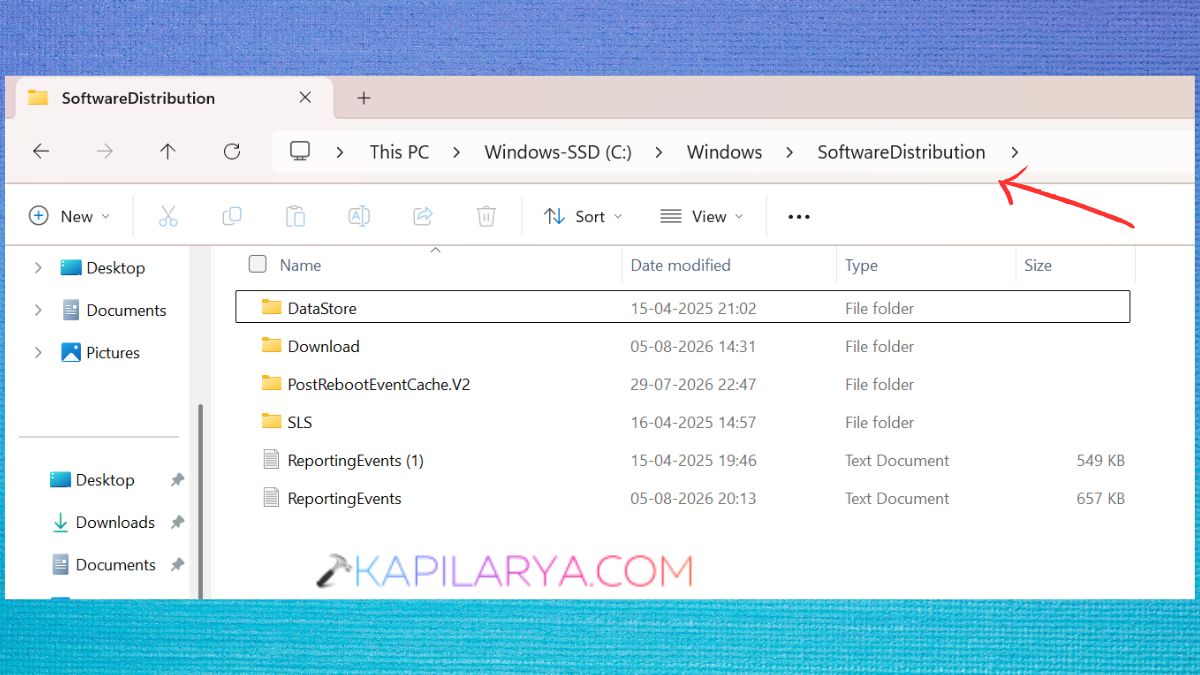
4. Delete all files and folders inside the SoftwareDistribution folder.
5. Return to Services. Right-click on Windows Update once more. Select Start.
Restart your computer. Deleting the update cache makes Windows download new update files, rather than potentially corrupted ones.
Fix 3: Repair Corrupted Windows System Files
Frequently, updates fail to install properly because of corrupted Windows system files.
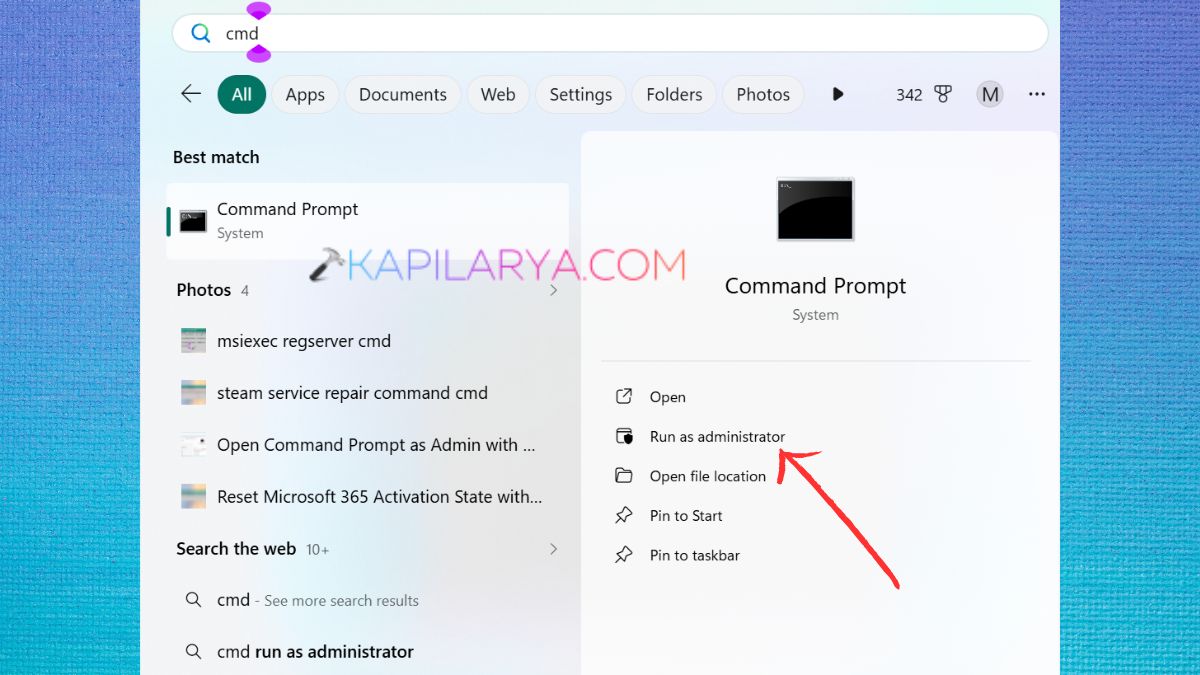
1. Type in Command Prompt. Right-click it. Choose Run as administrator.
2. Enter this command.
sfc /scannow
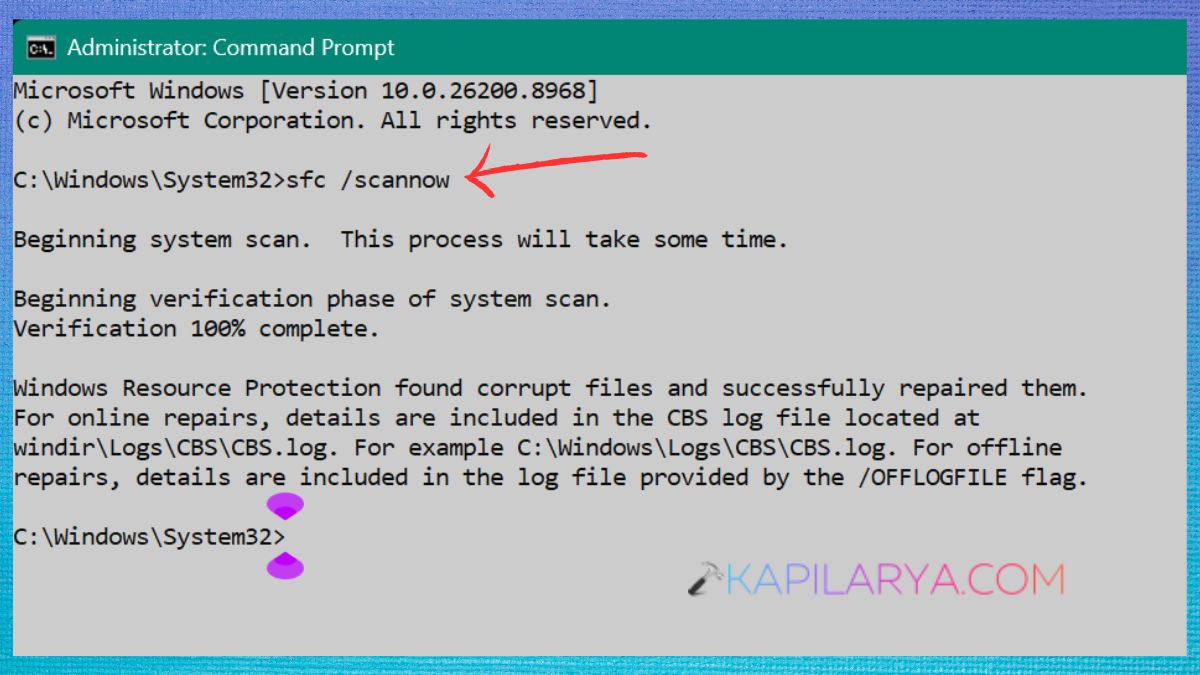
Wait until the scan is complete. Restart your computer.
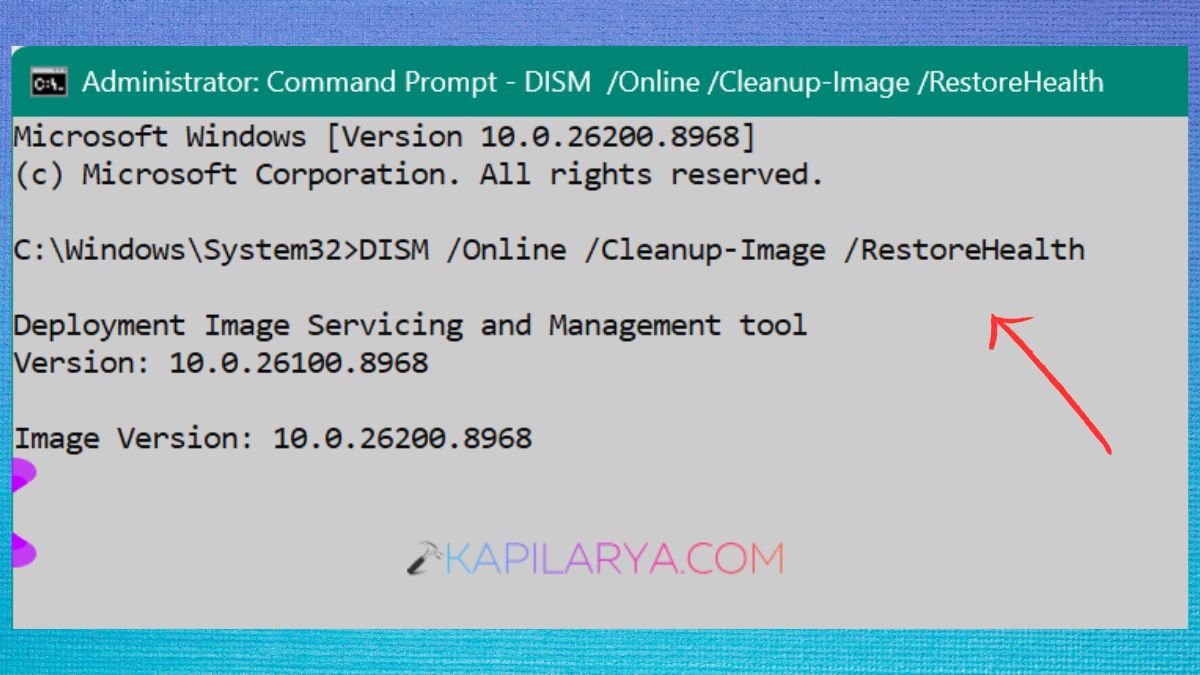
3. If the problem continues, run these DISM commands one by one.
DISM /Online /Cleanup-Image /CheckHealth
DISM /Online /Cleanup-Image /ScanHealth
DISM /Online /Cleanup-Image /RestoreHealth
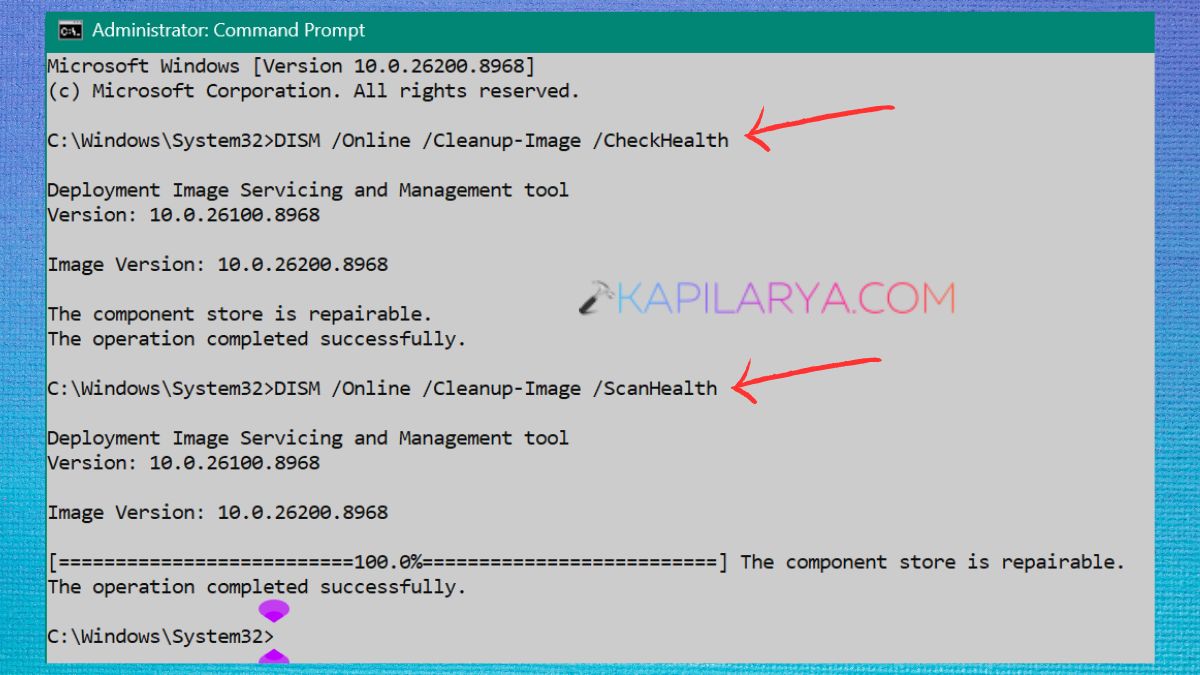
After the repair, restart Windows. SFC repairs system files that were corrupted, and DISM restores the Windows image that was used in the updates.
Fix 4: Perform a Clean Boot
Third-party applications or start-up services can interfere with Windows Update.
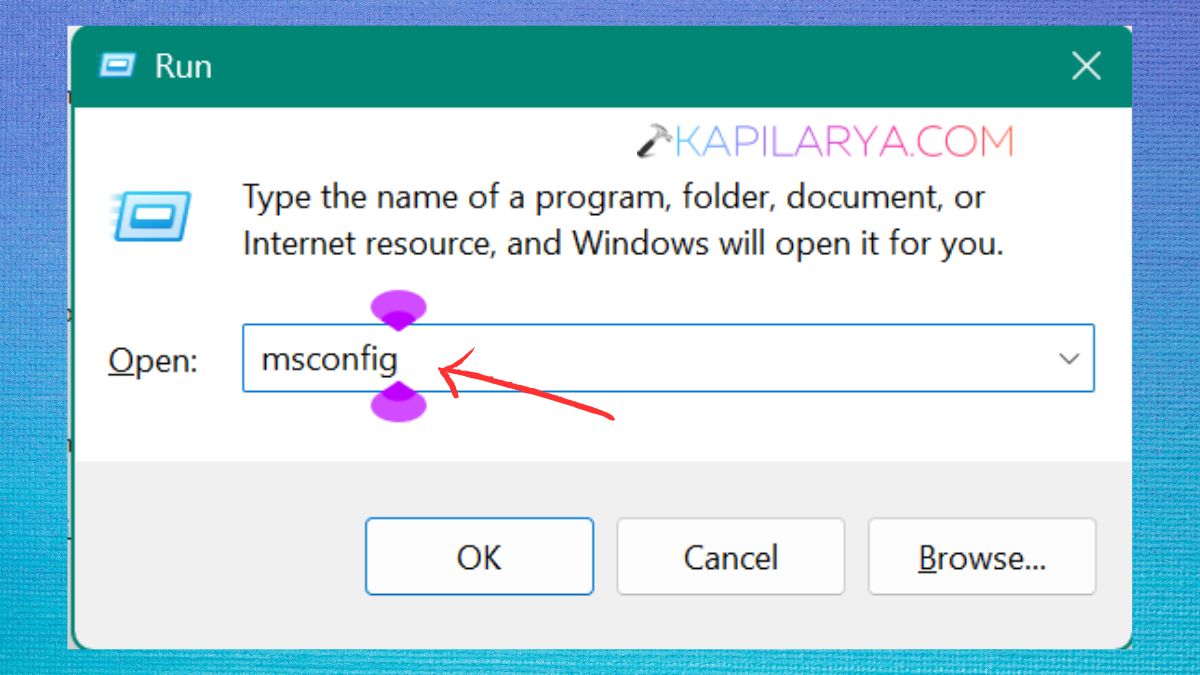
1. Click Windows + R, then type in this command. Press Enter.
msconfig
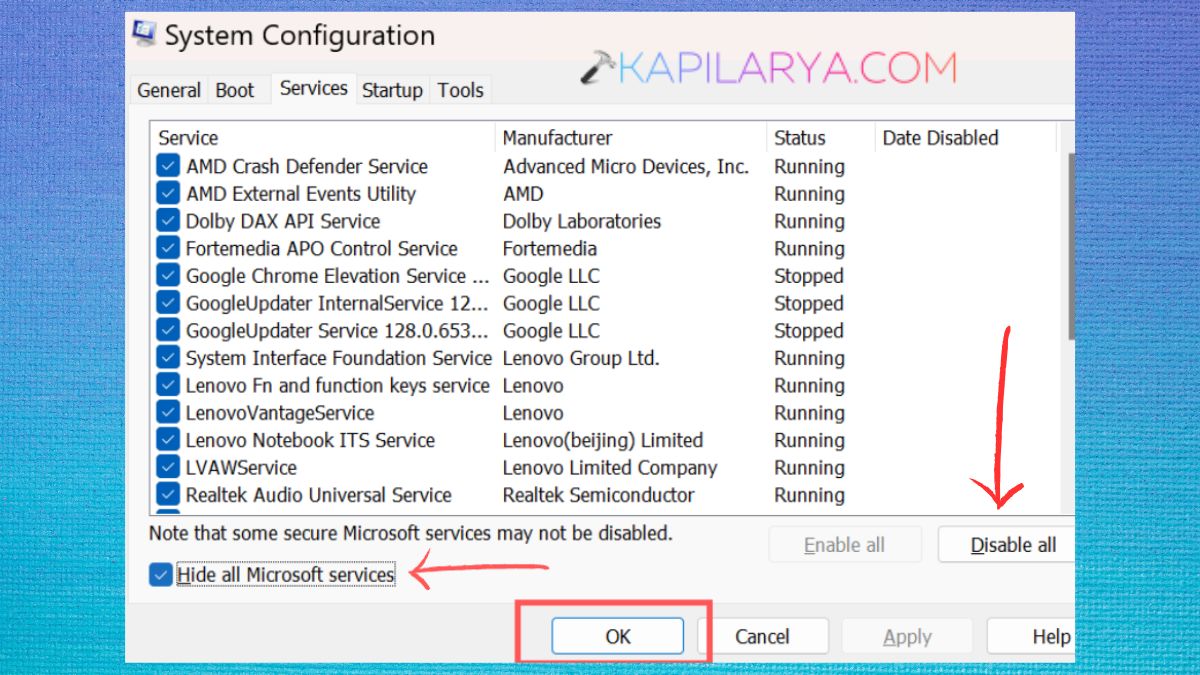
2. Click on the Services tab. Verify Hide all Microsoft services. Click Disable all.
3. Press the Startup tab. Click “Open Task Manager”.
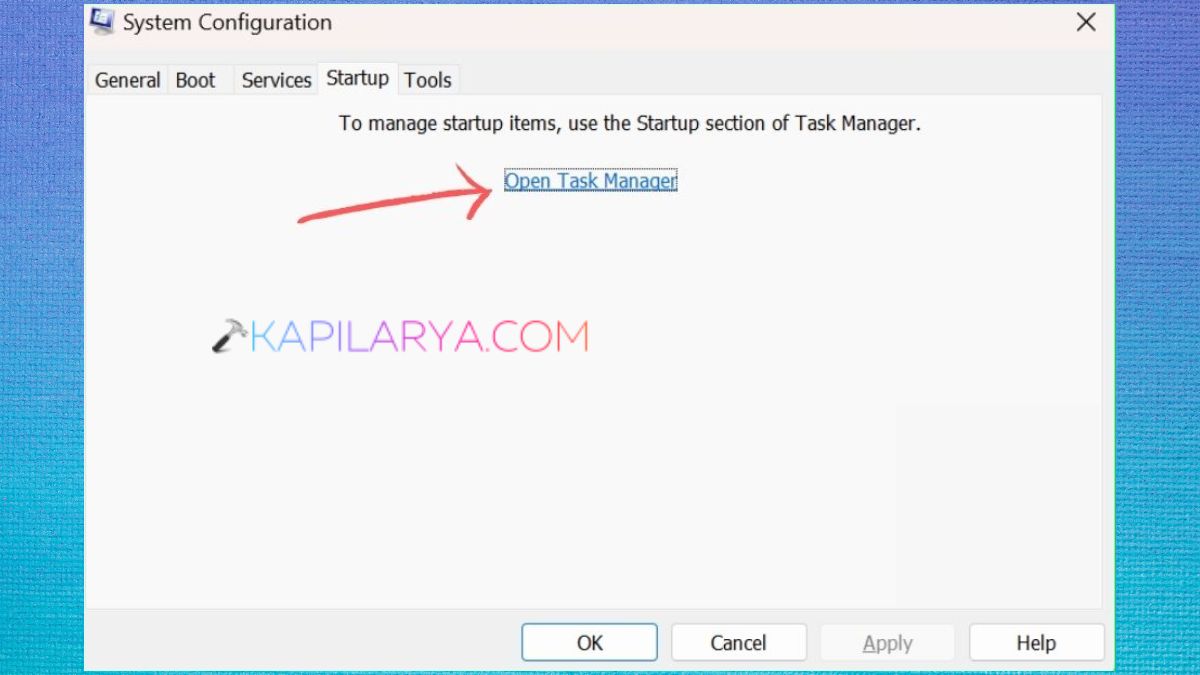
4. Turn off all start-up programs.
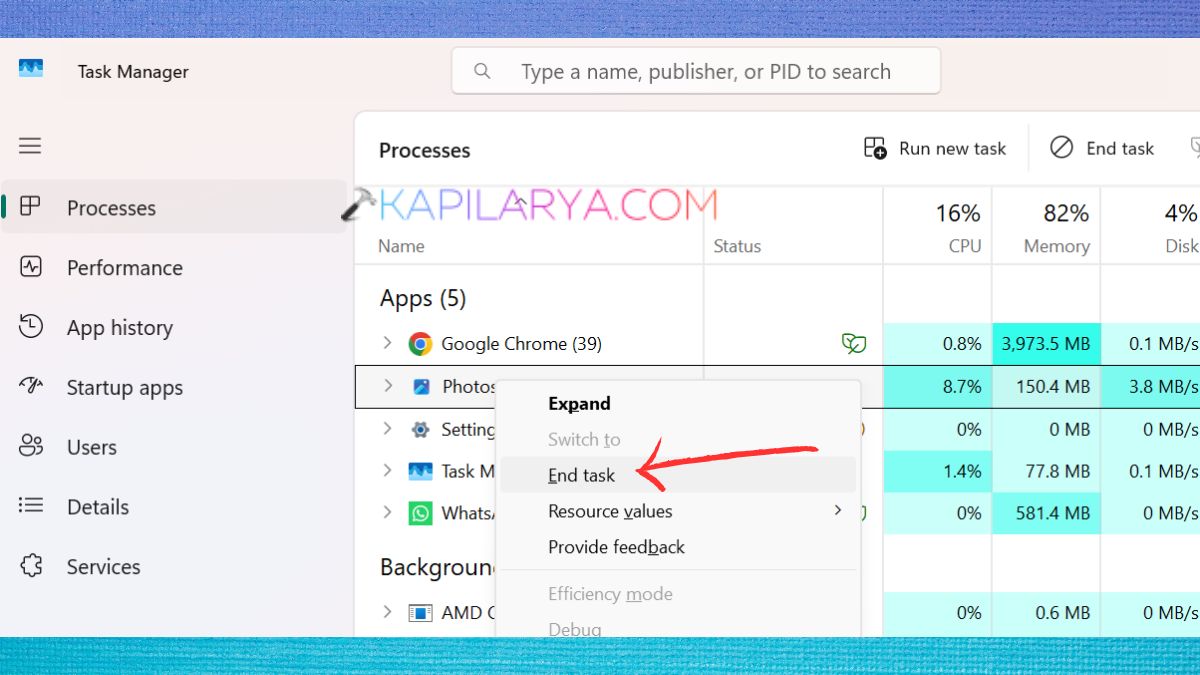
Restart your PC. Try updating Windows. If the update is successful, turn the service back on, one at a time, to determine which service is conflicting with the application.
Fix 5: Temporarily Disable Antivirus Software
Files of Microsoft’s Windows Update are falsely flagged as viruses by some anti-virus software.
1. Open Antivirus Software. Temporarily turn off real-time protection.
2. Select Settings > Windows Update.
3. Tap on the button “Check for updates“.
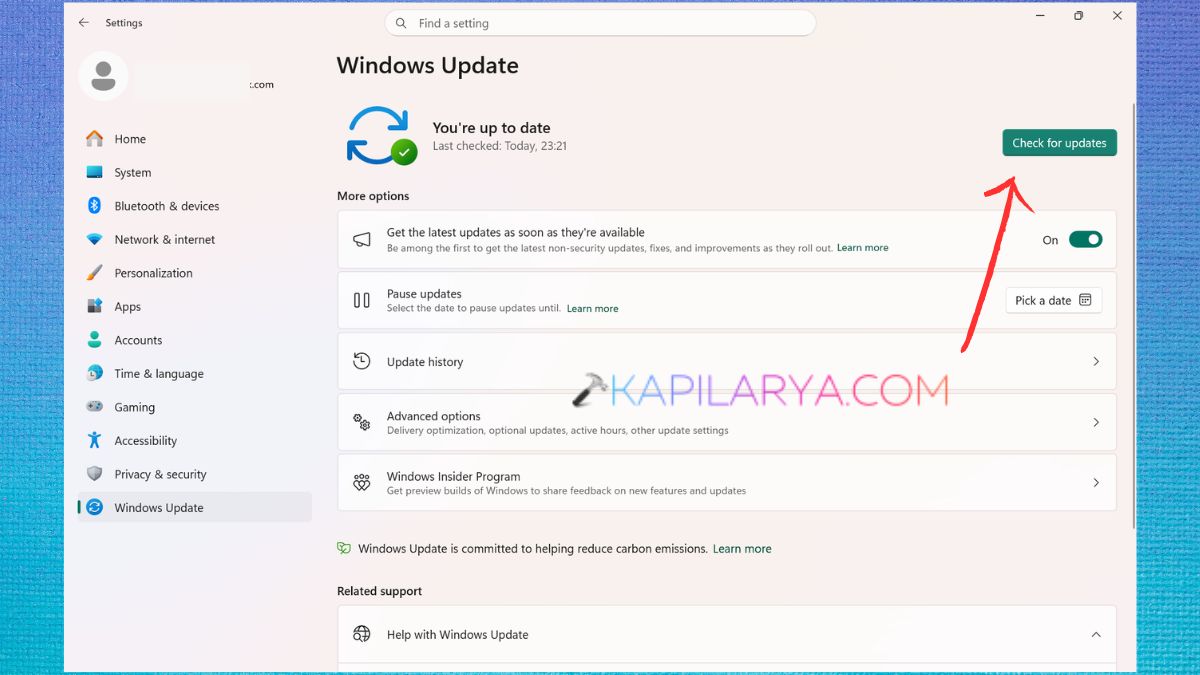
Install available updates. Re-enable antivirus protection afterwards.
Note: DON’T leave AntiVirus protection off longer than necessary!
Fix 6: Check Available Disk Space
The free space on the Windows computer must be enough to be used for downloading and installing updates. It is recommended that at least 20 GB of free disk space be available for significant Windows updates.
1. Open Settings. Go to System > Storage.
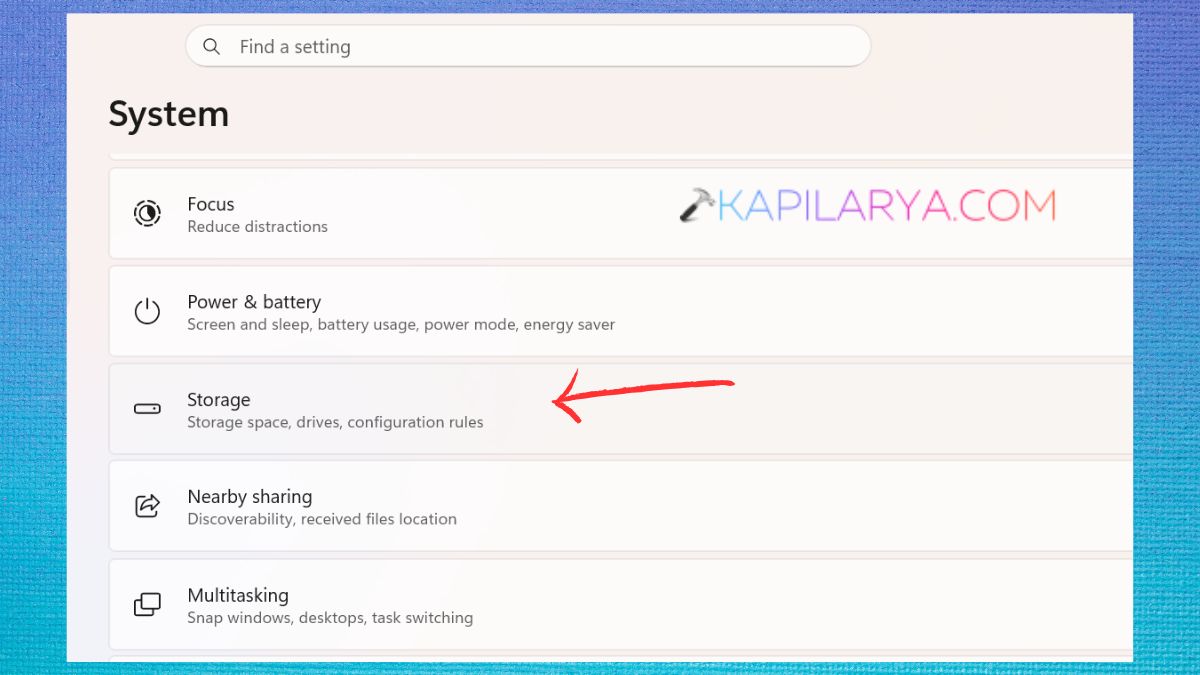
2. Check the available free space. If you have little storage, then do these tasks:
- Delete temporary files
- Empty the Recycle Bin
- Remove unnecessary applications
- Transfer big files to another drive.
Fix 7: Install the Update Manually Using Microsoft Update Catalog
When Windows Update continually fails, you may be able to install the Windows update manually.
1. Open Settings > Windows Update.
2. Here, record the KB number of the failed update.
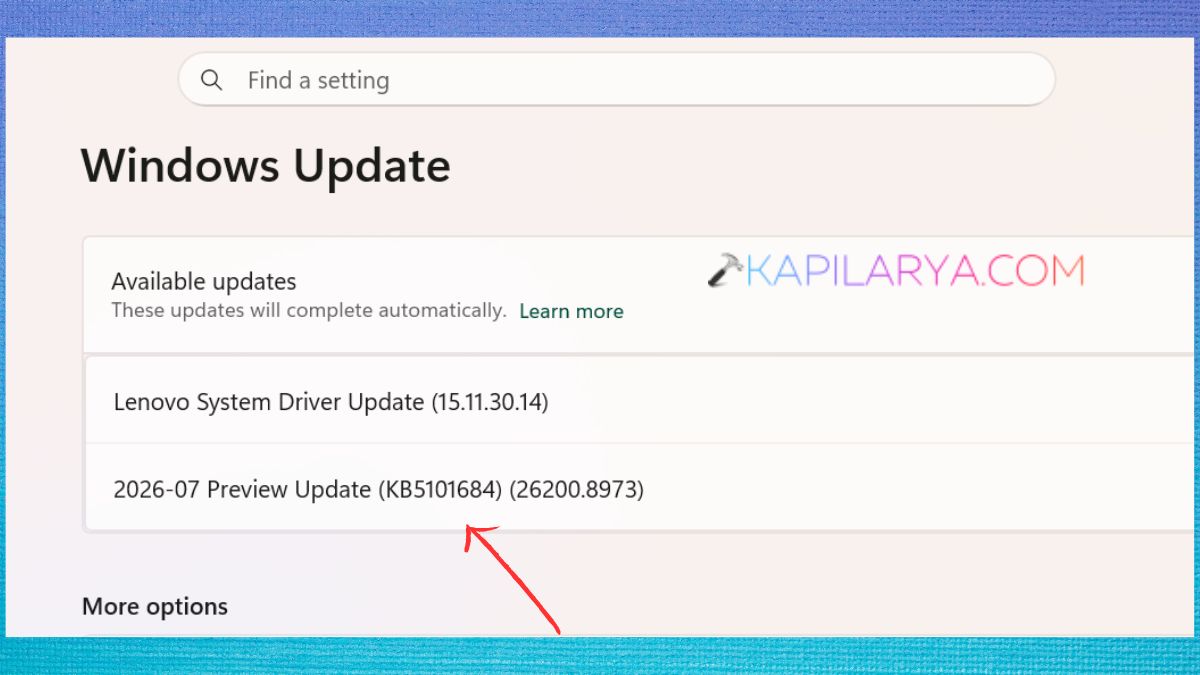
3. Go to the Microsoft Update Catalog website – https://www.catalog.update.microsoft.com/Home.aspx.
4. Search for the KB number. Download the corresponding version for your Windows version.
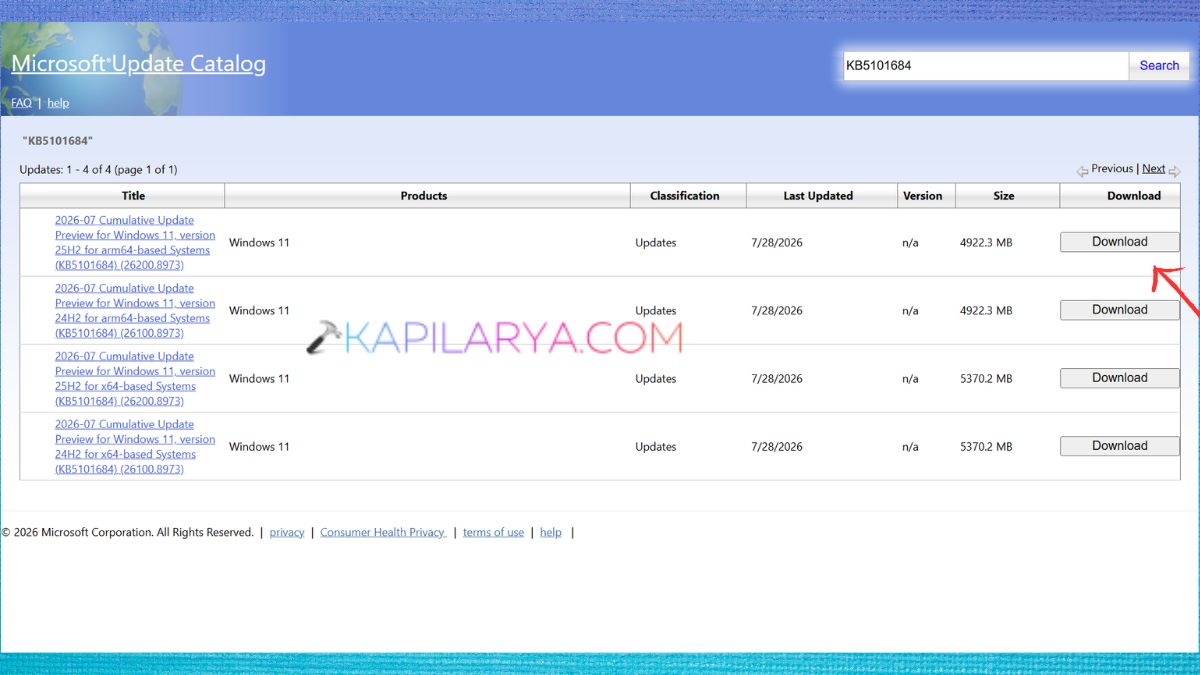
5. Run the downloaded installer. Restart your computer. Manual installation does not use Windows Update and installs the package needed directly.
Fix 8: Perform a System Restore
Restoring Windows to a previous state may help if the error occurred recently after installing a piece of software or making a change to the system.
1. On the Start menu, type “Create a restore point. On the Start menu, type Create a restore point.
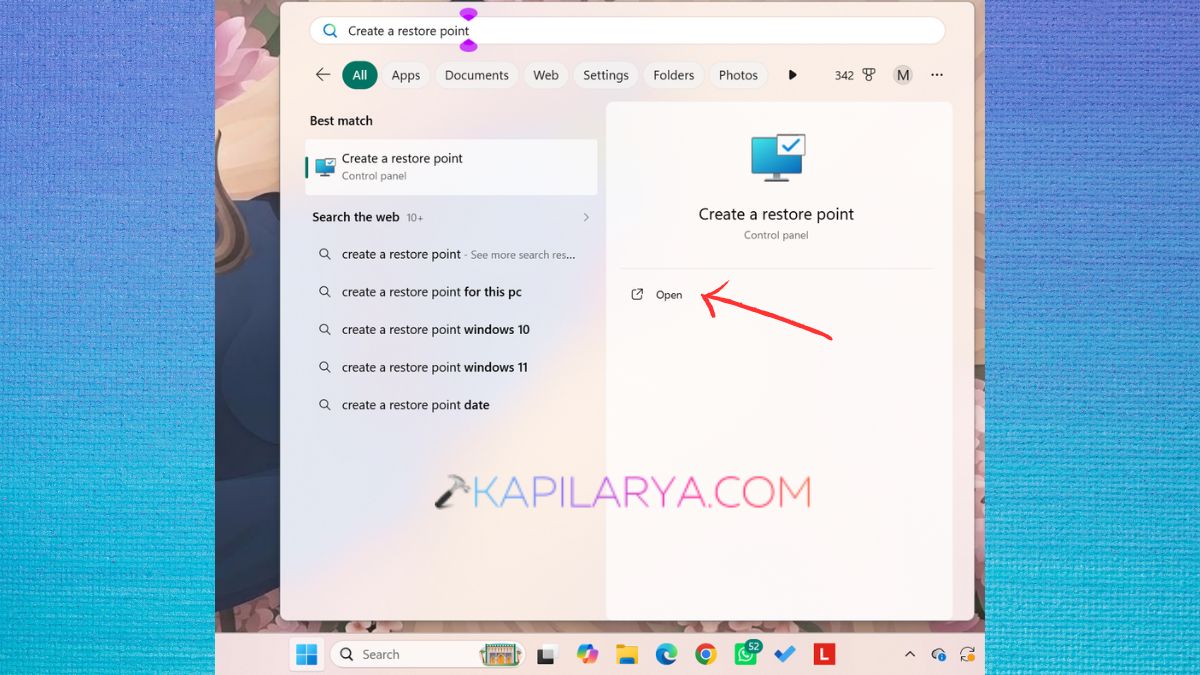
2. Open System Protection. Click System Restore.
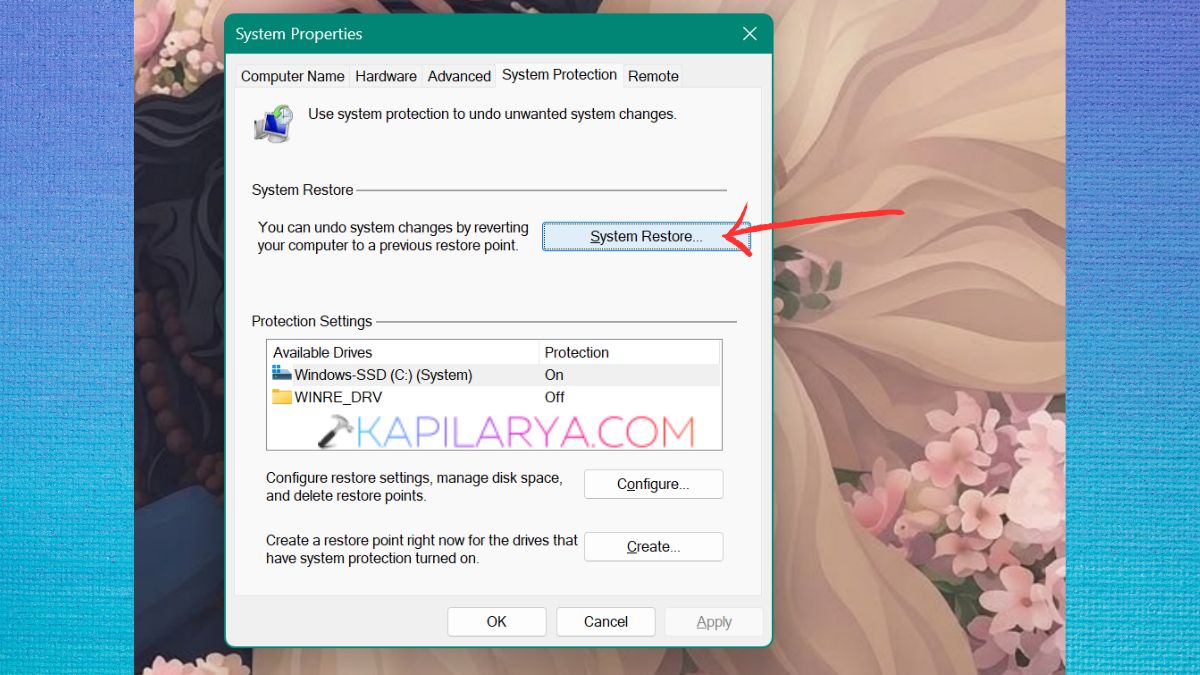
3. Select a restore point that you made prior to the start of the problem. Follow instructions on the screen.
Fix 9: Upgrade Windows Using the Media Creation Tool
If the above options don’t solve the problem, the damaged update component files can be replaced by repairing Windows using the Media Creation Tool, and this process won’t affect any personal files.
1. Get the Microsoft Media Creation Tool from the Microsoft official website – https://www.microsoft.com/en-us/software-download/windows11.
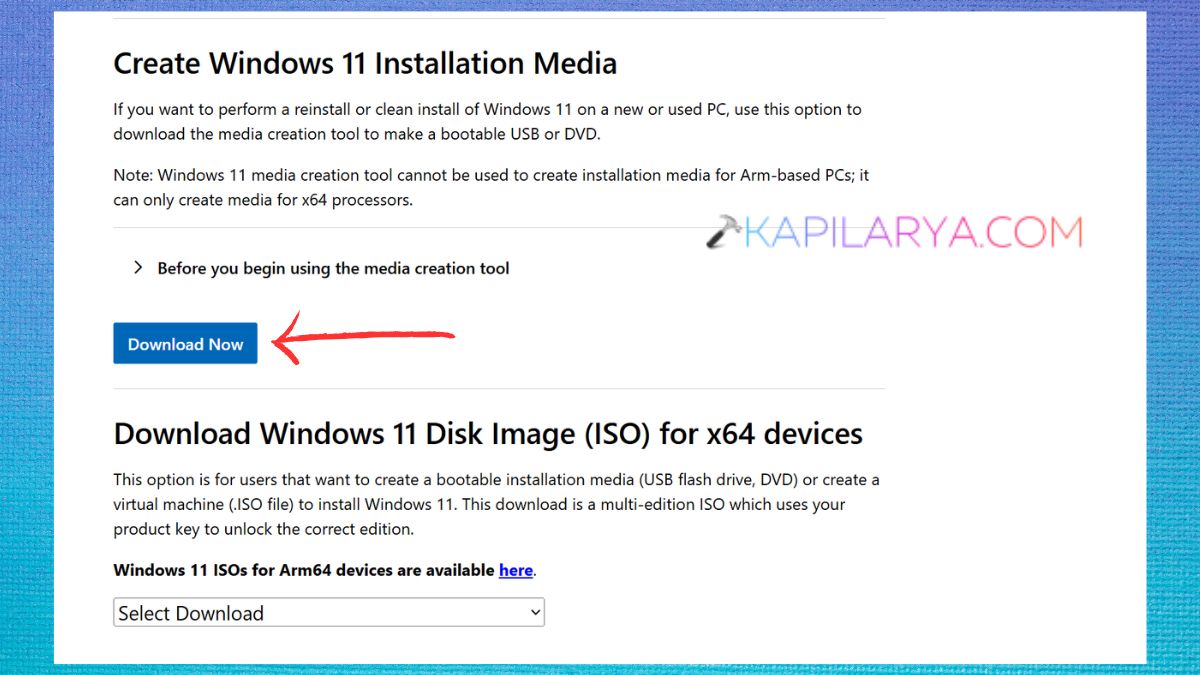
2. Run the tool. Click on the bootable USB option. If you don’t know how to create bootable USB to install Windows 11 operating system, follow this guide:
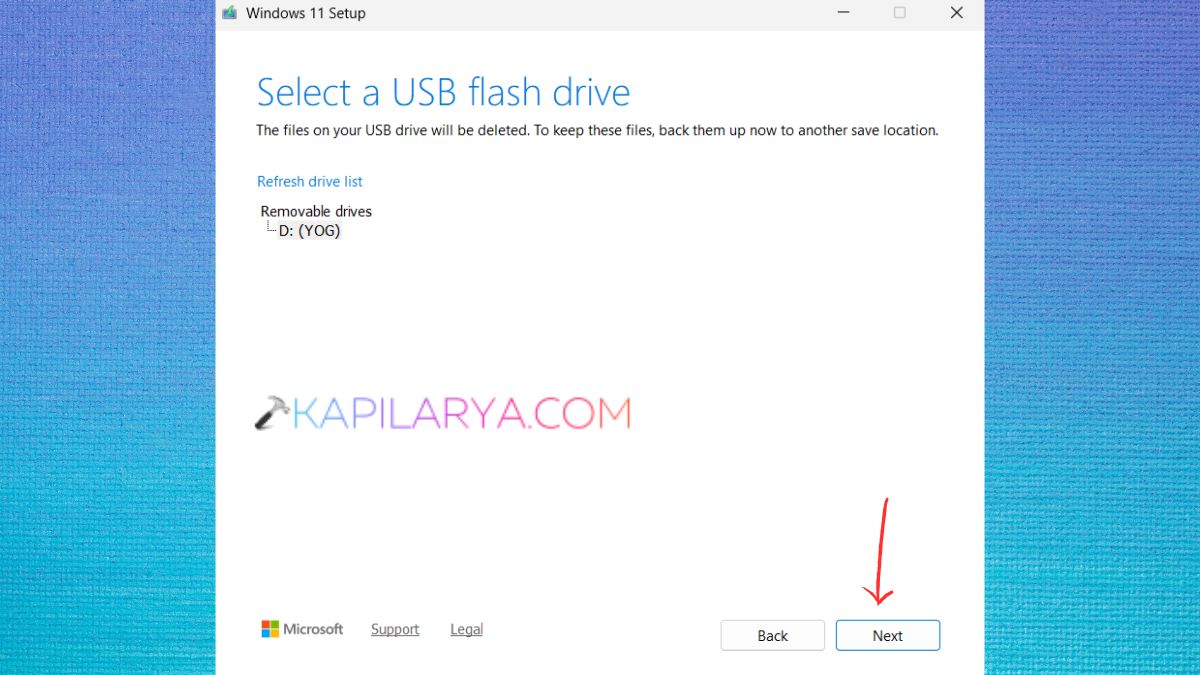
3. When it gets in the File Explorer, open it and follow the on-screen options. Choose “Keep personal files and apps”. Complete the installation process.
This process allows Windows to be reinstalled without losing documents, installed programs, and your personal data.
Video fix
Here’s a video fix to help you more on this: