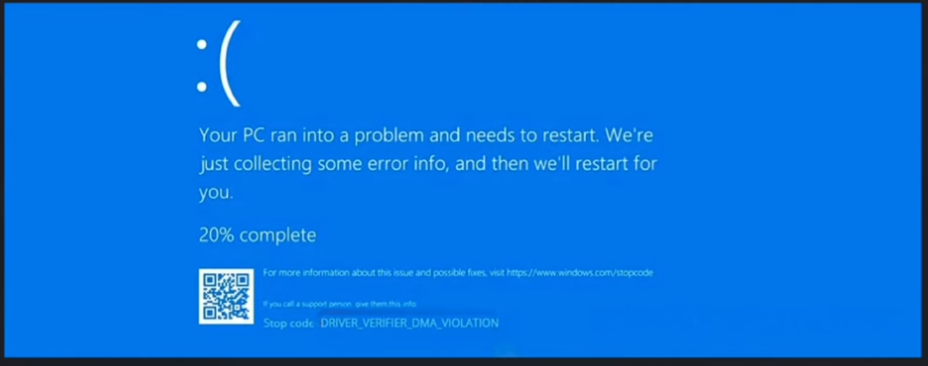
Do you see a blue screen right after starting your PC? Well, sometimes Windows 11 users suddenly encounter the Driver Verifier IOManager Violation error while gaming, working, or updating drivers. This issue is usually linked to faulty drivers, corrupted system files, or Driver Verifier settings. Hopefully, you can fix it with a few simple methods, described next in this article.
Page Contents
What Causes Driver Verifier IOManager Violation?
This is a BSOD error. It mainly appears because of:
- Corrupted or outdated drivers
- Driver Verifier conflicts
- Damaged Windows system files
- Recently installed software
- Faulty driver updates
Fix 1: Disable Driver Verifier
Driver Verifier is a Windows tool that checks drivers for problems. Sometimes it causes BSOD errors itself.
Reset Driver Verifier
1. Open Command Prompt as Administrator.
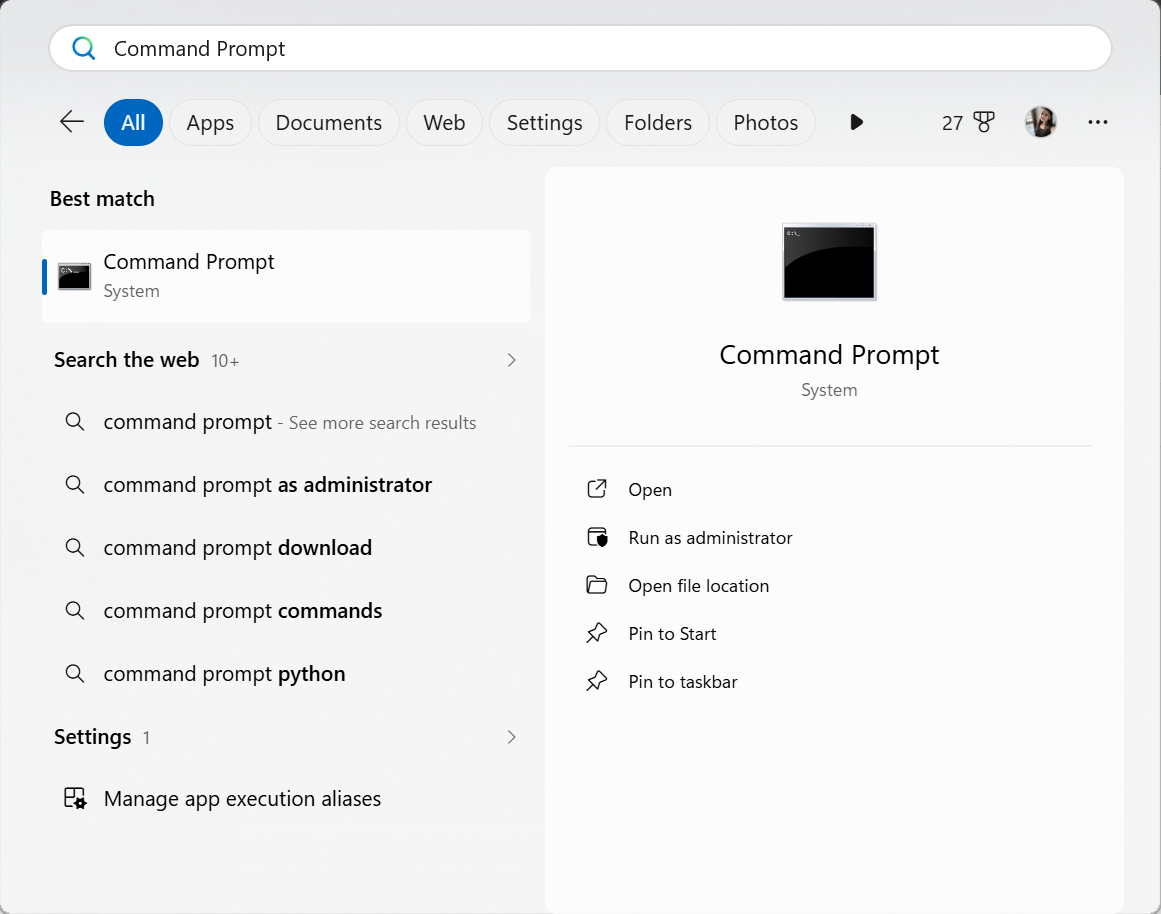
2. Type the command below and press Enter:
verifier /reset
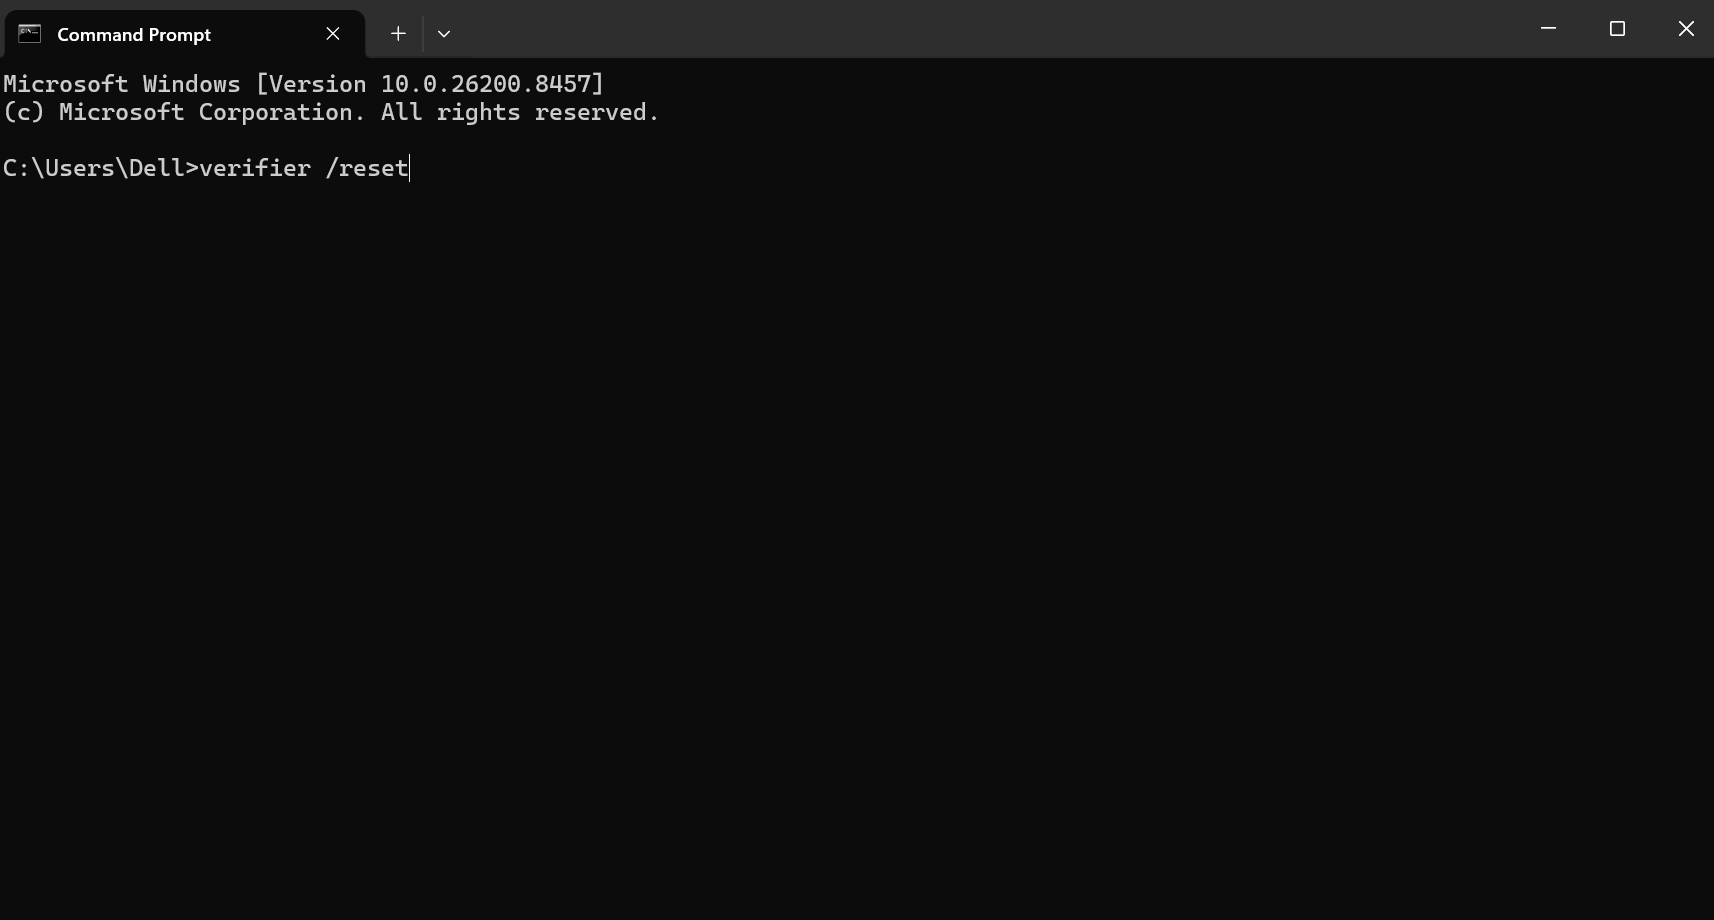
3. Restart your PC.
Delete Existing Settings
1. Press Windows + R.
2. Type verifier and press Enter.
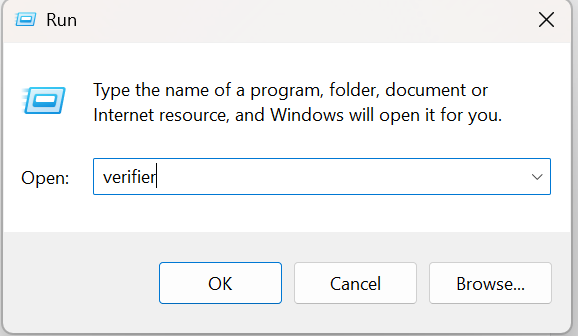
3. Select Delete existing settings.
4. Click Finish and Restart the computer.
Fix 2: Repair Corrupted System Files To Fix Driver Verifier IOManager Violation
Damaged Windows files can also trigger this BSOD problem.
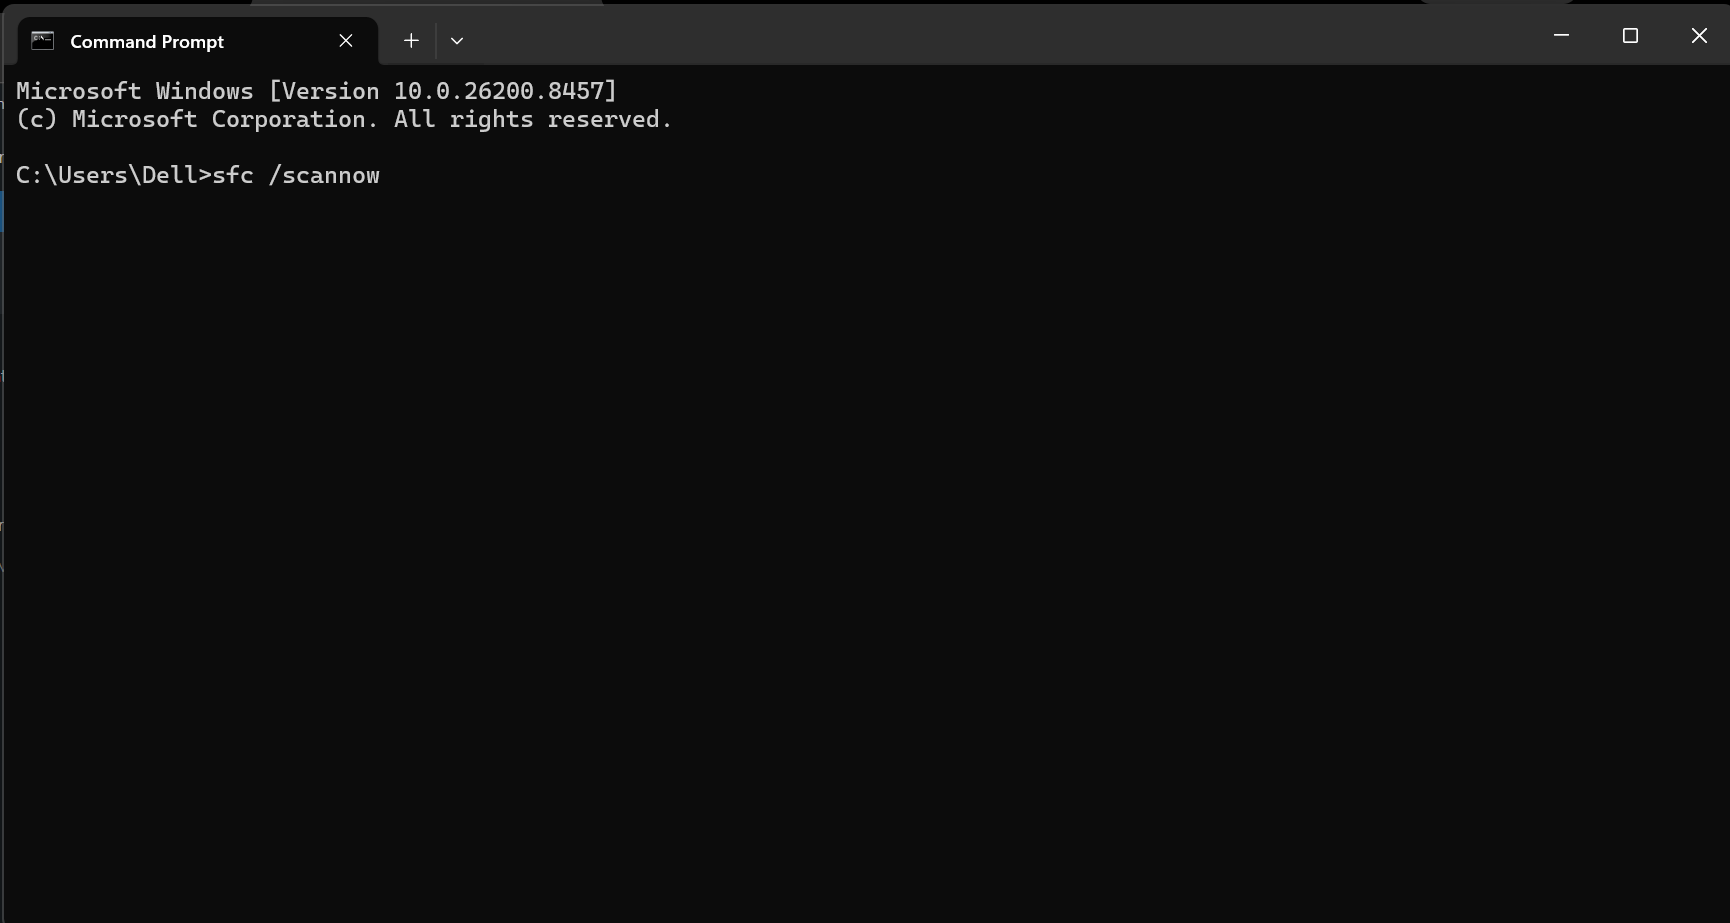
Run DISM and SFC Scans
1. Open Command Prompt as Administrator.
2. Run the following commands one by one:
sfc /scannow
DISM.exe /Online /Cleanup-image /Restorehealth
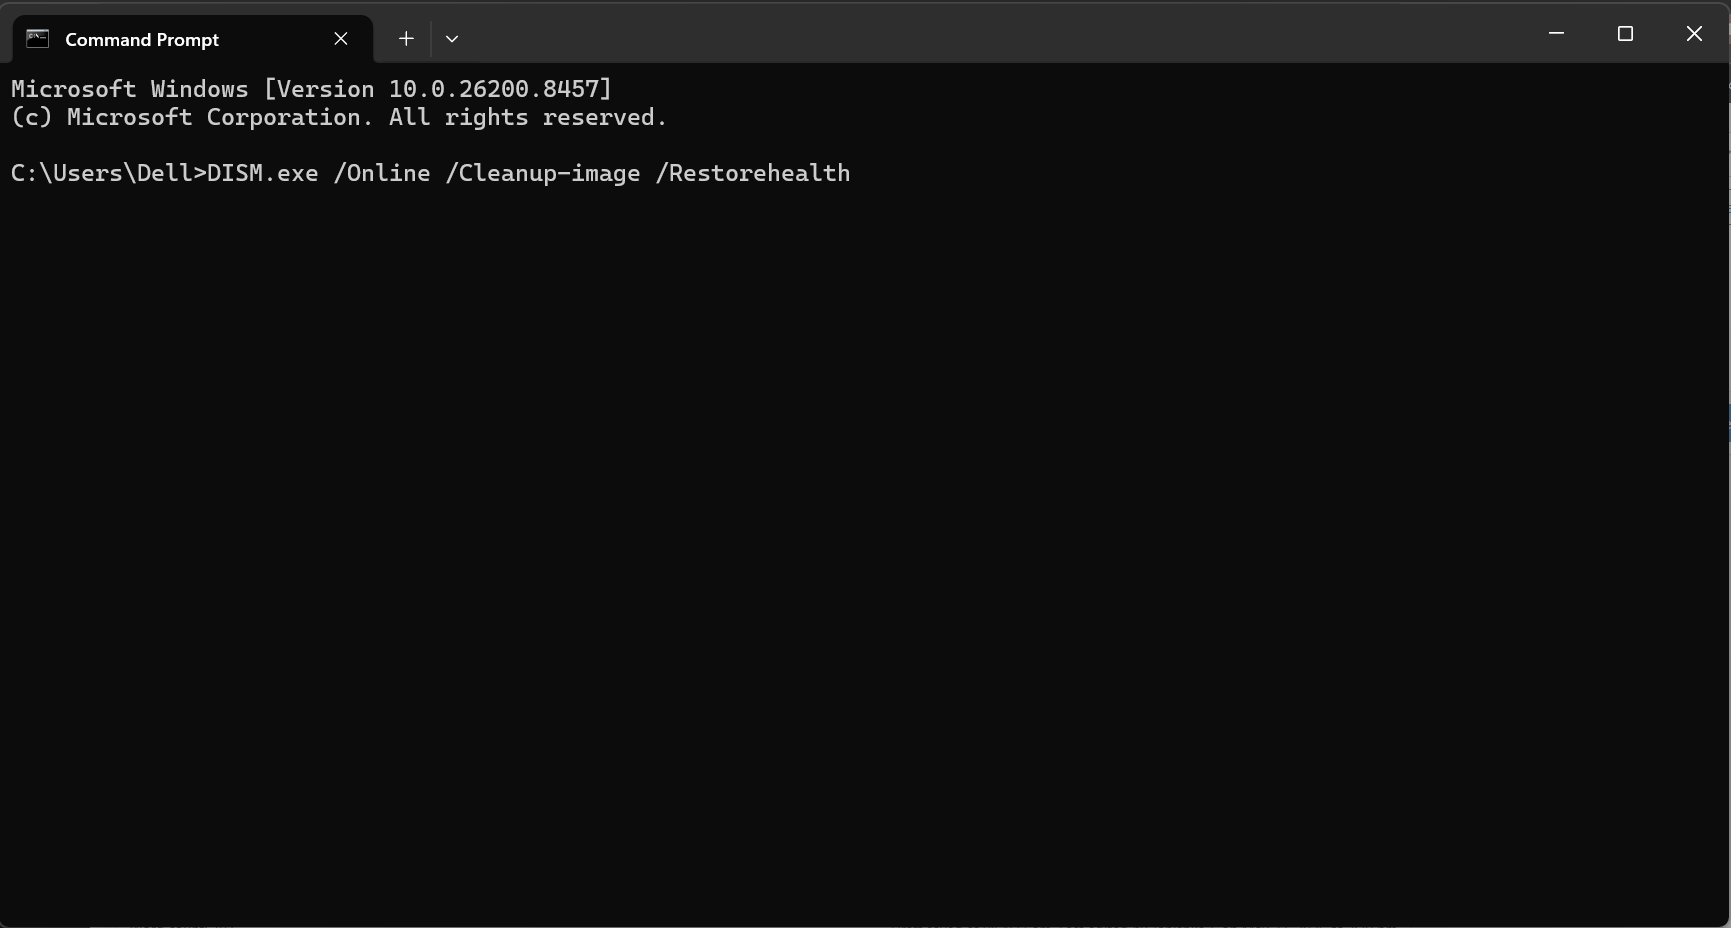
3. Wait for the scan to complete and restart your PC.
Fix 3: Update Or Roll Back Drivers
Faulty drivers are one of the most common causes of this error.
Update Drivers
1. Right-click the Start button and open Device Manager.
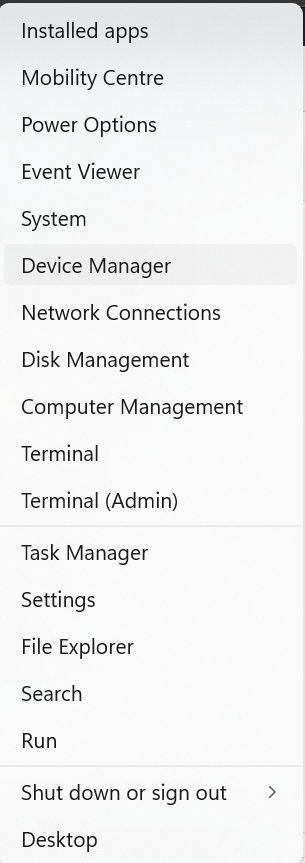
2. Find devices with warning signs.
3. Right-click the device and select Update driver.
Roll Back Drivers
If the issue started after a recent driver update:
1. Open Device Manager.
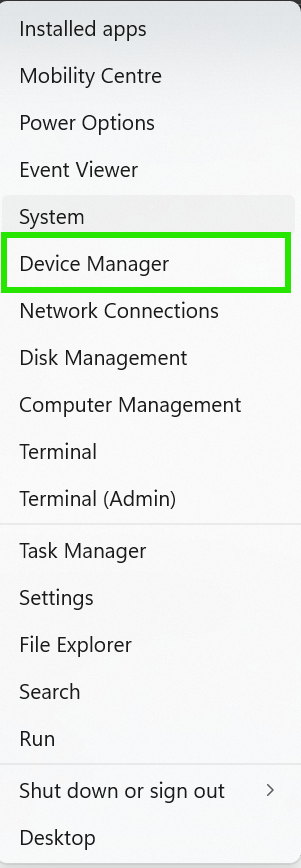
2. Right-click the device and choose Properties.
3. Go to the Driver tab.
4. Click Roll Back Driver.
Fix 4: Uninstall Recently Installed Software
Some third-party programs may conflict with Windows drivers.
1. Open Settings, go to Apps > Installed apps.
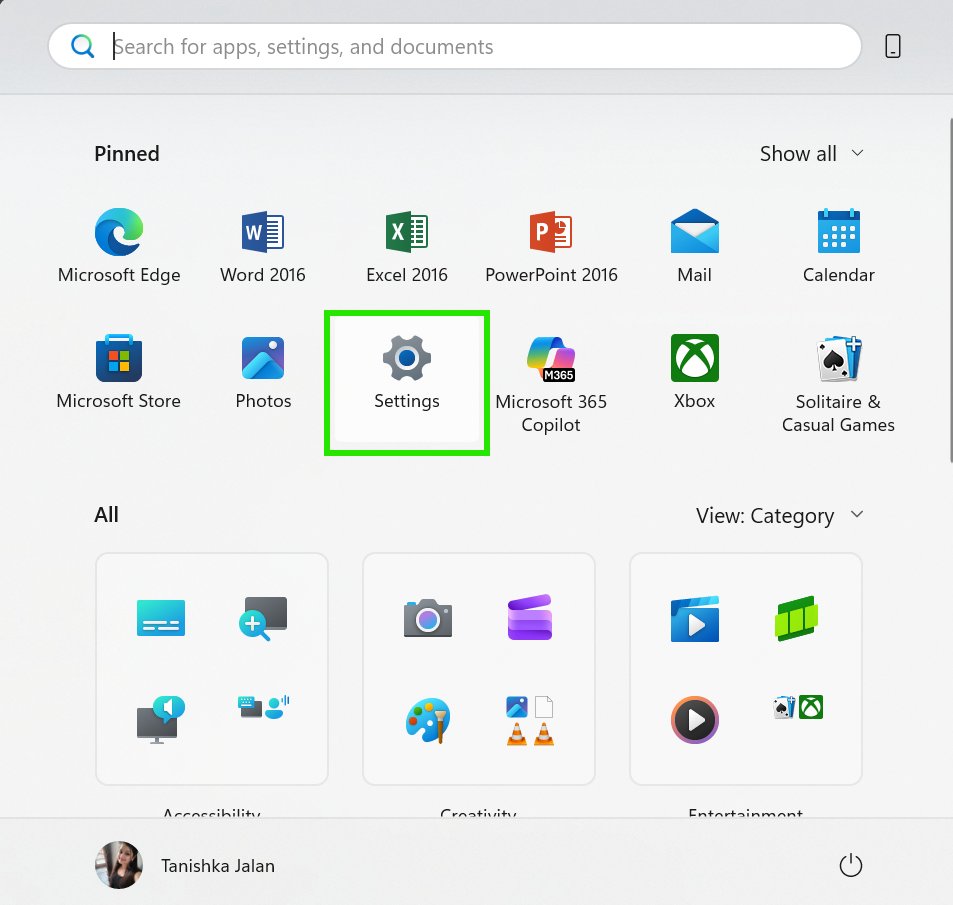
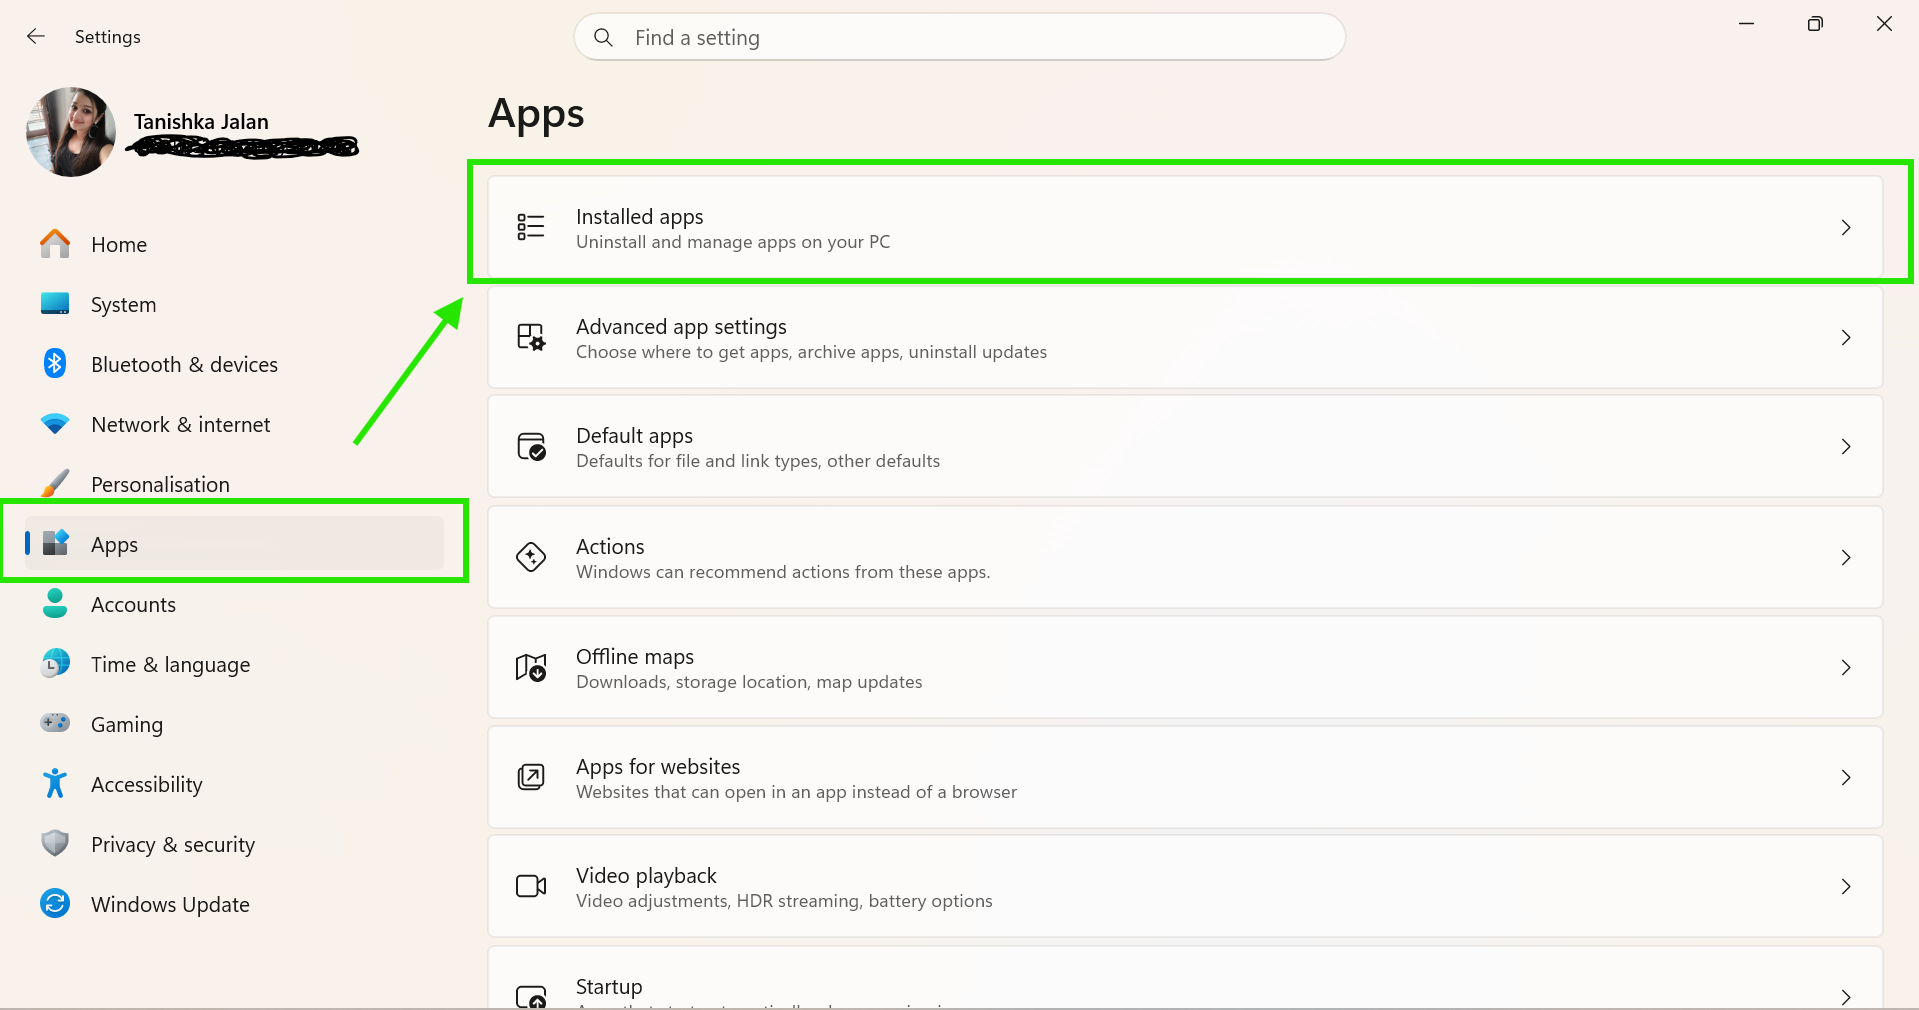
2. Find recently installed software.
3. Uninstall any suspicious app (if present) that might cause this BSOD and restart your PC.
Fix 5: Use System Restore
If your PC worked properly before, use System Restore.
1. Search for Create a restore point.
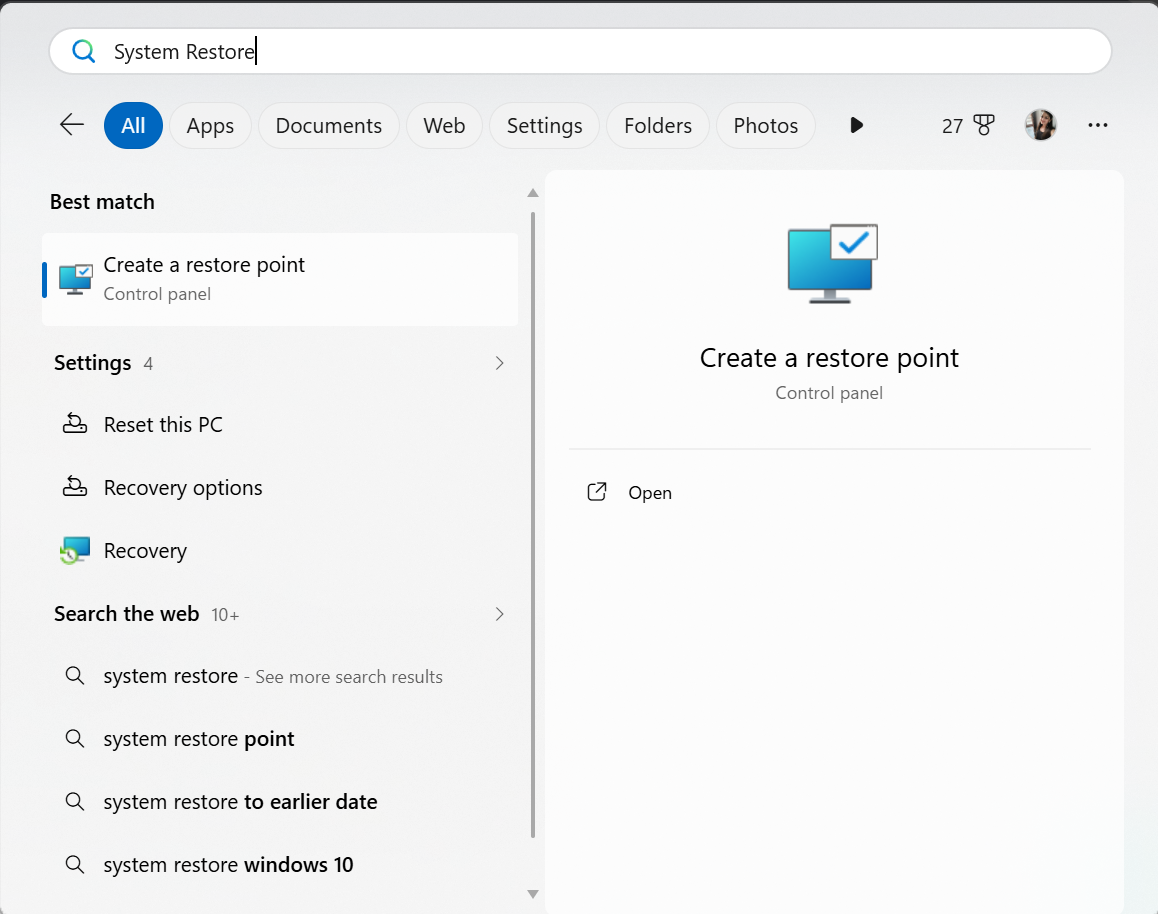
2. Click System Restore.
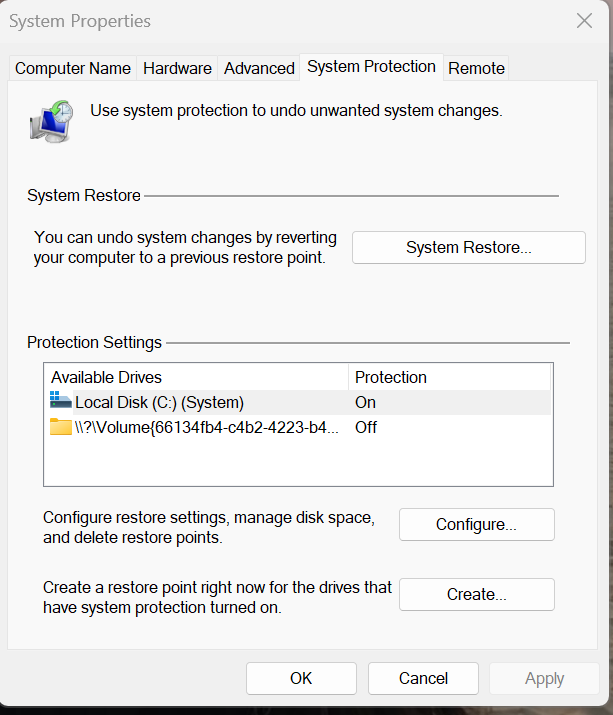
3. Now choose an older restore point and continue.
So, that’s how you can fix the Driver Verifier IOManager Violation BSOD in Windows 11. As driver issues or corrupted system files mainly cause it, disabling driver verifier, repairing system files, and updating drivers usually fix the problem quickly.