A number of new Windows 11 users have been observing a new issue, wherein their PC engages in random restarts that have no apparent trigger. Have you been observing this issue? If, yes then there can be several potential causes. Some of these are failing storage sectors, inconsistent group policies, auto reboot caused by WU, and several others. The users can easily resolve this issue with the help of methods provided below to Fix: Windows 11 reboots automatically of your device.
Page Contents
Fix: Windows 11 reboots automatically
Method 1: By running a CHKDSK scan
1. Start by opening Run dialog box by pressing Windows + R keys together.
2. Type cmd and press OK to open Command Prompt as an administrator.
3. Type the below mentioned command and press Enter
chkdsk /x /f /r

4. Next, you will be asked, “Chkdsk cannot run because the volume is in use by another process. Would you like to schedule this volume to be checked the next time the system restarts? (Y/N) “ . Then, press Y key and reboot your device.

Method 2: By updating the group policies via CMD
1. Start by opening Run dialog box by pressing Windows + R keys together.
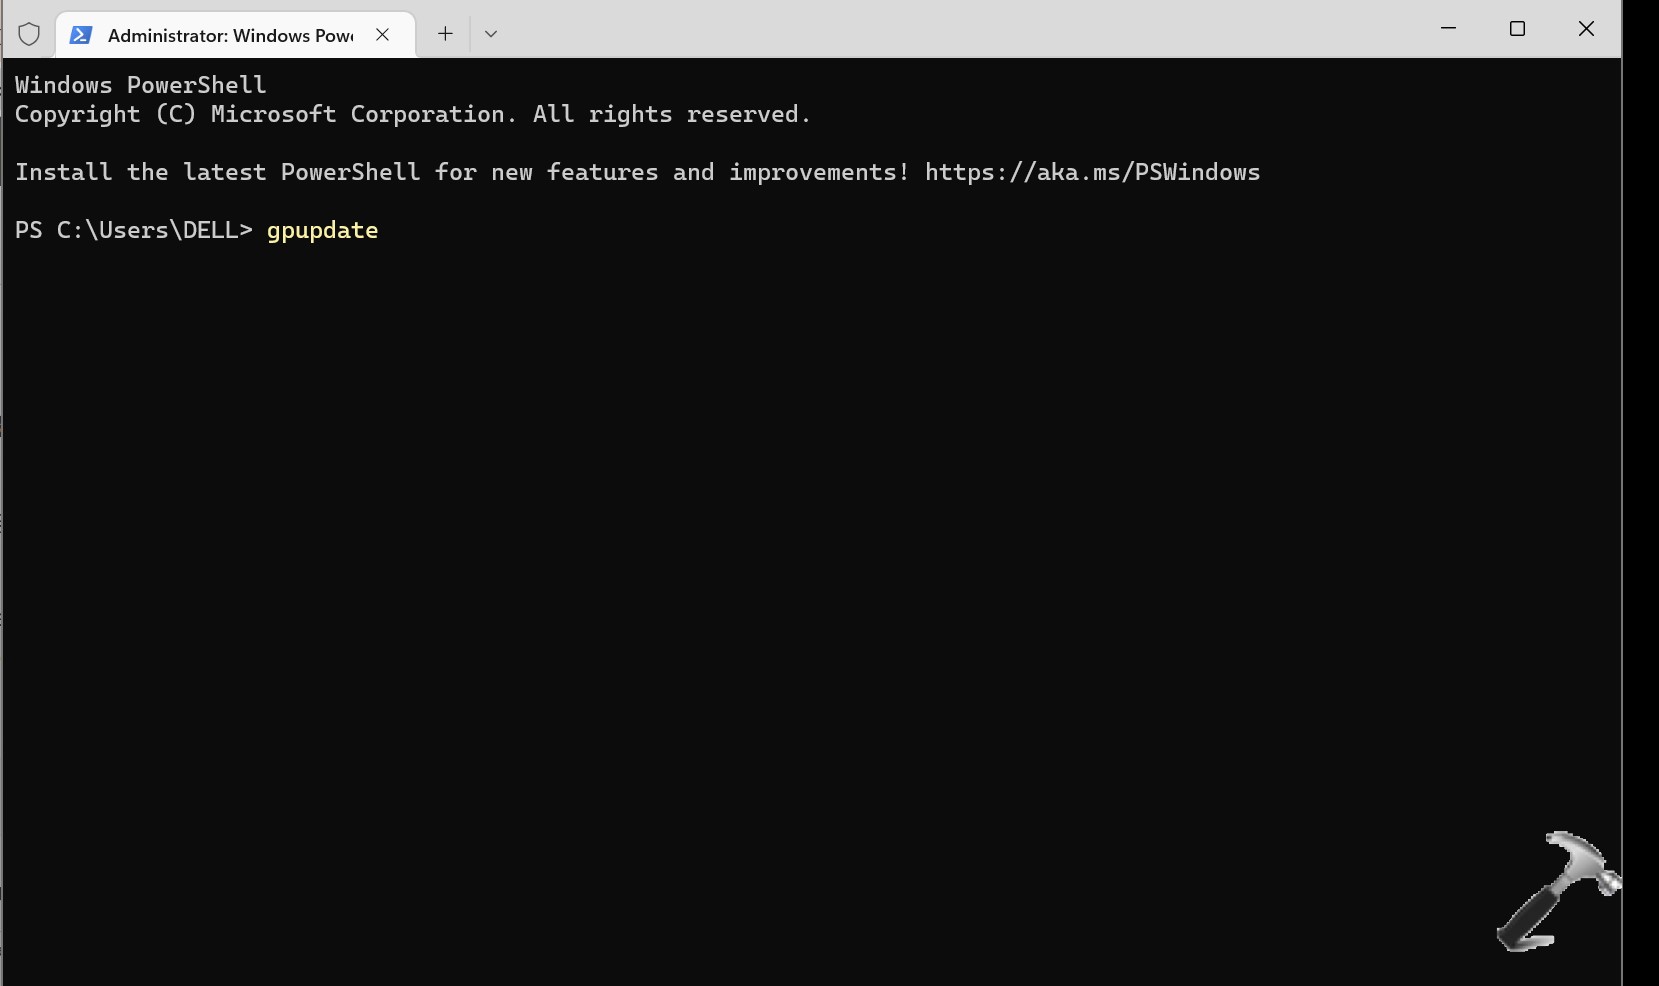
2. Type wt and press Ctrl + Shift + Enter to open Windows Terminal app with administrative access.
3. Type the below mentioned command and press Enter
gpupdate
4. Now, wait patiently until Computer Policy update has completed successfully message appears. Then type the following command
cls
5. Lastly, close the Windows Terminal app and Restart your device.
Method 3: Fix: Windows 11 reboots automatically by adjusting the minimum processor state and linking state Power Management
1. Start by opening Run dialog box by pressing Windows + R keys together.
2. Type powercfg.cpl and press OK to open Power options.
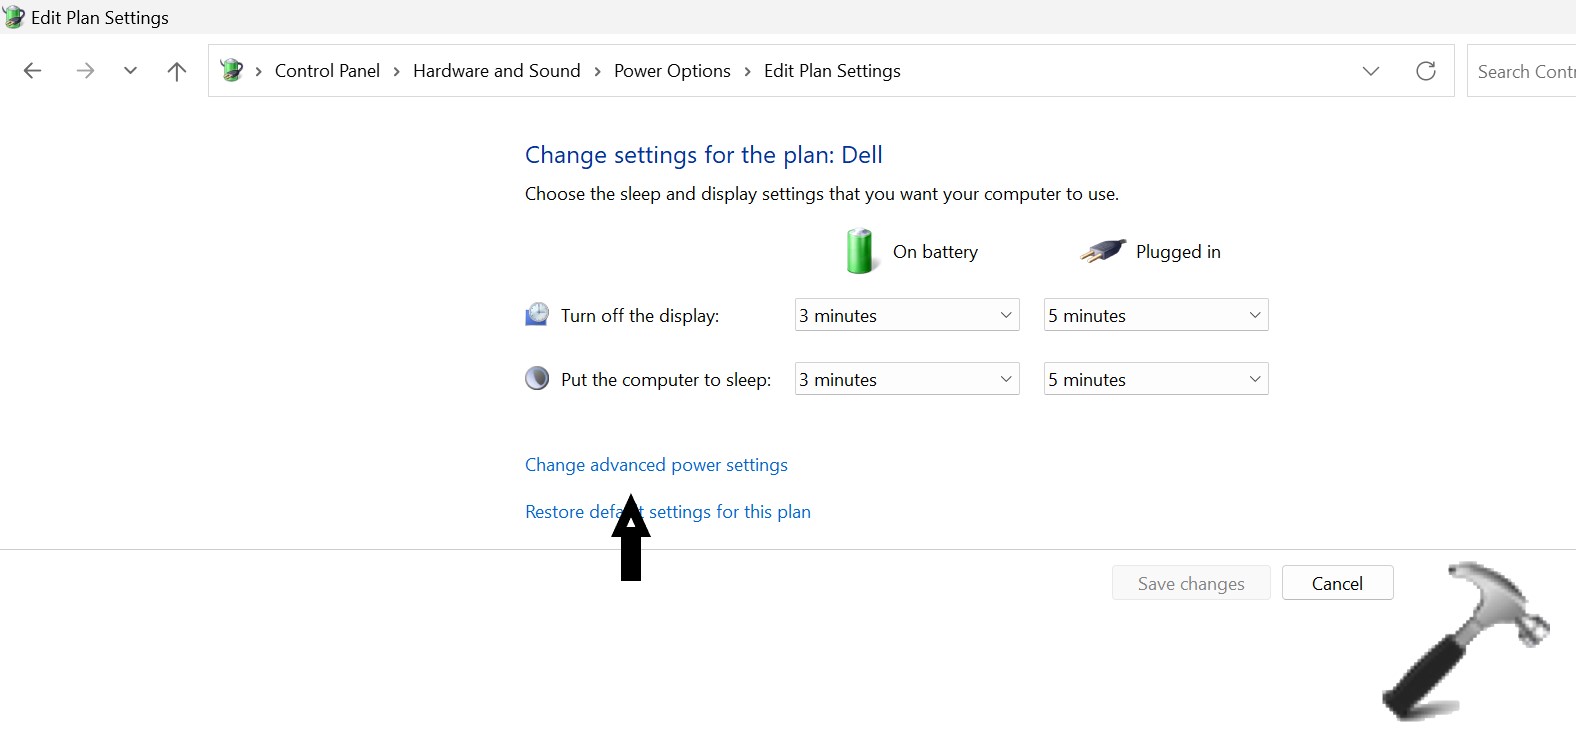
3. Now, click on the Change plan settings hyperlink associated with the active power plan.

4. Click on the Change advanced power settings option in the Edit Plan Settings.
5. Expand the Minimum processor state option and change the On Battery % to 5% or less.
6. Now, expand the drop-down menu associated with Link State Power Management and change the On Battery menu to OFF before clicking on Apply.
7. Lastly, Restart your device to enforce the changes.
Method 4: By stopping auto reboots caused by WU
1. Start by opening Run dialog box by pressing Windows + R keys together.
2. Type regedit and press OK to open Registry Editor.
3. Navigate or paste the below mentioned location
Computer\HKEY_LOCAL_MACHINE\SOFTWARE\Microsoft\Windows
4. Right click on the Windows key, then select New, followed by selecting Key.
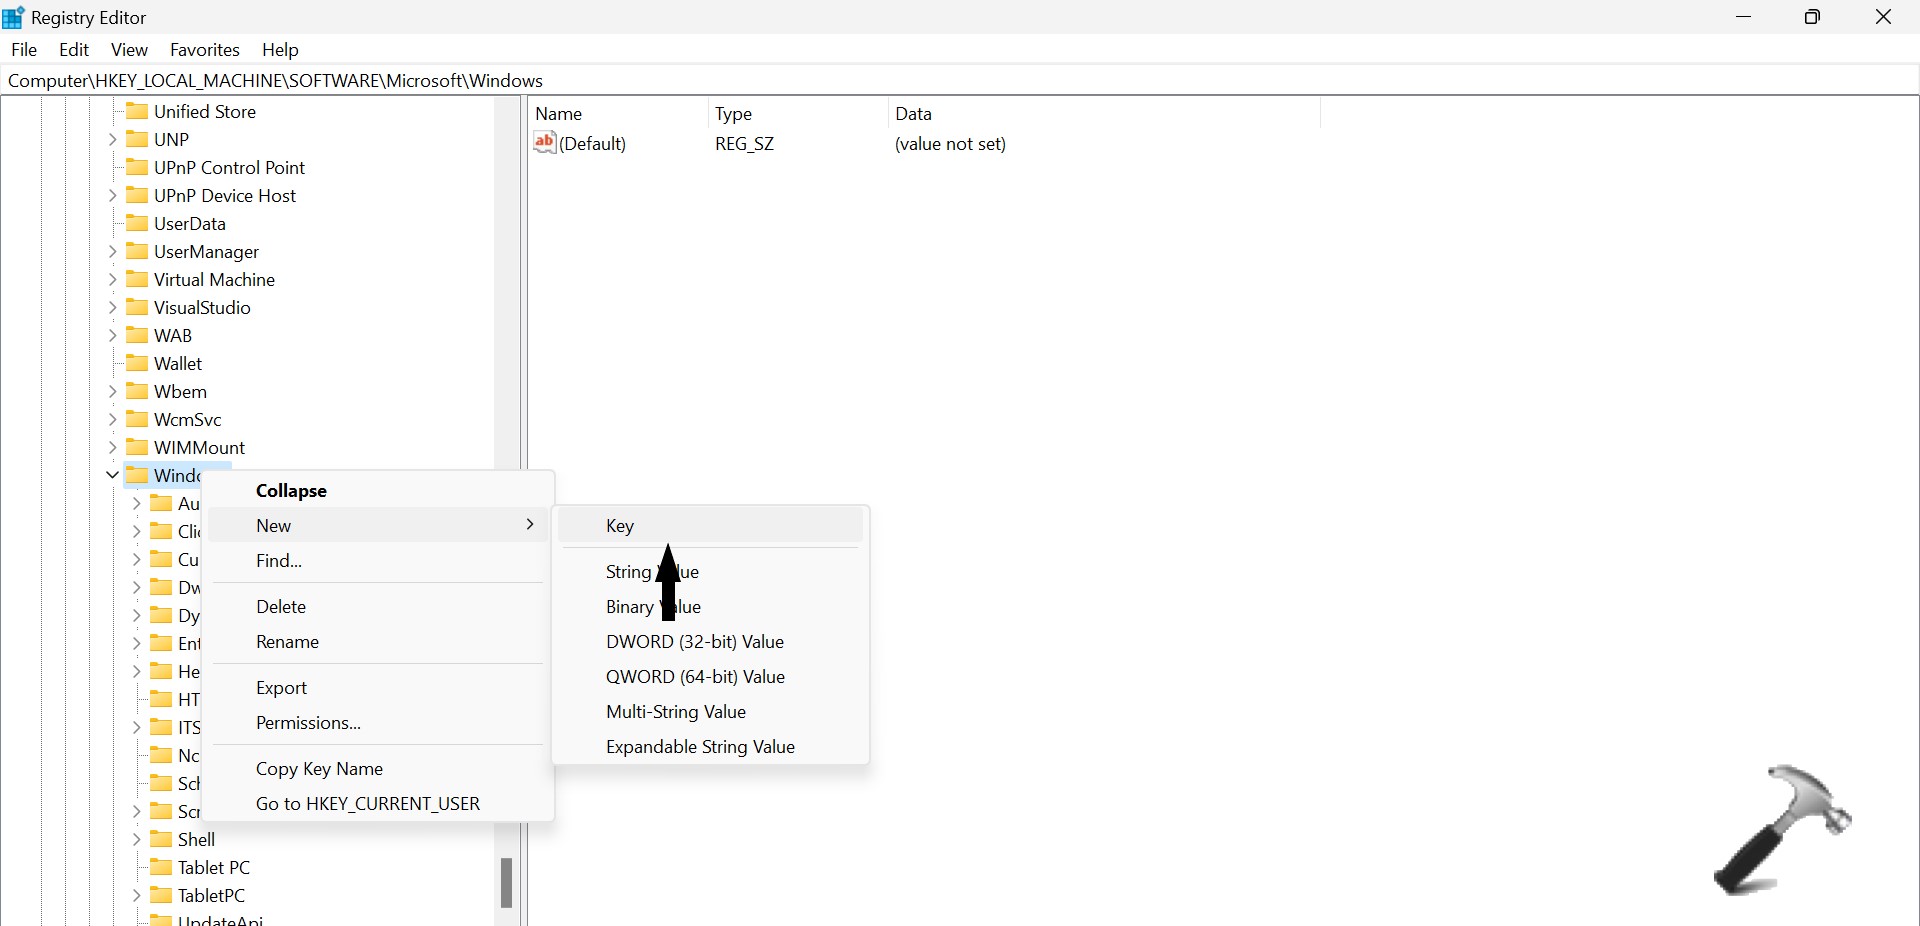
5. Rename the newly created key as Windows Update.
6. Now, right click on the newly created key Windows Update and select New, followed by selecting Key.
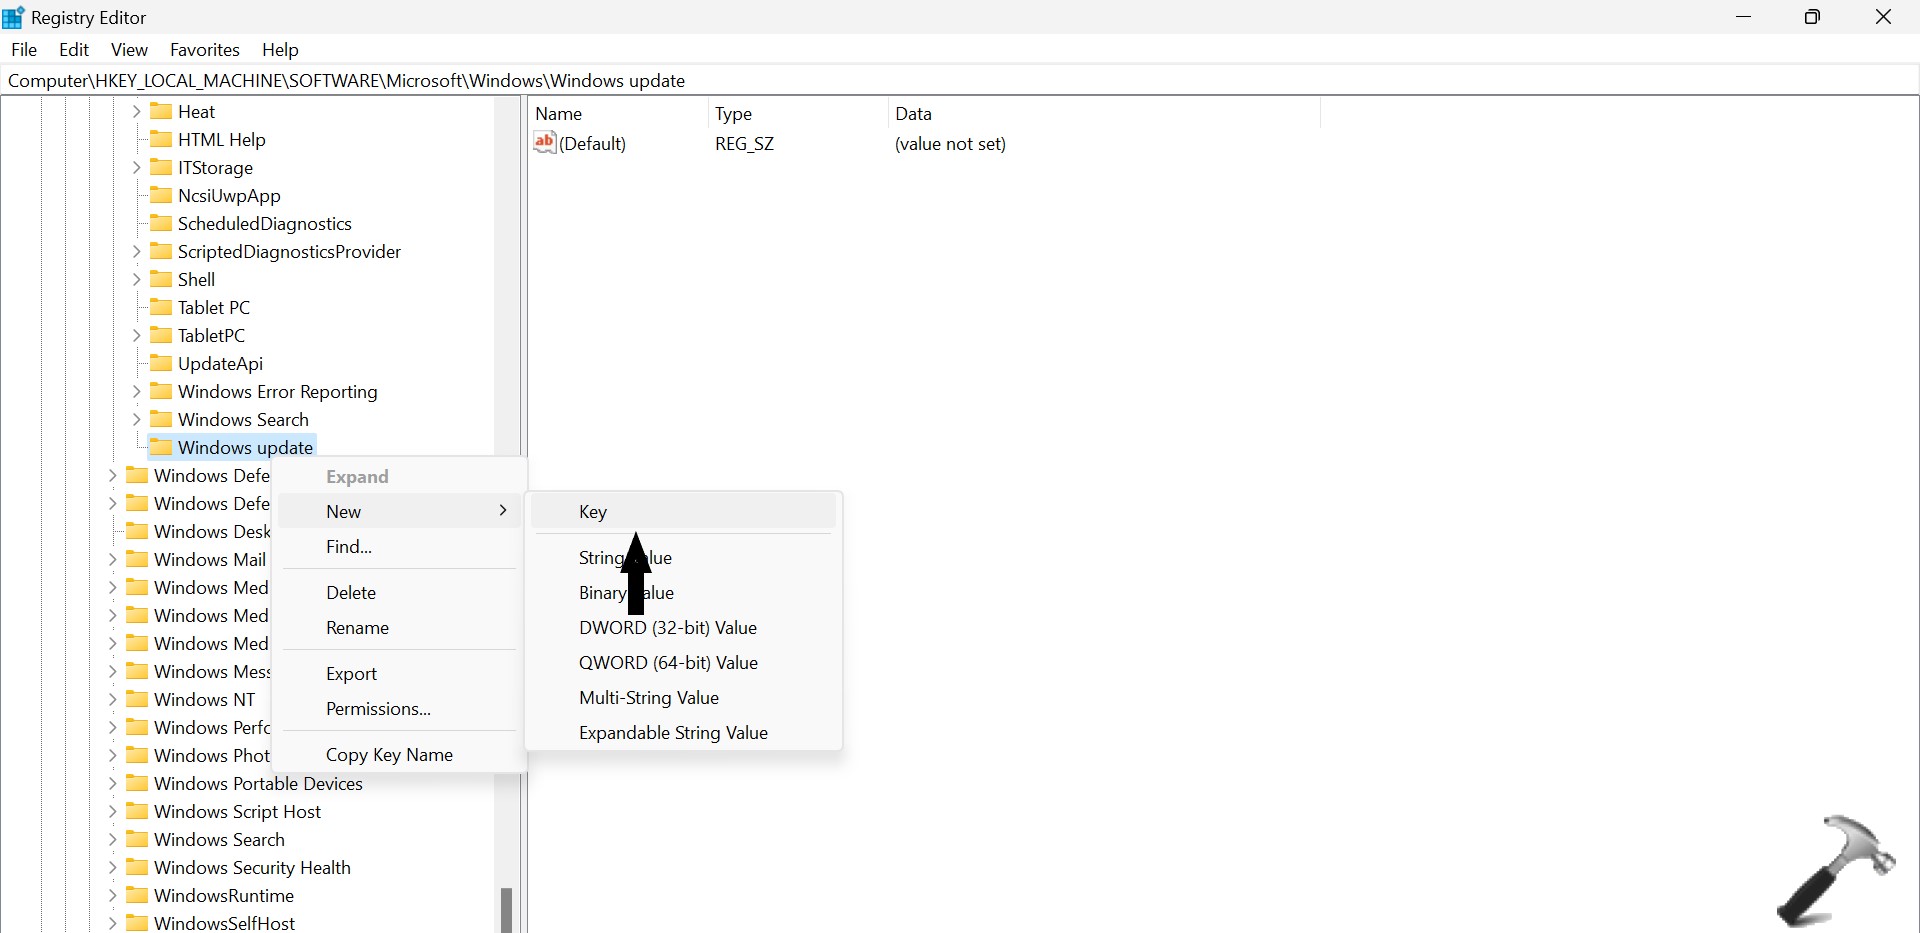
7. Rename the newly created key as AU.
8. Double click on the newly created AU. Then right click on the empty space. Click on New followed by Dword (32-bit) Value from the context menu.
9. Rename the newly created Dword Value to NoAutoRebootWithLoggedOnUser.
10. Now, double click on the newly created NoAutoRebootWithLoggedOnUser Value and set the Base to Hexadecimal and set the Value Data as 1.

11. Press OK to save the modifications.
12. Lastly, Restart your device to enforce the changes.
Method 5: By disabling Automatic Restarts on System failure
1. Start by opening Run dialog box by pressing Windows + R keys together.
2. Type sysdm.cpl and press OK to open System Properties.
3. Select Advanced tab, followed by clicking on Settings button beside Startup and Recovery.
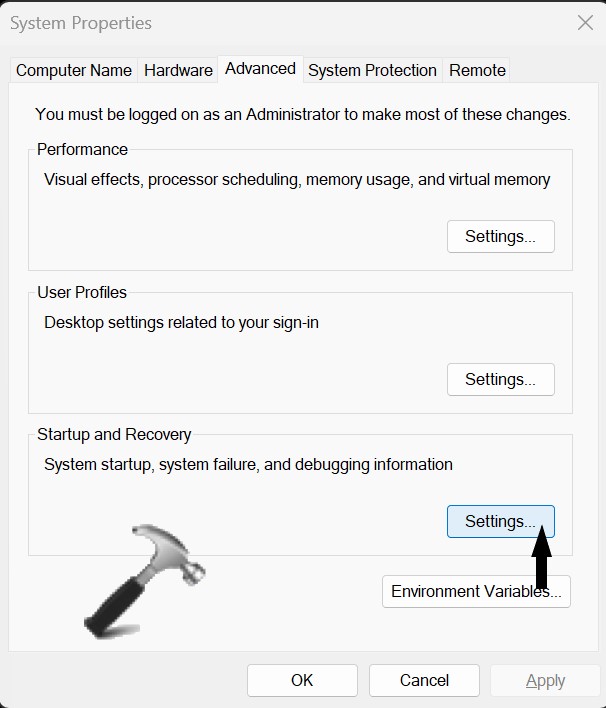
4. Next, click on the box beside Automatically Restart under System Failure.
5. Now, the problem is fixed.