Microsoft released Windows 11 in 2021 and continually improving it. After the release, the upgrade to Windows 11 rolled out to Windows 10 eligible devices in an ordered manner. Additionally, the devices with Windows 11 pre-installed are also available in the market. In case if you feel that your Windows 11 is not performing up to the mark and as expected, you can easily perform repair upgrade in Windows 11. Usually a repair upgrade is something which Windows experts will recommend you when you have multiple issues those can’t be fixed individually.
A repair upgrade is also called repair install of Windows 11, In this case, you’ll basically perform an in-place upgrade without affecting your data or settings. This means when you perform a repair upgrade, you won’t lose anything among accounts, apps, and personal data.
Page Contents
How to perform repair upgrade in Windows 11
Conditions to perform repair upgrade
You will need of Windows 11 ISO file for performing the repair upgrade. You can download Windows 11 ISO file free of cost from Microsoft’s official website using this guide.
The Windows 11 ISO file you use for this repair upgrade must be of same language, same edition, same version, same or higher build as of the currently installed Windows 11. Unlike Windows 10, you do not need to bother about system architecture because Windows 11 is only available in 64-bit system architecture.
You should be an administrator on your Windows 11 system to perform the repair upgrade. If you are on standard account, you will need administrators permission to perform this operation.
Make sure your system has enough battery power or let it be plugged during the repair upgrade process. Also ensure that your system has sufficient free space for example beyond 20GB or more.
Enough theory! Now let’s do some practical steps.
Steps to perform repair upgrade
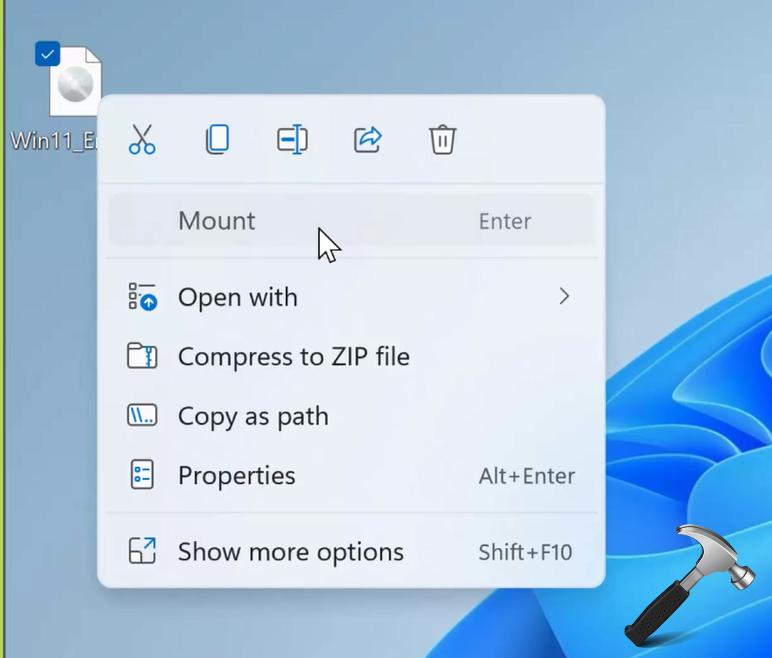
1. Locate and right click on Windows 11 ISO file and select Mount.
2. After this the Windows 11 ISO file will be loaded to a DVD drive. You will be taken to that DVD drive automatically after previous step. Double click on the setup.exe file there.

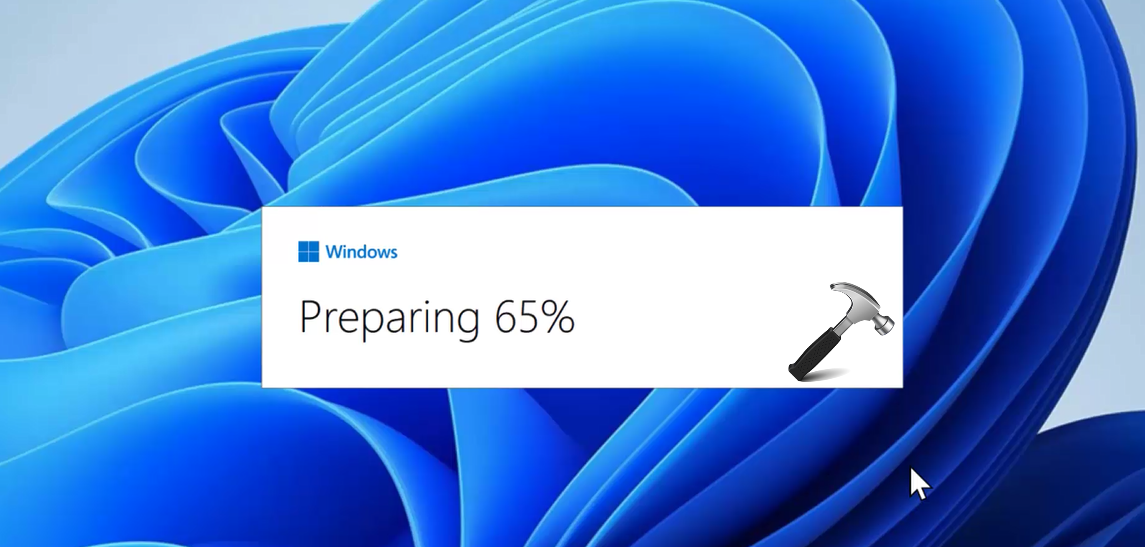
3. Let Windows setup be prepared.
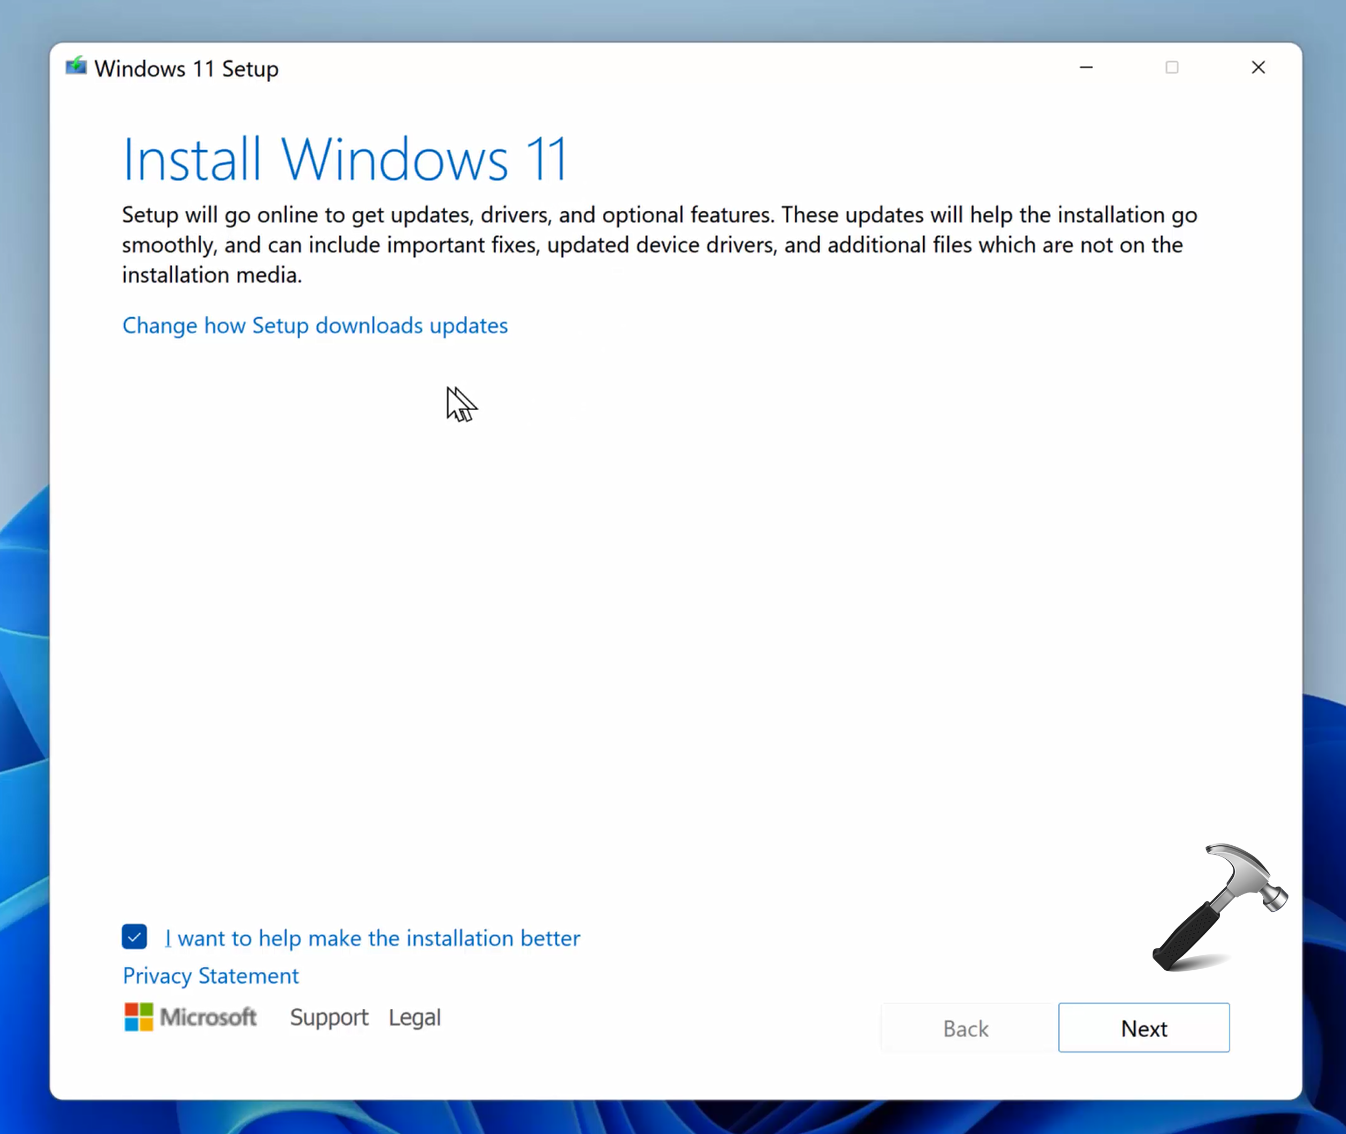
4. In the Windows 11 Setup screen, click on Change how setup downloads updates.
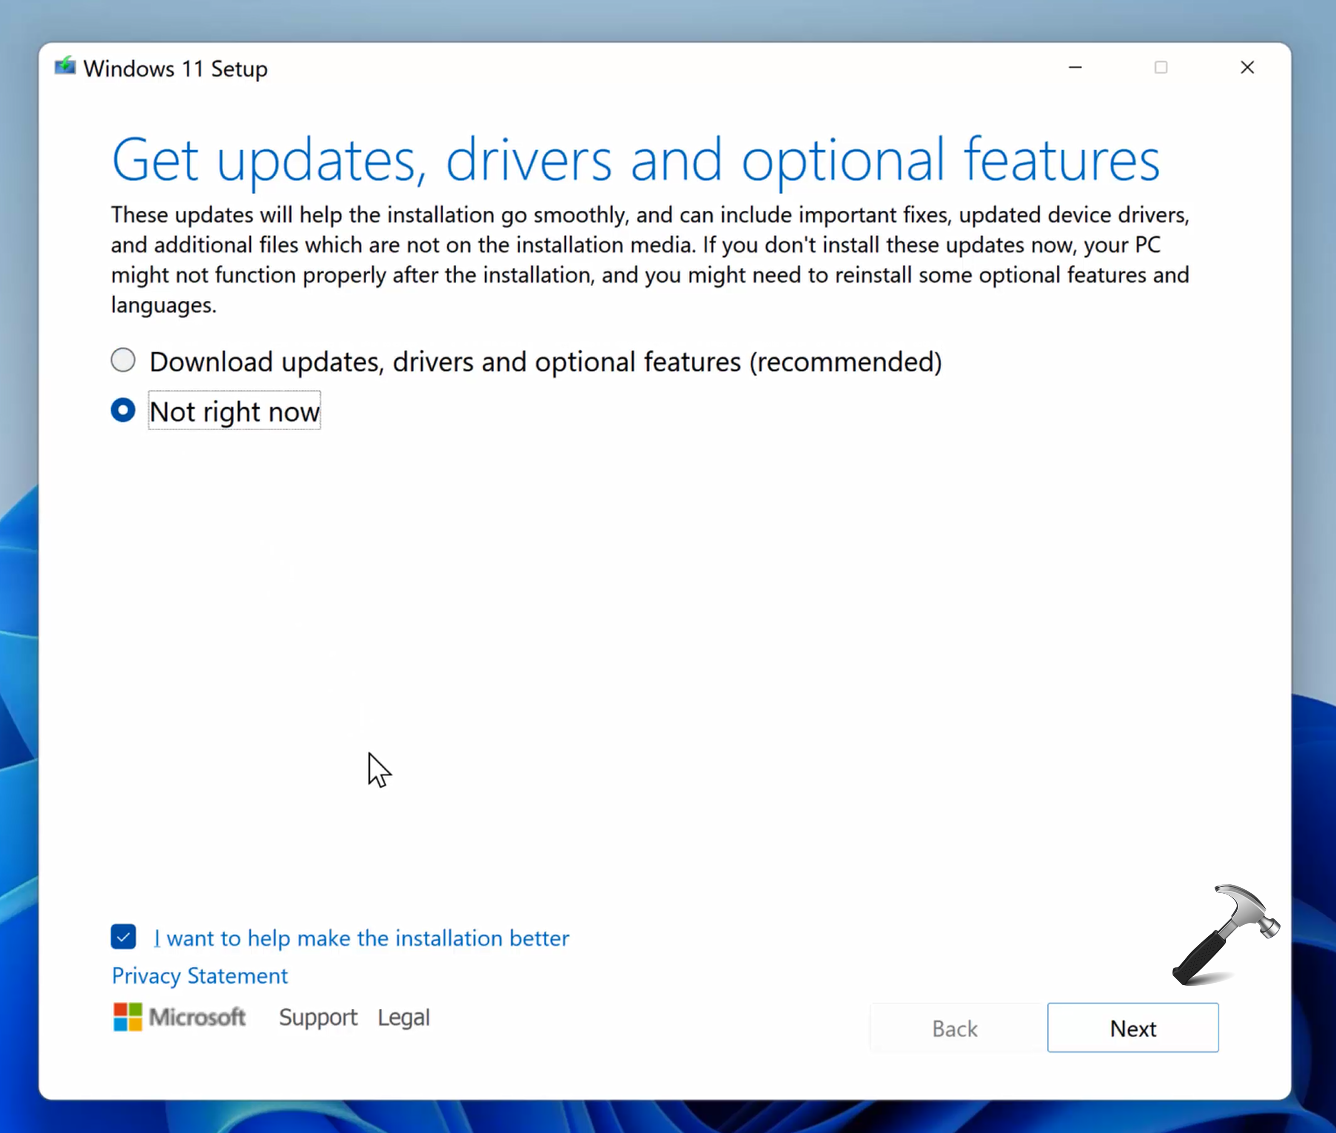
5. Under Get updates, drivers and optional features, select a relevant option applicable to you and hit Next.
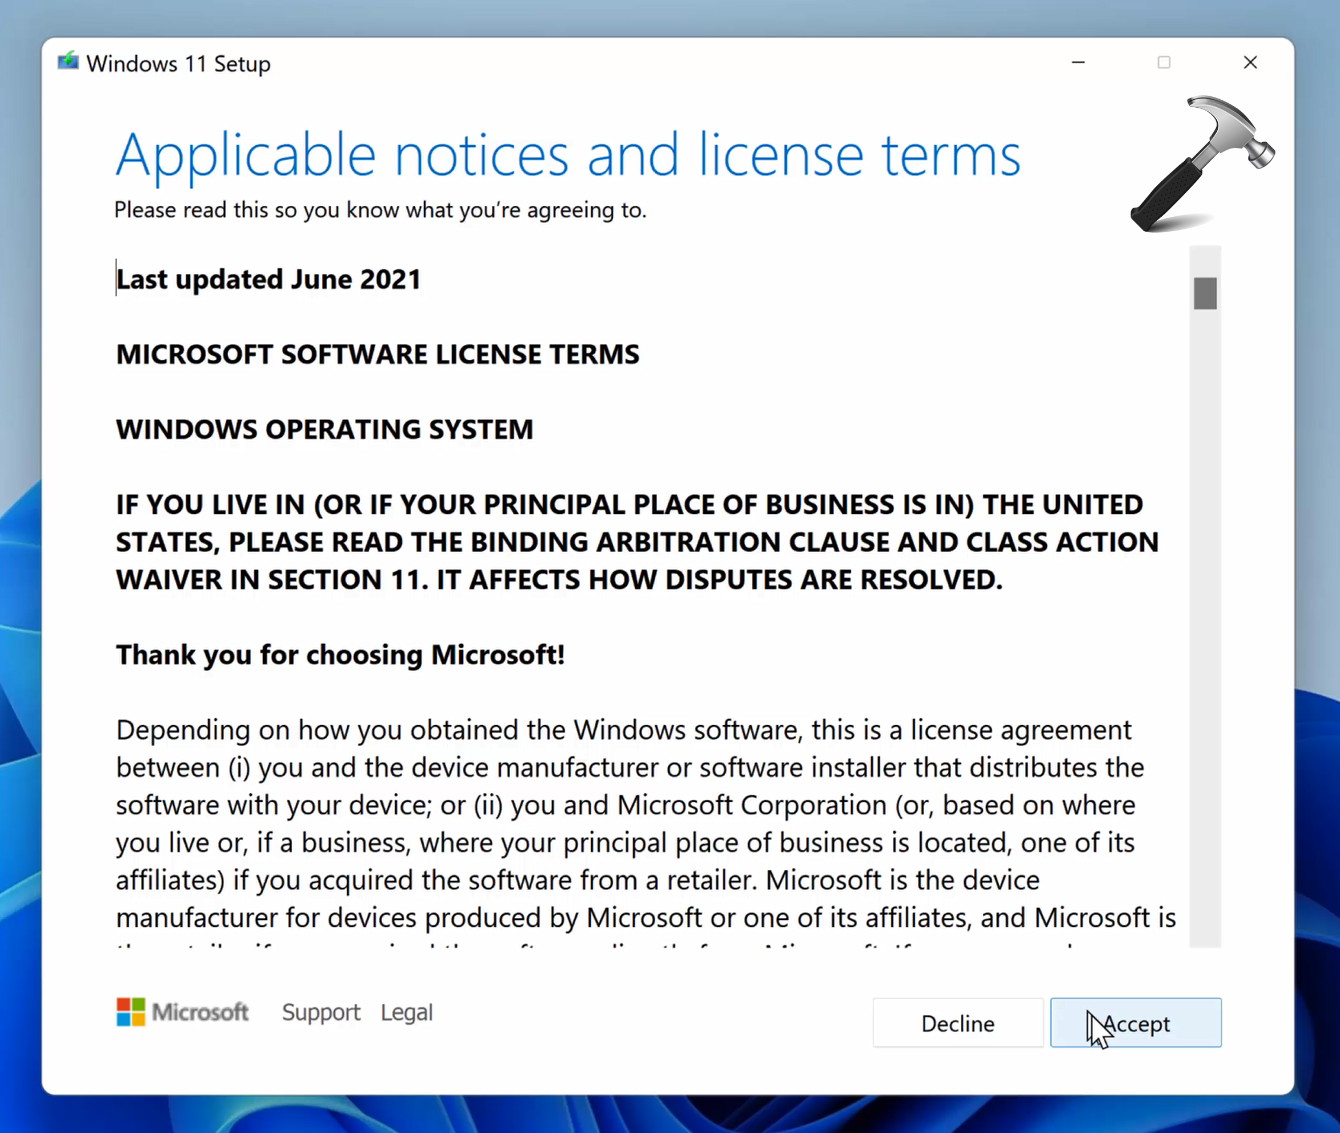
6. Now Accept the licensing terms.
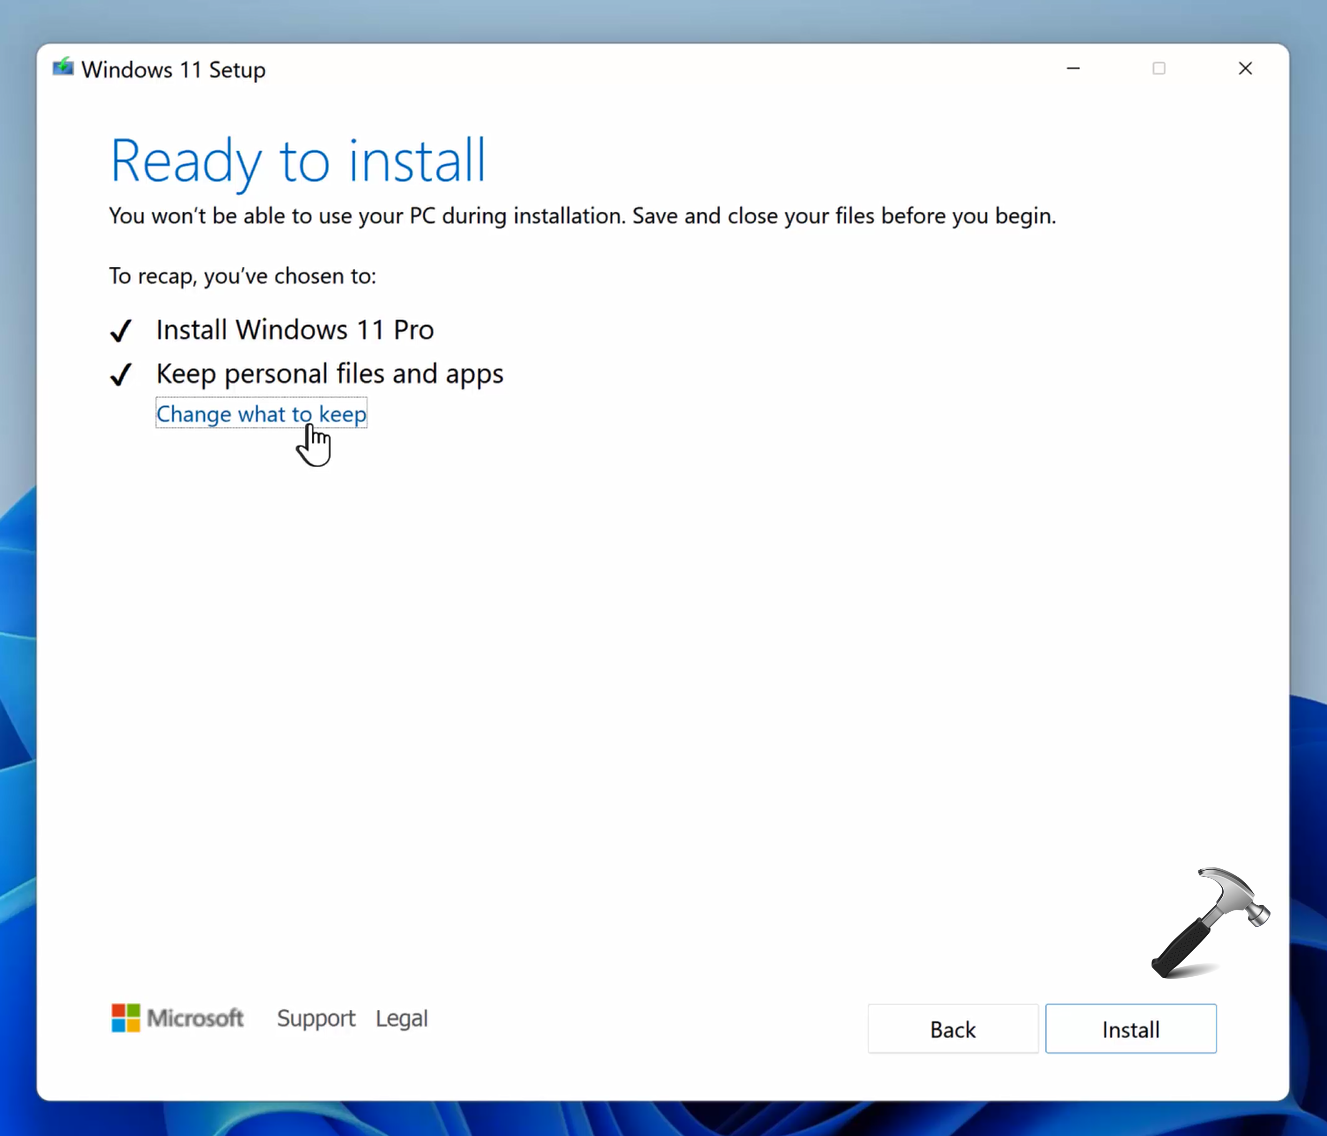
7. So now our Windows 11 setup is ready to install. By default it keeps personal files and apps. In case if you want to customize this setting, you can click on Change what to keep.
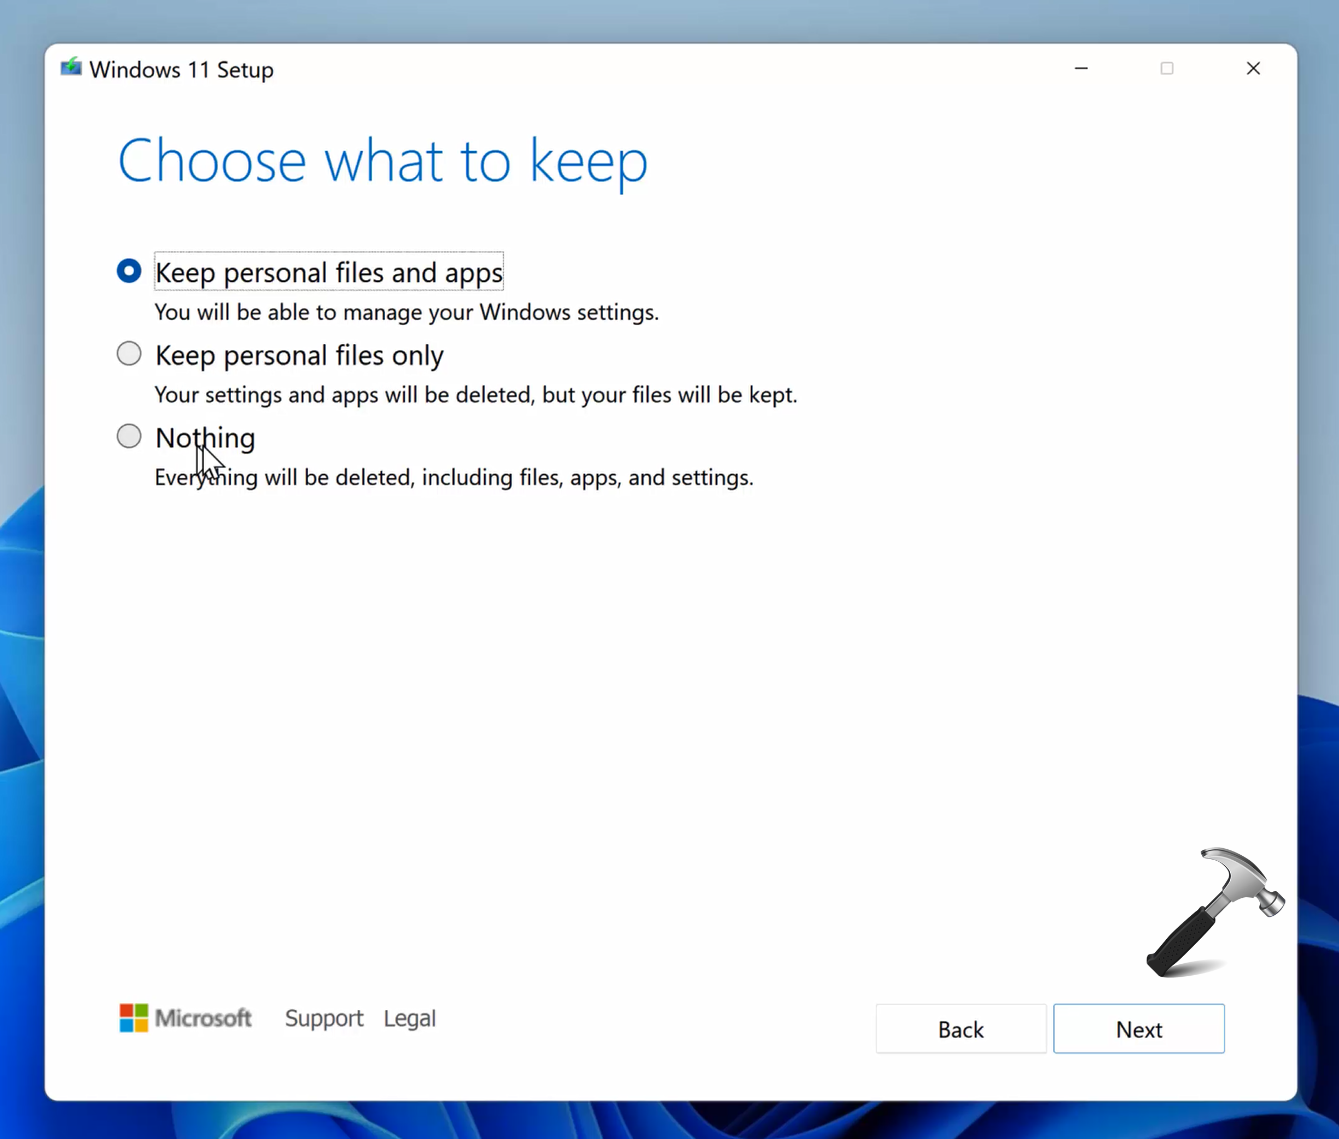
8. So under Choose what to keep, you have three options to select from. You can now go back and click on the Install button to start repair upgrade process.
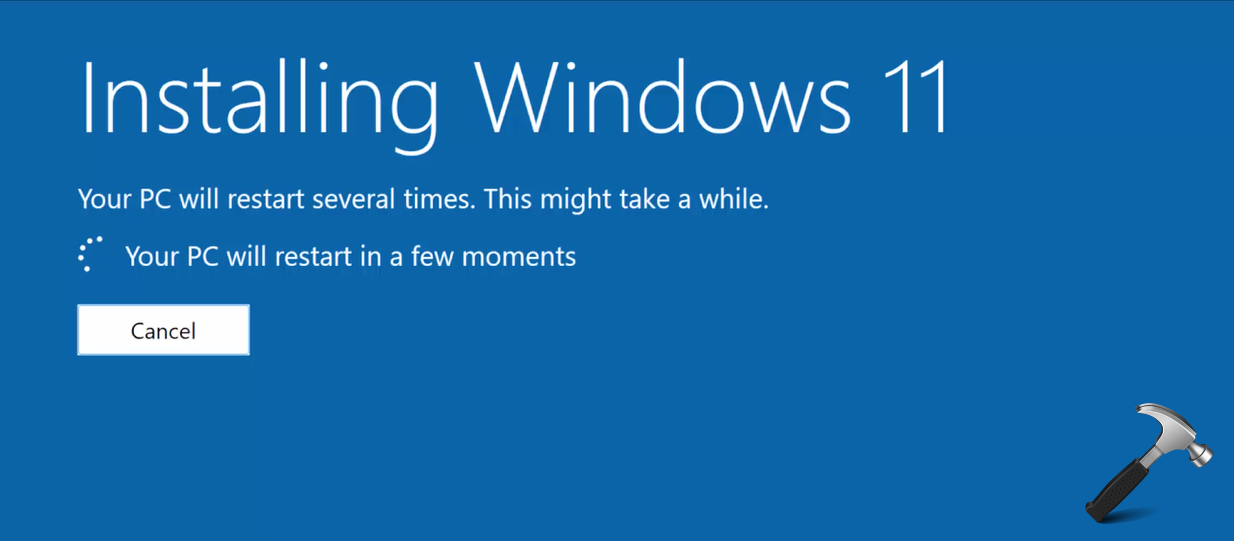
9. Now you will be seeing installing Windows 11 screen. Let this screen be completed.
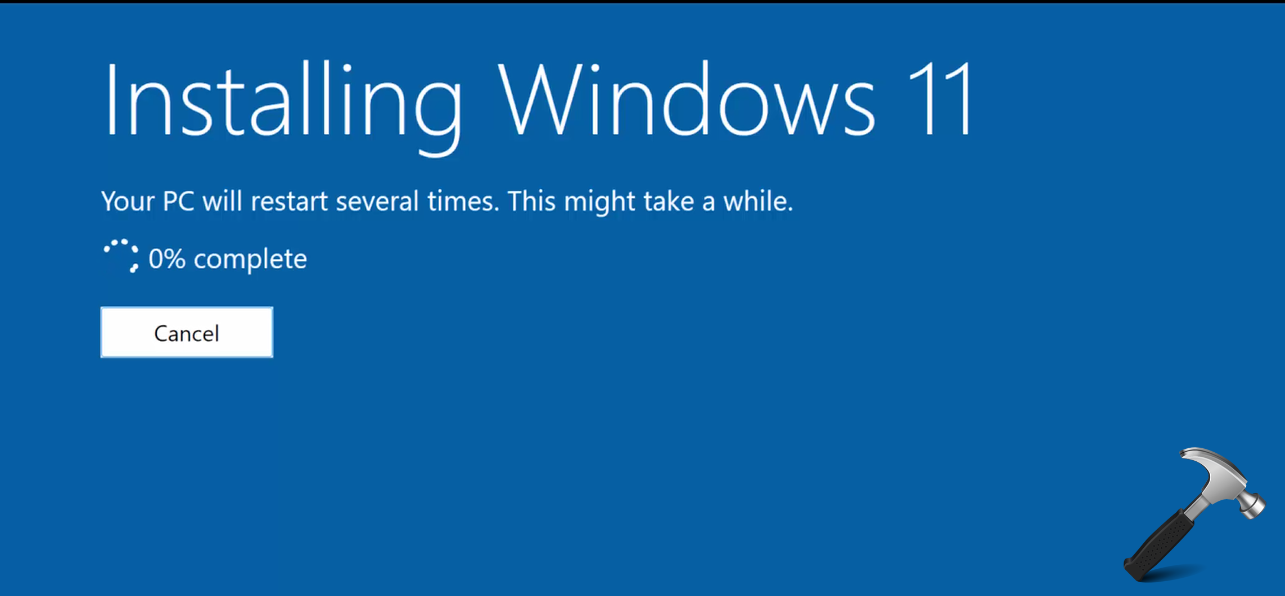
10. Once reached to 100%, your system will be automatically restarting.
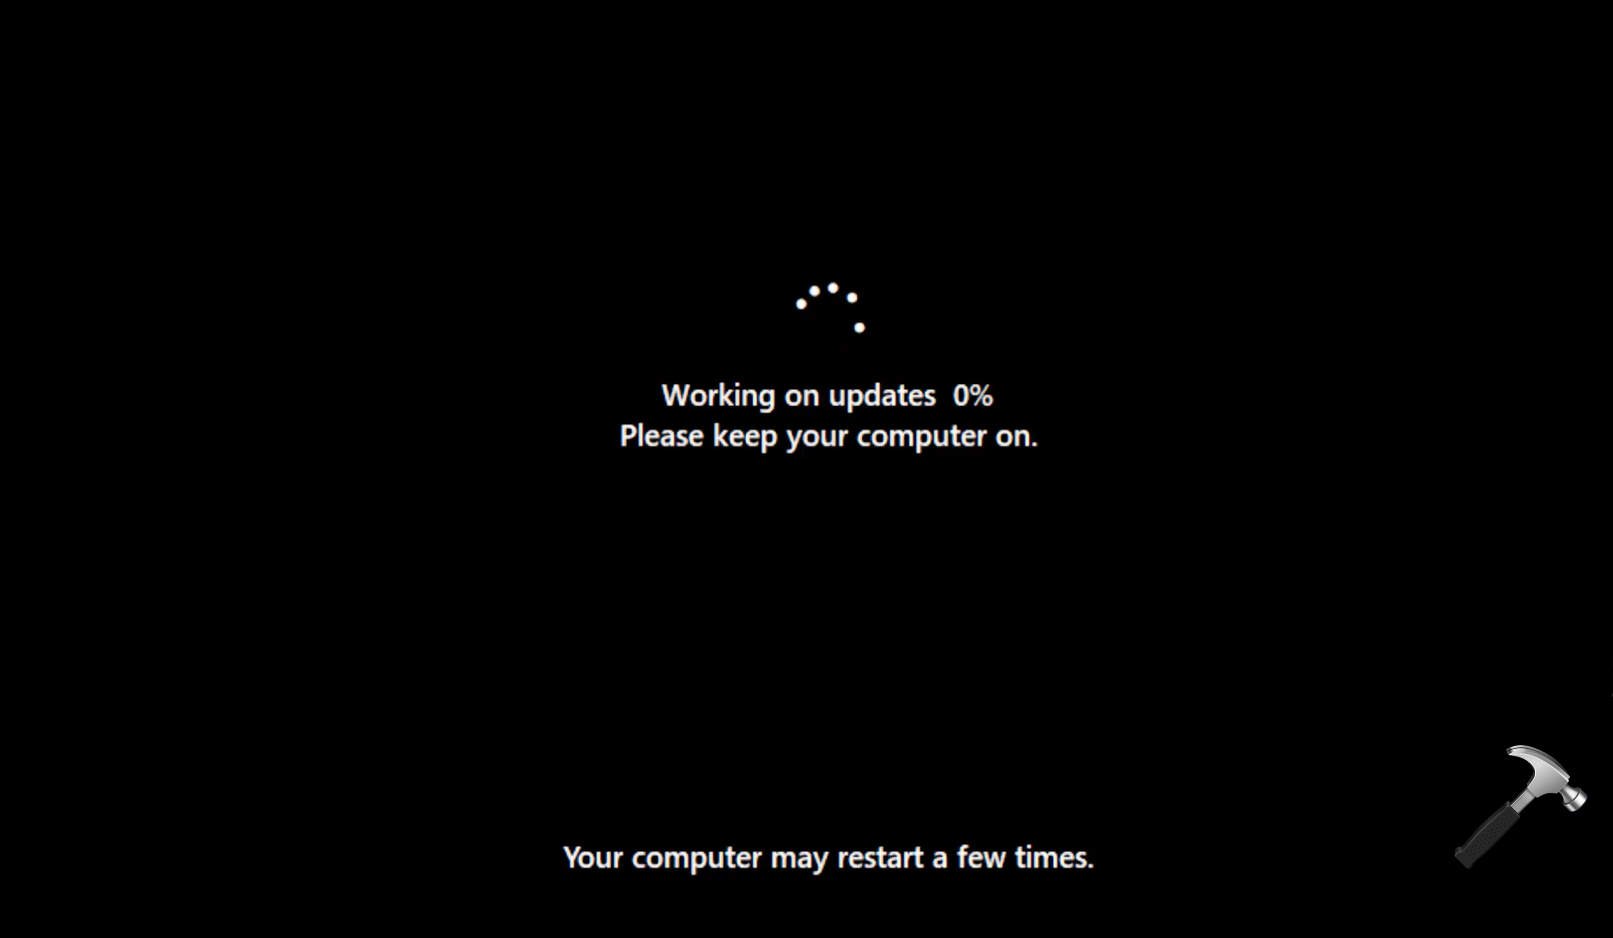
11. After restart, it will work on updates. Again this screen will move from 1 to 100%.
12. Once done, you will be taken to the login screen where you can log in as usual and get back to the Desktop.

So finally, this completes the repair upgrade process.
Video guide
You can check out following video to illustrate above mentioned steps: