
Windows already has several preloaded fonts but there may arise times when the default fonts may not be enough. During such scenarios, Windows 11/10 users can easily download the fonts. Therefore, this blog consists of all the fixes using which the users can easily download and install fonts on Windows 11/10.
Page Contents
How to download and install fonts on Windows 11/10
At first let us look how the users of Windows can download free fonts from Google easily with the steps provided below.
Downloading Fonts on Windows 11
Step 1- Firstly, you can go to the font website (for example: Google fonts at https://fonts.google.com) and select a font for downloading.

Step 2- Now choose the font for downloading and press the Download icon.
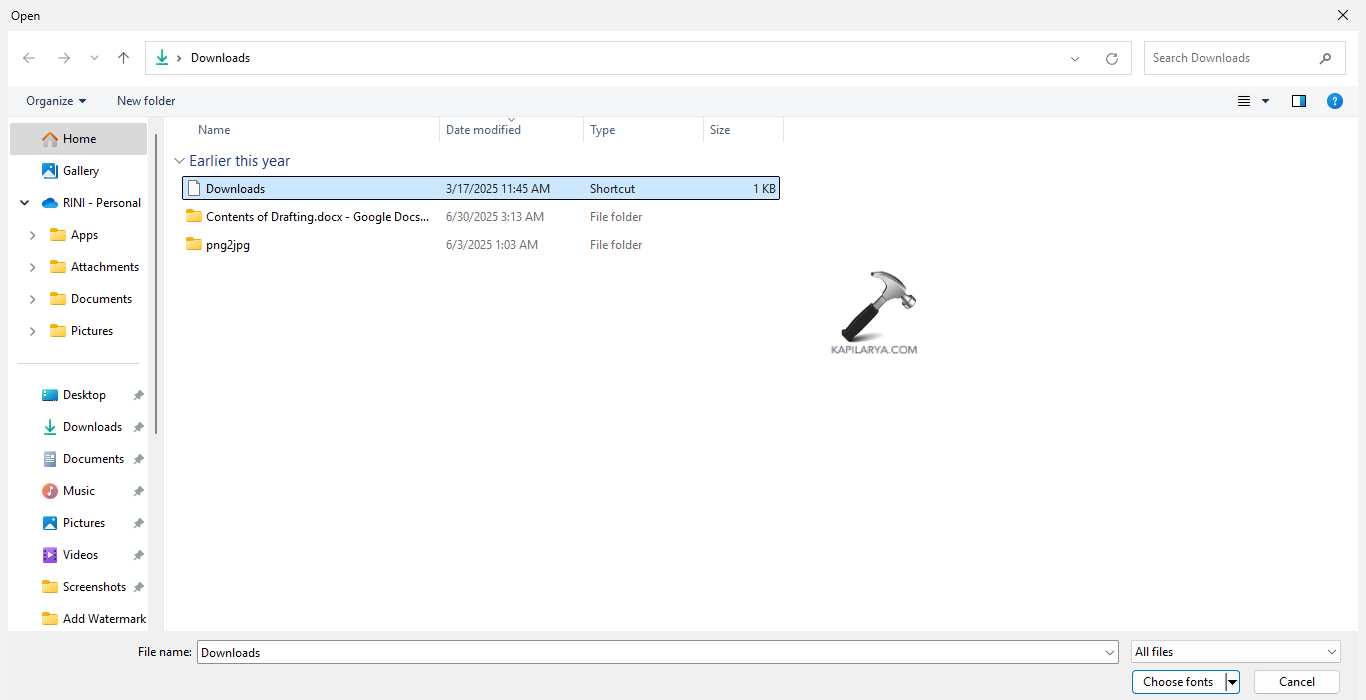
Step 3- After downloading the fonts, extract them and follow the fixes provided below.
Now, let us see the various ways for installing fonts on Windows 11/10.
Fix 1: Installing Fonts with Settings on Windows 11
The first way for installing fonts is using Setting. For the same, follow the steps.
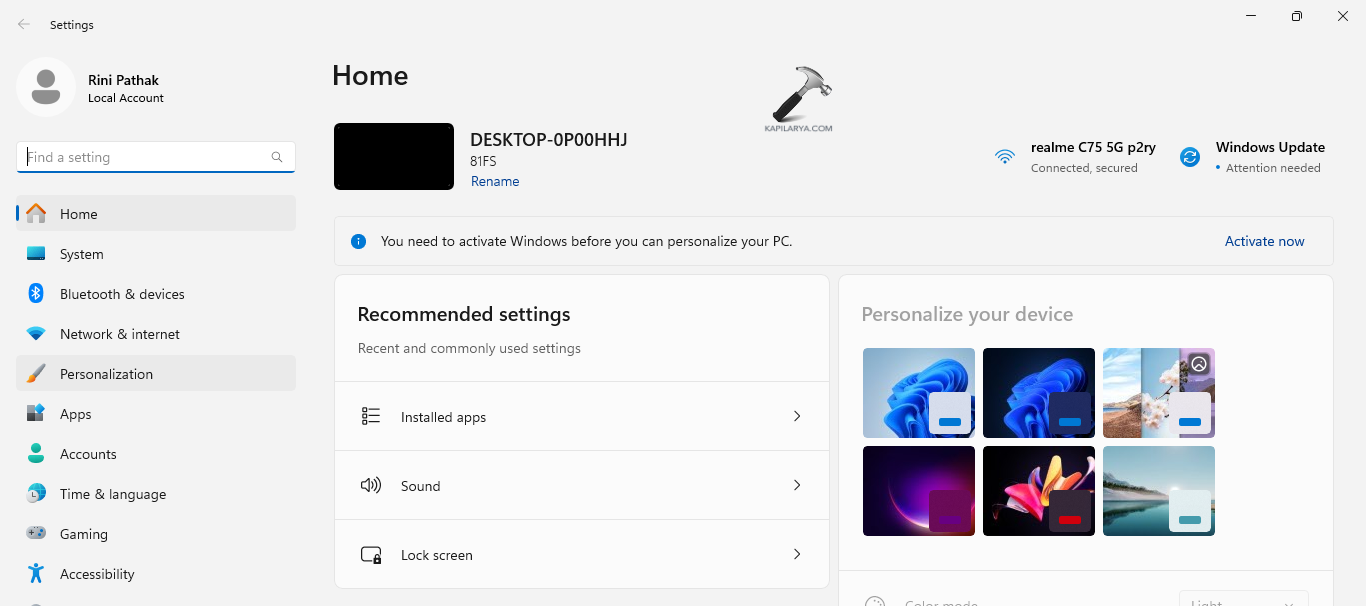
Step 1- Firstly, open Settings. Now inside Settings, press Personalization.
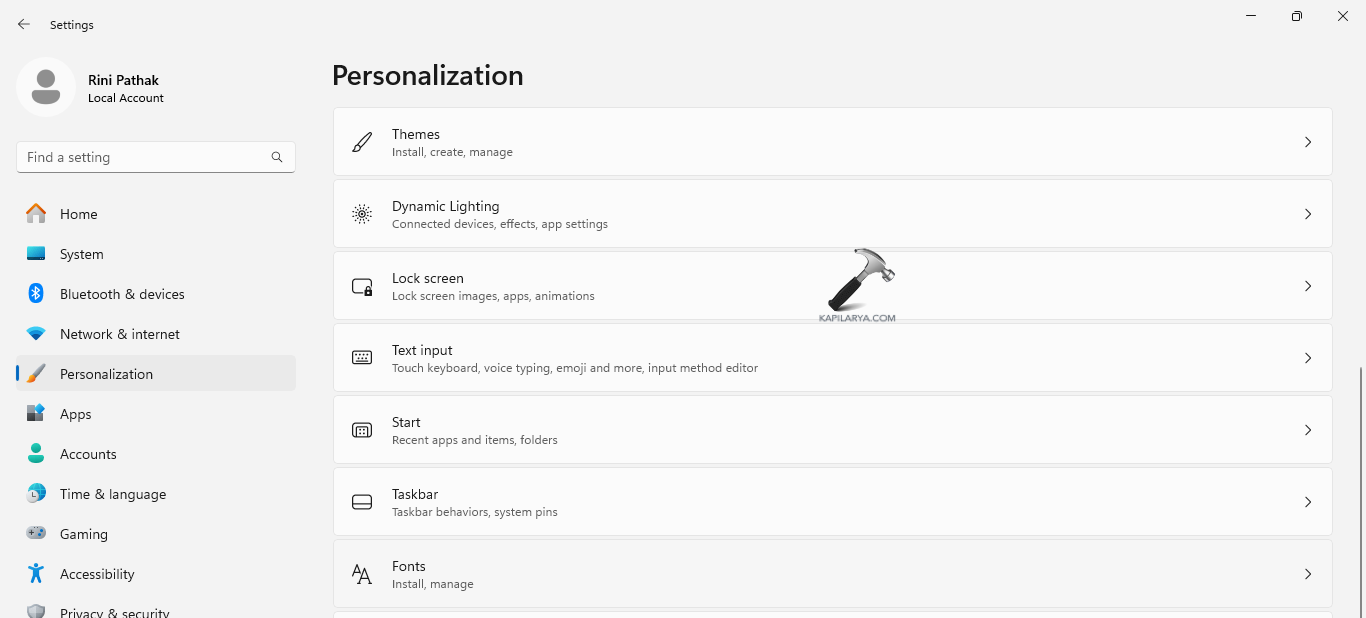
Step 2- Next select Fonts. Then, select Browse and install fonts.
Step 3- Further choose the recently downloaded font and Windows will install the same.
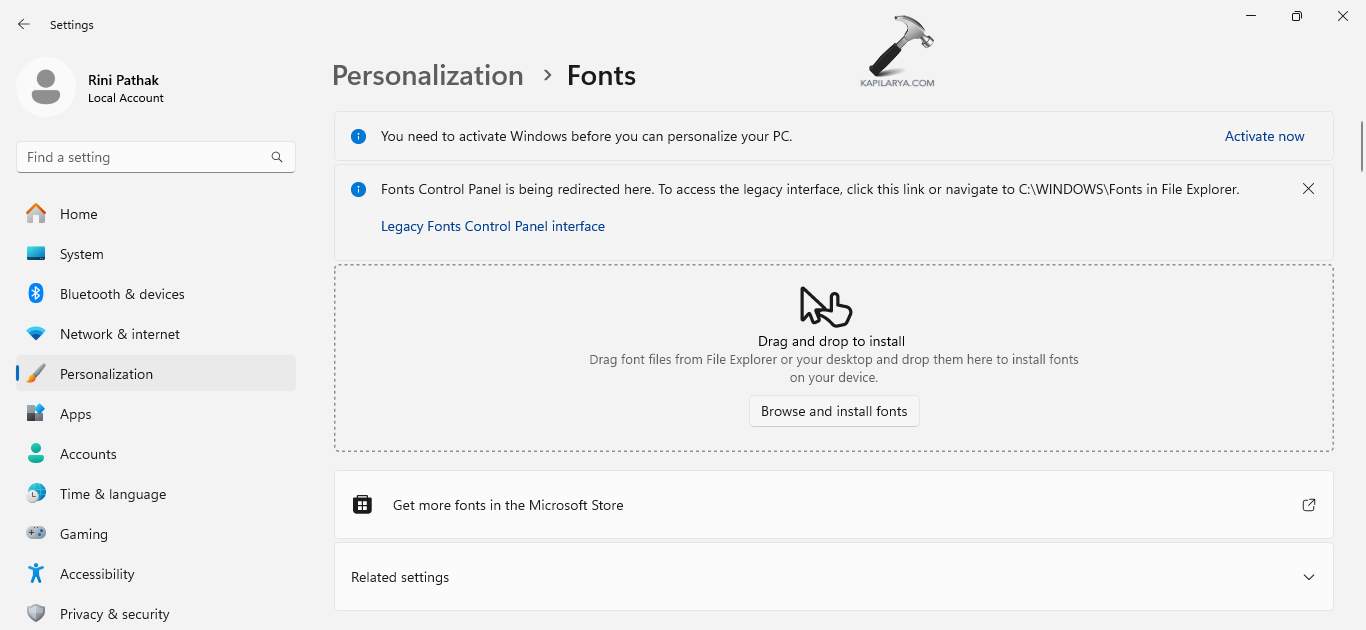
Step 4- The list of available fonts will appear now.
Fix 2- Installing Fonts with Control Panel
Another way for installing fonts is with the Control Panel, try the instructions below for doing the same.
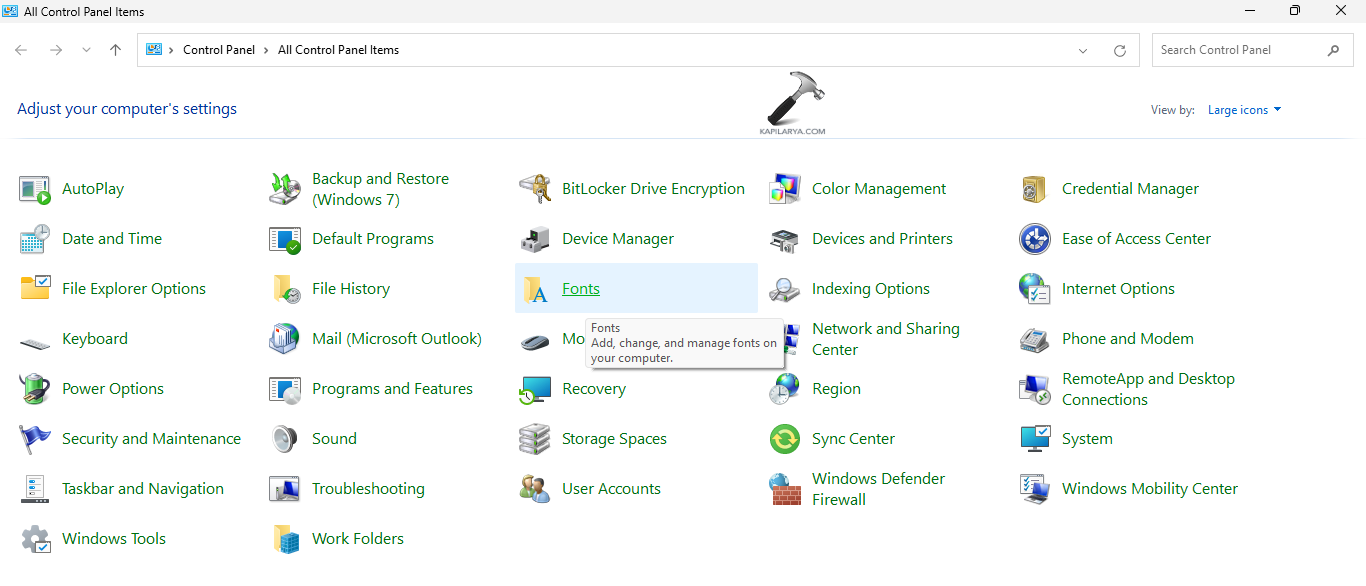
Step 1- At first open Control Panel.
Step 2- Next, press Fonts.
Step 3- Here, directory of preinstalled fonts will appear. Add the new font here.
Step 4- Lastly, open the recently downloaded font folder and select the font for installing. Thereafter drag and drop it from that folder to the above seen fonts grid.
Fix 3: Installing files with source files
Lastly, the users can attempt installing files with Source files if the above states fixes doesn’t work. Follow the steps below for installing the same.
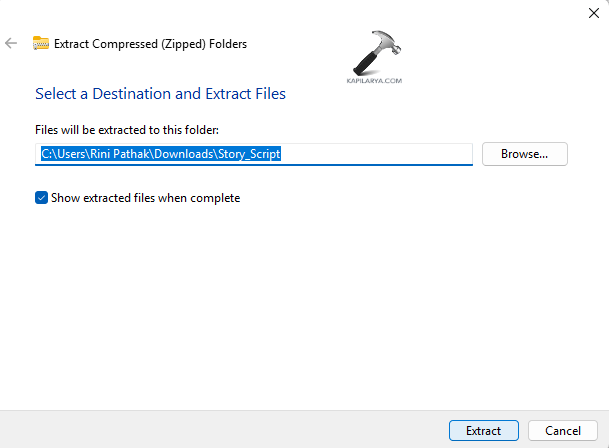
Step 1- After downloading the fonts, right-click the zip files and extract them.

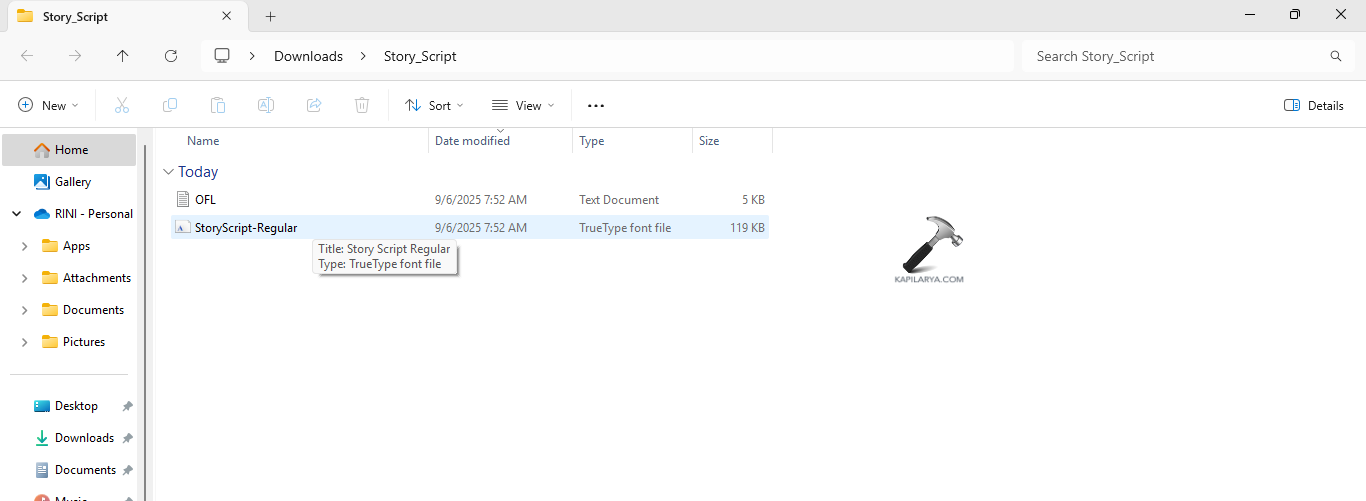
Step 2- Next, visit the extracted folder and double-click the font for installing. Regular versions of font are advisable.
Step 3- A new window will appear with a preview of the font. Press Install at the top left.
Step 4- For installing the required font, right-click and press Install from the overflow menu for directly installing the font.
Step 5- Now the font installation will start and end in a few seconds. Lastly, repeat the above steps for installing all the different fonts on Windows 11.
Thus, hoping that this helps!


