

While dealing with Registry Editor, there comes many times the situation when we need to take ownership of registry keys. You can easily take the ownership of registry keys using the method described in this article. But the procedure in linked article is somehow time consuming. If you need a straight forward and typically fast technique to take ownership of registry keys, then read on.
Page Contents
Use RegOwnershipEx To Easily Take Ownership Of Registry Keys
In this article, I want you to introduce a small, light weight yet free tool to take ownership of registry keys with the ease of comfort. This tool is called “RegOwnershipEx” and is developed by our friend “Sergey Tkachenko”. He has developed some useful software for Windows in the past and is well know for his work. Here is the latest tool from his lab:
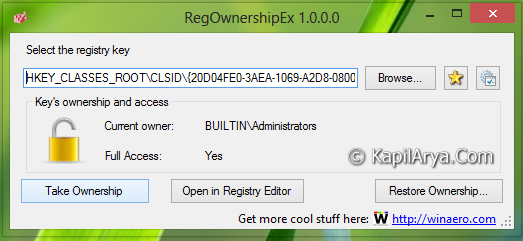
RegOwnershipEx : Features
The tool is claimed to do perform following operations successfully:
- Take ownership and provide full access to selected registry key
- Registry browser for easy registry key selection
- Favorites – for quick access to your favorite registry locations. It is shared with Favorites menu of Registry Editor
- Restore ownership feature allows you to restore the ownership and access rights that you have changed early. i.e. this is opposite action for “take ownership”
- Registry jump feature – you can open the selected key in Registry Editor. It is very handy option when you read some tweaking related article and want to jump to the key mentioned in article.
- Shortcuts for root keys – you may use HKCU instead of HKEY_CURRENT_USER, HKLM instead of HKEY_LOCAL_MACHINE and so on
- Multi language support – you will be able to translate application into your native language by simple ini file
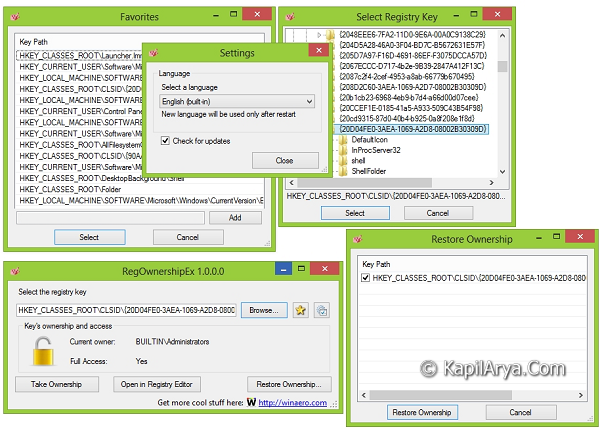
Here is the screenshot of the tool in various scenarios:
Here is the video illustration, explaining the way to use the freeware:
You can download this useful tool at https://winaero.com/download.php?view.57.
Hope you find the tool useful!

thanks Kapil for sharing this good one. I can easily take ownership using it.. :)
very good software and less buggy!
thank you for posting.
10X!!!
Is this compatible with Windows 10 as well?
^^ Yep.
Sir.. Is this compatible with windows 10?
^^ Though not tested, but IMO it should work :)
I clicked on take ownership but nothing happens please help me out.
i still can’t change my value data on my win 10
Hi Kapil Arya
My computer just ran into a problem while trying to fix the “Setting The Account Picture Failed. Please Try Again problem” In Windows 10 using the Command prompt up there, though I didn’t successfully run all the commands when I went to change the SystemData to SystemData.old but I noticed that another SystemData Folder was created after I already added “.old” to the former. Not long after I restarted my computer that it hung at the booting stage and it keep rolling(loading). Please how can you help me fix this?
^^ You can try performing System Restore from Advanced Options screen: https://www.kapilarya.com/how-to-access-advanced-recovery-options-in-windows-10.
Does it have to be run from C? Got these message: “A referral was returned fromthe server”……I can´t get it to work!! Someone help please!!