In Windows 10 Version 1803, Microsoft introduced Graphics performance preference for apps and programs. Usually, we can use our graphics card’s Control Panel to change the graphics settings. But with the Microsoft introduced settings, we can use specific graphic settings for a particular UWP app or Desktop program. Remember that you can still use the graphic card’s settings to manage your system.
Since the introduction, Microsoft improved the Graphics performance preference settings in successive versions. As far as the latest version is concerned, it allows you to set between these three settings: Let windows decide, Power saving, High performance. ‘Let windows decide’ remains the default setting but you can choose the other settings, if you want. In build 20190 or later, you can specify a default high performance GPU. You can also select a specific GPU for specific app/program.
So here is how you can configure Graphics performance preference settings for an app or program in Windows 10.
Page Contents
Configure Graphics Performance Preference In Windows 10
How to set preferred GPU for apps or programs in Windows 10
1. Right click Start Button or press  + X keys and select Settings.
2. In the Settings app, navigate to System > Display.
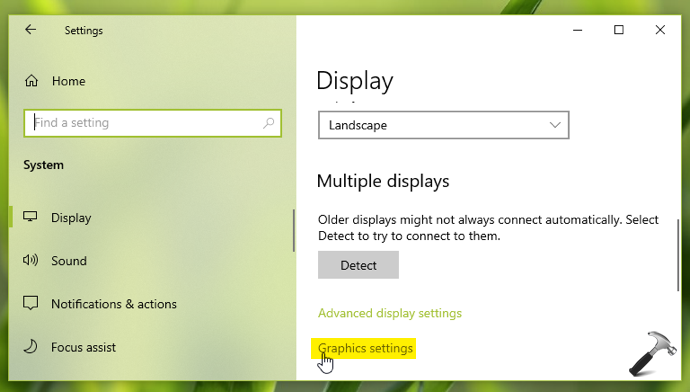
3. Under Multiple displays, click on Graphics settings link.
4. Next, in Graphics performance preference, select an app/program type.
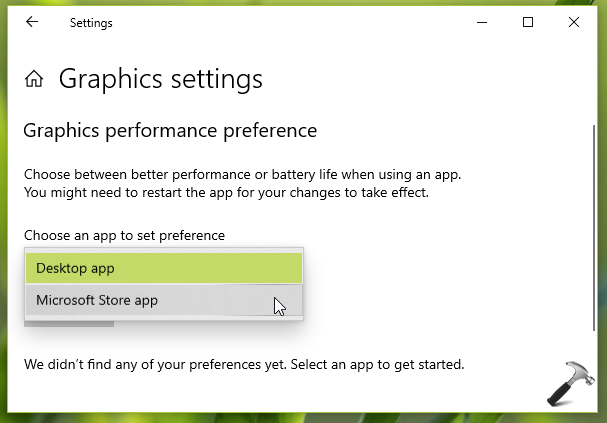
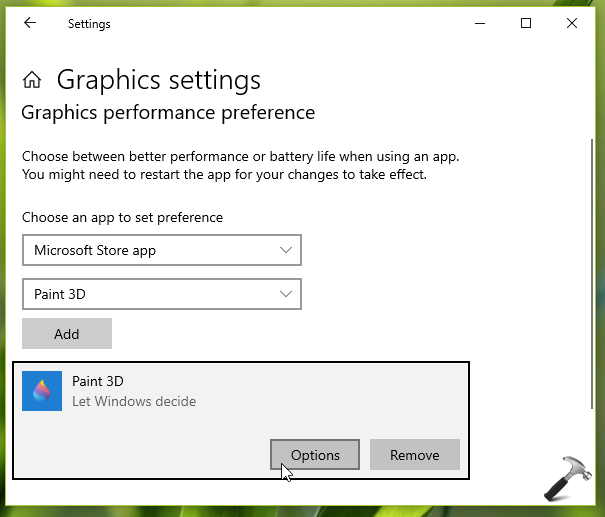
5. If you select a Desktop app, then use the Browse button to select your program from the list. In case if you choose Microsoft store app, then select an app from the list provided below and click Add.

6. Once the program/app is added, click on Options.
7. Then you select the best setting for graphics performance and click Save.
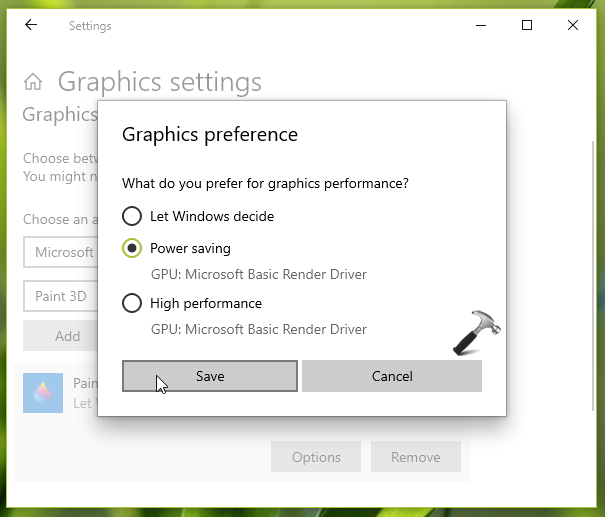
In this way, you can configure graphics performance setting for individual apps or programs. Your configured settings should be applied immediately, else you can restart your system to make changes effective.
That’s it!