Sometimes, it becomes necessary to disable USB ports in Windows 11. For instance, anyone can access your system by connecting a pen driver to steal some important data. That’s the reason why some educational institutions and organizations block the access to USB ports. Are you wondering how to disable USB ports in Windows 11? If yes, then read further.
In this post, learn how you can disable a USB port for preventing unauthorized access.
Page Contents
How to disable USB ports in Windows 11
Method 1: By Using Registry Editor
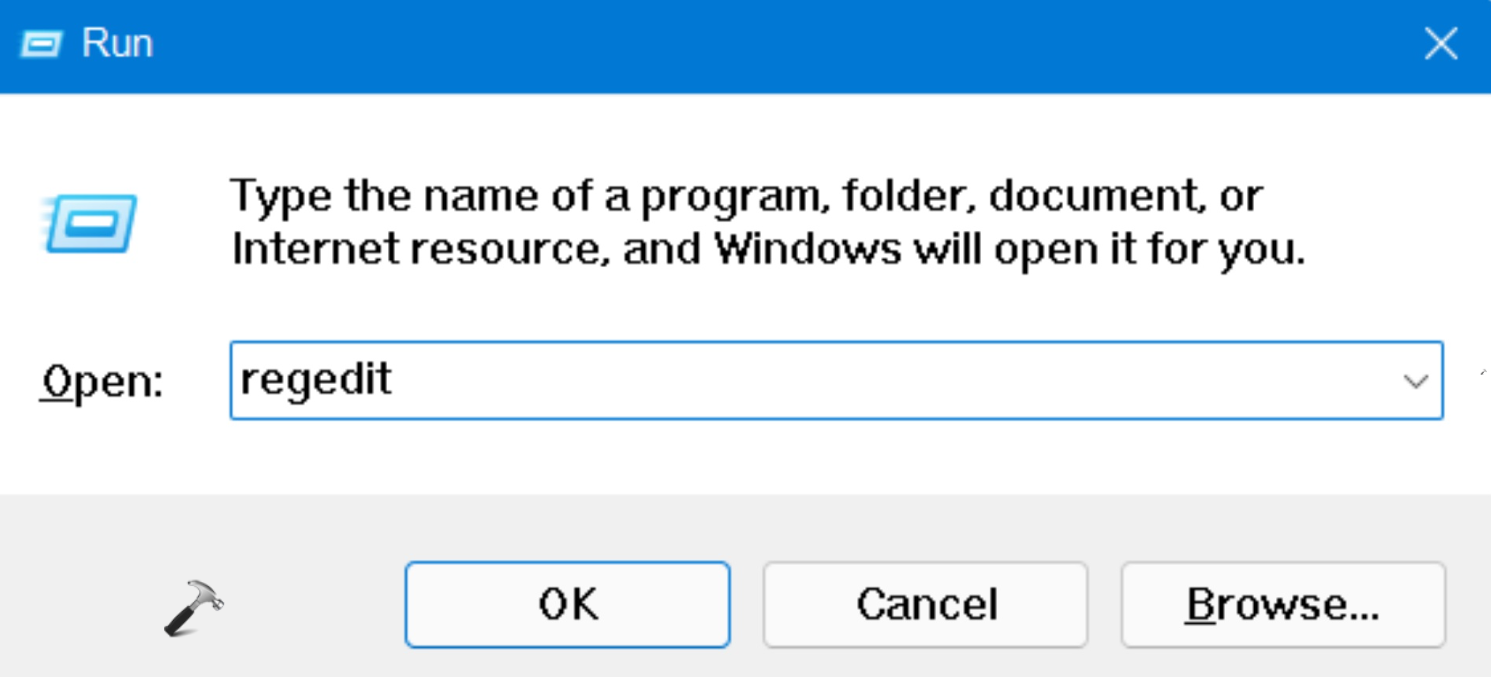
1. In the first place, you need to open the Run dialog box. For this, press the Windows + R keys simultaneously on your keyboard. Once opened, type regedit in the Run dialog box to open Registry Editor.
2. After that, navigate to the following location:
HKEY_LOCAL_MACHINE\SYSTEM\CurrentControlSet\Services\USBSTOR
3. Once there, double-click on the Start Now, change its value data to 4 for disabling USB ports. After that, click OK for saving the changes.

4. Lastly, close Registry Editor and reboot your computer to check if the USB ports are disabled now.
Method 2: By Using Device Manager
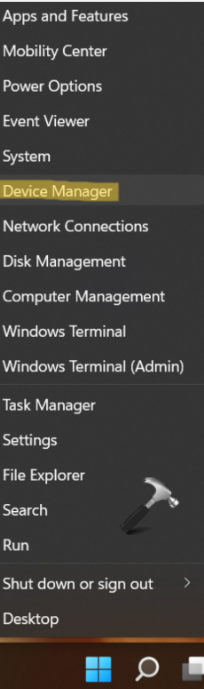
1. Firstly, press the Windows + X tabs together on your keyboard. From the context menu, click on Device Manager.
2. Now, go to the Universal Serial Bus Controllers and expand it.
3. Once expanded, you will come across all the available USB ports.
4. To disable USB ports, right-click on each port and then, choose the Disable device Perform this action for every USB port to disable all the USB ports.

5. Check if all the USB ports are disabled now.
Method 3: By Uninstalling USB Mass Storage Drivers
1. Firstly, press the Windows + X tabs together on your keyboard. From the context menu, click on Device Manager.
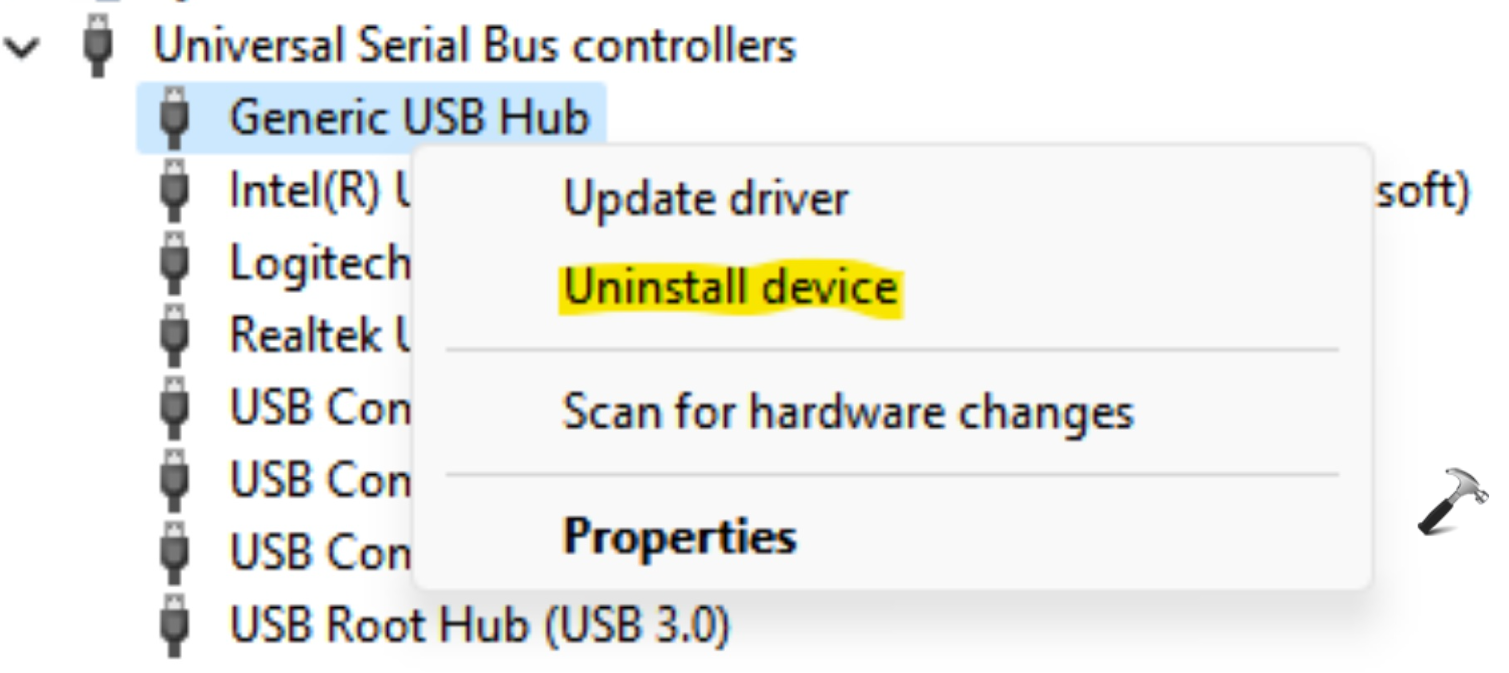
2. Now, go to the Universal Serial Bus Controllers and expand it.
3. Look for the USB Mass Storage Device option. Now, right-click on it and choose the Uninstall device option.
4. After uninstalling it, all the USB ports on your system will be disabled successfully.
So, these are some of the effective methods to disable a USB port in Windows 11. Now, you do not have to worry over how to disable USB ports in Windows 11 anymore!