
Having the Pause updates greyed out in Windows 11 can be frustrating, particularly when you have to pause the updates for a short time when you are working, playing, or traveling. This problem not only hinders your control, it can also create unwanted restarts, download failures and even slow your performance as Windows imposes updates.
You can fix this problem by fixing a feature and taking back control of how and when Windows 11 updates itself. We have provided three methods for fixing this situation, Pause updates greyed out in Windows 11, in this article.
Page Contents
Fix Pause Updates Greyed Out in Windows 11
The Pause Updates option gives you, as a user, the flexibility, stability, and control. Use these three tips to eventually fix the issue of Pause updates greyed out in Windows 11 in no time.
Fix 1: Using Group Policy Editor
In case Windows update policies lock out the settings, then you can revert them manually:
1. Click Win + R, press Enter and type this and press Enter:
gpedit.msc

2. Navigate to this path:-
Computer Configuration > Administrative Templates > Windows Components > Windows Update > Manage end user experience
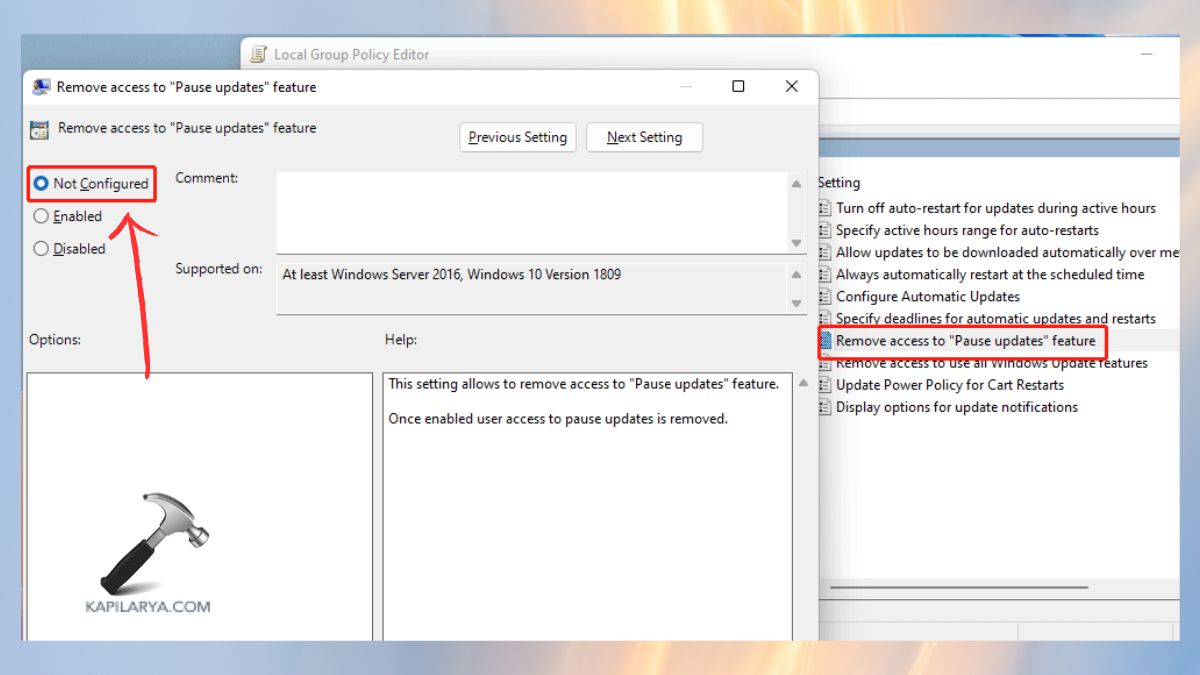
3. On the right, navigate and double click Remove access to the Pause updates feature. Type it to one of the following: Disabled or Not Configured. Click Apply > OK.
4. Also, check this setting. Go to this path:-
Computer Configuration > Administrative Templates > Windows Components > Windows Update
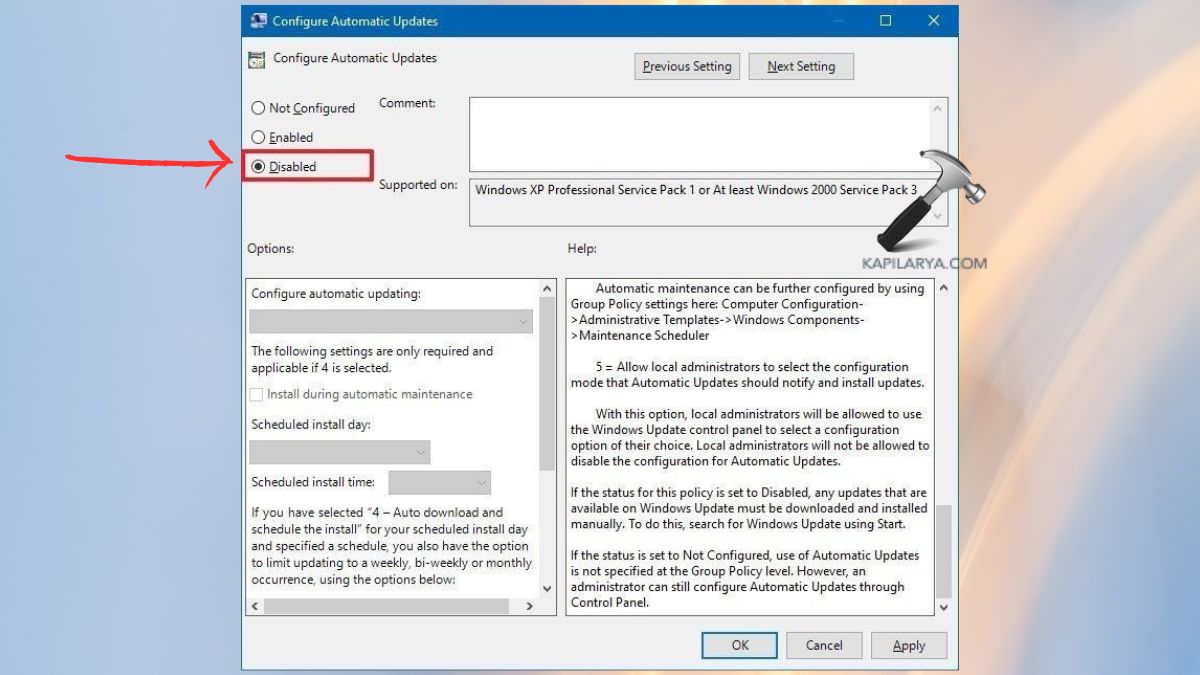
5. Click on the button of Configure Automatic Updates. Put it to Not Configured/Disabled.
Restart your PC again. Your Pause Updates button is now visible, and that it works.
Fix 2: Using Windows Registry
This method should be used to regain the lost option, should you be on Windows 11 Home and your desire is control on the registry level.
Caution: It is always important to save a copy of your registry before modifying.
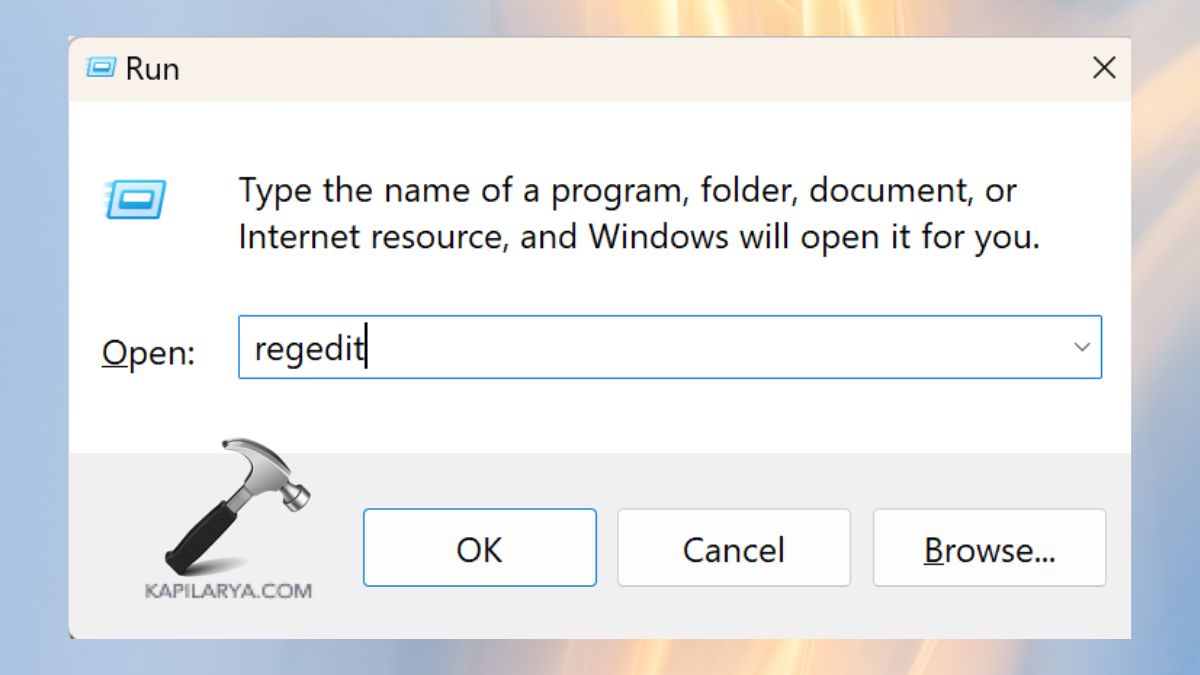
1. Click on the press key, Windows + R and type this, then press enter.
regedit
2. Go to the following path:-
HKEY_LOCAL_MACHINE\SOFTWARE\Policies\Microsoft\Windows\WindowsUpdate
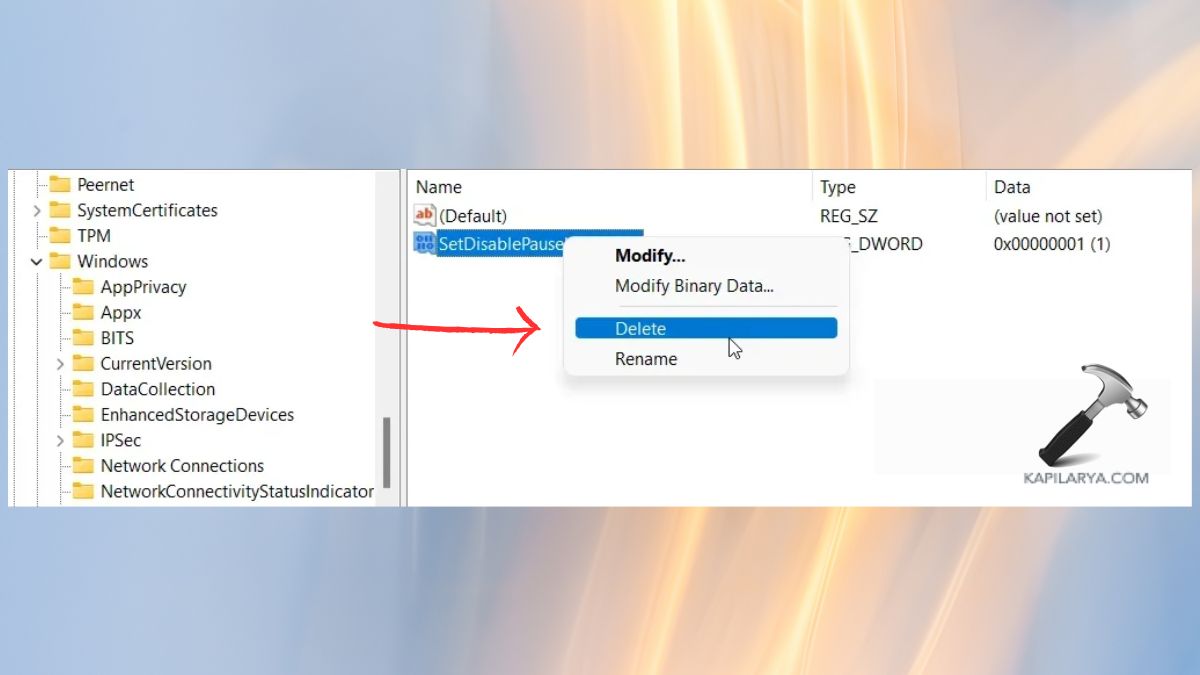
3. Look for these values:-
- SetDisablePauseUXAccess
- DisableWindowsUpdateAccess
In case of their presence, right-click and delete them.
4. Also, check this path:-
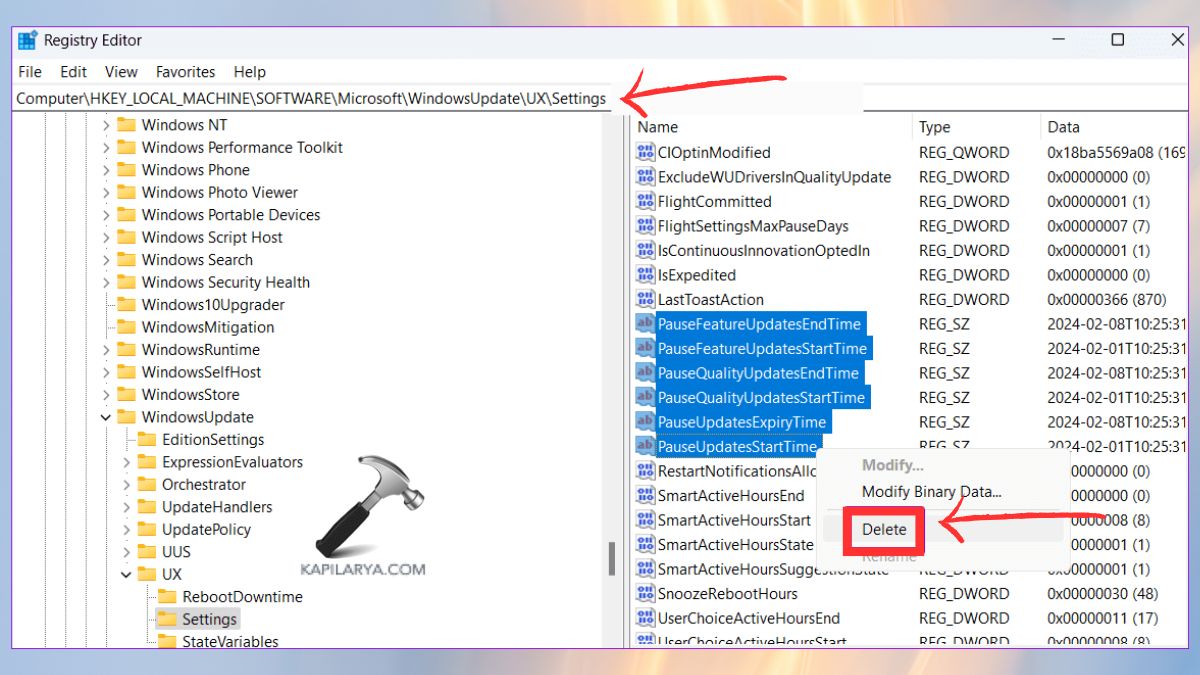
HKEY_LOCAL_MACHINE\SOFTWARE\Microsoft\WindowsUpdate\UX\Settings
5. Locate:-
- PauseFeatureUpdatesEndTime
- PauseFeatureUpdatesStartTime
- PauseQualityUpdatesEndTime
- PauseQualityUpdatesStartTime
- PauseUpdatesExpiryTime
- PauseUpdatesStartTime
Right-Click > delete them in the event that they exist.
Close Registry Editor. Restart your PC. Windows Update and look whether the Pause Updates toggle is reinstated or not.
Fix 3: Using Command Prompt
In case the Pause Updates button is not working due to old or frozen Group Policies, refresh the Group Policies manually in Command Prompt to solve the problem immediately. It is among the fastest ways, and when policies have just been changed or corrupted, this method works well.
1. Press Windows + S and type “cmd”. Right-Click Command Prompt or Run as administrator.

2. The following command can be typed in the Command Prompt window, and then hit the Enter key.
gpupdate /force
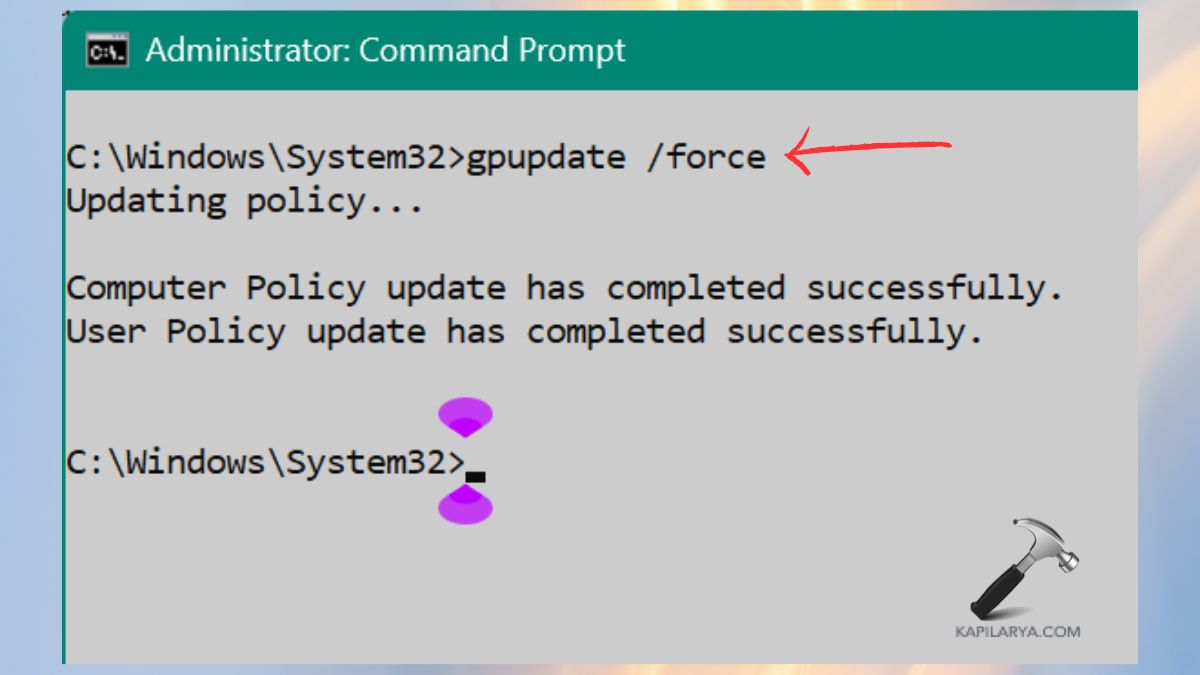
This command will cause force-updating all local policies, as well as resetting Windows Update, and eliminating conflicting policies, a few of which might disable Pause Updates. Once the command is finished, restart the system to come up with your new policies. At this point, go to Windows Update, and the Pause Updates option should not only be visible but also clickable.
Frequently Asked Questions (FAQs)
Why is my Pause Updates option locked in Windows 11?
This is normally achieved by compelling policies through Group Policy, restriction of the registry or an organization-related account that regulates update settings.
Can I enable Pause Updates on Windows 11 Home?
Yes. Although Group Policy is not accessible, the Pause option can be restored with the help of the Registry changes.
Is it safe to edit the Registry to fix Windows Update settings?
Yes, provided that you do everything in a way and make a backup before you change anything.
That’s it!


![[Latest Windows 11 Update] What’s new in KB5089549?](https://www.kapilarya.com/assets/Windows11-Update-768x651.png)