
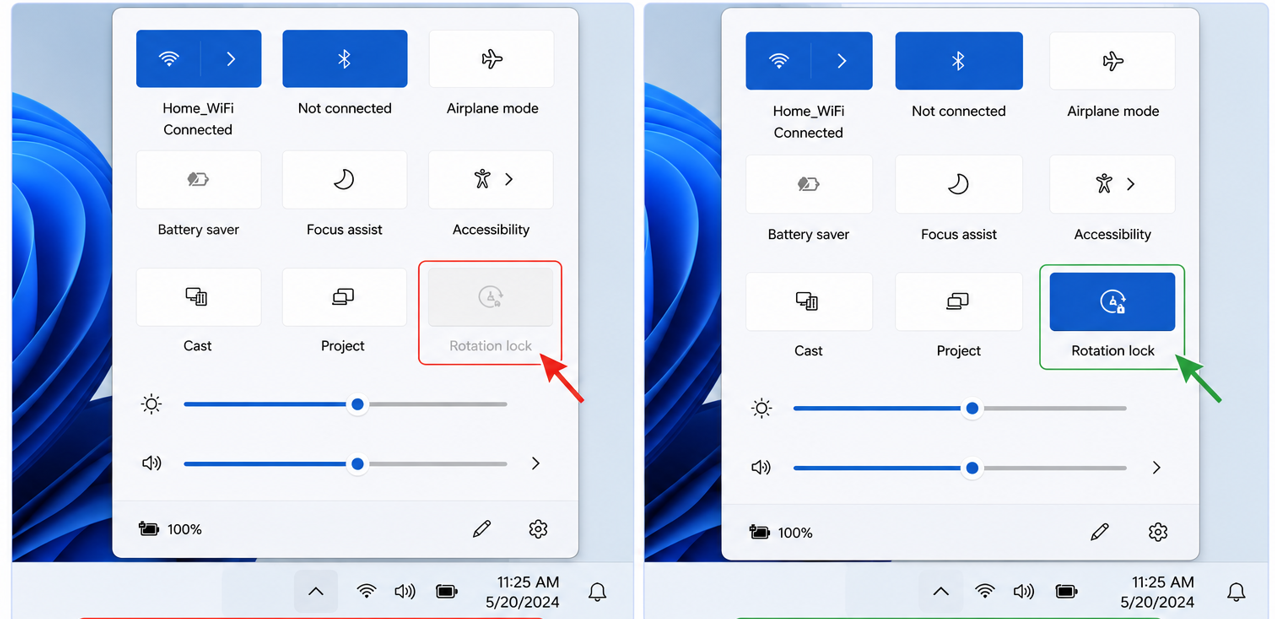
You picked your 2-in-1 laptop or tablet with Windows 11. Turned it sideways. And suddenly the screen rotation stopped working. You opened Quick Settings and noticed that the Rotation Lock Option is greyed out.
Isn’t it really annoying? Yes, it is, especially when you want your screen to rotate automatically during work, watching videos, or reading.
The rotation lock greyed out problem is easy to fix in Windows 11. It happens because your device is in Laptop mode. Or Windows cannot detect the orientation sensor. Or the sensor drive is not working properly.
Below are the best ways to fix grey-out rotation lock issue.
Page Contents
Fix: Windows 11 Rotation Lock Greyed Out
Method 1: Switch Laptop To Tablet Mode
To fix the rotation lock, grey out in Windows 11, follow the steps below. This method will work because Windows only allow auto-rotation in tablet mode:
Step 1: Fold keyboard fully back or into an inverted V (Tent mode).
Step 2: Press Windows + A to open Quick Settings.
Step 3: Check if the Rotation Lock is now clickable.
Method 2: Change Screen Orientation Manually
Windows detects the new screen position before the lock starts working. Here is how to fix it:
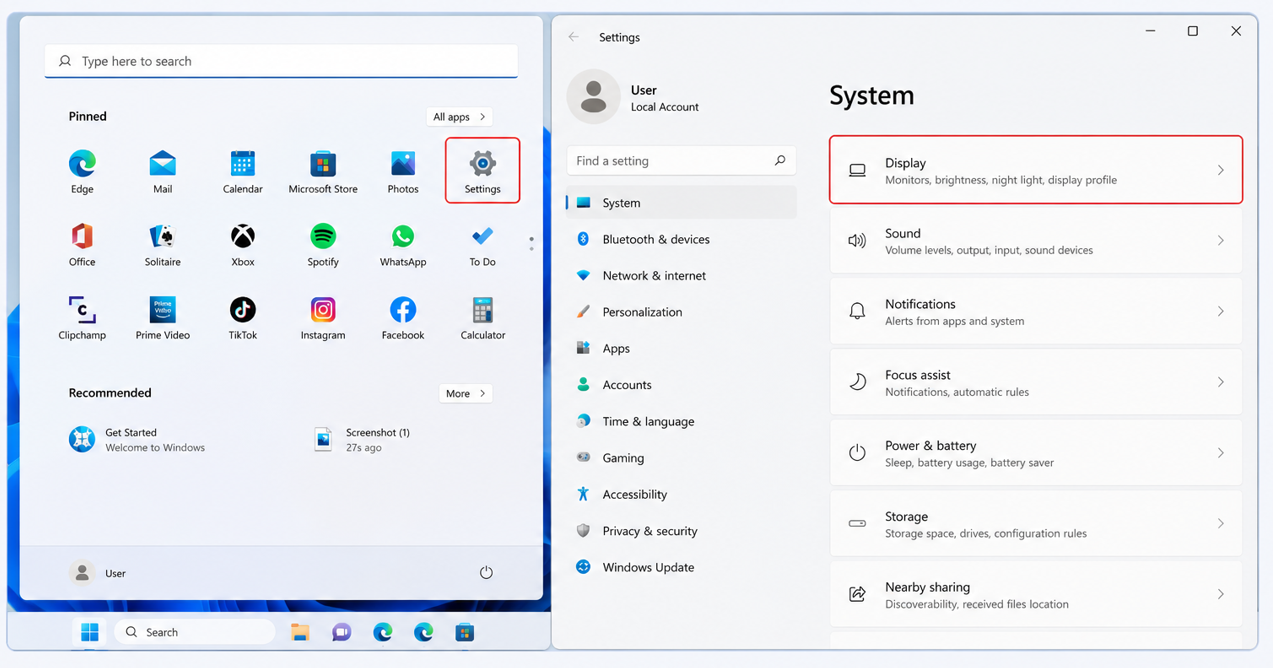
Step 1: Press Windows + I to open Settings.
Step 2: Go to System, and then click on Display.
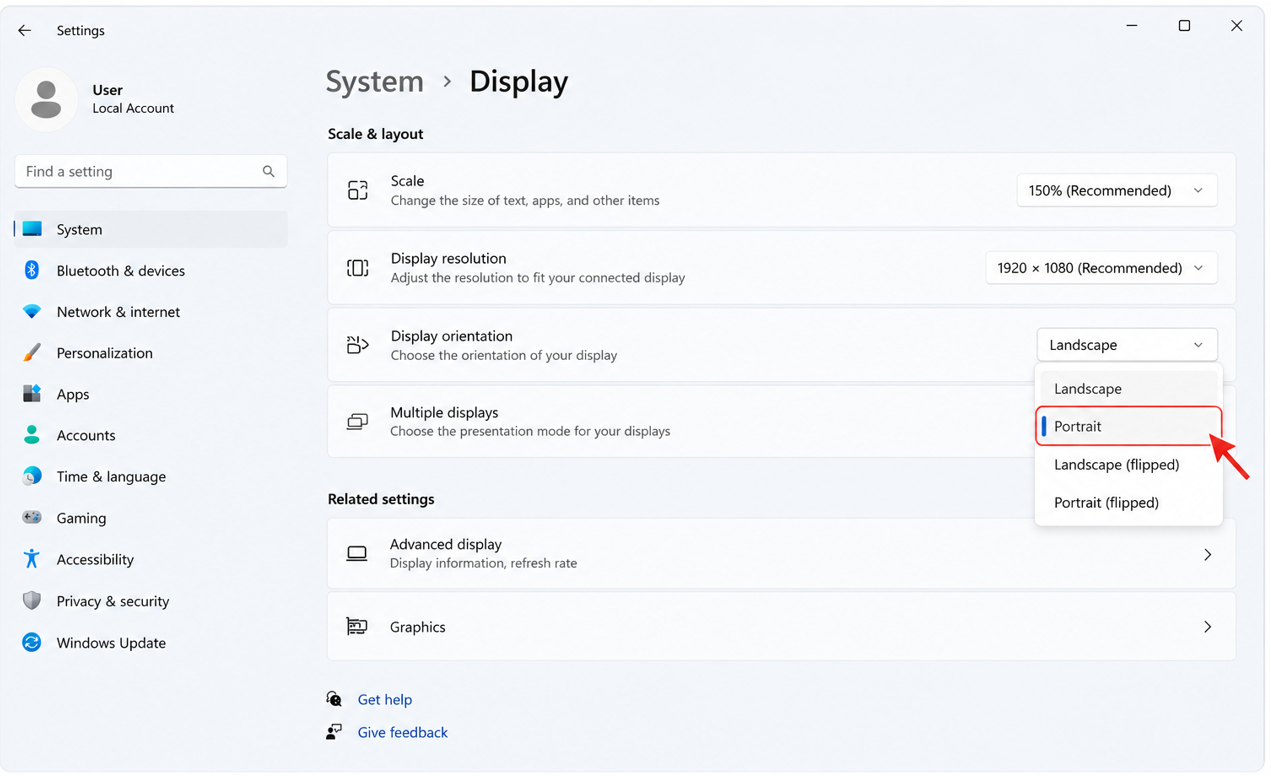
Step 3: Find Display Orientation and select Portrait.
Step 4: Check now that Rotation Lock is active.
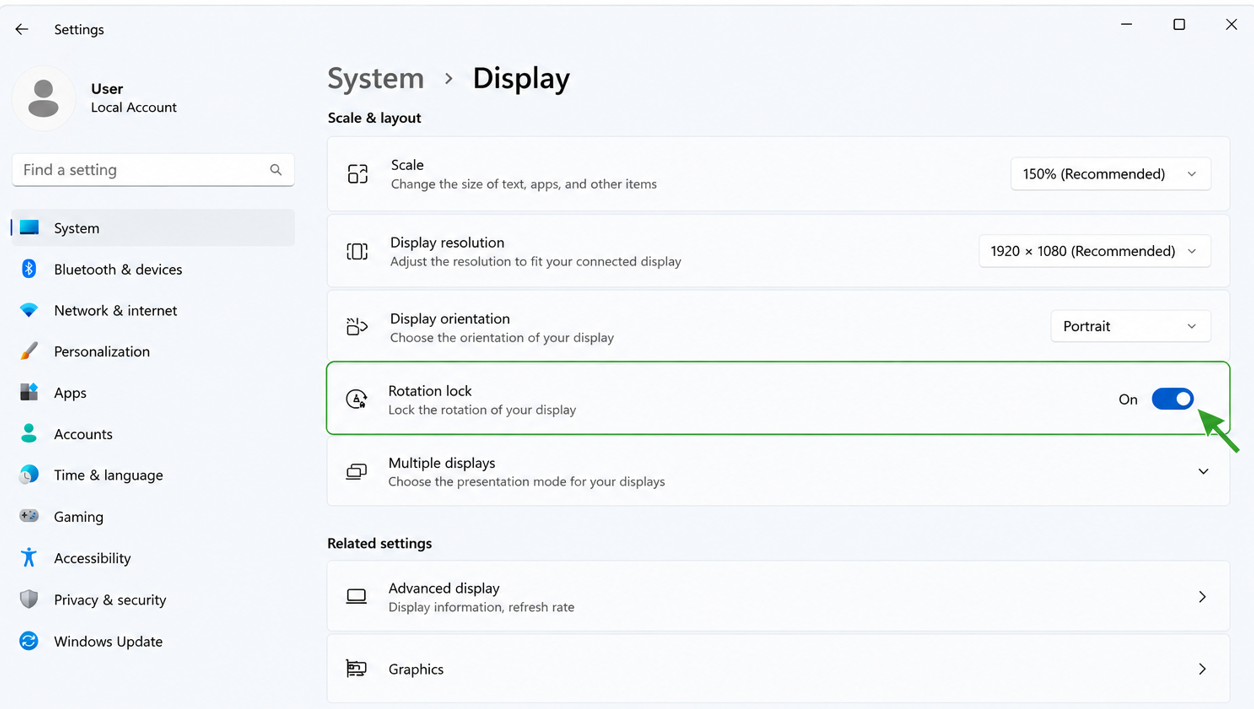
You can switch back to landscape whenever you want.
Method 3: Reinstall Sensor Driver
Sometimes, a damaged sensor drive can completely stop screen rotation. Follow these steps to fix the grey rotation lock:
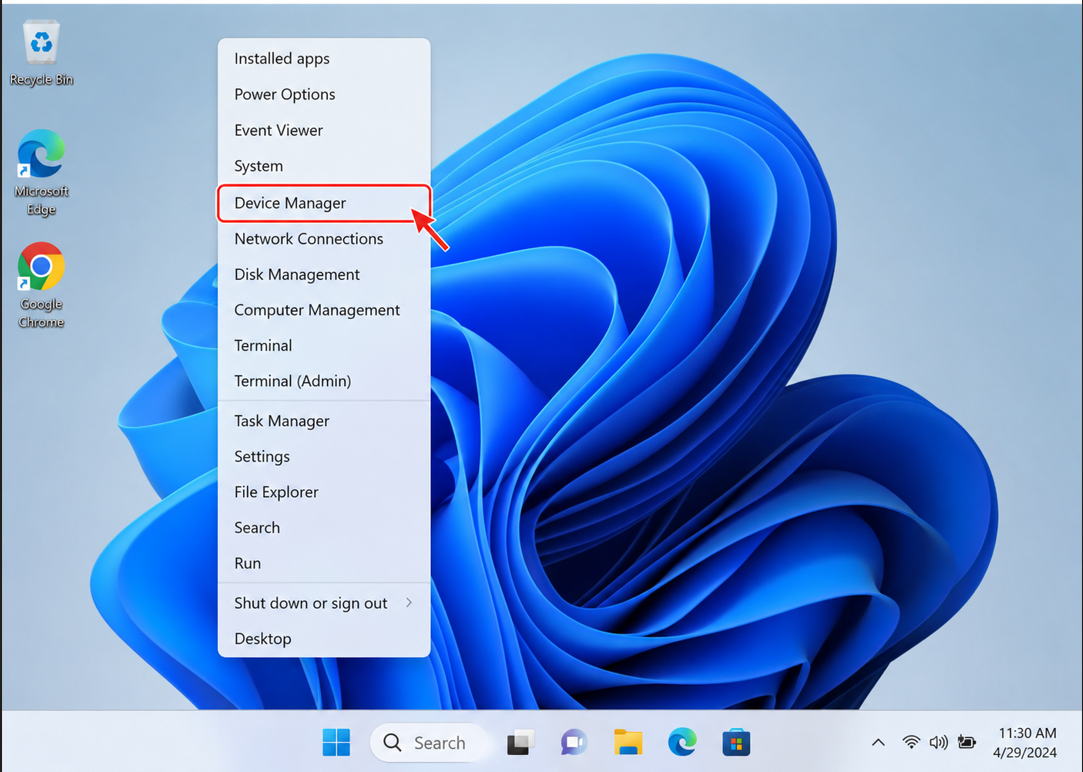
Step 1: Right-click on Start Button.
Step 2: Open Device Manager.
Step 3: Expand Sensors.
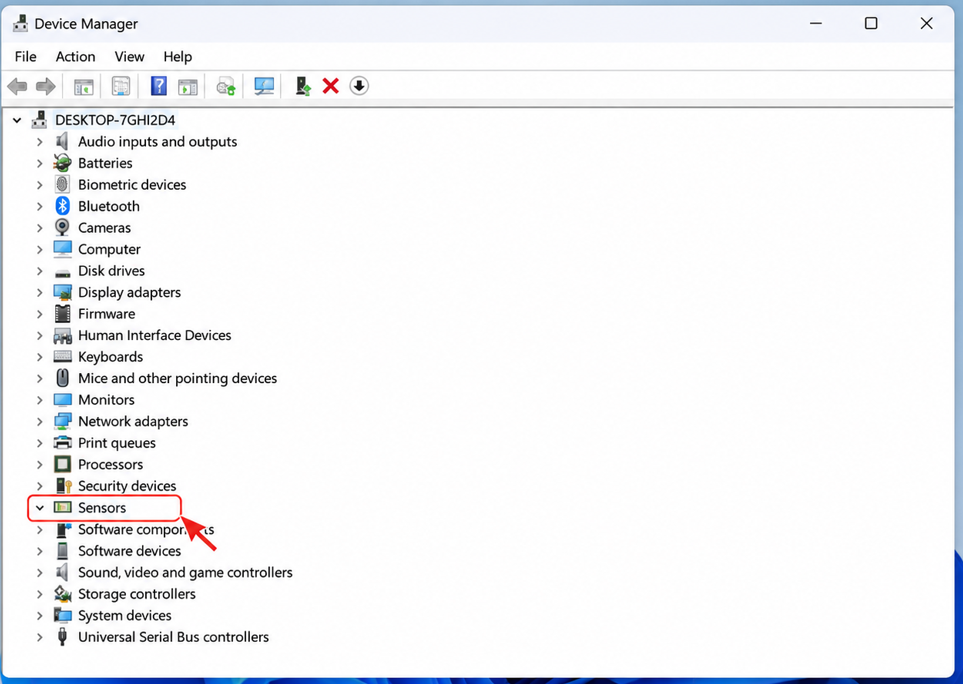
Step 3: Right-click on HID Sensor Collection.

Step 4: Uninstall device.
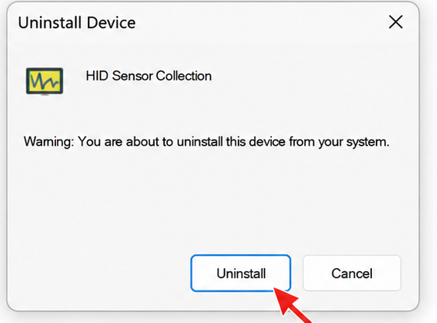
Step 5: Restart your PC
Your Windows 11 will automatically reinstall the driver after you restart.
Method 4: Restart Sensor Service
Sometimes the sensor service also stops working in the background. Here is how you can fix:
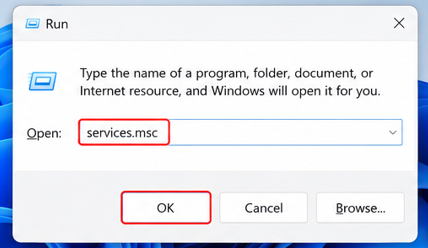
Step 1: Press Win + R, type services.msc then Enter.
Step 2: Find and right-click on the Sensor Monitoring Service.
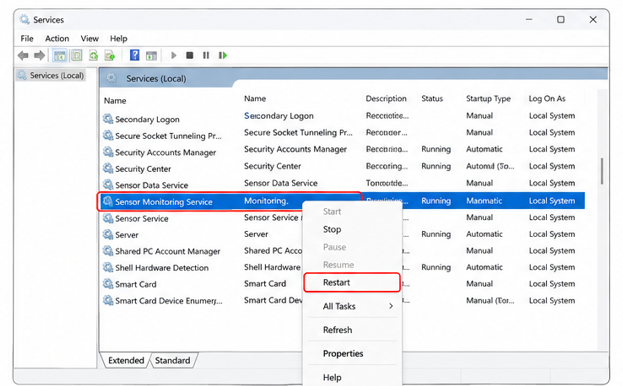
Step 3: Select Restart, and then check if the grey rotation lock option is working. 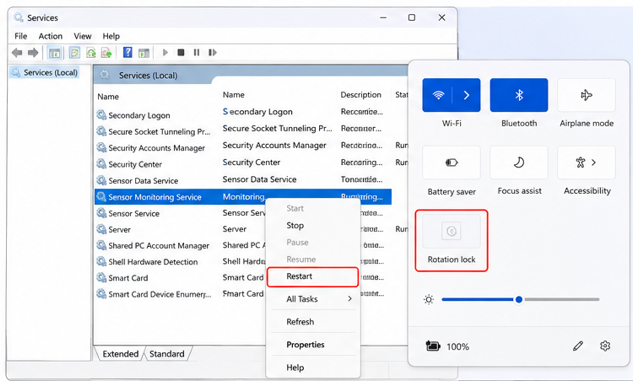
Finally, you can watch your movies, read your books and let Windows rotate automatically.


