And have you ever just felt like doing two things at a time on your Windows 11 PC, but no matter how many times you flip tabs? And that is why the split screen in Windows 11 can help! It is simple to have multiple apps running on your screen with features such as Snap Layouts, Split Screen, and Snap Assist, which is great when you want to work, study, or even watch a video as you browse. Here, I am going to demonstrate to you in step-by-step four simple yet incredibly easy methods of dividing your screen in Windows 11 so you can be a multi-tasker.
Page Contents
How to use a split screen on Windows 11
Method 1: Use Snap Layouts to Split Screen on Windows 11
Snap Layouts are probably one of the most notable additions to Windows 11 because they allow you to pin your screen to preset layouts without manually moving windows around.
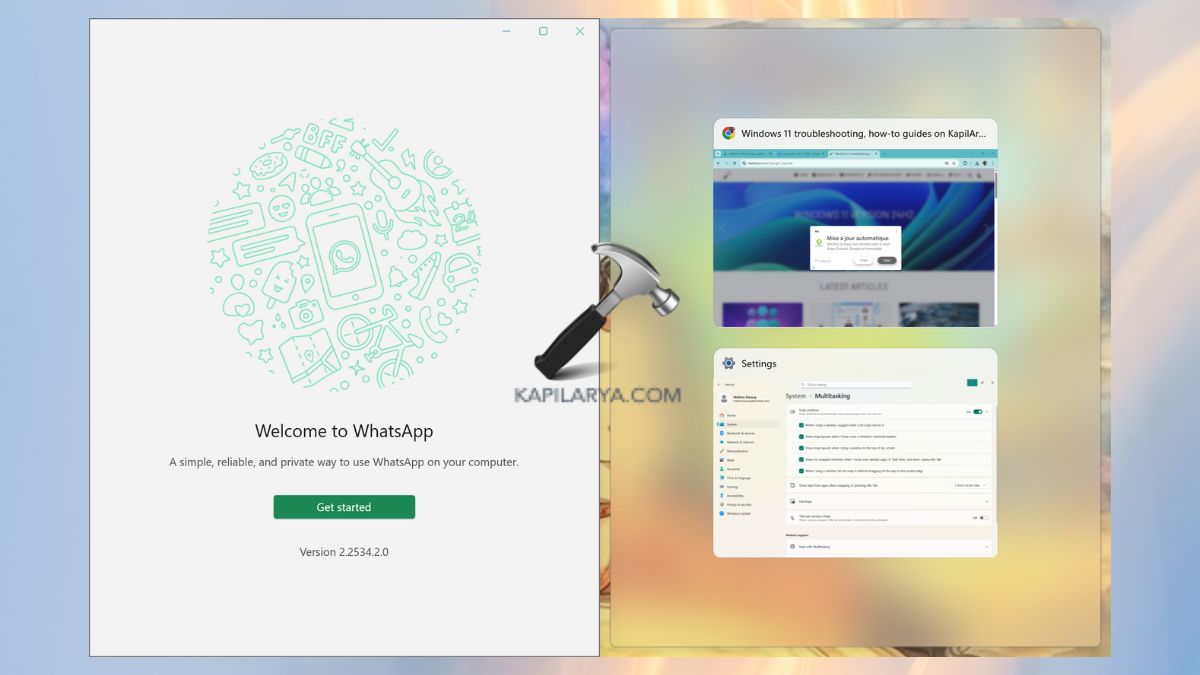
1. Open Windows 11 settings > System > Multitasking.

2. There, toggle on the “Snap windows” option and check all the listed options in it.

3. Now, open any window or an app you wish to use. Hover your mouse over the maximize button in the top-right corner of the app window. A Snap Layouts grid will be displayed, with various split-screen views (two, three, or four blocks).
Tip: This would be ideal when you need fine positioning and a working environment worth being proud of.
Method 2: Enter Split Screen Using Keyboard Shortcuts
If you are an enthusiastic user of fast operations, split-screen shortcuts under Windows 11 will be time-saving.
1. Click on the first window you would like to split.
2. Click Windows key + Left Arrow or Windows key + Right Arrow, and move the window to either the left side of the screen or the right side of the screen. Using this with Windows key + up/down arrow will move the windows to the various corners to have a 4-app split screen.

You will have previews of other open apps in the windows- click one and pin it to the opposite side.
Method 3: Drag and Drop App Windows
Splitting the screen in Windows 11 is a traditional method of splitting the screen with drag and drop windows, and pinning them adjacent to each other is available.
1. Click on the window or application of your choice.
2. Select and drag the title bar on top of the window. Drag it to the left or right side of your screen until you have a transparent outline.
Click the mouse, and you will see that the window will go on that side.

The windows will then propose additional running applications to snap on the other side- click one to form the split screen.
Method 4: Drop Windows to the Snap Bar
A Snap Bar is another feature of Windows 11 that allows you to group the apps in seconds.
1. Launch an app or a window that you wish to split.
2. Move the window to the top of your screen till the Snap Bar comes up. Choose a layout on a Snap Bar.
Windows will put your app in the selected spot, and you can add up to other applications in the remaining spots.

Frequently Asked Questions (FAQs)
#1 Can I split my screen into 4 parts in Windows 11?
Yes. You can also split your screen into 4 parts using Snap Layouts or keyboard shortcuts so that you can multitask with 4 applications simultaneously.
#2 Can I adjust the size of the split screens?
Yes. Swipe the divider line to the right or left and then resize every application.
#3 Does split screen work on multiple monitors?
Absolutely. Snap Layouts and Split Screen are usable in each monitor of a multi-display configuration.
#4 Does split screen work in Windows 10?
Yes! Snap Assist also allows Windows 10 to use split screen. Windows may be moved to the left or right, or shortcuts such as Windows key + Left/Right Arrow may be used.
That’s it!