
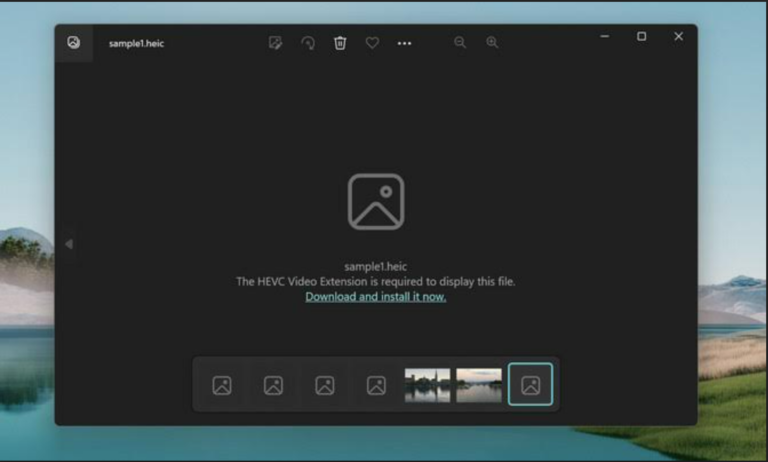
Microsoft introduced the feature-rich Photos app, replacing the classic Windows Photo Viewer in Windows 11/10. But there are those who prefer the simplicity of the old viewer. If you’re one of them, this guide will show you how to restore Windows Photo Viewer in Windows 11/10.
Page Contents
Restore Windows Photo Viewer in Windows 11/10
Restore Windows Photo Viewer Using the Registry
1. Open a new Notepad file and copy-paste the following script into the Notepad file. This script modifies the Registry Editor to enable the Windows Photo Viewer.
Windows Registry Editor Version 5.00

[HKEY_CLASSES_ROOT\Applications\photoviewer.dll\shell\open]
"MuiVerb"="@photoviewer.dll,-3043"

[HKEY_CLASSES_ROOT\Applications\photoviewer.dll\shell\open\command]
@="\"%SystemRoot%\\System32\\rundll32.exe\" \"%ProgramFiles%\\Windows Photo Viewer\\PhotoViewer.dll\", ImageView_Fullscreen %1"

[HKEY_CLASSES_ROOT\Applications\photoviewer.dll\shell\open\DropTarget]
"Clsid"="{FFE2A43C-56B9-4bf5-9A79-CC6D4285608A}"

[HKEY_CLASSES_ROOT\Applications\photoviewer.dll\shell\print\command]
@="\"%SystemRoot%\\System32\\rundll32.exe\" \"%ProgramFiles%\\Windows Photo Viewer\\PhotoViewer.dll\", ImageView_PrintTo %1"

[HKEY_CLASSES_ROOT\Applications\Windowsphotoviewer.dll\shell\print\DropTarget]
"Clsid"="{60fd46de-f830-4894-a628-6fa81bc0190d}"

2. Press Ctrl + Shift + S or go to File > Save As.
3. Name the file as EnableWindowsPhotoViewer.reg. Then, make sure to choose “All Files (.)” from the Save as type dropdown menu.

4. Pick a location to save the file (like your Desktop) and click “Save”.

5. Go to where you saved the file, and double-click EnableWindowsPhotoViewer.reg to run the script.

6. Click “Yes” to confirm when the warning prompt appears. You’ll see a success message once the script finishes running. Click “OK” to close it.

7. Right-click the taskbar and select “Task Manager” to open Task Manager.
8. In the Task Manager window, under the “Processes” tab, find “Windows Explorer” or “explorer.exe” right-click on it, and select “Restart.”

9. Your changes will take effect after Windows Explorer restarts.
Open images with Windows Photo Viewer in Windows 11
Since Photo Viewer doesn’t have a standalone program file, you can’t open it directly from the search bar. Here’s how to open images with it:
1. Right-click on any image file in File Explorer.
2. Select “Open with” and then “Choose another app”

3. Scroll down and find “Windows Photo Viewer” in the list.
4. Choose “Just once” to open the image with Windows Photo Viewer this time only, or “Always” to set Windows Photo Viewer as the default app for opening all image files of this type (e.g., .jpg, .png).

Now you can use the classic Windows Photo Viewer to view photos again!
Disable Windows Photo Viewer
If you don’t want to use Windows Photo Viewer anymore, you can undo the previous changes made to the registry by following these steps:
1. Open a new Notepad file and copy-paste the following script into the file:
Windows Registry Editor Version 5.00

[-HKEY_CLASSES_ROOT\Applications\Windowsphotoviewer.dll]

2. Press Ctrl + Shift + S or click File > Save as.
3. Type DisableWindowsPhotoViewer.reg in the File name and choose “All files (*.*)” from Save as type, then click “Save“.

4. Double-click the DisableWindowsPhotoViewer.reg from where you saved it. Then, click “Yes” to confirm.

5. After successfully executing the script, restart the Windows Explorer from Task Manager to disable the Photo Viewer.
Video guide
Here’s a video guide to help you more on this:


THANK A LOT
On step 6, when I try to run ”EnableWindowsPhotoViewer.reg” it comes up with a message stating ”Cannot Import, error accessing registry”. Any solutions to this?
^^ Make sure you’re doing using admin account.
Thanks, great to have the old app back. However, now, when selecting multiple files in explorer, and opening them with the viewer app, only the first image is available. I was printing large batches of photos with viewer, selecting 4/page, no shrink-to-fit, etc., and now there doesn’t seem to be any way to have multiple images in the viewer app.
THANK YOU!!
^^ Glad to help!
Great info, well explained. Looking forward to more.
Had to buy a new computer. I’m using open-source software as I lack MS Office for the moment. I did the copying in a text file (.txt) and the Save As function does not include an “All Files” option. It is a long list, including a “Text” and a “Text – Choose Encoding Option.” What can I do?
Clear concise instructions. I was able to make the necessary registry changes easily and (more importantly,) painlessly.
Thanks.
Awesome! A perfectly written set of instructions. Worked first time.
“Windows Photo Viewer” works in Windows 10 and 11 for .tif extension images.
One way to use it with other image extensions is to create a dummy .tif file in the same folder where the images you want to open with “Windows Photo Viewer” are. You open that dummy file with Windows Photo Viewer and than just navigate to the other images using the app navigation arrows. Simple, hun? ; )
Ah to create a dummy “.tif” file is also simple, create a new “.txt” file and change the extension “.txt” for “.tif”
Clear instructions. Thank you so much. WPV working perfectly in 11.
Everything went very well until I went to the task bar. Windows Explorer and Explorer.exe could not be found.
Thank you, it worked!
Thank you, I just purchased a new laptop with Win 11, my desktop was Win 7 Pro so I have been frustrated trying to get everything loaded with a new op system, I didn’t like the photo viewer so found your fix after a search. Great instructions and worked first time.
^^ Glad it helped Roger!
Thanks so much, I don’t like the dark themed backgrounds
Thank you — especially for the “Copy” feature. I like “Windows Photo Viewer” because it lets me
cycle through multiple image files using the left and right arrow keys instead of having to load each photo
individually. Your explanations and directions were clear and easy to implement.
^^ Glad it helped 😎
THANK YOU IT WORK DEC 2025
^^ Glad it helped 😊
Thank you. Worked perfect Windows 11. 12/28/2025
worked perfect, Windows 11, ver/mod # 24H2, Thank you 3/2026 Bill
^^ Glad it helped!
Thank you! The registry edit worked smoothly and perfectly as described.
ˆˆ Glad to help Gerald!
This worked like the instruction show. I did it, it worked.. W11, 24H2 enterprise.
I left a similar review earlier.
But … At the time I had not taken a close notice of this issue. And it may not be related at all, might be from trying to adding other microsoft apps not included in the 24H2 version W11.
But I had to restore my computer to an earlier date to solve problem.
Problem, I will describe it like this. On the monitor, not necessarily having anything doing with “windows photo viewer, viewing images
on monitor; “”the image view is larger than the view area””. The cursor can move the smaller viewing area around on the larger ‘image’. At times, the task bar at bottom would disappear. move cursor to
bottom brings task bar in view.
Also annoying, was when I was typing, the area would move as I typed, like the old fashion typewriters, the limit was about what the task bar area was, up,down and right and left.
Yes tried to resize the screen resolution. That’s how I found & realized the problem. Made it so small that only a white area in the center surrounded by all black. The viewing area moved around
in the amount of what the height of the task bar was, on all sides.
Here is a fix, Win11 enterprise 24H2, There already is a folder “Win Photo Viewer” in “Program Files”. By default WPView is only defaulted for .TIF & .TIFF. And it (WPV) is not visible as a
selection for other defaults. There is a small app on net that allows WPV to show as one of the selection to make WPV the default program to associate with what file to use it with.
There are several like, JPE JPEG, JPG, gif, png etc. and now WPV is one of the selection you can select as default. I hope I explained it where you understand… Bill
^^ Thanks for your inputs Billy.
Hello RajKumar!
I am extremly thankful for your script and the detailed guide to apply it.
It worked on the first try on my new PC with win 11. Thats great. Perfect.
Kind regards from Switzerland
^^ Glad it helped!
Worked great! Thank you so much.
^^ Glad it helped 😃
This worked fine. Just one problem: It turned the background color to black.
It is easily fixable but still annoying.
^^ Glad it worked!
It works, BUT, I used to be able to view thumbnails and change multiple file names easily in the old version. This only allows you to work on one file at a time. Not too happy, will create a lot more work for me
I found how to get back ALL the functionality. It is a matter of downloading Sharepoint Designer 2010
And voila it is all back – cropping thumbnails, etc. (N.B.) I have a Windows 11 PC
Step-by-Step Installation GuideDownload: Get the installer file directly from the Microsoft Download Center by searching for “SharePoint Designer 2010.”Setup Type: Run the .exe file, accept the terms, and click Customize on the setup page.Select the Tool: Set all options (such as SharePoint) to “Not Available.” Next, expand Office Tools, select Microsoft Office Picture Manager, and choose Run from my computer.Finish: Click Install Now. Once finished, Picture Manager will be available in your Windows 8.1 Start menu or Apps list.
Nice article
Não funcionou no Windows 10 Enterprise LTSC 21H2. Alguma dica, por favor?