
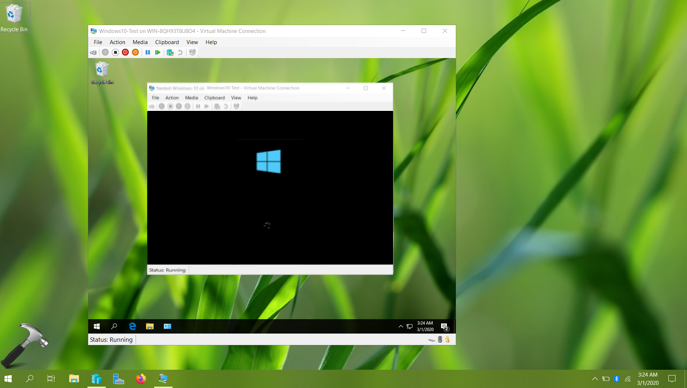
Hyper-V inside Windows Server and Windows 10 can be used to run Virtual Machines (VMs). If you’re testing some software and if you need a private machine for this purpose, VM is the best choice you’ve. Using a VM, you can run an individual operating system on your host operating system and you don’t need additional physical machine.
Note that Hyper-V is not enabled but default either in Windows 10 or Windows Server. In Windows 10, you can enable it using Turn Windows features on or off window in Control Panel. For Windows Server, you need to enable Hyper-V using Add Roles and Features Wizard in Server Manager.
Sometimes, there comes a situation when you need nested virtualization. For example, you want to enable Windows Defender Application Guard on Hyper-V. But the WDAG can’t be enabled on a VM. However, for testing purpose, WDAG can be enabled on a VM, if nested virtualization is active on host machine.
Enough theory! Now let us take a practical walk. Here is how you can nested virtualization.
Page Contents
How To Enable Nested Virtualization In Hyper-V
Nested Virtualization Requirements
Before enabling nested virtualization, your system should meet these requirements:
- The VM and host operating system must be Windows 10 Version 1607, Windows Server 2016 or later.
- As of this writing, nested virtualization is only supported on Intel processors. Your Intel processor should have VT-x and EPT technologies.
- VM configuration equivalent to 8.0 or above is required.
Steps To Enable Nested Virtualization
Ensuring the VM is turned off, follow these steps:
1. Right click Start Button or press  + X keys and select Windows PowerShell (Admin).
2. In administrative Windows PowerShell window, paste following and press Enter key:
Set-VMProcessor -VMName <Host-VM> -ExposeVirtualizationExtensions $true
*Replace <Host-VM> with actual VM in your case, enable on host machine.
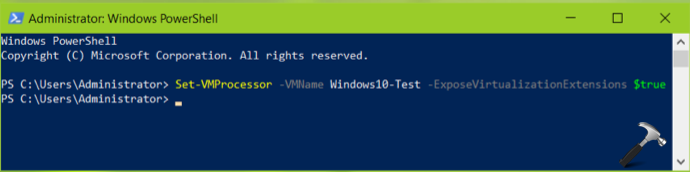
3. Close Windows PowerShell.
4. Enable Hyper-V in VM now and then you can create another VM inside first VM.
To disable nested virtualization later, simply execute Set-VMProcessor -VMName <Host-VM> -ExposeVirtualizationExtensions $false command in administrative Windows PowerShell.
That’s it!


At line:1 char:25
+ Set-VMProcessor -VMName -ExposeVirtualizationExtensions $fa …
+ ~
The ‘<' operator is reserved for future use.
+ CategoryInfo : ParserError: (:) [], ParentContainsErrorRecordException
+ FullyQualifiedErrorId : RedirectionNotSupported