At various occasions, Windows 11 can shutdown occasionally without any prior warning. This might be a result of several factors including issues in hard drive, overheated PC, wrong power settings, etc. Thus, this article provides easy fixes for easily solving the issue of Windows 11 keeps shutting down.

Page Contents
Fix Windows 11 keeps shutting down
Now, let us check all the fixes for solving the problem of Windows 11 keeps shutting down in detail.
Fix 1: Checking System Temperature
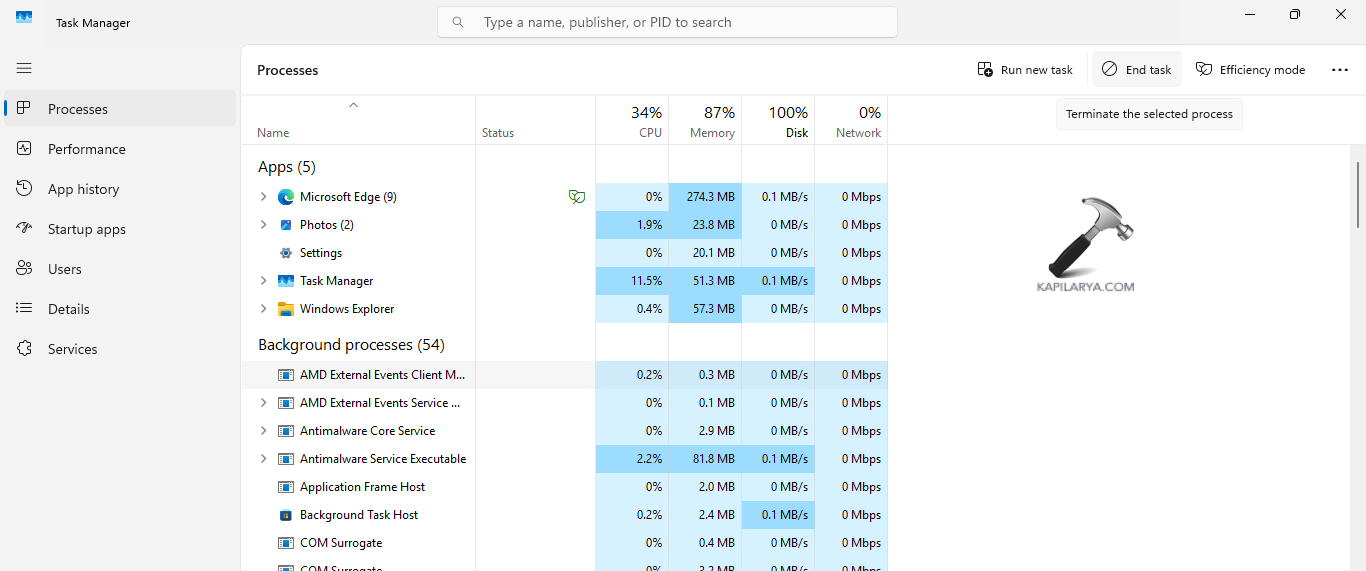
If the PC is going through overheating, then it may shut down automatically with no previous warning. To check if the PC is overheating, go to Task Manager and verify if any ongoing app takes too much of CPU. Hence, if such app is found, end the task.
Fix 2: Testing RAM and Hard Drive
Problems in the hard drive and RAM can be one of the major reasons for the occurrence of the issue. Hence, users can test the RAM and hard drive or SSD with the help of Windows Memory Diagnostic tool and the CHKDSK tool.
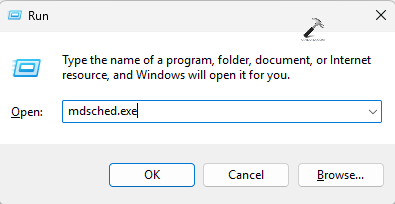
For running the Windows Memory Diagnostic tool, follow the steps-
Step 1- Firstly, type Windows + R and open the Run dialog box.
Step 2- Next, copy and paste the prompt below and select OK.
mdsched.exe
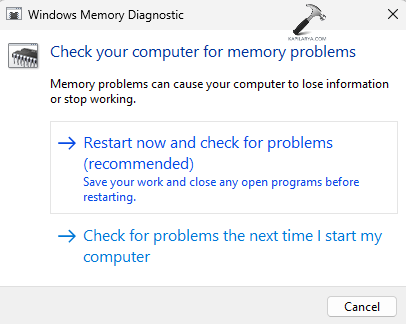
Step 3- Now, select any of the options appearing on the window screen as per requirement. Finally, restart the PC and wait for the memory check to run.
Again, for running the CHKDSK tool, follow the steps below-
Step 1- Primarily, run the Command Prompt as an administrator.
Step 2- Now, copy and paste the prompt given below to run the CHKDSK command and press Enter.
chkdsk /r C:
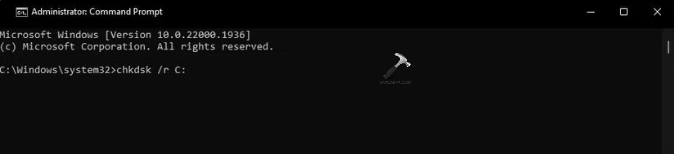
Step 3- Now, the CHKDSK command will scan any error in the system and repair it. Again, if it asks for scheduling a disk check next time, press Y on the keyboard. Thereafter, press Enter and reboot the PC to allow the CHKDSK command to run.
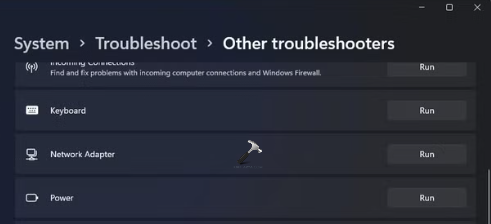
Fix 3: Running Power Troubleshooter
The users can also run the built-in power troubleshooter of Windows 11 which will scan and fix any issue related to the power settings. Follow the steps for running the same.
Step 1- Open Settings.
Step 2- Next, go to System > Troubleshooter > Other troubleshooters.
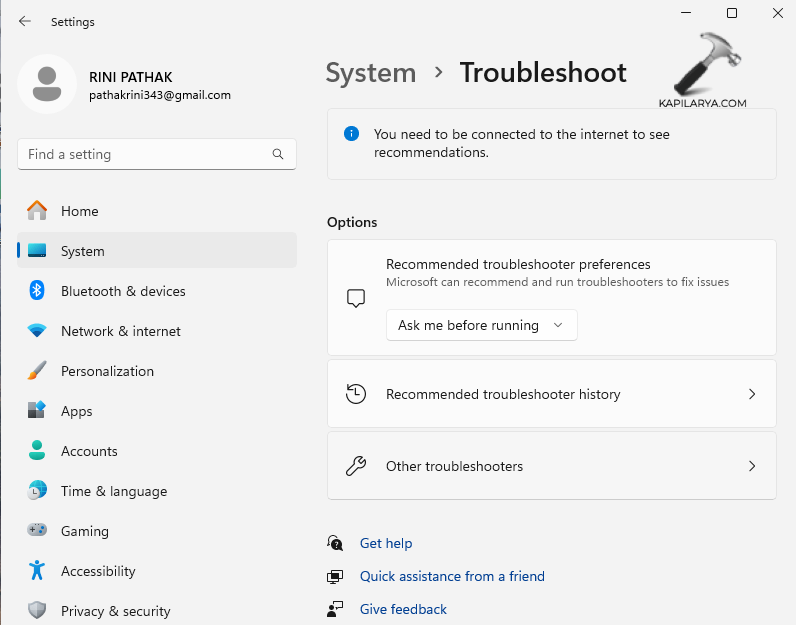
Step 3- Press Run located near the Power option.
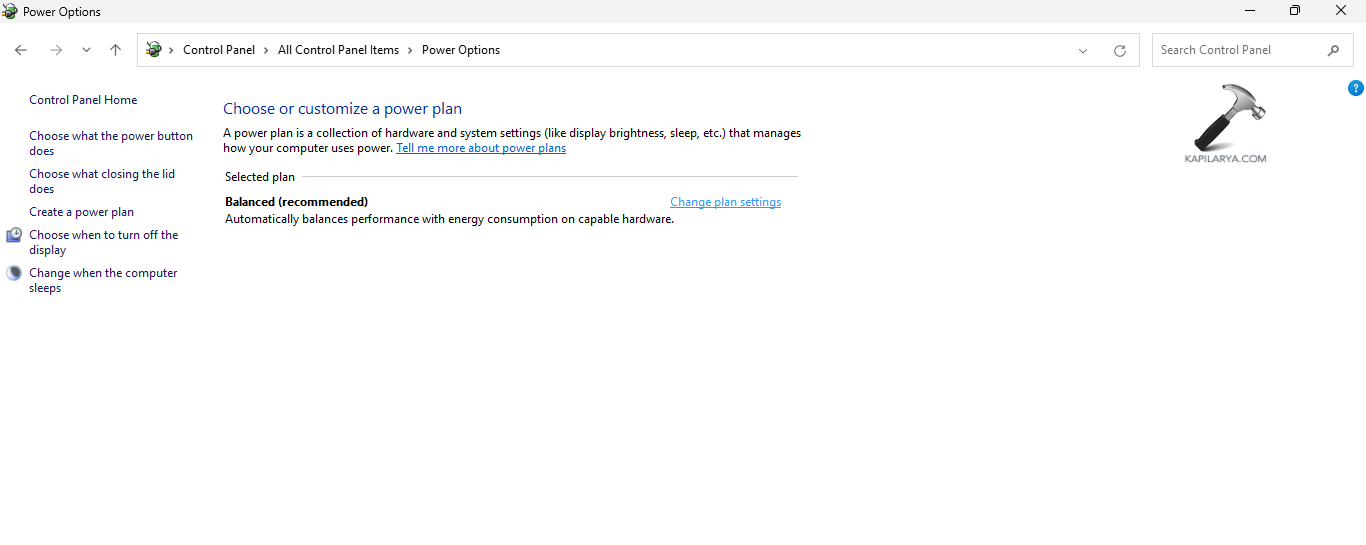
Fix 4: Changing Advanced Power Settings
The users should also consider customizing the advanced power settings for fixing the shutdown issue with the steps below.
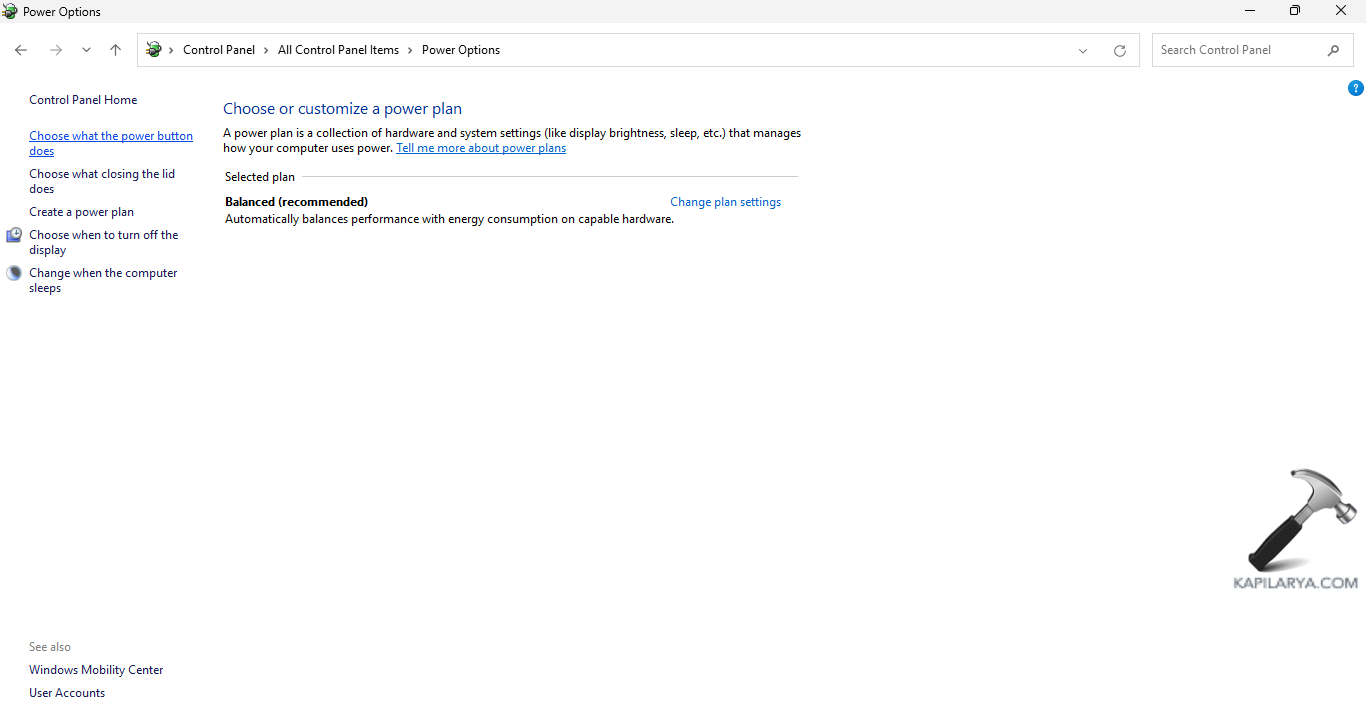
Step 1- Open Control Panel.
Step 2- Next, go to Power Options.

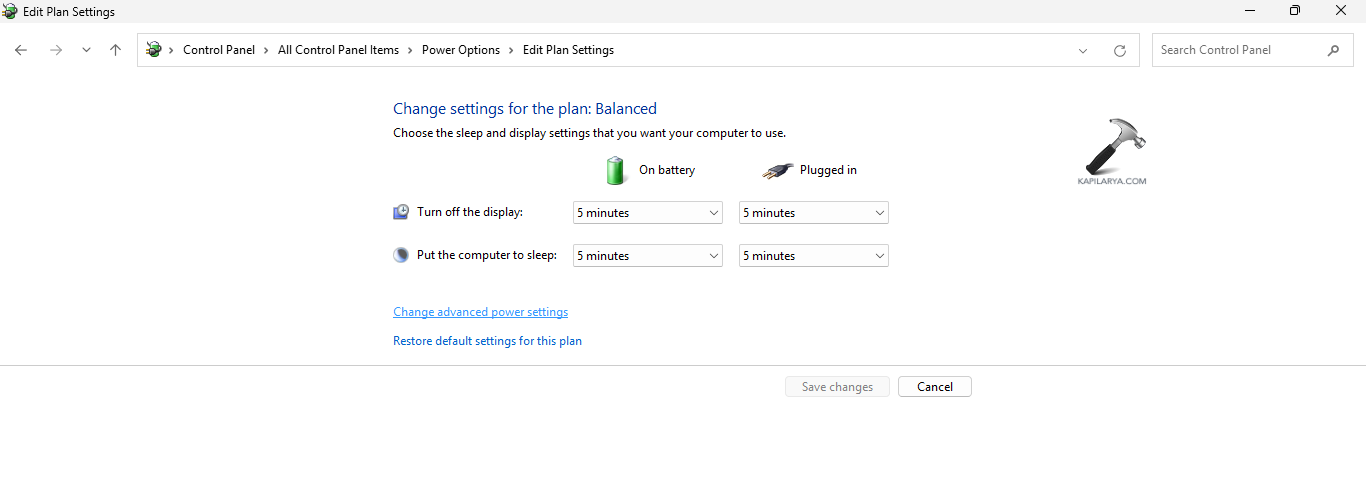
Step 3- Select Change plan settings.
 Step 4- Further select Change advanced power settings.
Step 5- Now, in the Power Options dialog box, under Hard disk section select Turn off hard disk after.
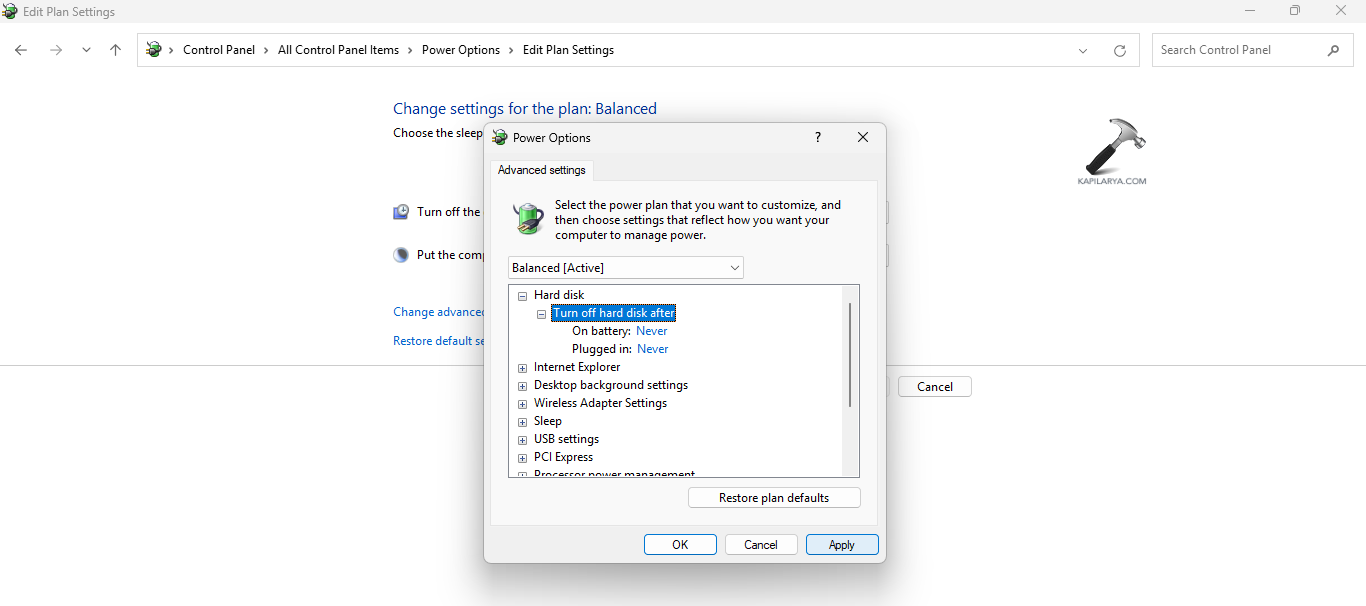
Step 6- Set the On battery and Plugged in options to Never. Lastly, select Apply > OK for saving all the changes.
Fix 5: Viewing Shutdown Log in Event Viewer
If the problem is still not solved, then users can view the shutdown log and check what’s causing the shutdown.
Step 1- Firstly, press the Win key and write event viewer. Open the resultant.
Step 2- Now, in Event Viewer, select Windows Logs.
Step 3- Right-click on System and click Filter Current Log.
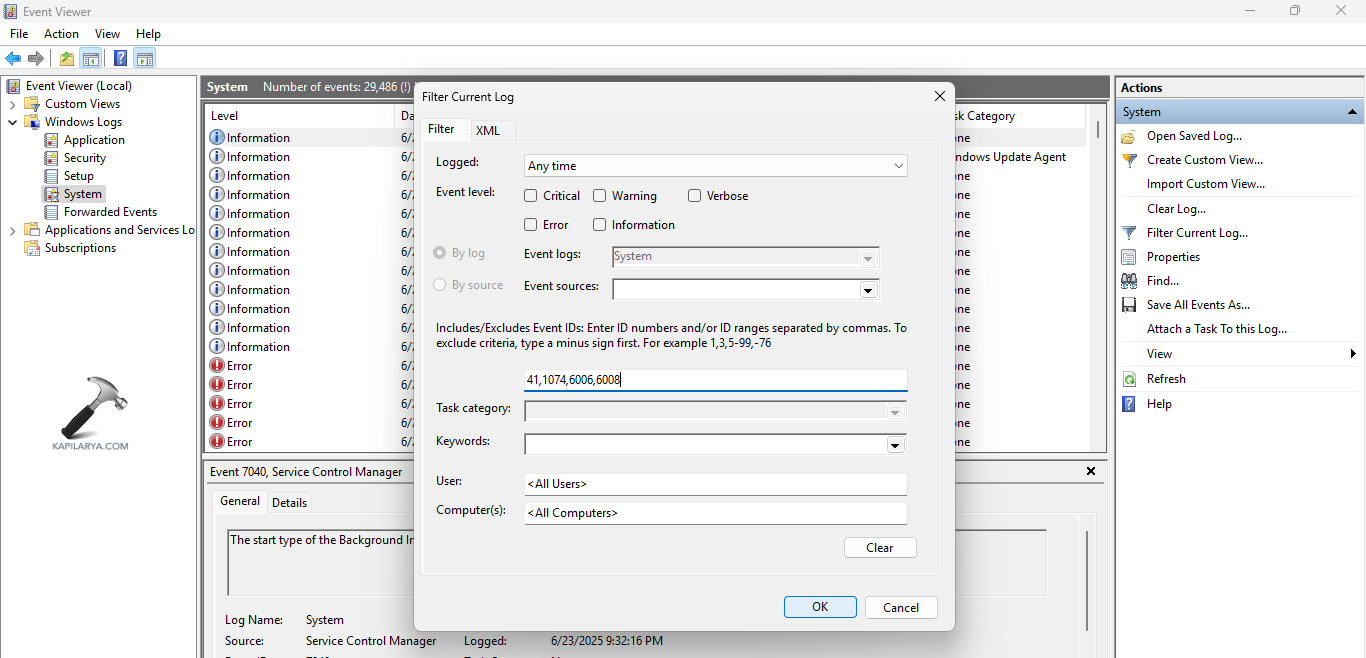
Step 4- Now, in the field of All Event IDs, write 41,1074,6006,6008 and press OK.
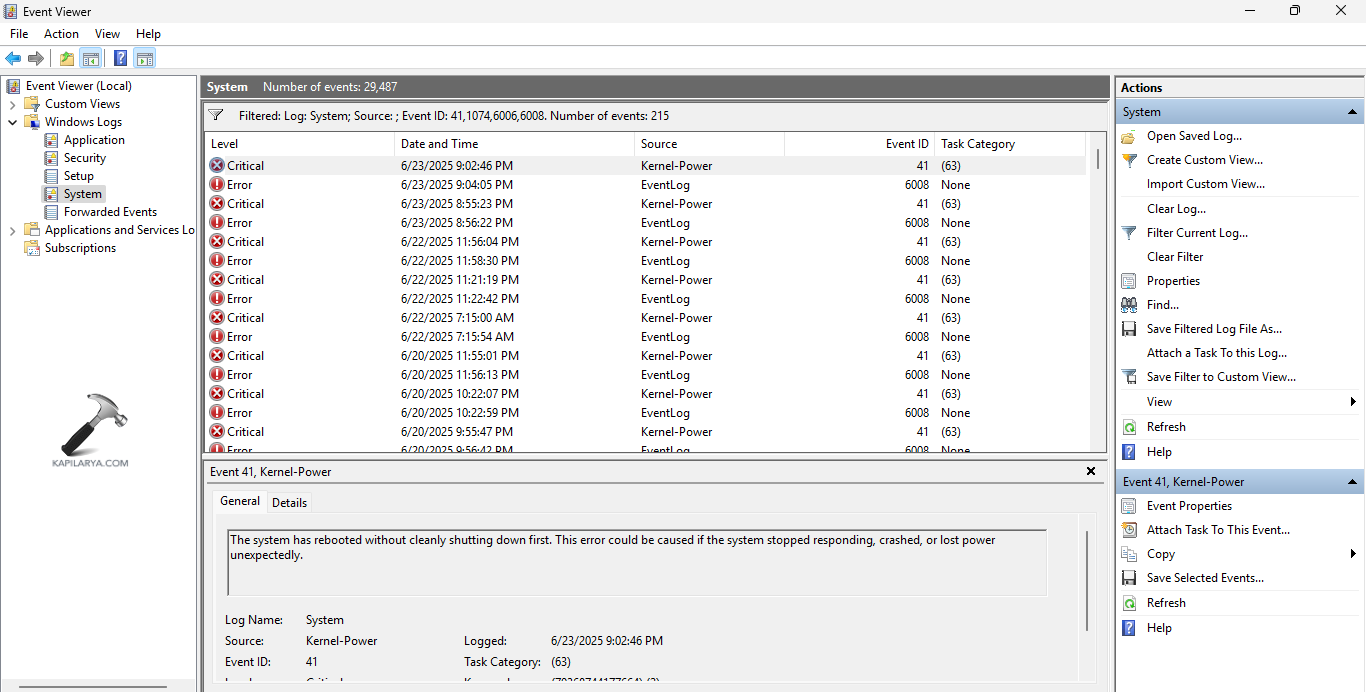
Step 5- Here, Event Viewer will show all the events related to shut down. Select Critical or Error log. It will show the general information on the PC shutdown event.
Fix 6: Running DISM and SFC Scan
Running a System File Checker scan and a DISM scan can help the users in solving the aforementioned issue easily. Therefore, follow the steps given below to run the SFC and DISM Scan and solve the issue.
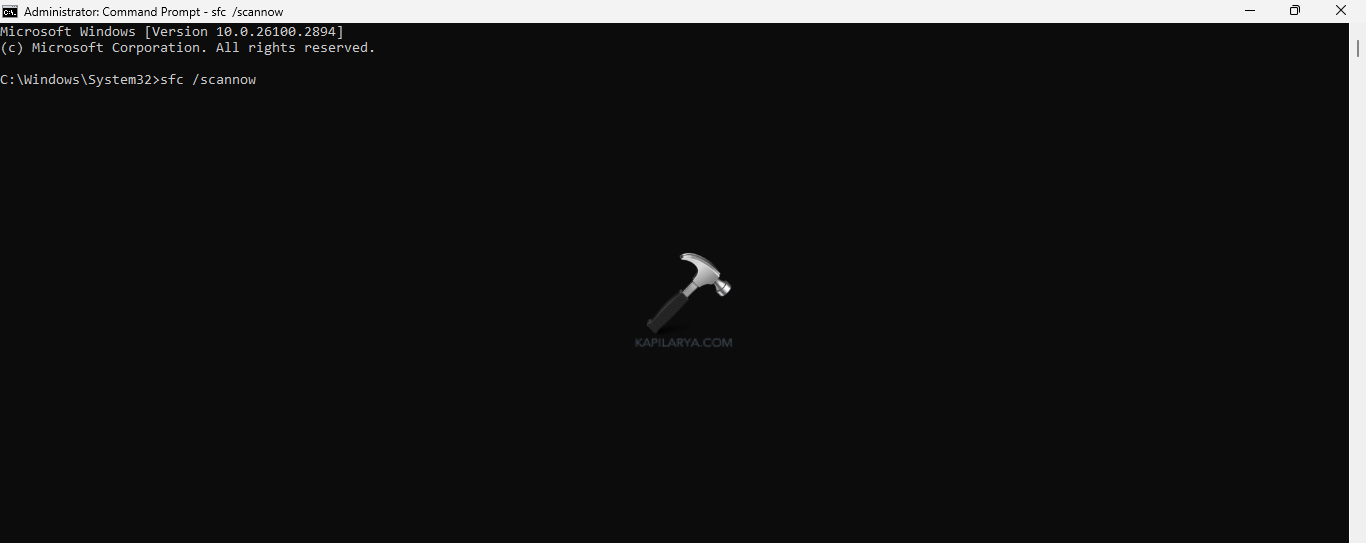
Step 1- At first, open Command Prompt and run it as an administrator.
Step 2- Next, copy and paste the prompt given below for running a SFC scan and select Enter.
sfc /scannow
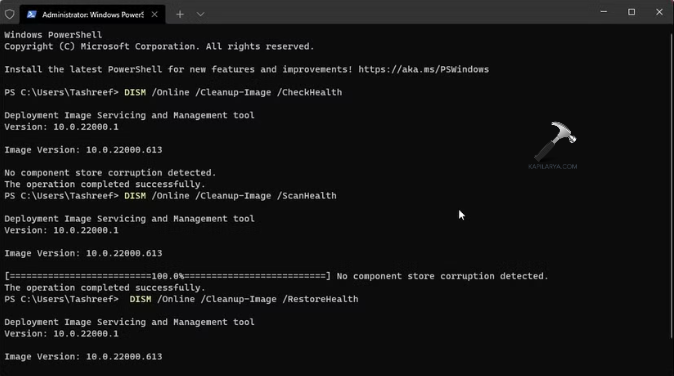
Step 3- Again, to run the DISM tool scan, run PowerShell as an administrator. Then, type the commands given below one by one and press Enter after each command.
Dism /Online /Cleanup-Image /ScanHealth
Dism /Online /Cleanup-Image /CheckHealth
Dism /Online /Cleanup-Image /RestoreHealth
Step 4- Lastly, after the completion of the scan, exit the Command Prompt and reboot the PC. This should solve the issue.
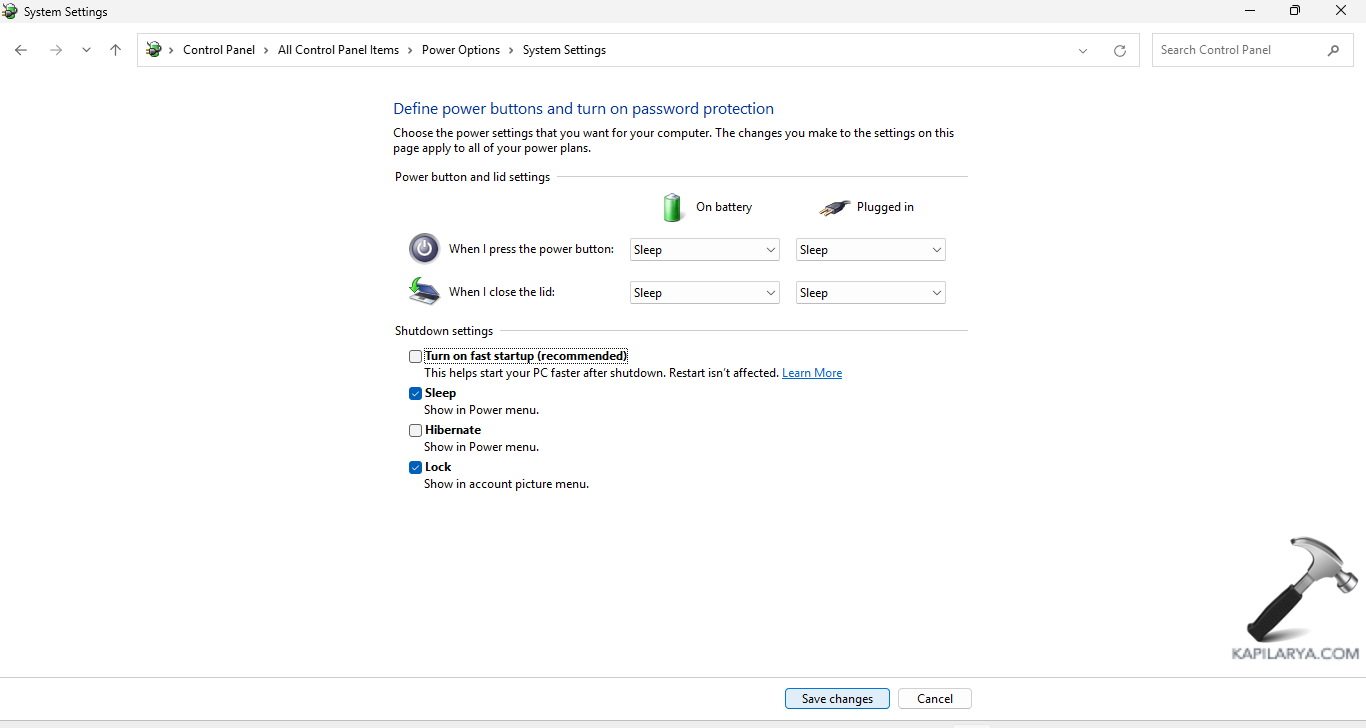
Fix 7: Disabling Fast Startup
The fast startup when turned on too cause interruptions leading to various issues in the PC. Therefore, the instructions to turn off the fast startup are provided below.
Step 1- At first, press Windows + R and open Run dialog box. Next, write the command below and press enter to open Power Options.
powercfg.cpl
Step 2- Next, from the left side pane, select Choose what the power buttons do.
Step 3- Now, click Change settings that are currently unavailable and deselect the option of Turn on fast startup.
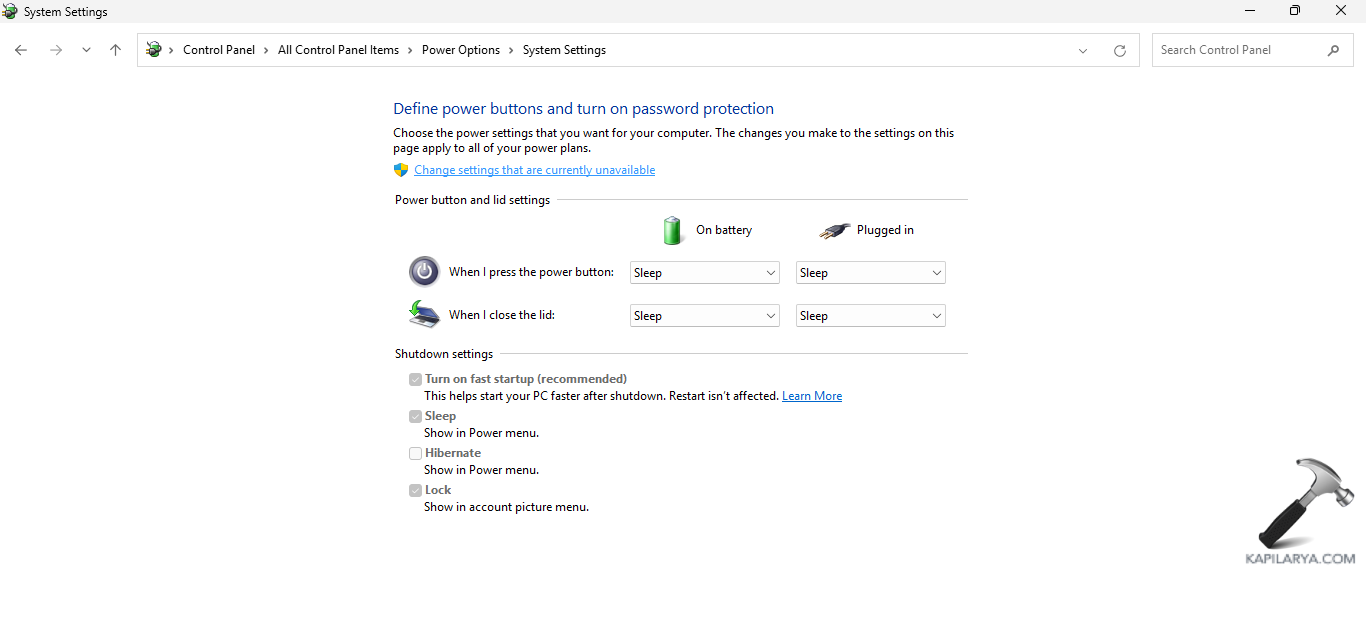
Step 4- Lastly, select Save changes to save all the changes and reboot the PC. The issue should be solved with this.
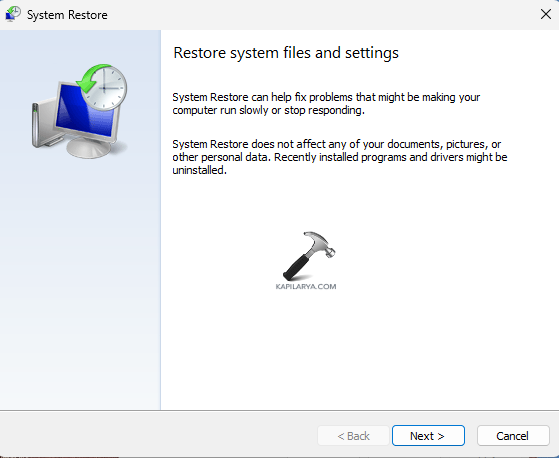
Fix 8: Performing System Restore
Lastly, creating a System Restore Point or using an already created one will aid in restoring the computer to its starting point. Now, complete the given steps to perform System Restore-
Step 1- Go to the Start menu. Next, type create a restore point and open the result.
Step 2- From the System Properties window, select the System Restore option.

Step 3- Select Next on the System Restore Window.
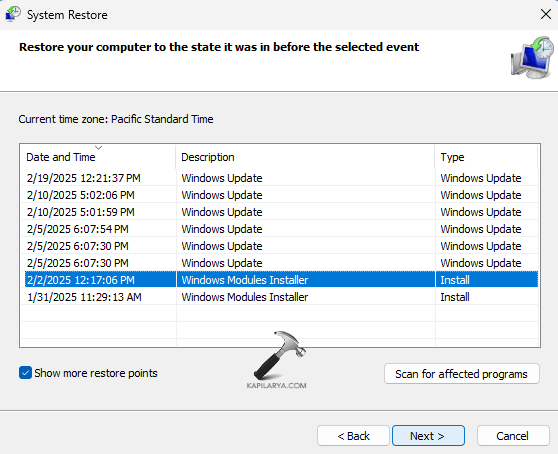
Step 4- A list of all the previously created Restore points will appear on the screen. Choose the required restore point.
Step 5- Furthermore, choose the Restore point and select Next as per the date, name and time. Moreover, if the desired restore points are not visible, select Show more restore points.
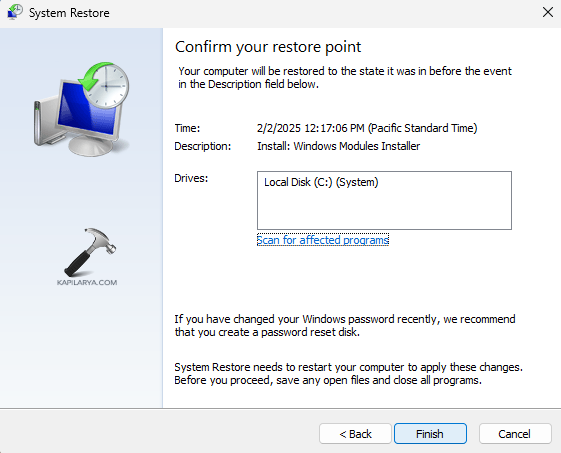
Step 6- Choose the desired drive that is to be restored and click Next.
Step 7- A final pop-up window will appear. It will consist of the selected restore point, the to-be affected drive. It will also contain a warning telling to create a password reset disk.
Step 8- Finally, select the Finish button. This will restart the Windows 11 PC and begin the process of System Restore. After the restoration process, see if the issue is resolved.
Video fix
Here’s the video illustrating above mentioned solutions. Do watch for live assistance.
Hoping this helps the users in fixing Windows 11 shutting down!