
Sometimes, Windows users may come across an annoying error while they try to use a webcam. When this problem occurs, the webcam fails to function and no video will be displayed. Usually, this issue occurs when the drivers for a webcam are missing or corrupted due to Windows update. Also, it could happen due to third-party antivirus software. Here, we will discuss how to fix the webcam not working on Windows 11 issue in different ways.
Page Contents
Fix: Webcam Not Working on Windows 11
Method 1: Fix the Issue by Allowing Camera Access
1. Firstly, open Settings through the Windows + I hotkey.
2. Next, go to Privacy & Security present on the left.
3. Under the App Permissions tab, tap on Camera.
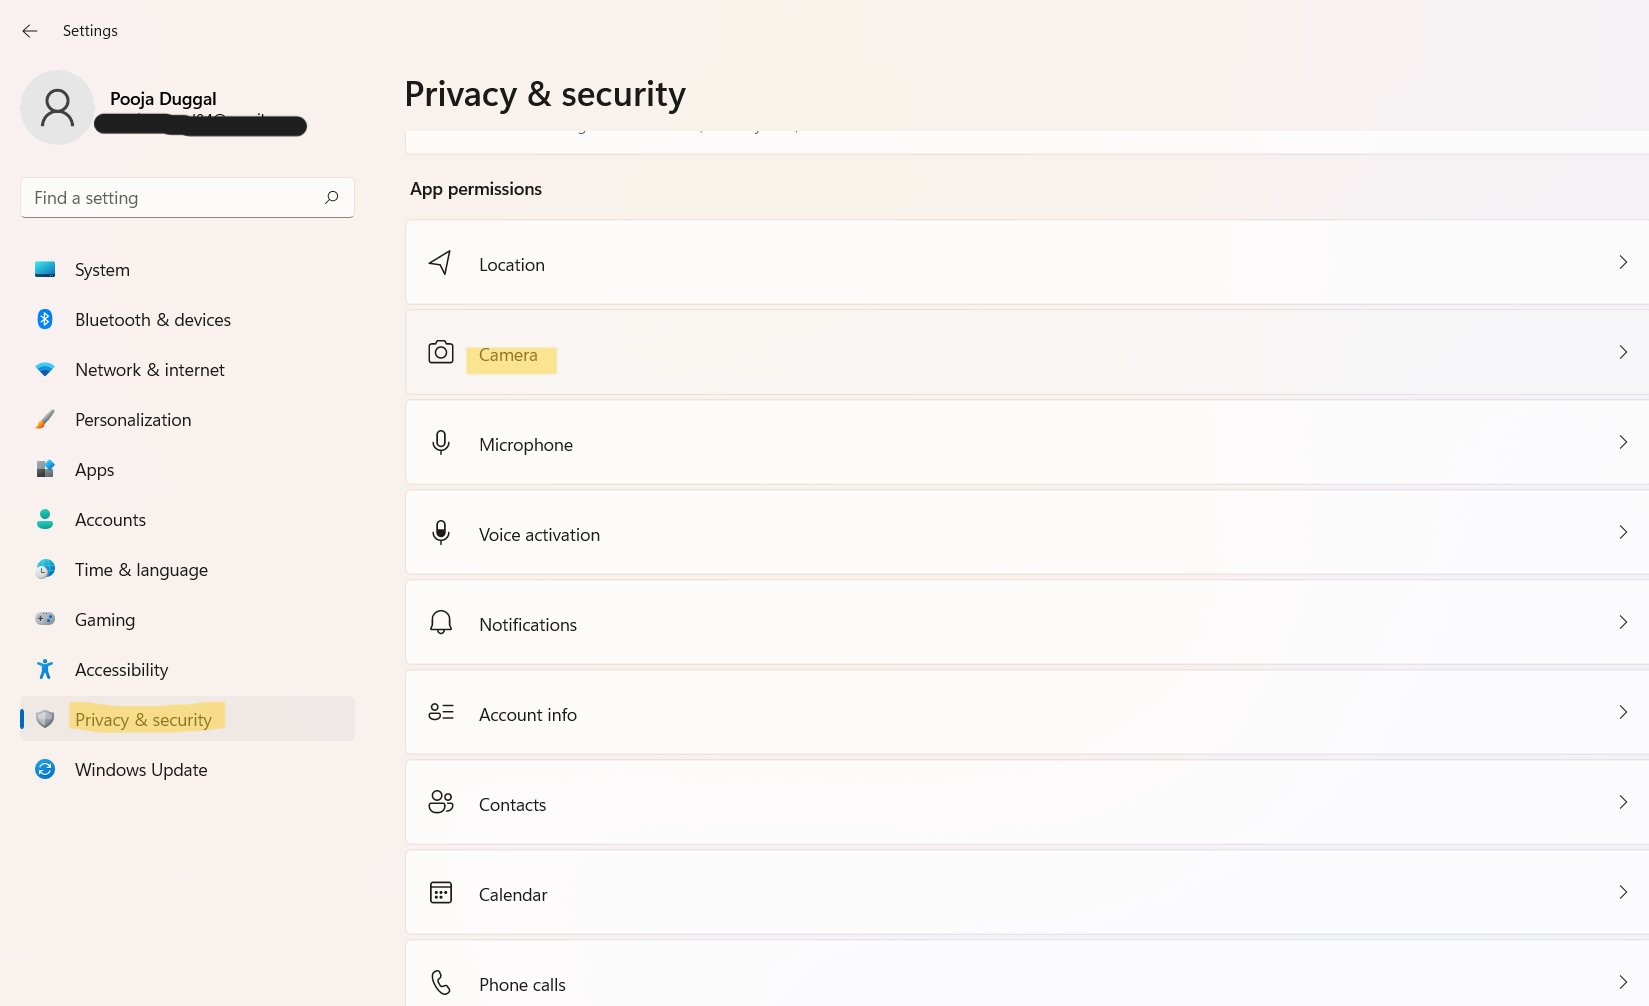
4. Now, ensure the toggle to Camera access is turned On.

5. Additionally, check whether the application that you want to use has the permission to access the camera or not. To check this, go to Lets apps access your camera and see if the application is listed there.
Method 2: Resolve the Problem by Running Camera Troubleshooter
1. Press the Windows + I hotkey to open Settings.
2. Tap on System and then, go to the Troubleshoot tab.
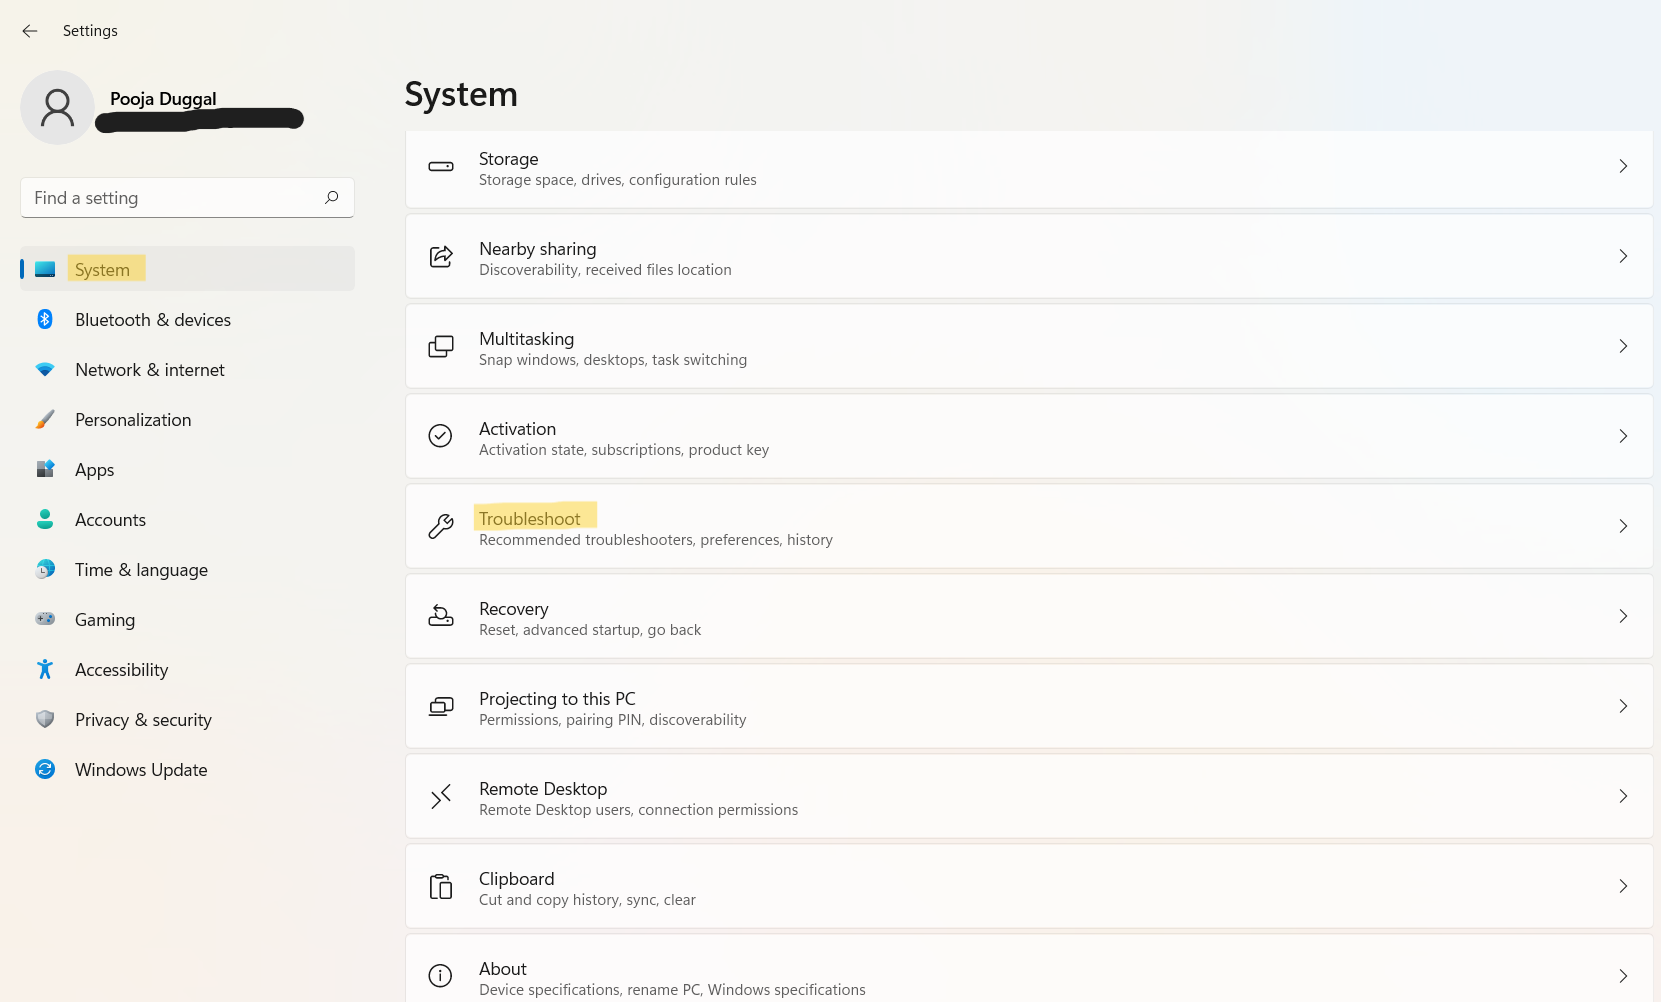
3. Now, double-tap on Other troubleshooters. From there, select the Run option present next to Camera.

4. Once the troubleshooting is done, check the results and see if the problem has been fixed.

Method 3: Eliminate the Error by Reinstalling Camera Drivers
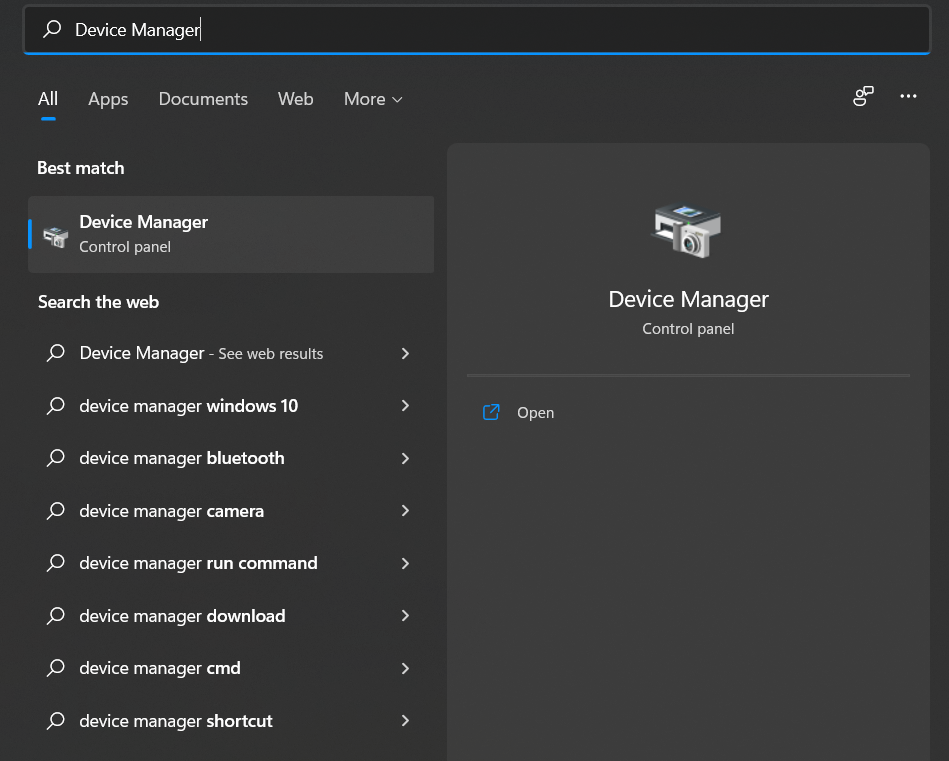
1. Initially, open Device Manager from the Start menu.
2. After that, go to Cameras and right-tap on the camera driver from the drop-down menu.
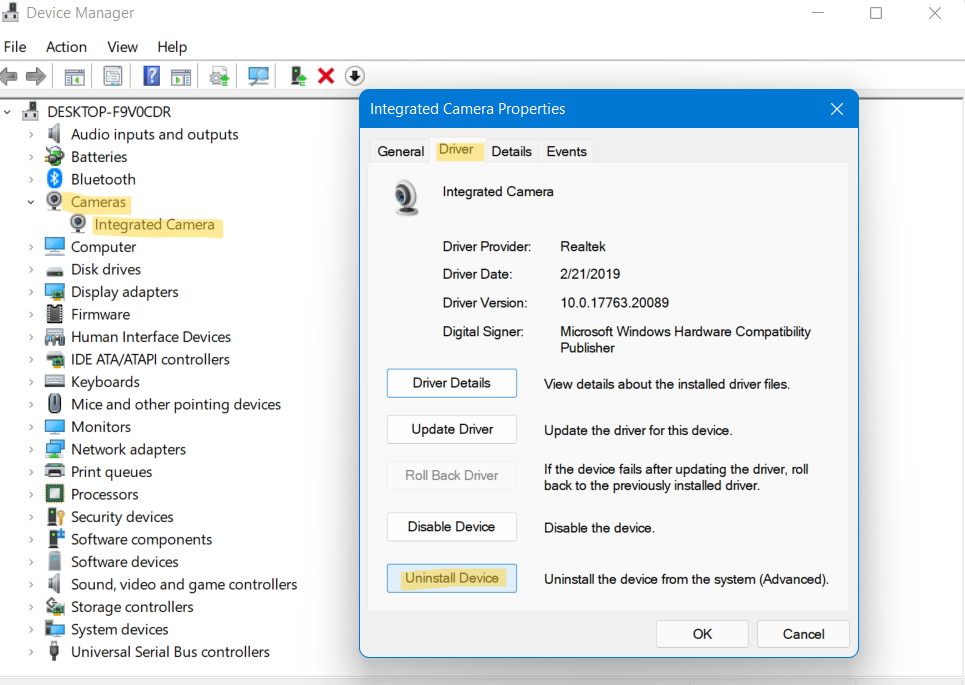
3. Now, select Uninstall Device. Once done, head to the website of your manufacturer and download the appropriate webcam drivers.
4. After downloading them, install them and then, restart your Windows system.
Method 4: Get Rid of the Problem by Resetting and Repairing Camera Application
1. Firstly, open Settings by pressing Windows + I tabs together on the keyboard.
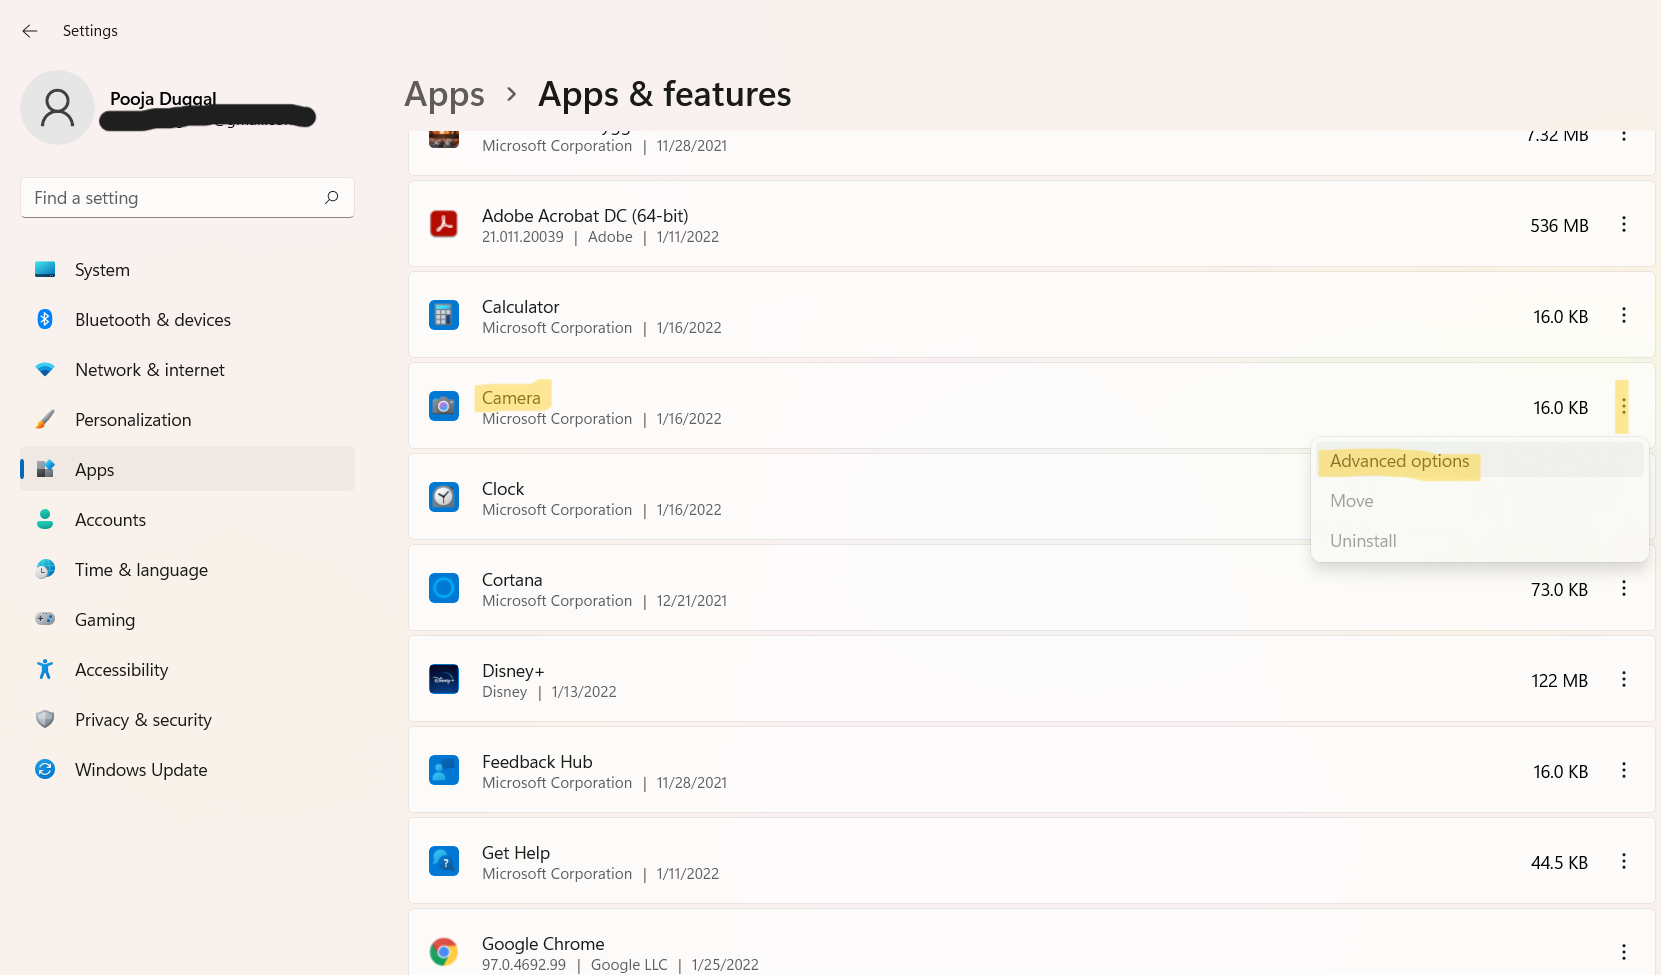
2. Go to Apps and then, select the Apps & features tab.

3. From there, choose Camera. Then, tap on the three vertical dots to open the drop-down menu. From there, select Advanced options.
4. Now, tap on the Repair button. Also, tap on Reset button.
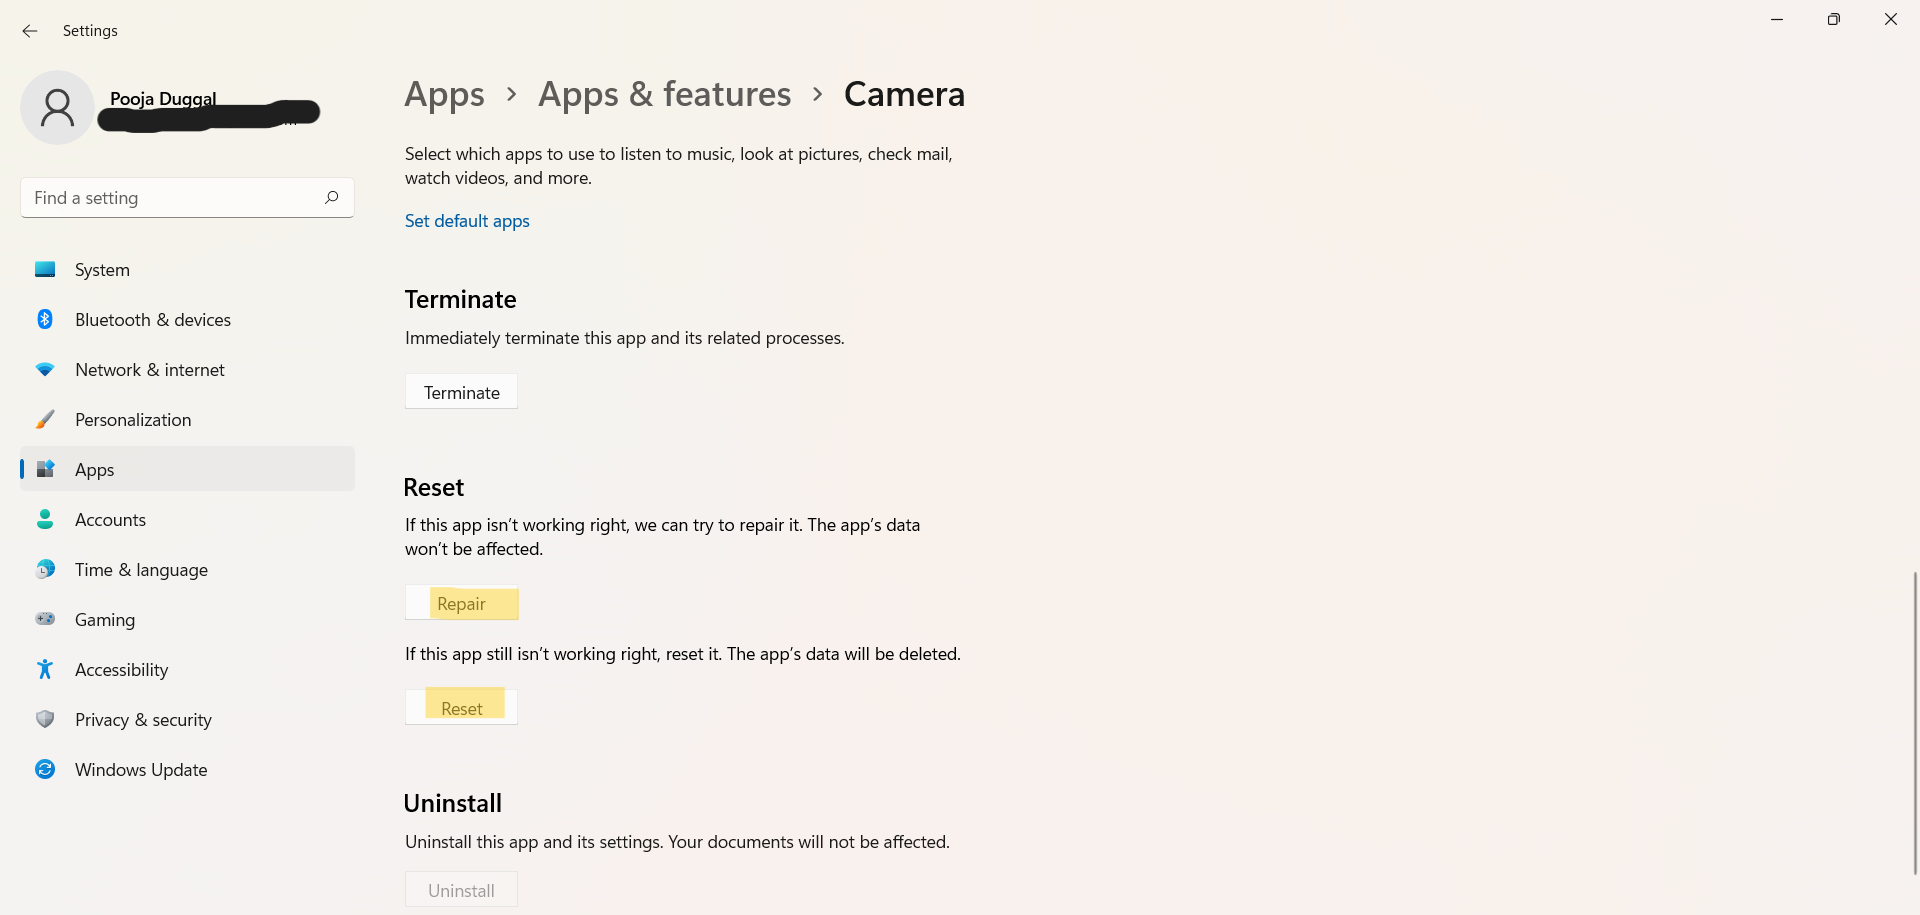
Once repaired the application, open the application to check if the issue has been resolved.
Method 4: Fix the Webcam Not Working Issue by Disabling Third-Party Antivirus
Sometimes, security programs cause problems with your computer by blocking or preventing access to certain applications. So, if you have installed any third-party antivirus, then it is better to disable it to resolve the webcam not working issue.
After disabling the third-party antivirus software, check if the issue has been resolved.
So, these are some of the easiest ways to get rid of the webcam not working on Windows 11 issue.


