Are you trying to update your Windows but getting the Windows 11 installation has failed error? If so, then you are not alone. Some Windows users report this error while updating to Windows 11. However, this is not something serious. One can easily deal with this issue. Now, you must be wondering how to fix Windows 11 installation has failed issue.
This post will discuss some of the effective solutions to get rid of this error. Now, let’s have a look at different fixes without wasting any time!
Page Contents
Fix: Windows 11 installation has failed
Fix 1 – By Running Windows Update
1. Open Settings by pressing the Windows + I tabs together on your keyboard. After that, go to the System tab and then, choose Windows Update present on the left.
2. Next, click on Check for updates. If available, the system will download the updates.
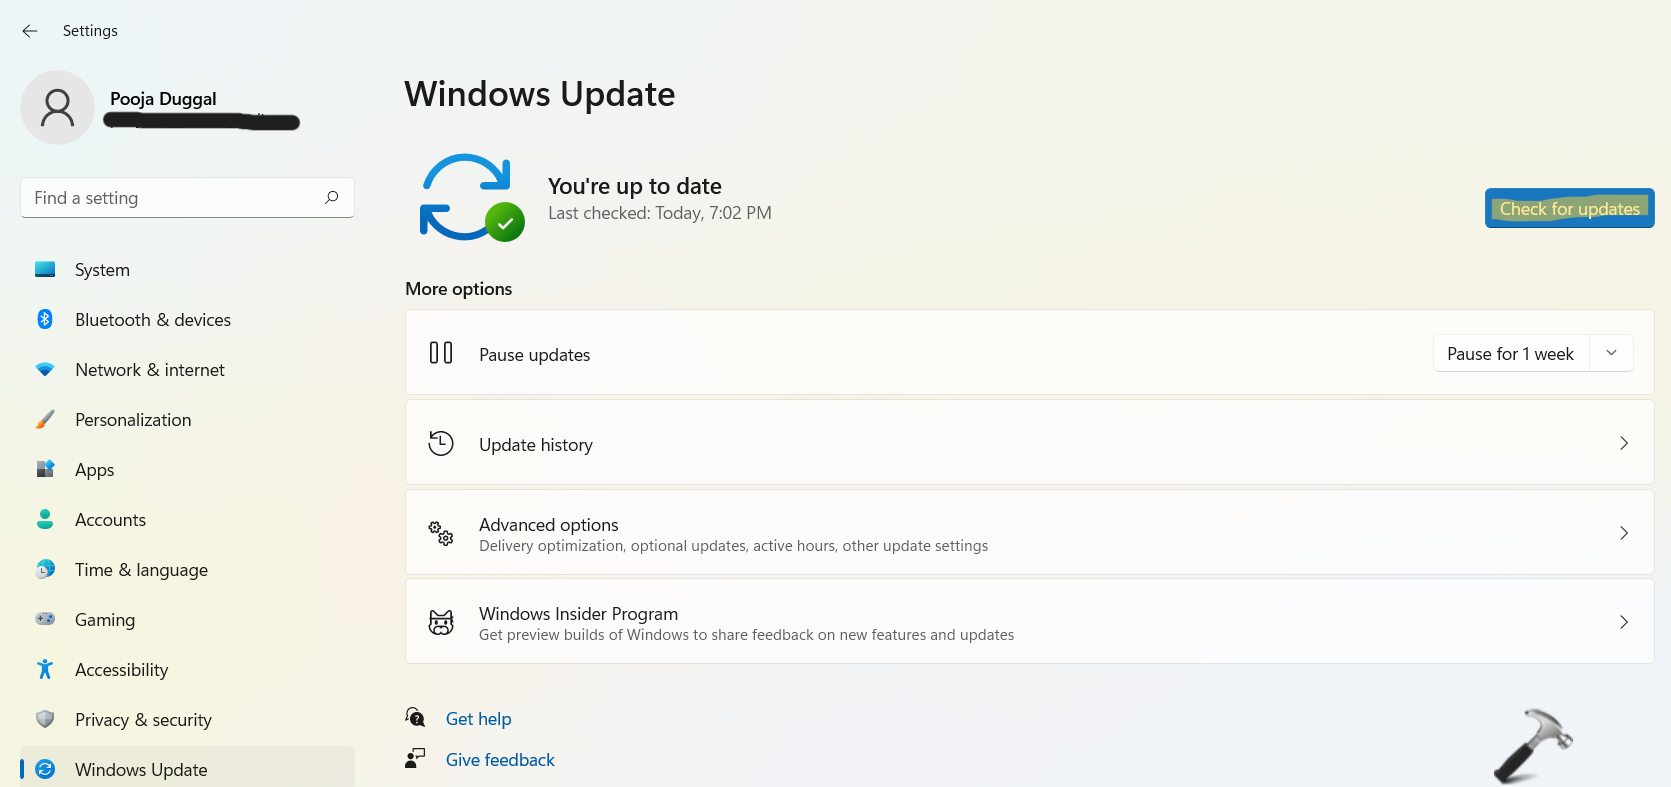
3. Now, restart your system and check if the issue has been fixed.
Fix 2 – By Removing External Hardware
This is a quick troubleshooting tip. If your Windows 11 installation has failed, then try removing any external device connected to your Windows PC. To upgrade your Windows, just keep the basic functionality of your system.
For instance, remove any printer, speaker, scanner, headphone, USB hub and other external devices connected to your Windows PC. If it does not work, then move onto the next solution.
Fix 3 – By Updating the Device Drivers
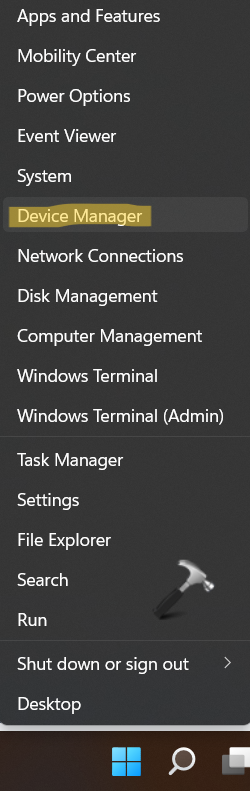
1. Firstly, open Device Manager by right-clicking on Windows Start.
2. Once opened, expand the device driver and right-click on the driver you like to update. Now, choose Update driver from the menu.
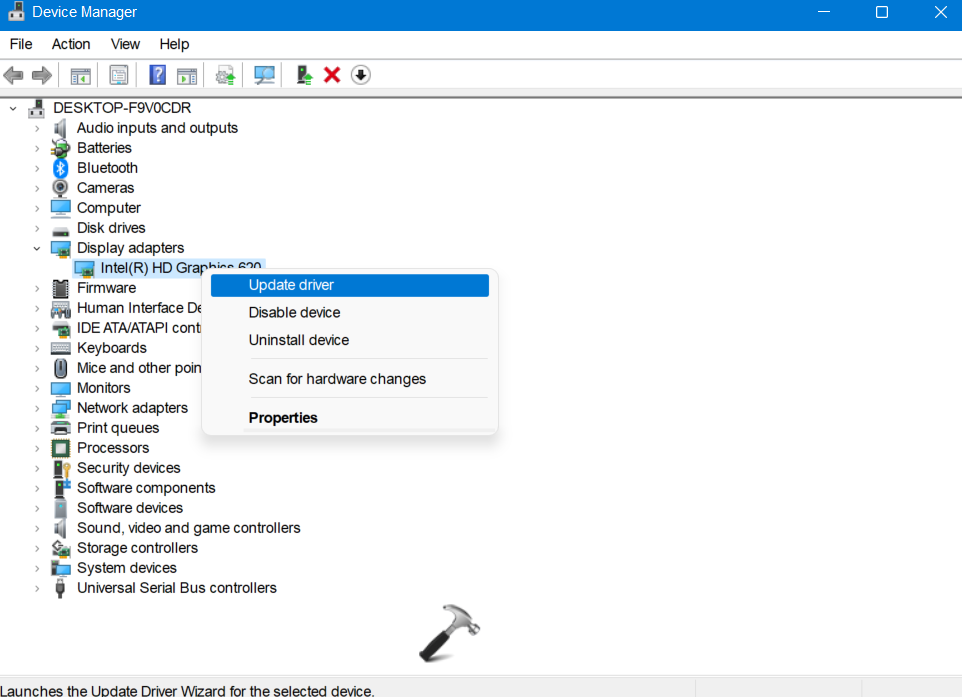
3. Next, select Search automatically for drivers.
Now, restart your Windows PC before you install Windows 11 again. If the issue persists, try the next solution.
Fix 4 – By Bypassing TPM and Secure Boot Check
 Note: Apply this method only if your system is eligible for Windows 11. Microsoft doesn’t recommends installing Windows 11 on unsupported hardware, more details in this support article.
1. In the first place, you need to open the Run dialog box. For this, press the Windows + R keys simultaneously on your keyboard. Once opened, type regedit in the Run dialog box to open Registry Editor.
2. After that, navigate to the following location:
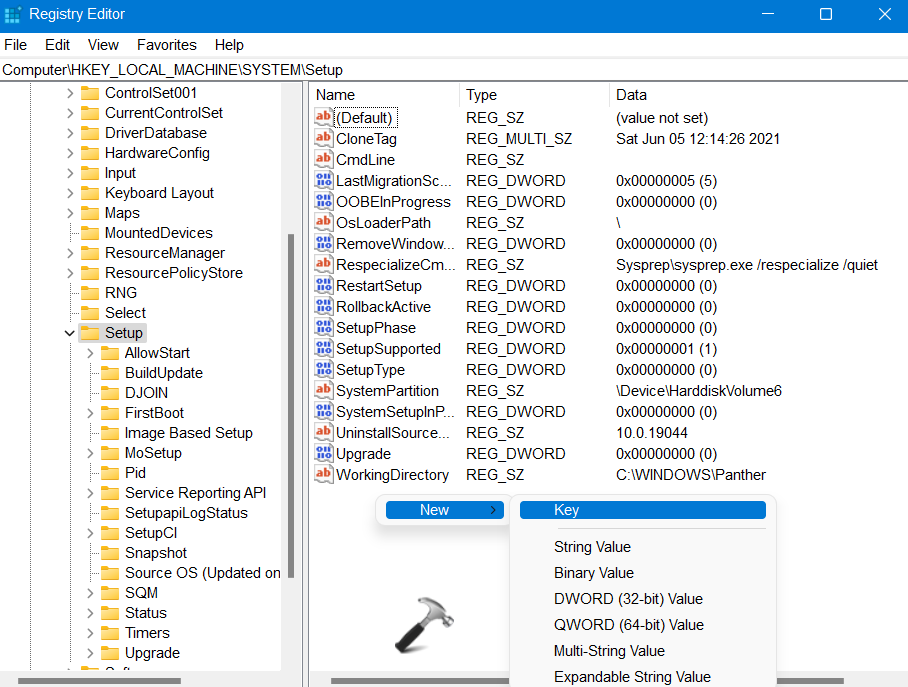
HKEY_LOCAL_MACHINE\SYSTEM\Setup
3. Once there, right-click on any empty space and create a key. For this, select New and then, choose Key.
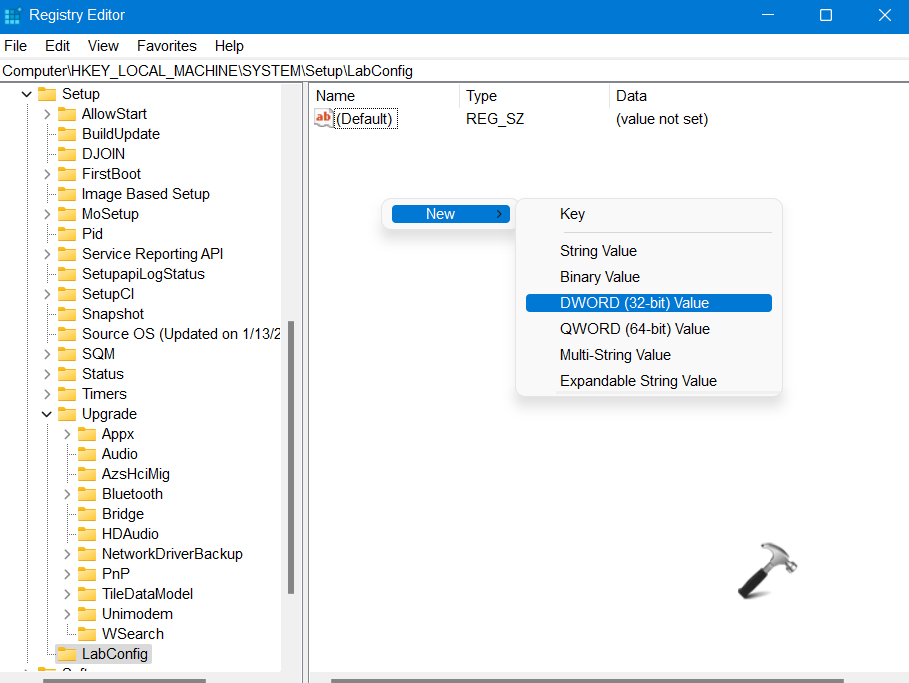
4. Next, rename it to LabConfig. Then, right-click on any empty space and create two DWORD Value options, namely BypassTPMCheck and BypassSecureBootCheck.
5. After that, double-click on BypassTPMCheck and change the value data to 1 and set Base as Decimal. Then, Press OK.
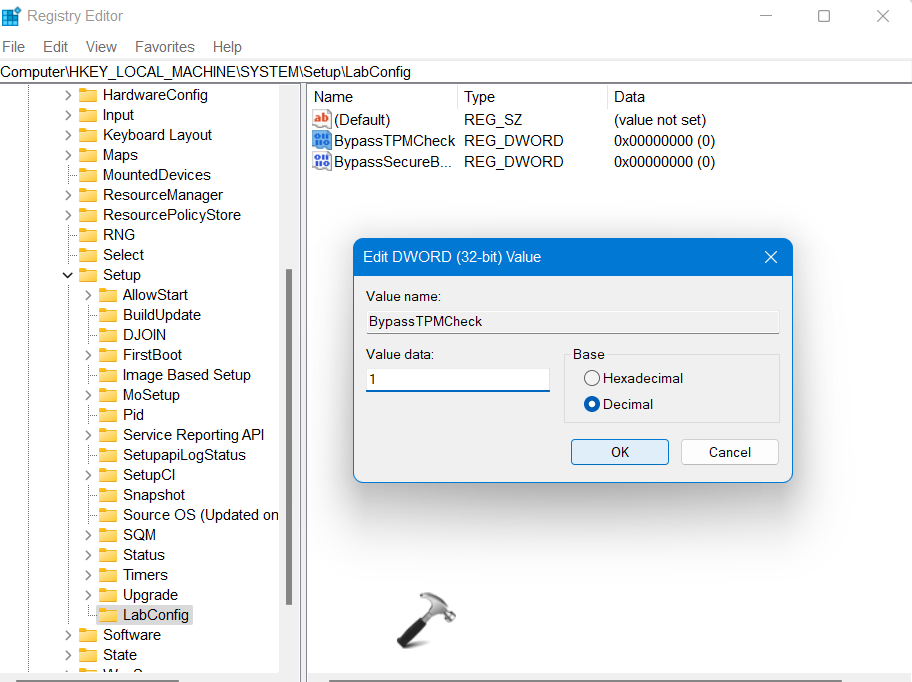
Now, repeat the same process for BypassSecureBootCheck.
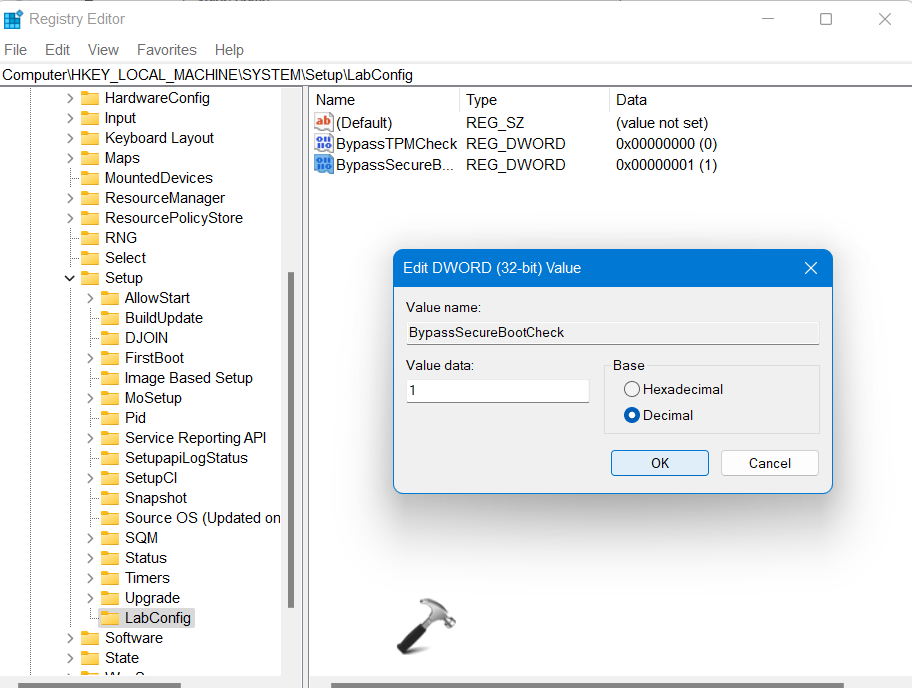
6. Lastly, close Registry Editor and reboot your system.
Fix 5 – By Enabling TPM 2.0 and Secure Boot
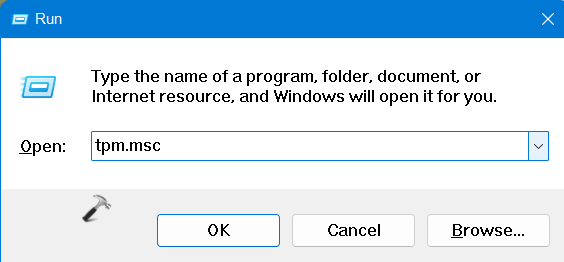
1. Open Run by pressing the Windows + R tabs together on your keyboard. In the Run dialog box, type tpm.msc and hit Enter.
2. If the TPM 2.0 is enabled on your system already, you will see the Status as The TPM is ready for use and TPM Manufacturer Information as Specification Version 2.0.
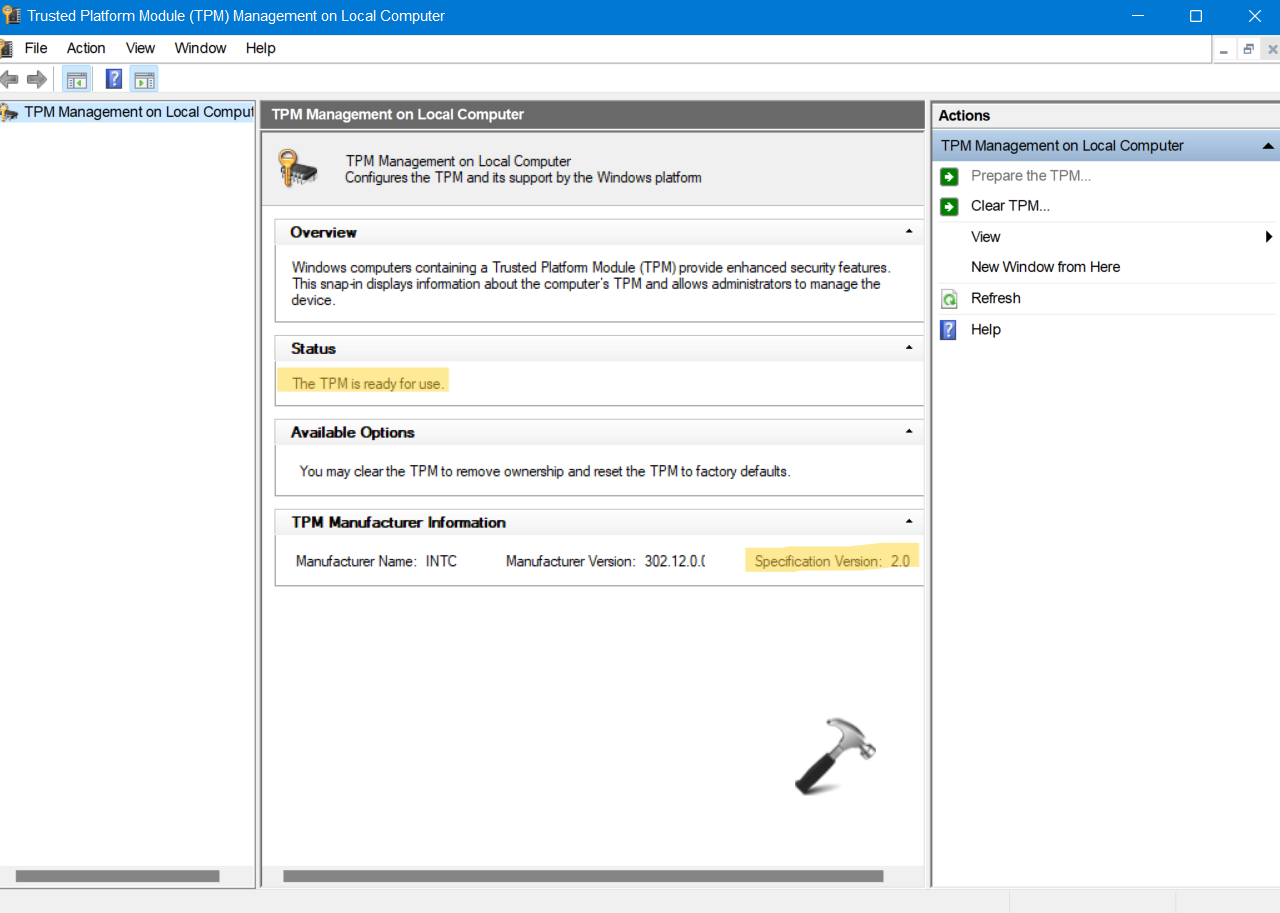
Otherwise, you will see the Status as Compatible TPM cannot be found. In that case, enable TPM 2.0 and Secure Boot on your system through the Security tab.
So, this is how to fix Windows 11 installation has failed error using different solutions.