

Windows 11 Version 26H2 is the major feature update for Windows 11 in year 2026. It comes with many new features and the updated version provides more stability. It shares the core identical files with the previous Version 25H2. In our previous guide, we have seen how you can upgrade to Windows 11 Version 26H2. Now in this guide, we will see how you can make a clean install of Windows 11 Version 26H2.
Page Contents
How to clean install Windows 11 Version 26H2
In order to make the clean install of Windows 11 Version 26H2, you have to first download the version ISO file. You can use our detailed guide to download the ISO file from Microsoft website. Once you downloaded the ISO file, you can create a bootable USB using our step-by-step guide. When your bootable USB is ready, you can follow below mentioned steps to perform the clean install.
Manual steps
Installation phase
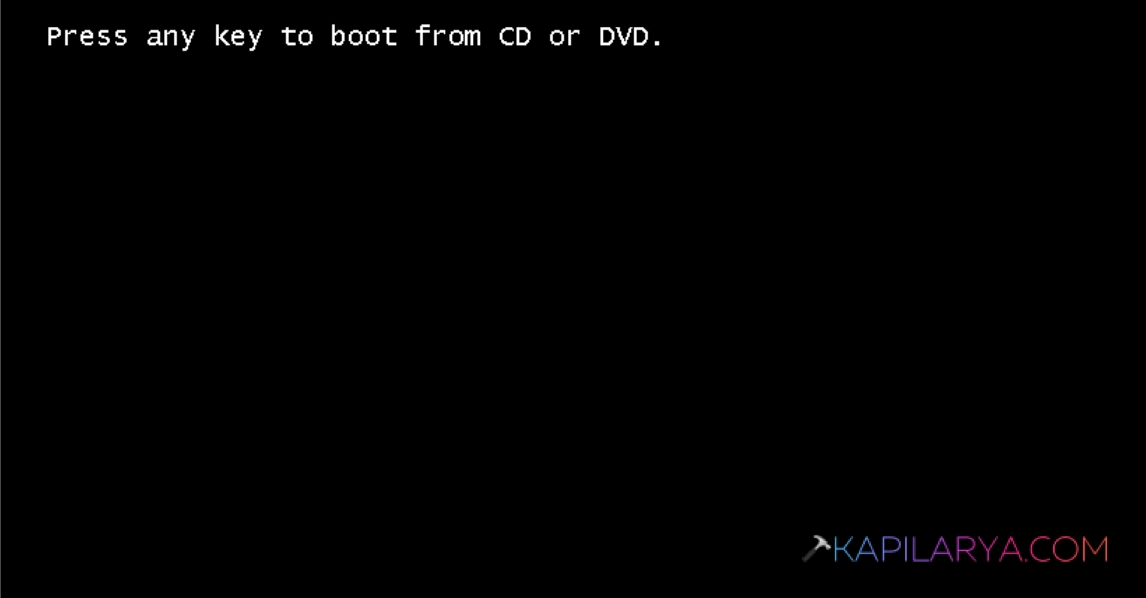
1. Plug in the bootable USB, start your system and press any key to initiate the setup.
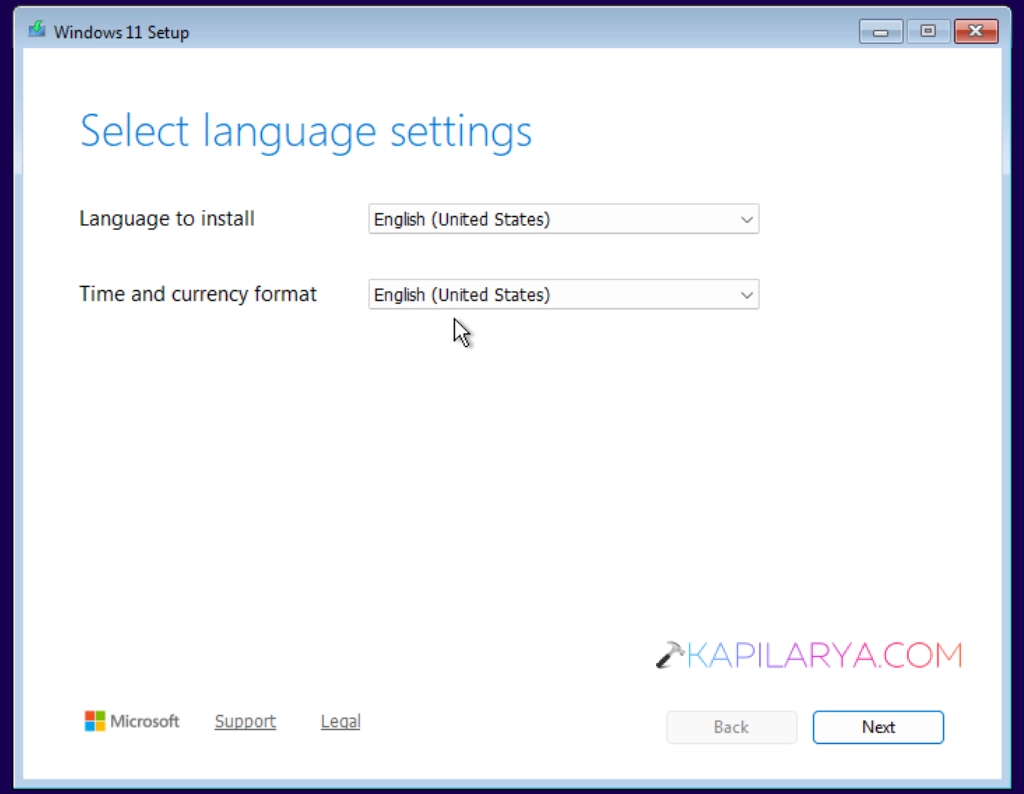
2. Once you see the Windows 11 setup screen, the first screen is to select language settings. Make your language selection and click Next.
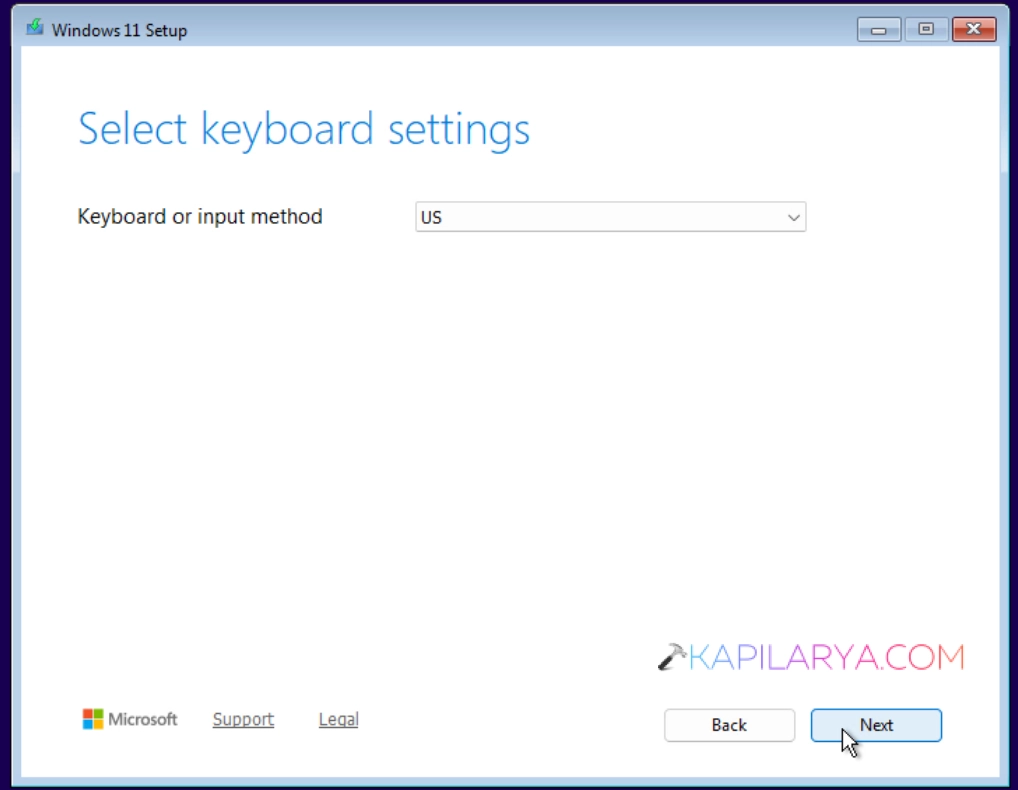
3. Then select your keyboard settings and click Next.
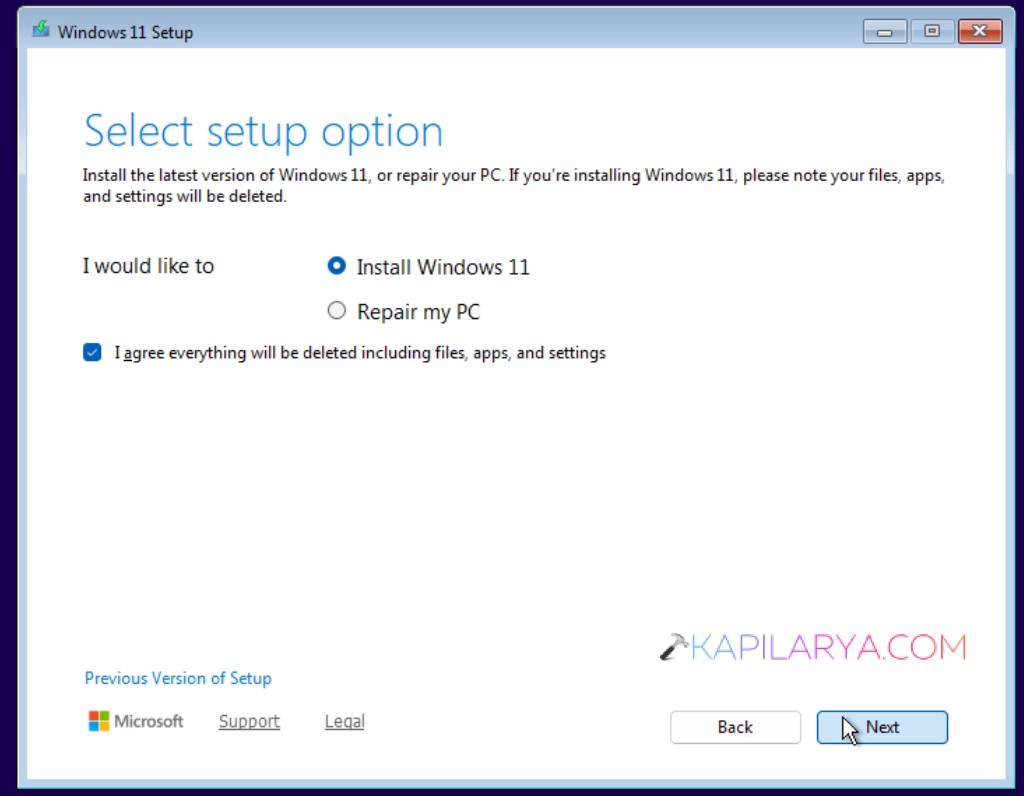
4. Now select the setup option. Choose install Windows 11. Also check, I agree everything will be deleted including files, apps, and settings. Click Next.
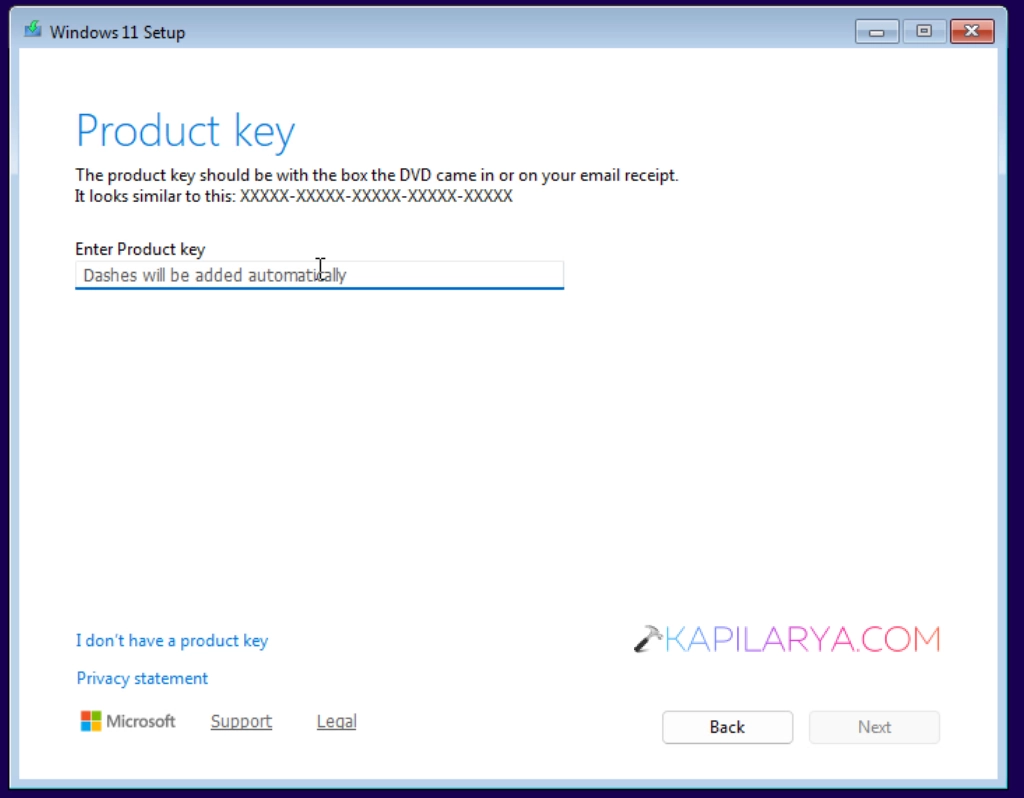
5. Next, enter the product key for your Windows 11. This product is unique and 25-character key. In case if you want to later activate your system, you can click I don’t have a product key.
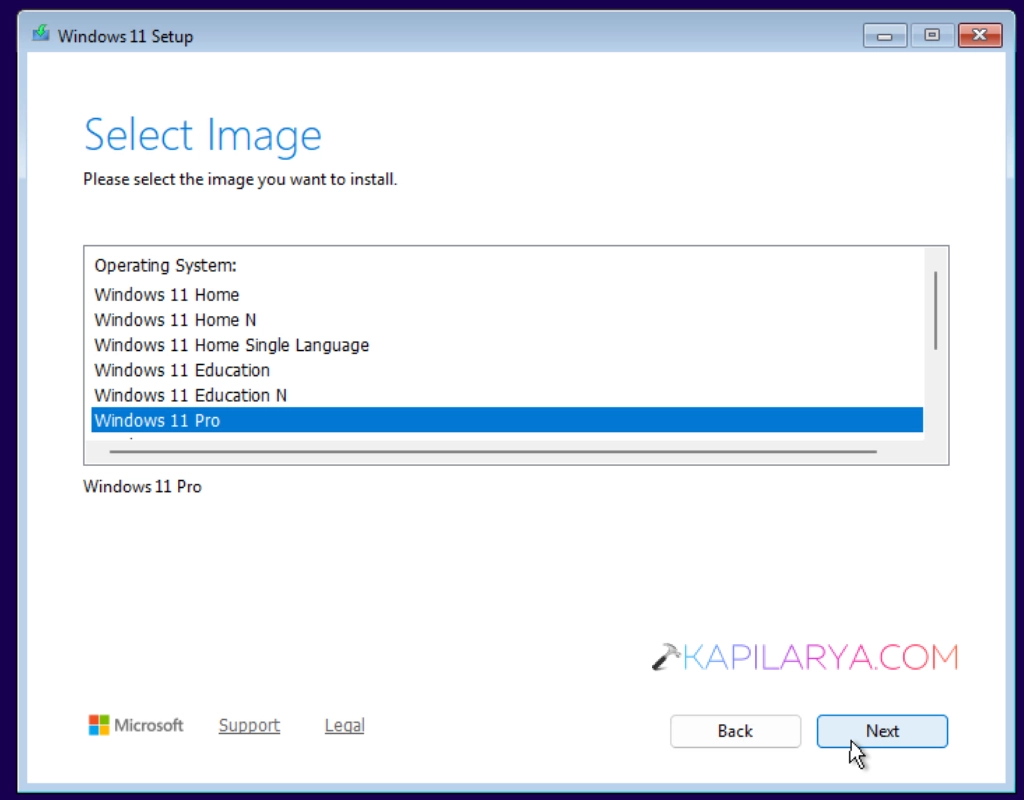
6. Then choose the Windows 11 edition you want to install. Finally click Next.
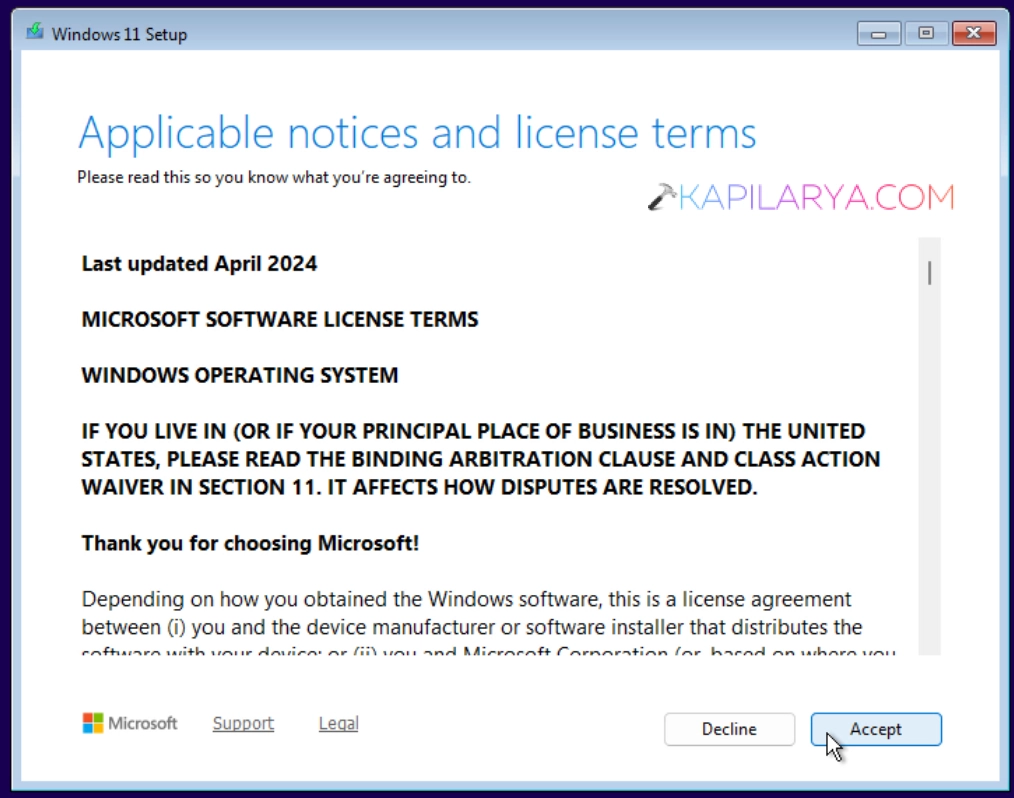
7. Then review and accept the licensing terms.
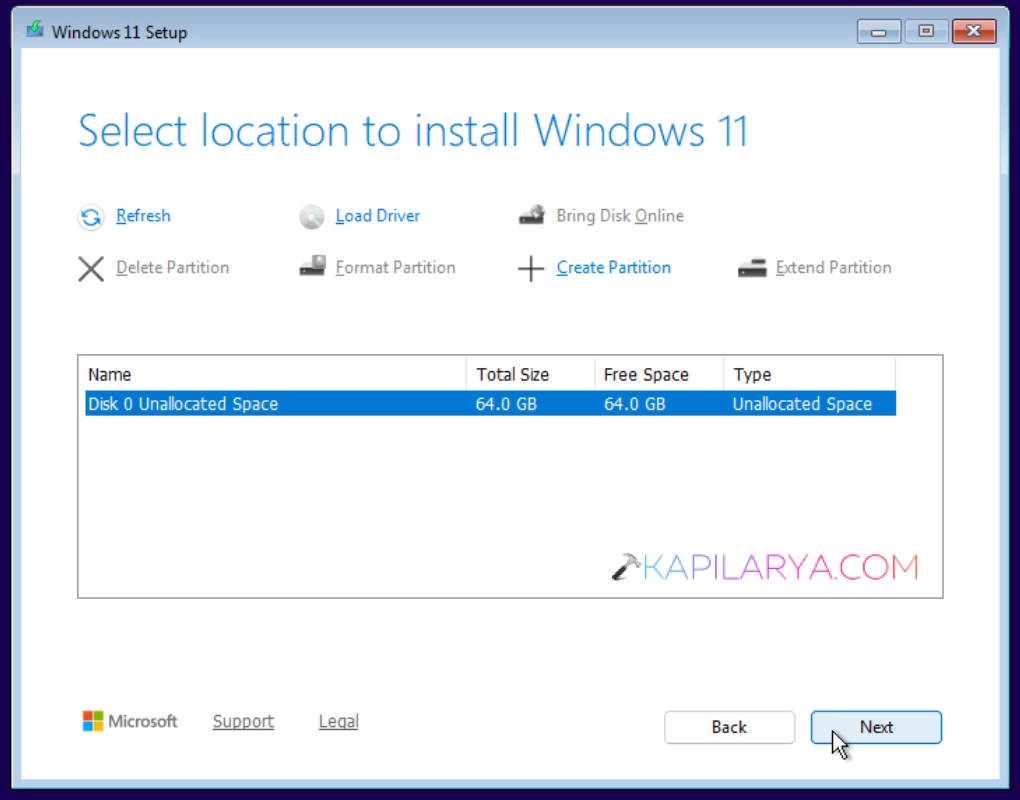
8. Now choose the location to install Windows 11. The drive must have at least 64 GB of free space.
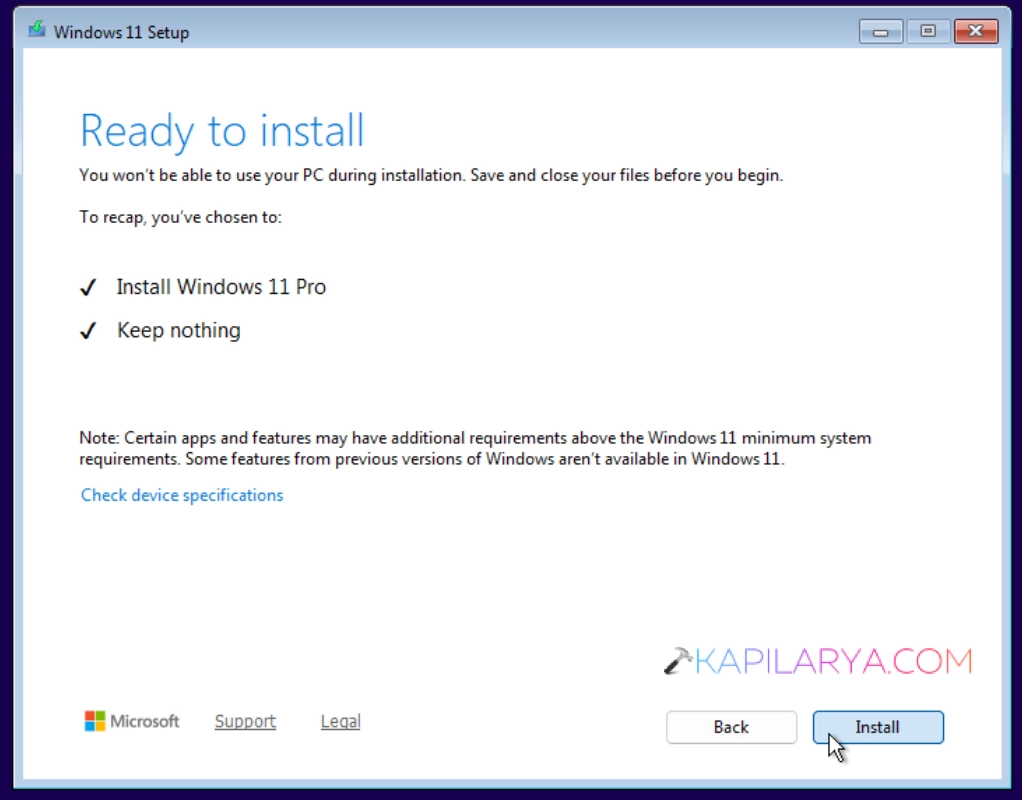
9. Review the information and click on Install button.
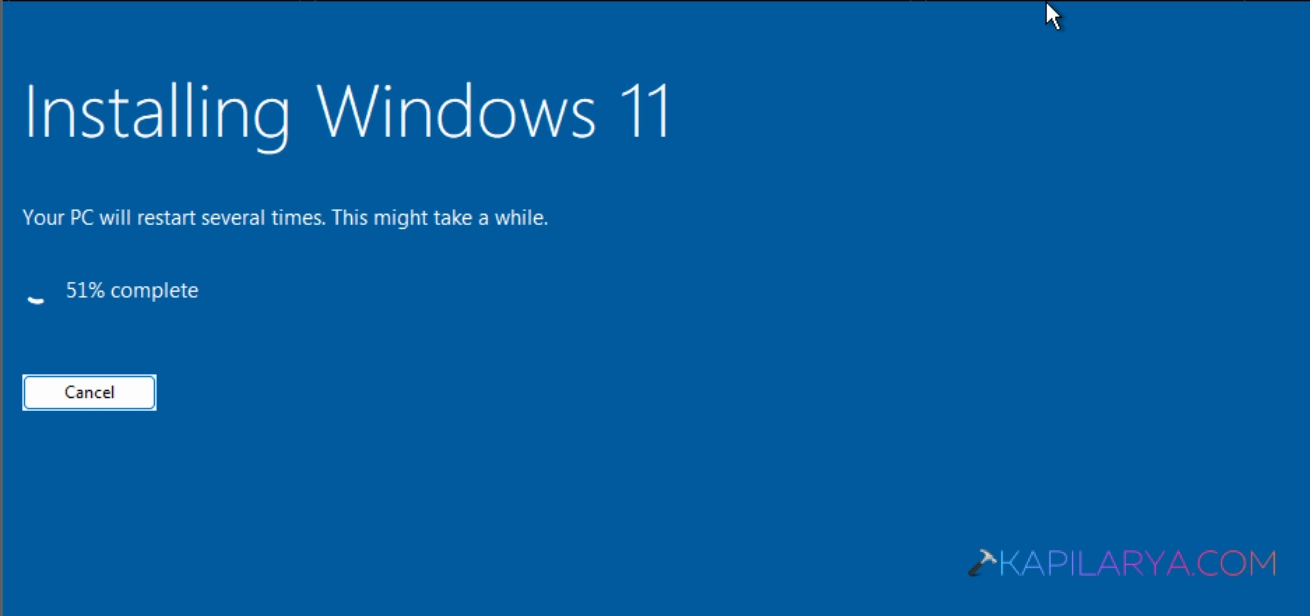
10. Now you will see the installing Windows 11 screen. The screen may take a while to complete. It goes from zero to hundred percent. Your system may restart in between.
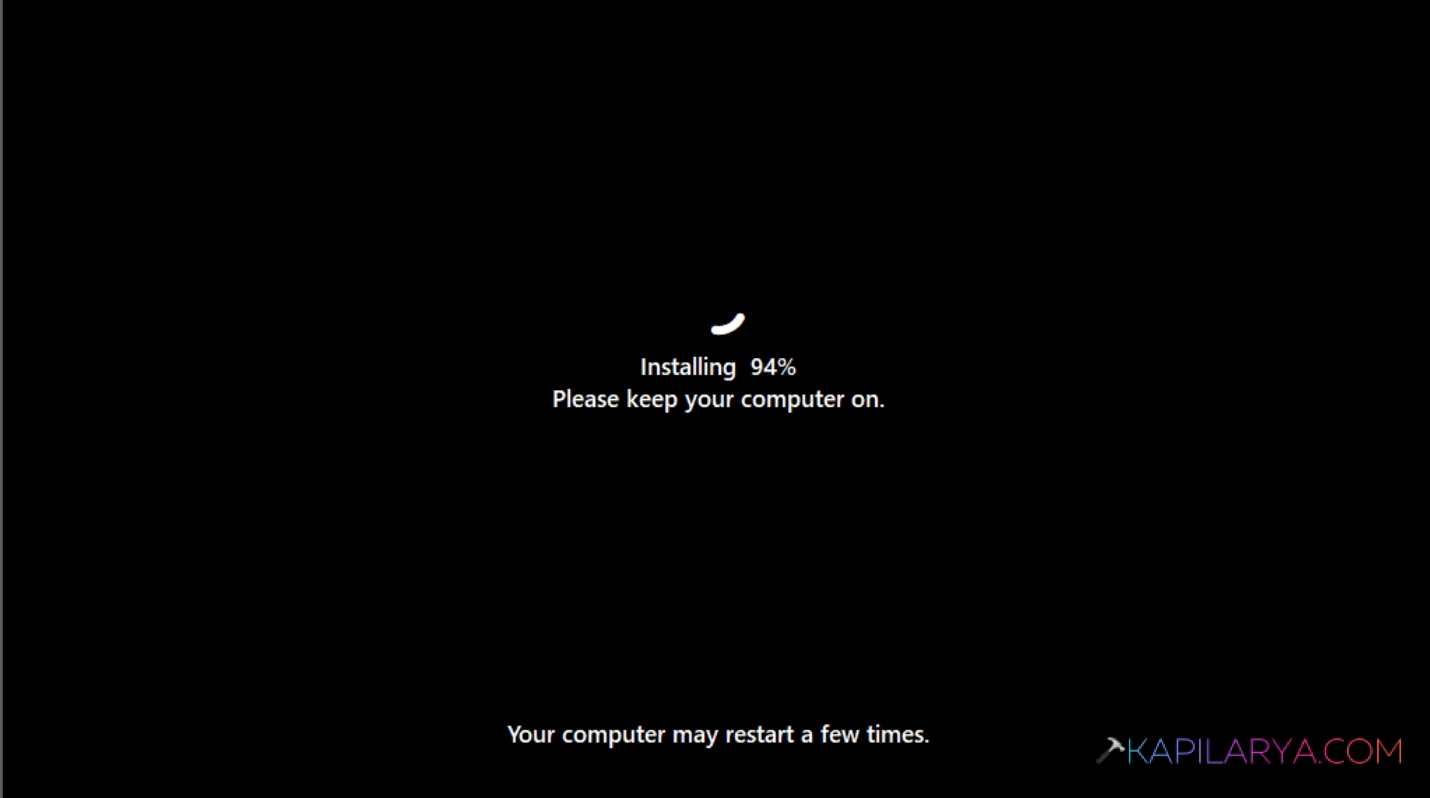
11. When your system reboot, it would now take you to install ‘installing’ screen shown below. This screen will also go from 0 to hundred percent.
OOBE Setup
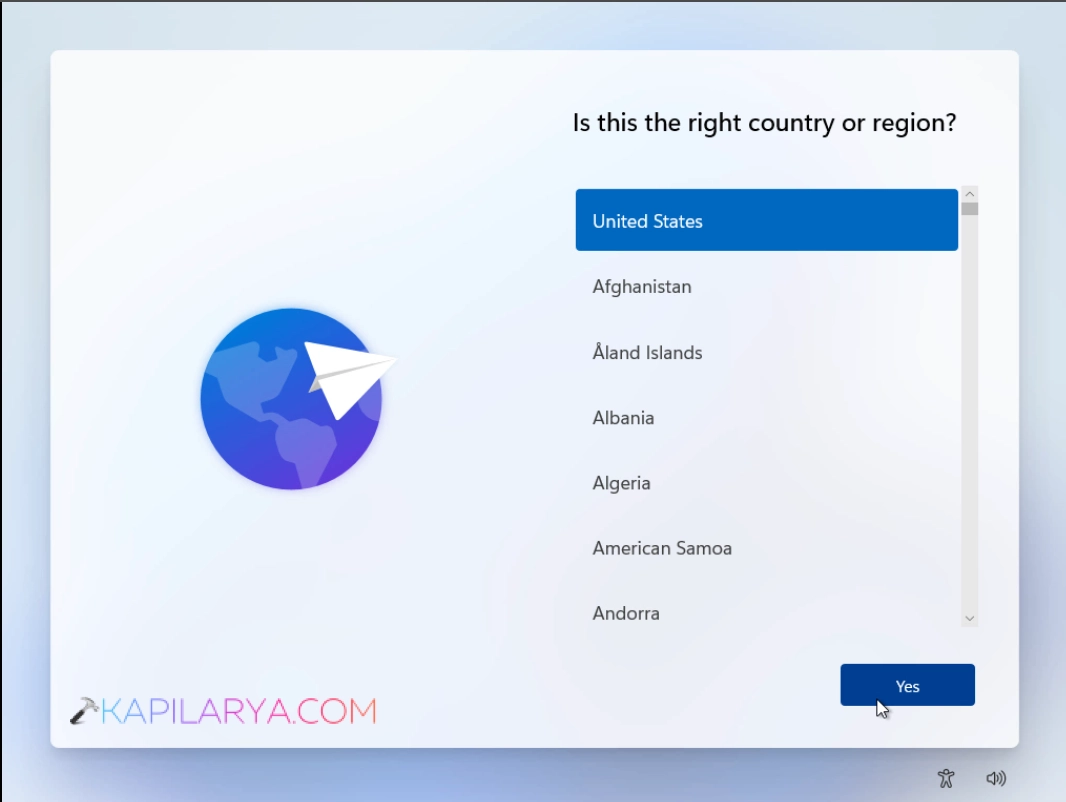
12. Once your system restarts after the previous step, it would be now moving to the OOBE (Out-Of-Box Experience) phase. In the first screen, choose your country and click Yes.
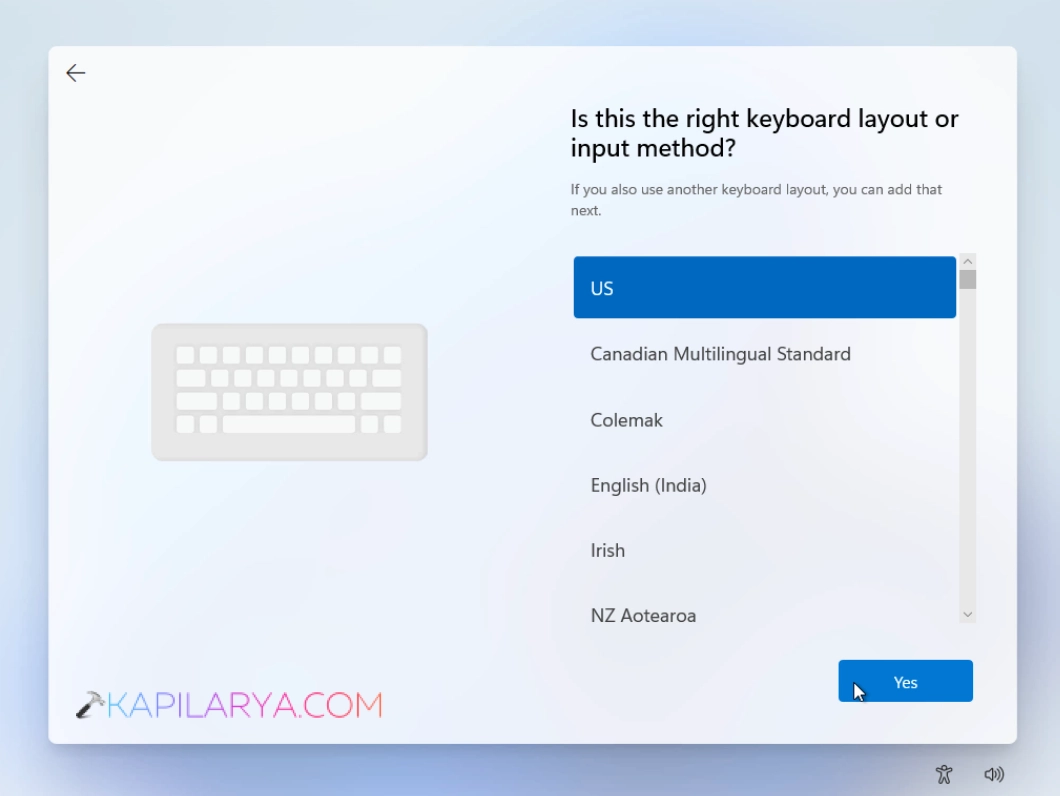
13. Then select the right keyboard layout and click Yes.
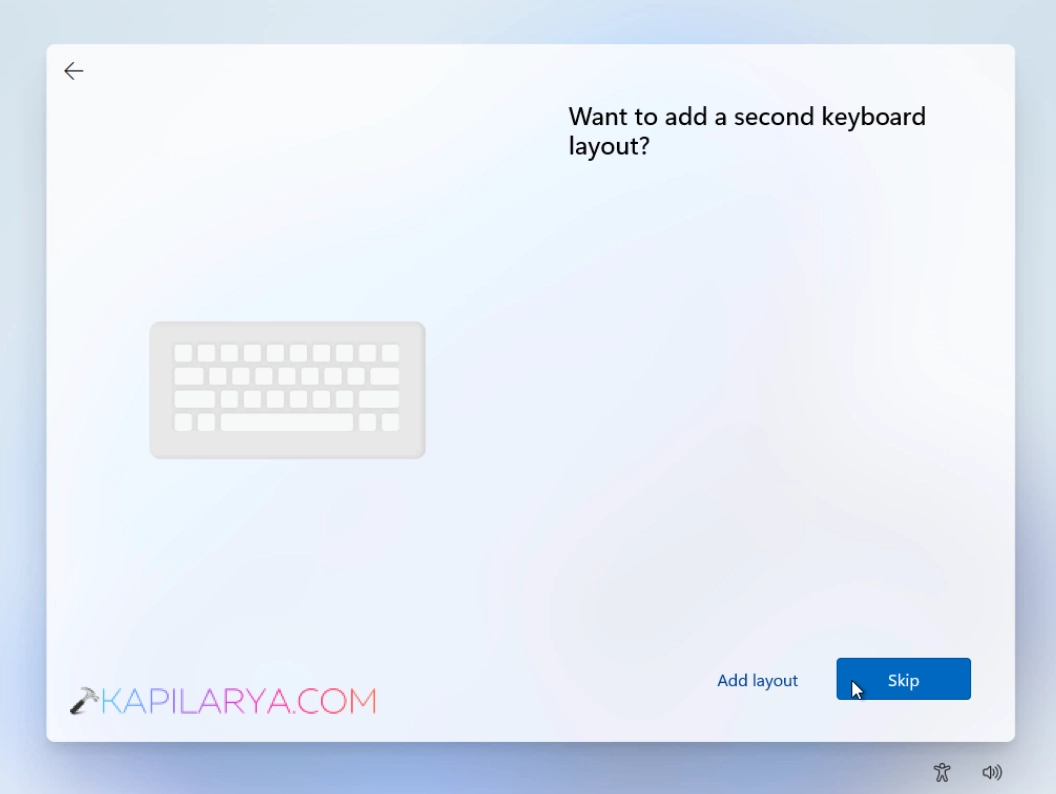
14. If you want to add the secondary keyboard layout, you can click on Add layout else you can click Skip.
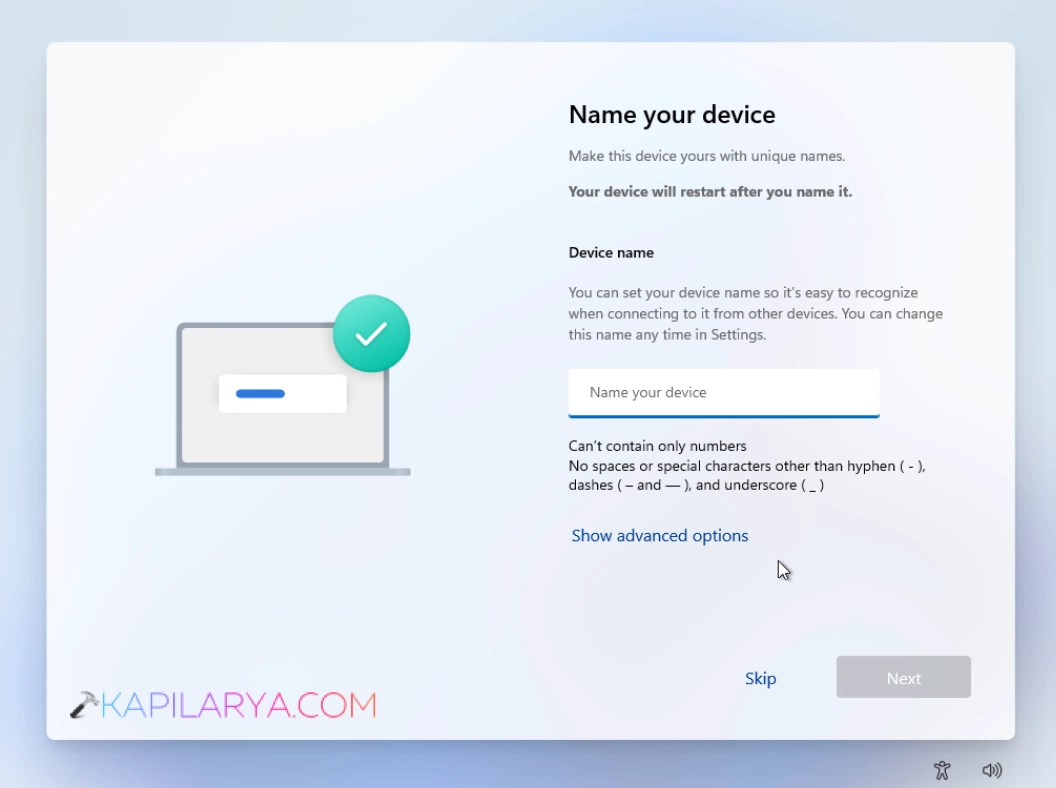
15. Then it’s time to name your device. You can name your device according to the guidelines mentioned on the screen. If you rename your device, it would be restarted back to this screen. If you do not want to rename it, you can click Skip.
16. Next, you can choose how you would like to setup the device. If it is for your personal usage, you can select Set up for personal use. If this device will gonna be used in corporate or school, you can either select Set up for work or school.
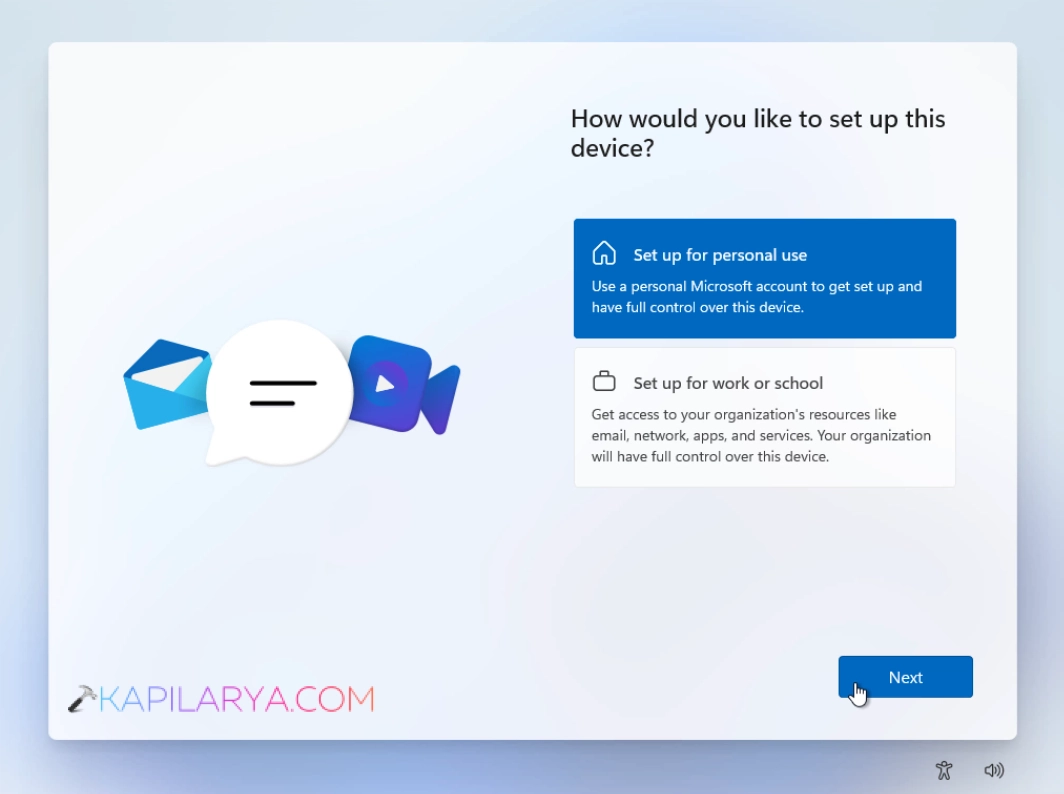
17. Depending upon your previous selection, click on Sign in button to login to your account.
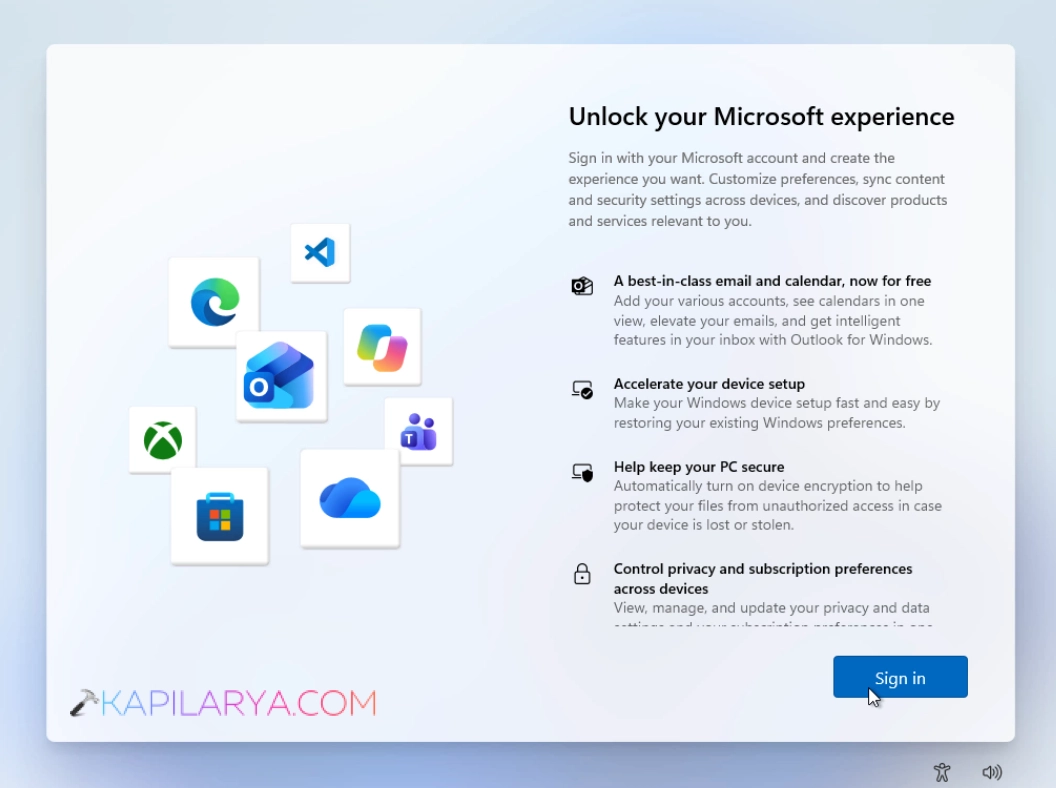
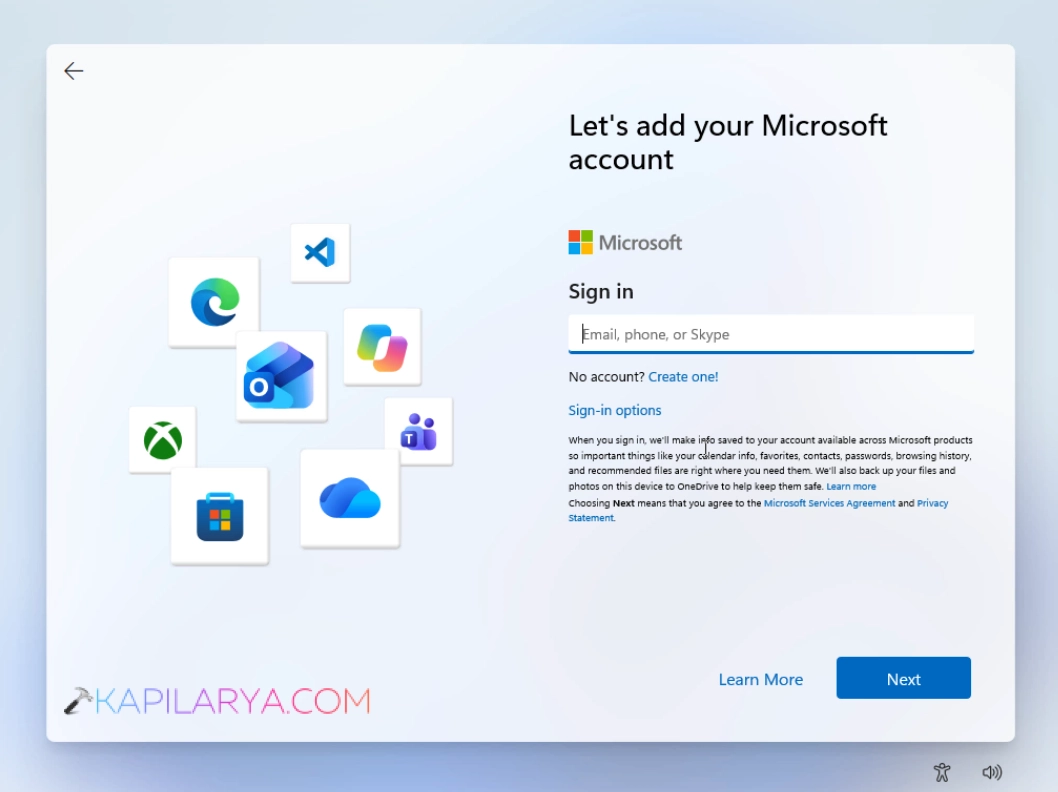
18. Now on this screen, if you selected previously the personal usage, you can sign in with Microsoft account. In case if you selected, work or school usage, you can sign in with your work or school account.
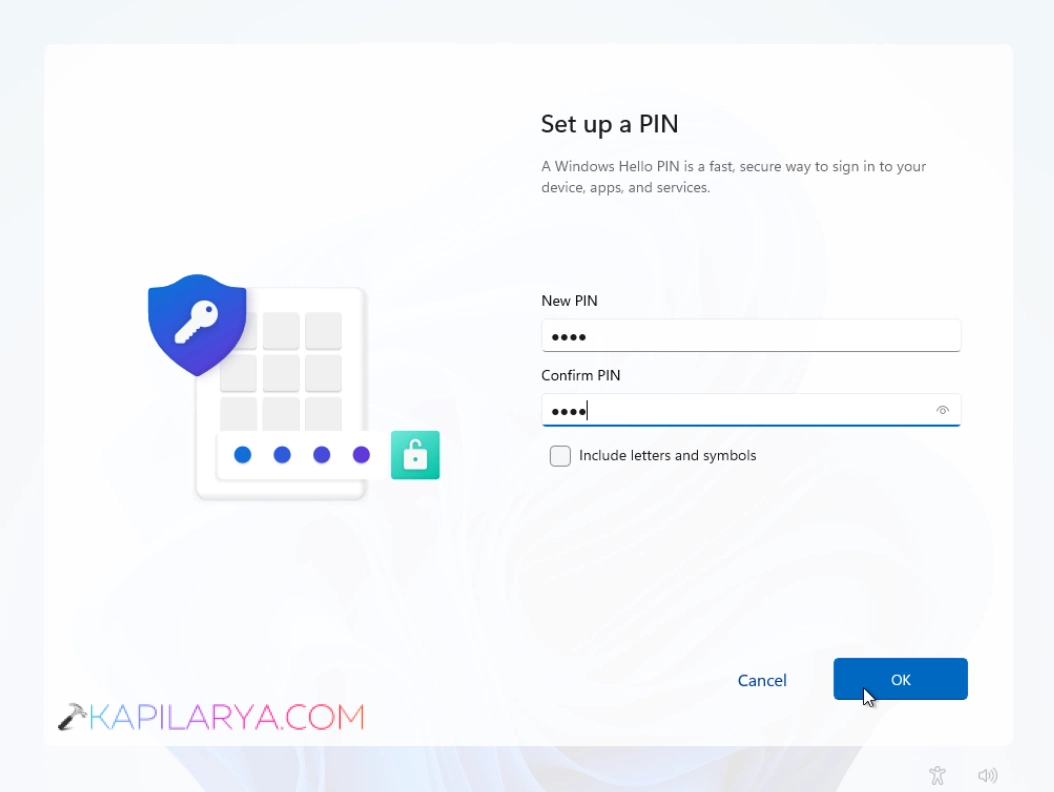
19. Then set up a convenient PIN (recommended: 4-digit PIN) for login.
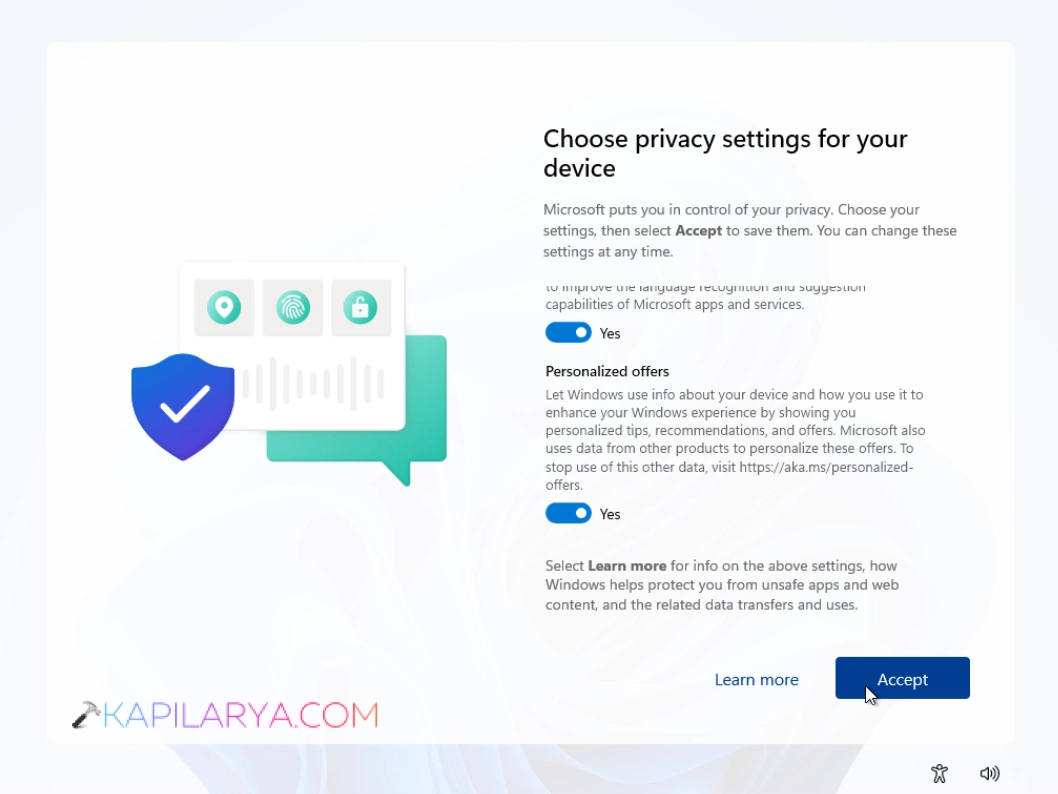
20. Under choose privacy settings for your device, click on the Accept button.
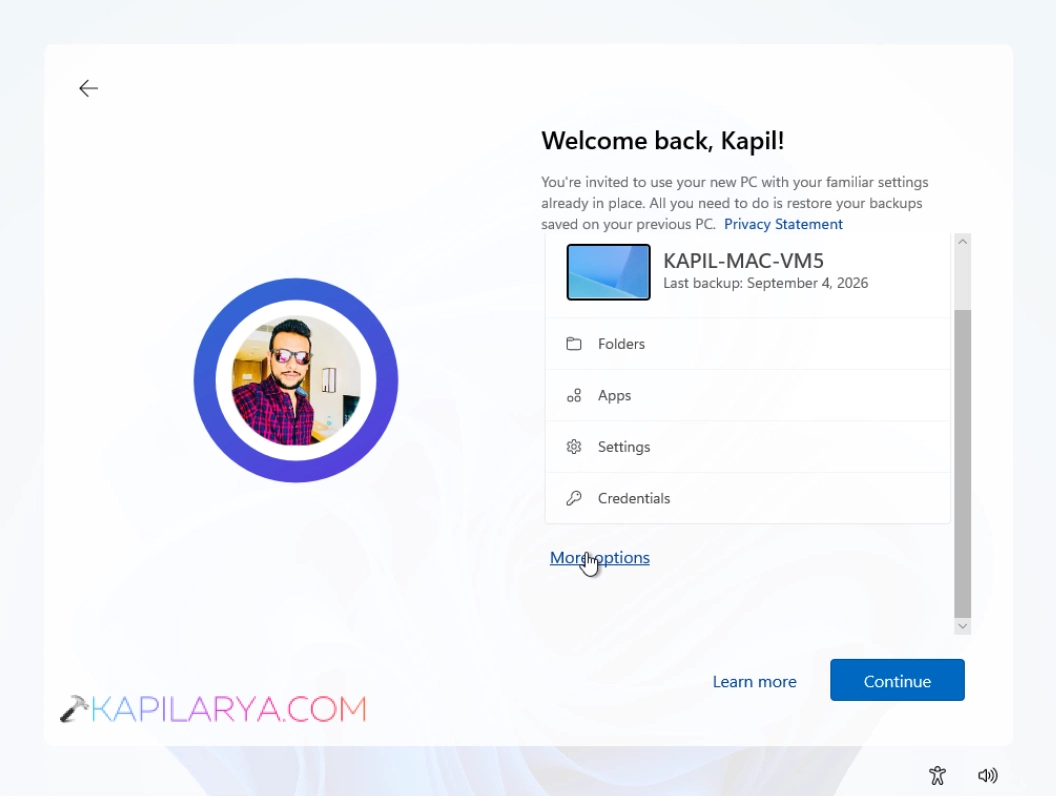
21. Next you would be offered, to restore from your other device backup. Since you have already signed into your account, you may be able to restore backup from other devices linked to your account. Click More options.
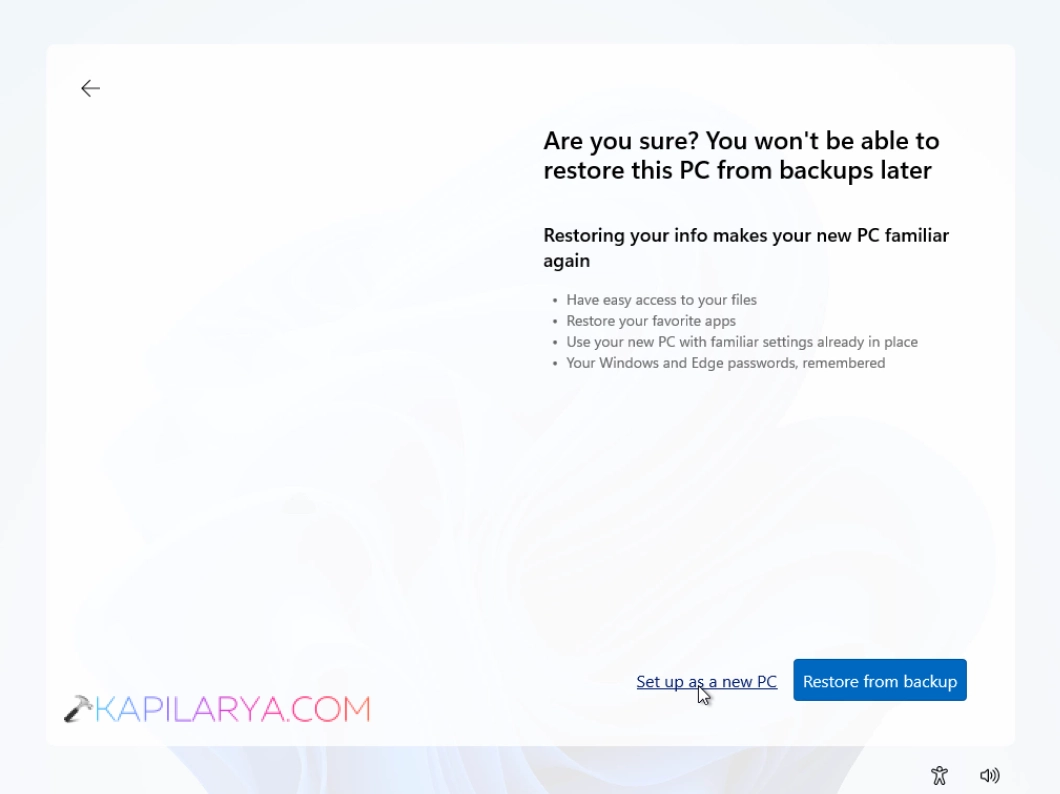
22. If you do not want to restore backup, you can choose set up as a new PC.
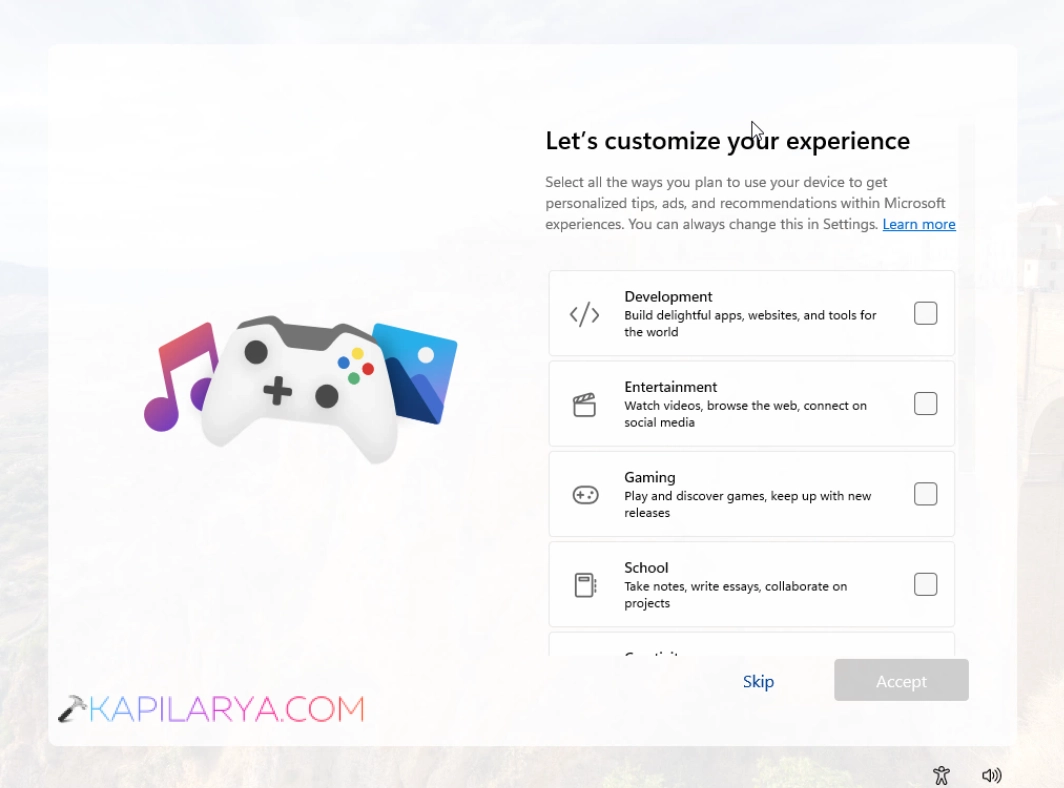
23. Then you would be asked to customize your experience for your device usage. Choose a relevant option and click Accept, else you can click Skip.
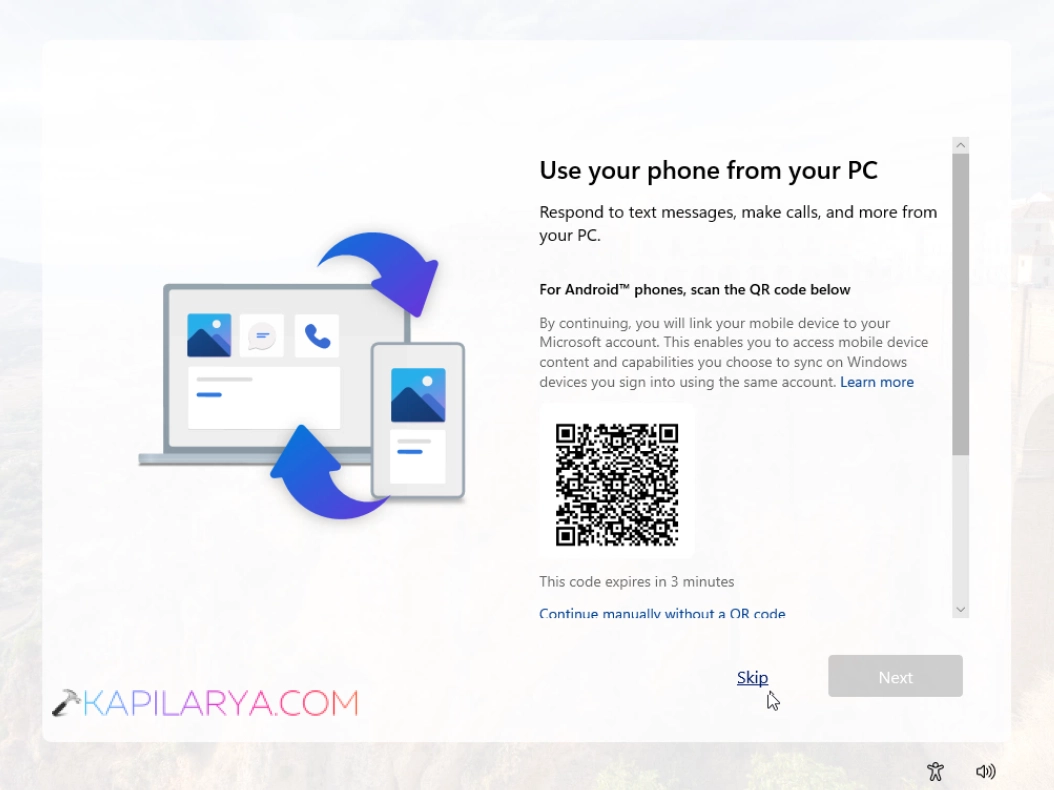
24. Then a screen would appear suggesting use your phone from your PC. You can click Next, if you want instructions or you can click Skip.
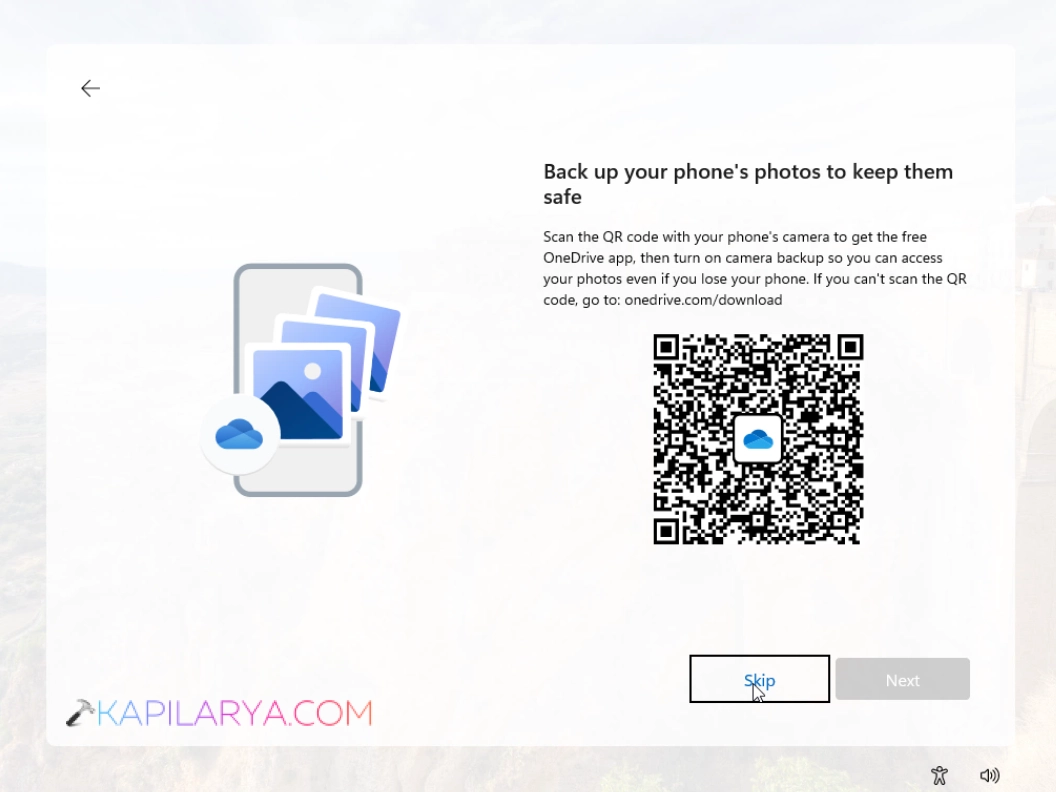
25. Another screen suggesting phones photo to keep them same, click Next, if you want instructions or you can click Skip.
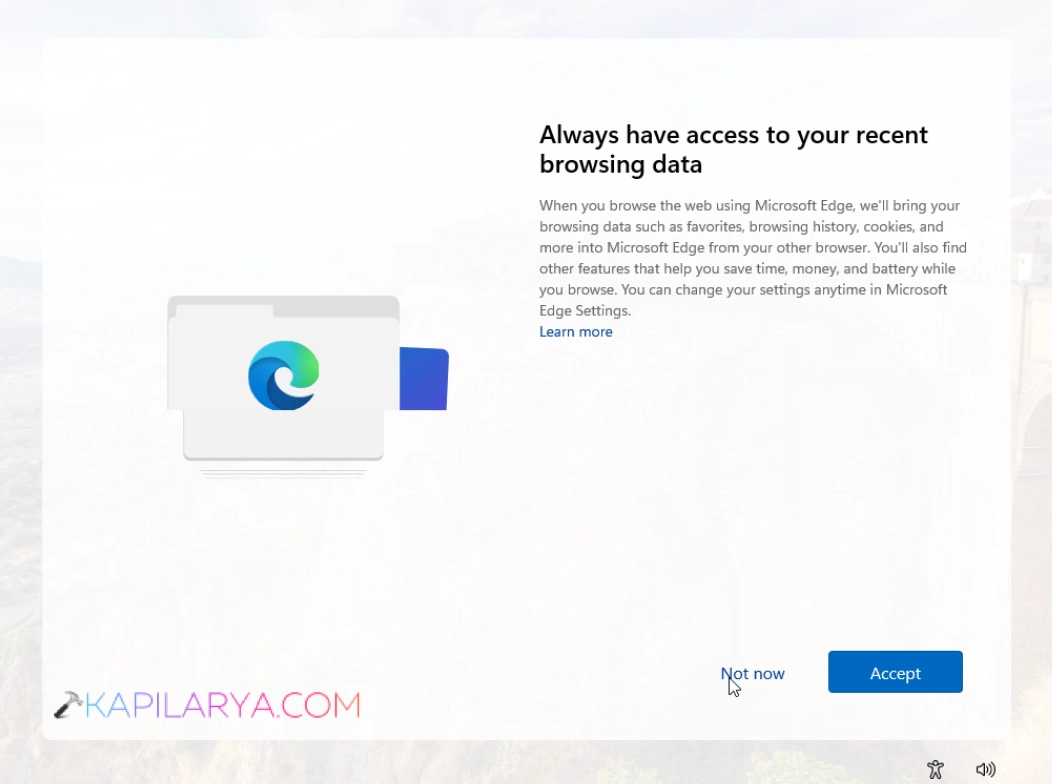
26. You would be offered to always have access to your recent browsing data. Click on the Accept button or if you don’t want that you can click Not now.
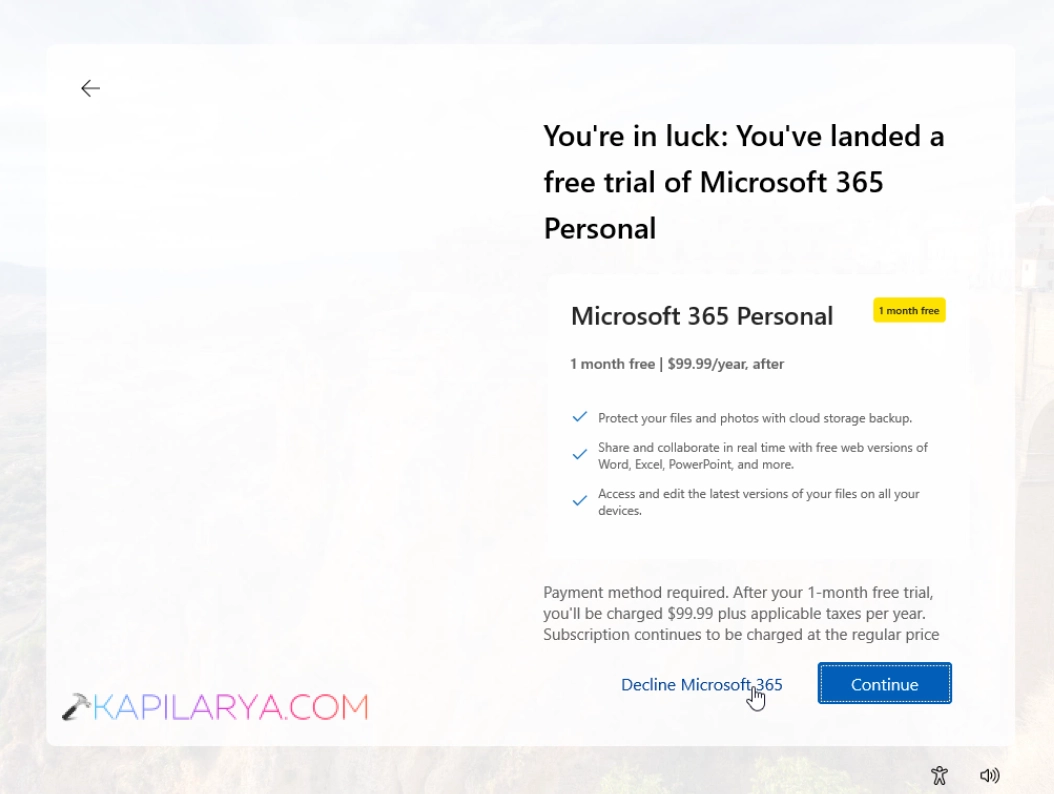
27. Then you would be offered the suggestion to have Microsoft 365 personal. You may click Continue if you want that or if you don’t want that, simply hit Decline Microsoft 365.
28. After the OOBE configuration is completed, you will be landed to the Desktop. Here you can check the Windows 11 version using winver command.
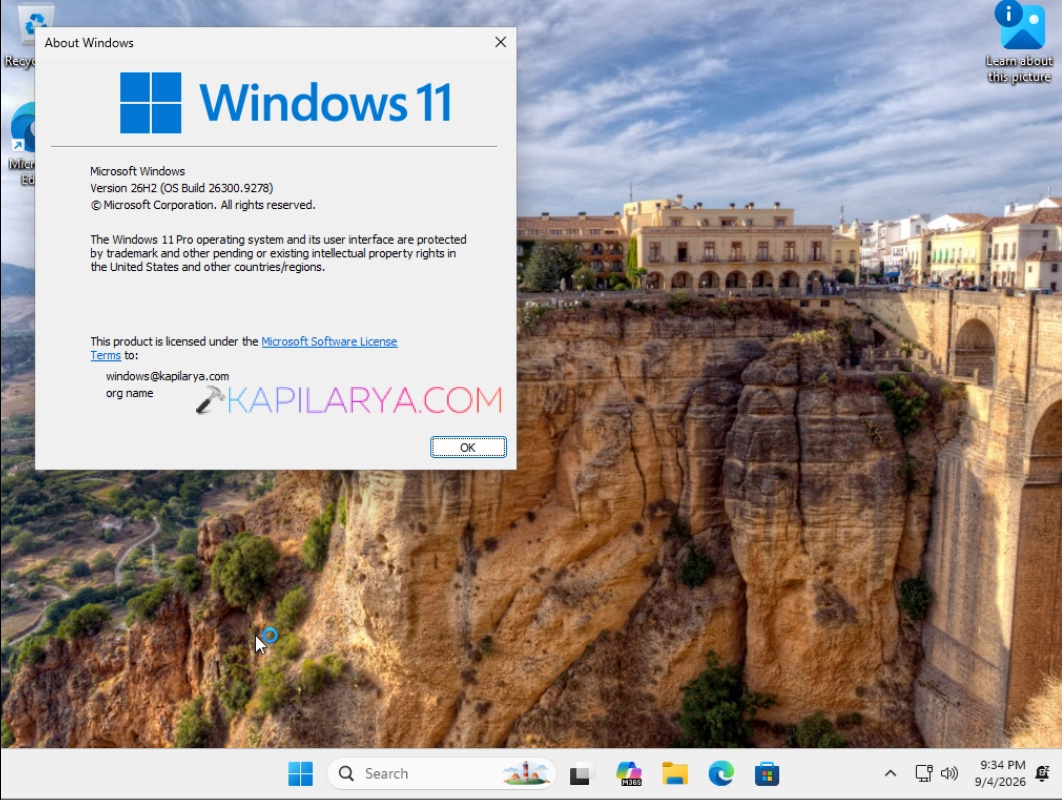
In this way, then clean installation of Windows 11 Version 26H2 has been completed.
Video guide
If you want a practical or live walk-through of above above mentioned steps, you can check out this video guide:





Excellent guide!
But I’ll try this with stable release only.