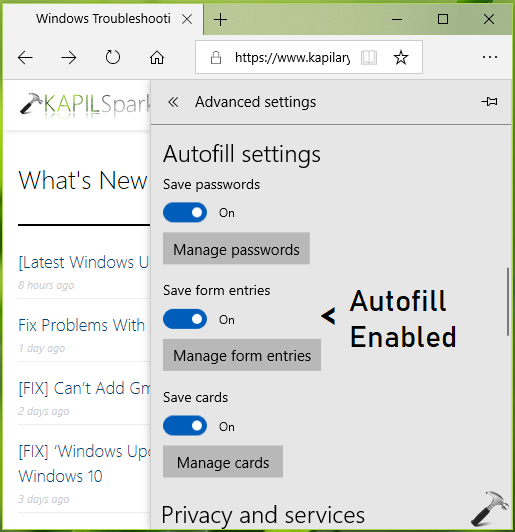
In Microsoft Edge, users can save form entries by default. This is actually referred as Autofill, which means that if you earlier filled in details on any webpage form, Microsoft Edge will remember these entries.
To configure Autofill settings in Microsoft Edge, go to Settings > Advanced Settings > Autofill settings > turn On or Off Save form entries option to enable or disable Autofill, respectively.
In case if your multiple user system or organization needs to disable Autofill on Microsoft Edge, this article is for you. Perform below mentioned registry tweak to disable Autofill in Microsoft Edge.
How To Configure Autofill Settings In Microsoft Edge
Registry Disclaimer: The further steps will involve registry manipulation. Making mistakes while manipulating registry could affect your system adversely. So be careful while editing registry entries and create a System Restore point first.
1. Press  + R and put regedit in Run dialog box to open Registry Editor (if you’re not familiar with Registry Editor, then click here). Click OK.

2. In left pane of Registry Editor window, navigate to following registry key:
HKEY_LOCAL_MACHINE\SOFTWARE\Policies\Microsoft
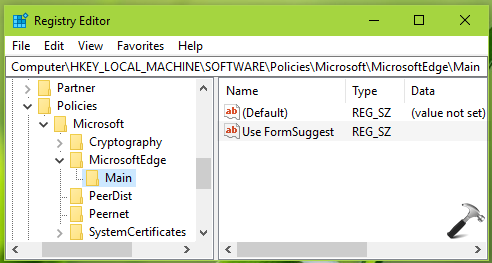
3. Right click Microsoft registry key, select New > Key. Name the newly created sub-key as MicrosoftEdge. Similarly create Internet Settings registry sub-key next to Microsoft registry key. If these registry keys already exists, skip creation of new keys. Now in the right pane of Internet Settings registry key (HKEY_LOCAL_MACHINE\SOFTWARE\Policies\Microsoft\MicrosoftEdge\Internet Settings), right click and select New > String Value. Name the newly created registry string (REG_SZ) as Use FromSuggest. Double click on the string to modify its Value data:
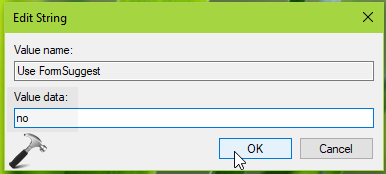
4. Finally, put no as the Value data to disable Autofill on Microsoft Edge. Click OK. Close Registry Editor and reboot.
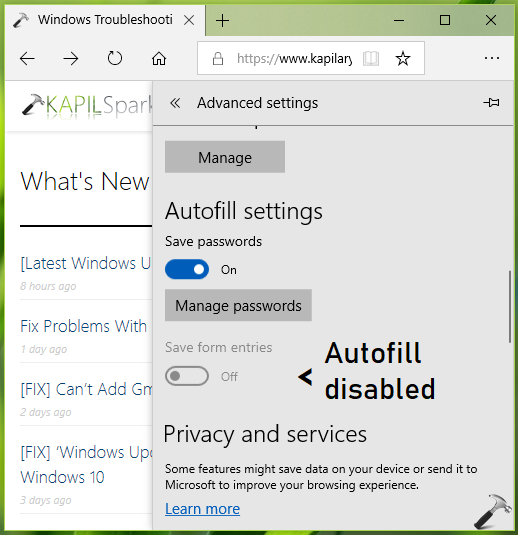
After restarting your system, you’ll find that Autofill is disabled and users can’t change this setting is it controlled system wide by registry.
That’s it!