Are you looking to fix no WiFi during installation or setup of Windows 11? You can just be on the Windows 11 setup screen and be unable to go ahead, as you have no connection to the internet, and this article is made exactly for you.
This problem normally occurs in cases where Windows 11 is not recognizing your wireless network adapter, which is absent or incompatible with WiFi drivers. Consequently, the system fails to reveal any available networks, and it becomes impossible to proceed with the setup as usual.
In this guide, you will be taken through easy steps to rectify the No WiFi troubleshooting problem during the Windows 11 installation.
Page Contents
Why is WiFi not Showing During Windows 11 Setup?
It is necessary to know why this occurs before rushing into the solutions:-
- Absence of Wireless LAN (WiFi) drivers.
- Unproven or modified network adapter.
- Also, clean reformat without OEM driver.
- Outdated BIOS or firmware.
The Windows 11 installation process is not loading network drivers.
Knowing the problem will guide you to make a quick decision on a fix.
Fix No WiFi while installing or setup Windows 11
In certain instances, users can have issues with their network or WiFi despite having already performed the Windows 11 installation, particularly when they make major feature updates. In case you have a slow internet connection or incompatibility of adapters, which occurred after an upgrade, this guide will also be handy – Fix Network issues after Windows 11 25H2 upgrade.
Part 1: Download Wireless LAN Driver
The best solution to no WiFi during the process of installation or setup of Windows 11 would be installing the appropriate Wireless LAN driver. The following are the procedures for downloading the Wireless LAN Driver.
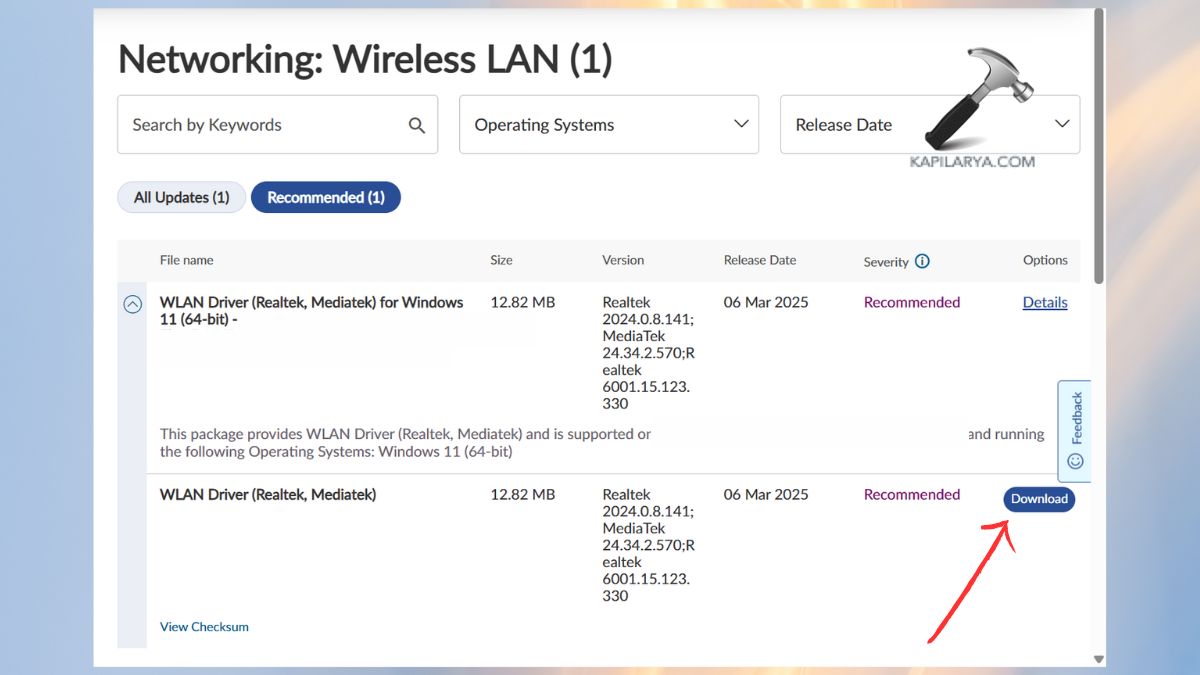
1. Open another computer/laptop with the internet. Visit the official web page of your laptop/PC manufacturer.
2. Search using these-
- Model number
- Serial number
Select Windows 11 (64-bit). Obtain the Wireless LAN/ WiFi driver.
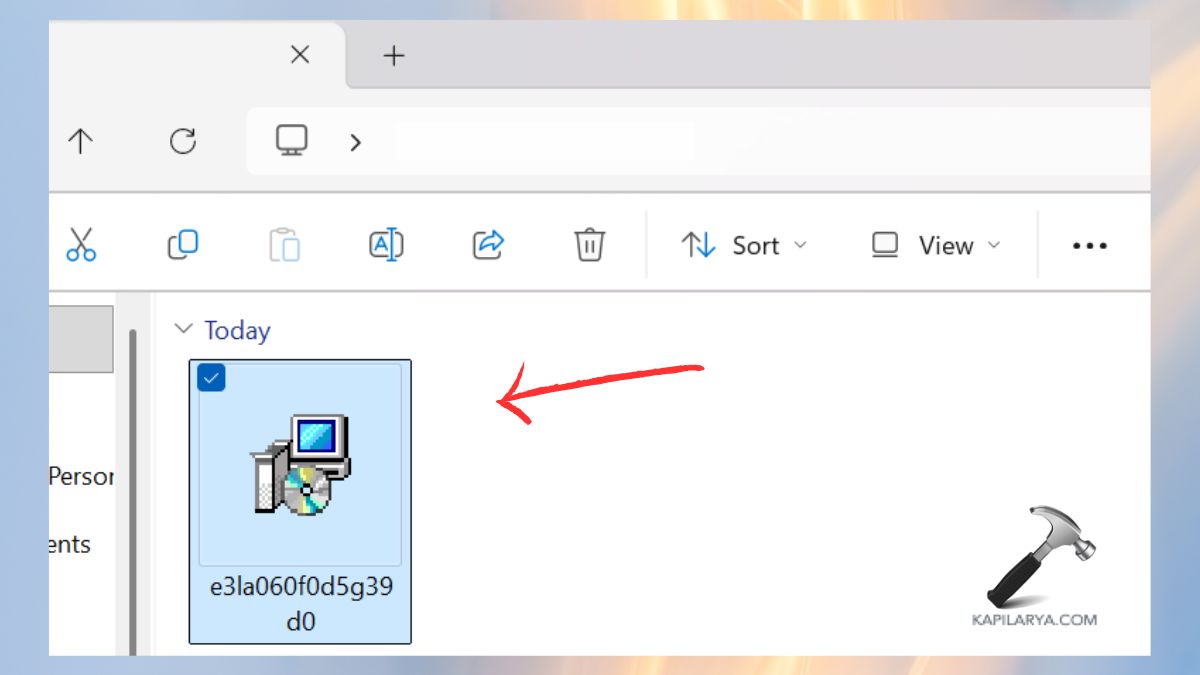
3. Open File Explorer. Find the driver file in downloads and transfer the driver file to a USB drive.
Part 2: Skip Internet Requirement During Windows 11 Setup
While setting up Windows 11, upon choosing the language, region, and keyboard layout, the installation process proceeds to the OOBE (Out-of-Box Experience) phase.
Without the necessary Wireless LAN (WiFi) driver, then no available networks will be identified by Windows 11, and no further configuration is possible.
However, Windows 11 in these situations, gives the option to load the WiFi driver manually during the very process of setting it up.
These are the steps to follow when installing the Wireless LAN Driver in Windows 11:
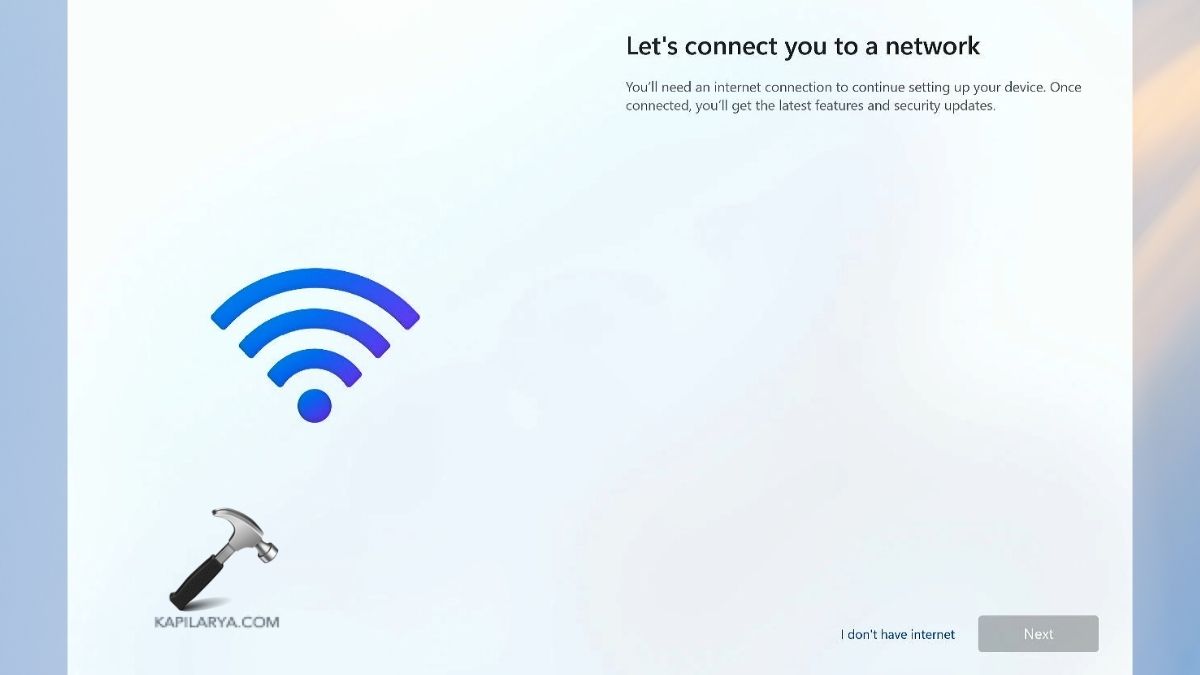
1. Once Windows 11 setup reaches the network connection point, no WiFi networks are visible, and it shows “Let’s connect you to a network”. Plug the USB flash disk with the Wireless LAN driver installed previously.
2. Again, on the setup screen, Shift + F10 will open the window of the Command Prompt. Enter the following command in the command prompt window and press Enter.
C:\Windows\explorer.exe

This is a command that opens the file explorer when setting up Windows 11.
3. Go to the USB drive in the File Explorer and find the folder of the Wireless LAN driver.
Click twice on the file named driver setup, which will open the installation of the wireless LAN driver.
As soon as the driver installation window is opened, close the window of File Explorer to prevent any distractions.
4. Click “Yes” and then start to install the Wireless LAN driver in the driver setup wizard.
5. Select the language to use during installation.

6. Accept the license agreement as required and onwards with the installation.
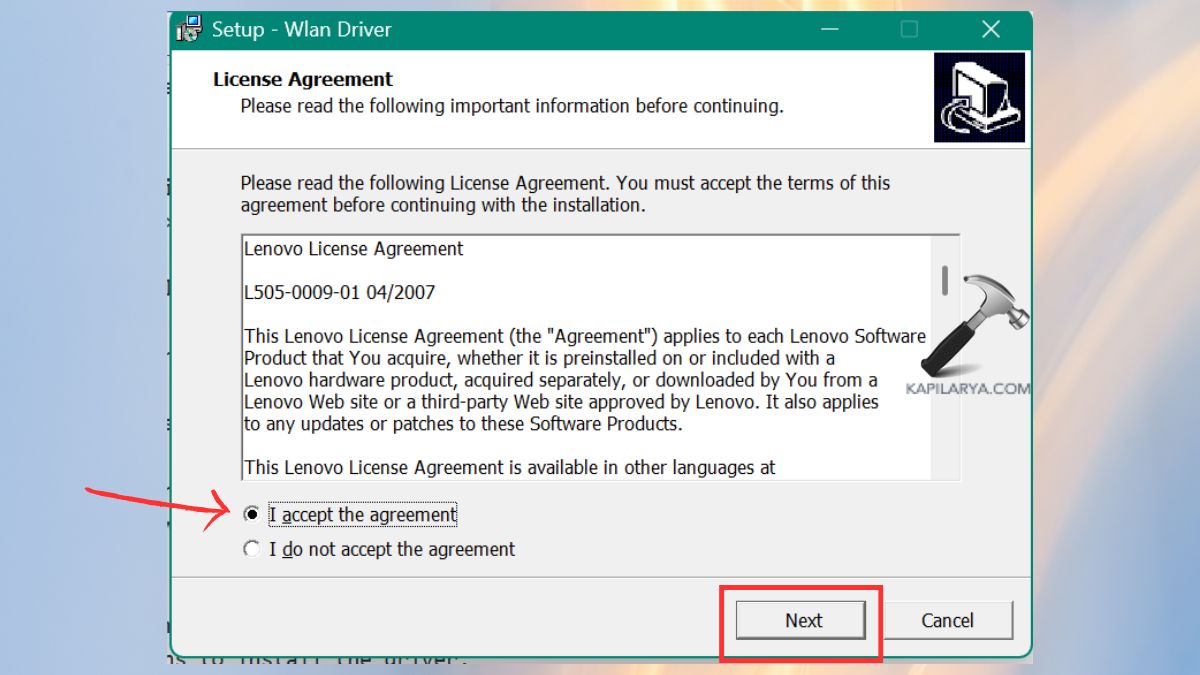
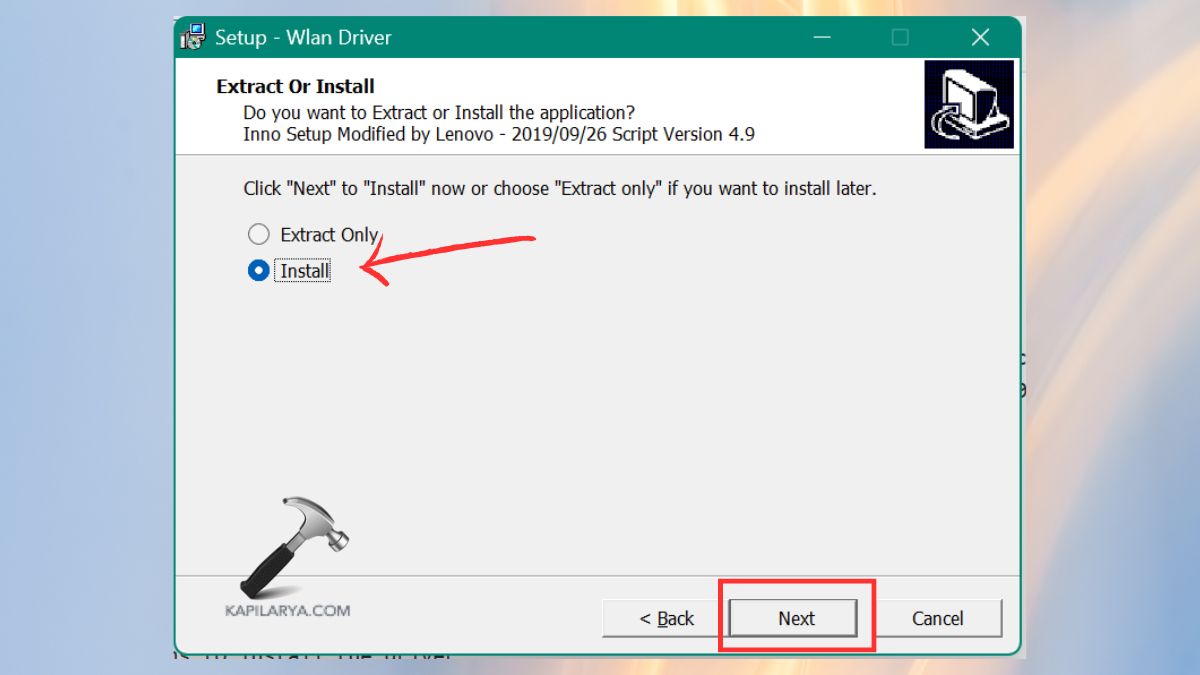
7. Click on “Install” and “Next”. Do the on-screen instructions to install the driver.
Once the installation is done, it will indicate Finish and restart the device by following the on-screen instructions.
Then, you can connect to the network internet and continue the setup process.
Additional Tips to Avoid WiFi Issues in Windows 11
These are simple tips to remember in order to avoid any issues with WiFi during or after installing Windows 11.
- It is important to ensure that WiFi (Wireless LAN) drivers are always downloaded, and then a fresh Windows 11 installation is initiated.
- Only official drivers from your device manufacturer’s website should be used.
- It is important to always update your BIOS and firmware to facilitate hardware compatibility.
- Do not use the tools of third parties when setting up at first.
- Having a backup in the form of an Ethernet cable or USB tethering is possible.
These steps above will allow you to prevent the majority of the problems with Windows 11 WiFi not working or no internet connection during setups.
Frequently Asked Questions (FAQs)
Why is WiFi not showing during Windows 11 installation?
WiFi is not visible since Windows 11 does not have drivers for all wireless adapters. The primary cause is the absence of Wireless LAN drivers.
Can I install Windows 11 without the internet?
Yes. You can install WiFi driver manually and then complete Windows 11 OOBE setup.
How do I fix the missing WiFi driver in Windows 11?
From a different computer, download and manually install the appropriate Wireless LAN driver in the website of the manufacturer. Then you can transfer this downloaded driver to original machine to complete Windows 11 setup.
Will resetting Windows 11 fix the WiFi issue?
No. No matter how many times you reset it, there is no benefit until the right WiFi driver is installed. It is not a system problem but a driver problem.
That’s it!