What is the best way to clean install Windows 11 Version 25H2? And, in case this question has led you here, you are in the right place!
Windows 11 Version 25H2 is the newest significant update from Microsoft, with better performance, stronger security, and a more splendid interface that upgrades the overall user experience. However, there are also occasions when one would want to make the most of it; a clean installation would be preferable to an upgrade.
Clean installing Windows 11 25H2 will format your system drive and reinstall the operating system, which will make the Windows 11 operating experience faster, smoother, and more stable.
Page Contents
Why Perform a Clean Install of Windows 11 Version 25H2?
It is better to know why users choose a clean installation rather than a standard upgrade before proceeding with the steps.
- It assists in the elimination of junk and bloatware. Outdated files, needless applications, and registry errors are totally erased.
- You begin with an updated and secure version of Windows 11 25H2.
- It improves performance, and our system performs better, smoother, and with fewer crashes.
- It is the best option when you have some glitches with the current system, or boot problems, or problems with updates.
Prerequisites Before You Begin
To install a clean install of Windows 11 25H2, ensure you have the following:
- A computer compatible with the Windows 11 system requirements (TPM 2.0, Secure Boot, and so on).
- A USB drive (8GB or larger).
- Access to the internet.
- A copy of your valuable files and papers.
- An authentic Windows 11 license key.
How to clean install Windows 11 Version 25H2
It might be time to upgrade to a newer version of Windows 11 25H2, or it is time to refresh your PC, but either way, this step-by-step guide can guide you through an easy installation process.
Step 1: Download Windows 11 Version 25H2 ISO & Create Bootable USB Drive
To begin with, on a fresh Windows 11 25H2 system, the initial move is downloading the official Windows 11 ISO file on Microsoft Windows. For a complete guide, check our detailed article on how to download Windows 11 ISO file and make USB bootable safely from Microsoft’s official source.
Step 2: Clean Install Windows 11 Version 25H2 from USB
With your bootable USB ready, now its the time to install Windows 11 25H2 has come in clean on your device. These steps are as follows.
1. Insert your USB disk, which can be booted into your computer or laptop. Reboot and open up the BIOS/ UEFI setup (typically by pressing F2, F12, Delete, or Esc when the system starts up).
2. After entering the boot options, change the USB drive to the first boot device. Save changes and exit BIOS.
3. The Windows Setup will now begin. Click Install Now.
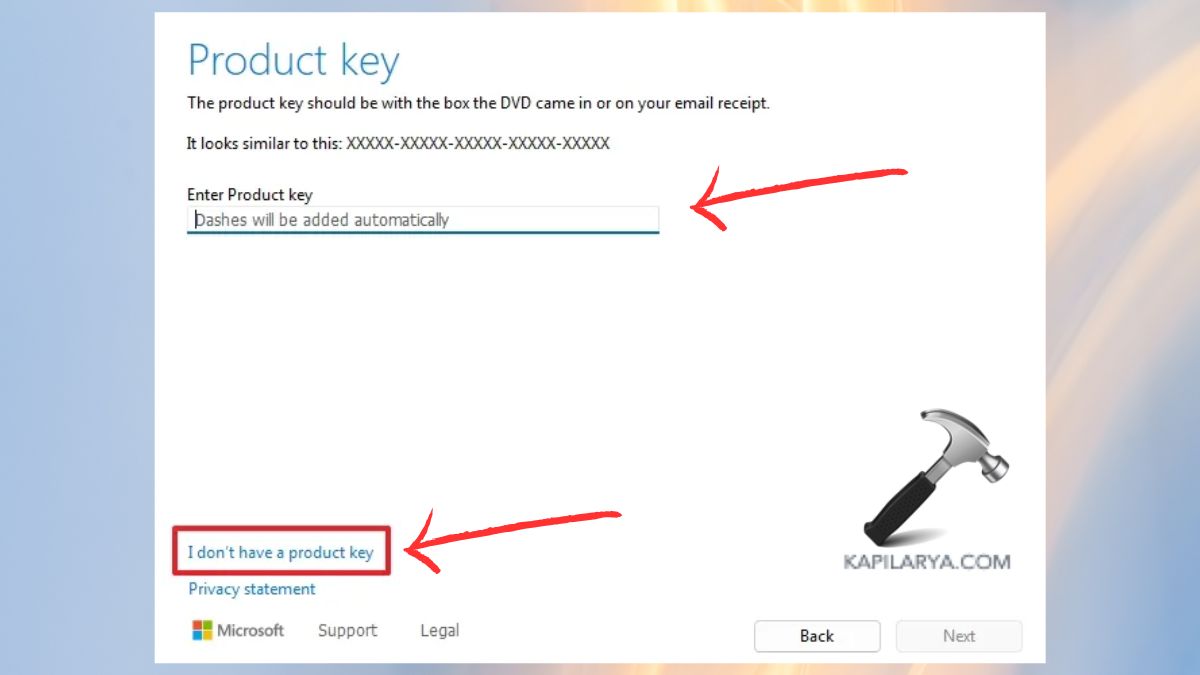
4. Enter a product key or choose “I do not have a product key” (this may be activated in the future).
Select the Windows 11 version (i.e., Home, Pro).
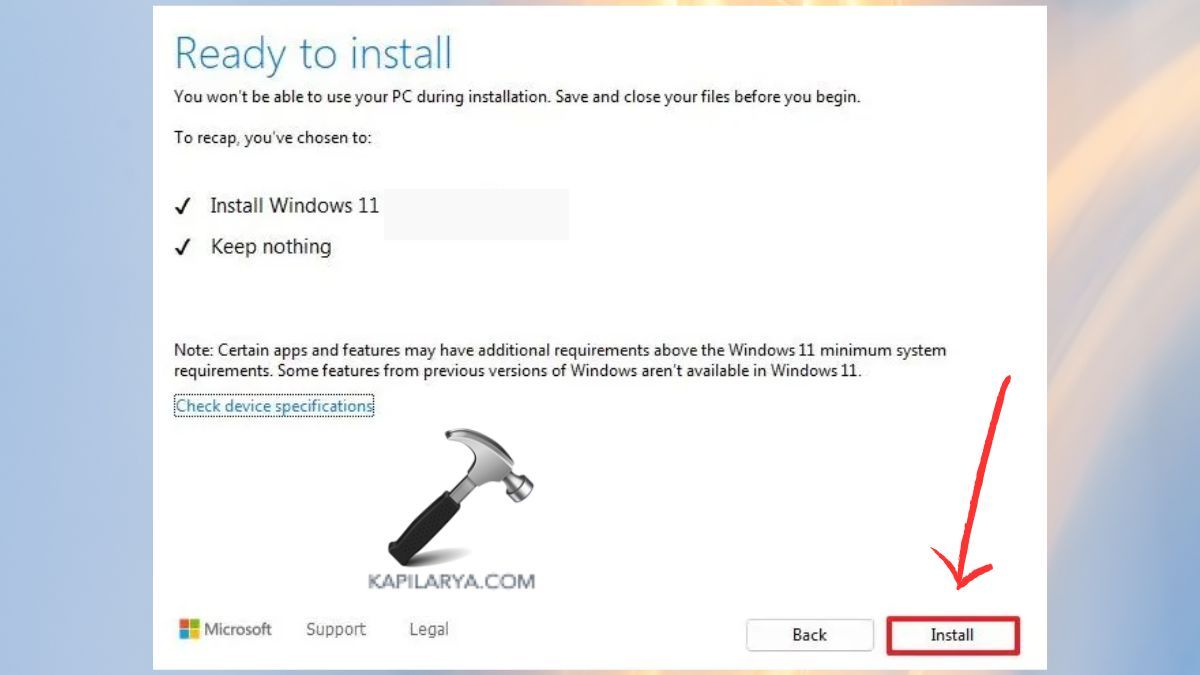
5. Install Windows only (advanced): Select Custom. Select the part or drive where you are going to install Windows.

6. In order to do a clean install, one has to delete the old partitions and select Unallocated Space.
Click Next. Windows is starting to install.

After the installation has been done, the on-screen setup allows customize your own system and connect to Wi-Fi.
During the process of installation, look beforehand at what is new in Windows 11 Version 25H2 as a way of seeing all the new features, AI improvements, and changes to the design in this release.
Frequently Asked Questions (FAQs)
That’s it!