You turn on your PC. Enter your password. And suddenly the screen becomes completely white. No desktop. No taskbar. Nothing works. This Windows 11 white screen after login may be annoying, especially when you need urgent access to your files or work.
The good news is that the problem is usually fixable. Below are some simple methods you can try.
Page Contents
Why Does The White Screen Appear?
A white screen after login can happen when:
- Broken graphics drivers
- Faulty Windows updates
- Corrupted system files
- Malware infection
- External device conflicts
- Hardware problems
Fix Windows 11 White Screen After Login
Let’s see how you can fix the white screen after login in Windows 11.
Fix 1: Disconnect External Devices
A faulty USB device or display cable can trigger the white screen. Below are the simple steps:
1. Turn off your computer completely.
2. Remove all connected USB devices, printers, and external drives.
3. Disconnect the HDMI or VGA cable and reconnect it properly.
4. Turn the PC back on.
If the screen works normally, one of the connected devices was causing the problem.
Fix 2: Force Restart The Computer
Temporary system glitches can also cause the issue. Here is what you need to do:
1. Press and hold the Power button for 10 seconds.
2. Wait a few seconds.
3. Turn the PC back on.
For laptops, remove the battery if possible and reconnect it before restarting.
Fix 3: Boot Windows In Safe Mode
Safe Mode loads only essential Windows services. Steps are listed below:
1. Restart the PC.
2. Press the F8 key repeatedly during startup.
3. Select Safe Mode from the Advanced Boot Options screen.
4. Press Enter.
If the white screen disappears, a driver or software conflict is likely responsible.
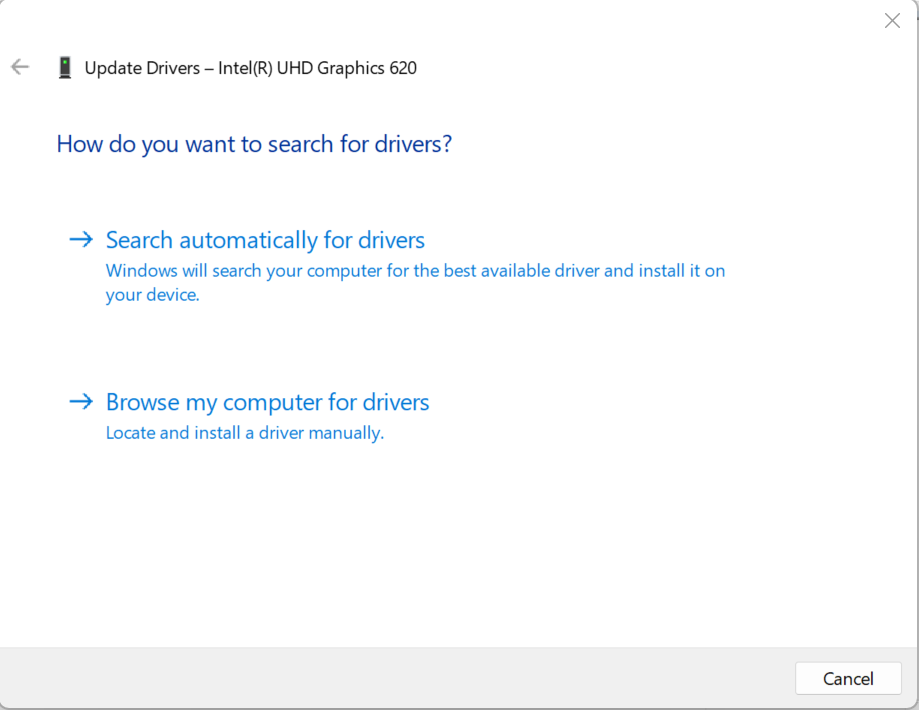
Fix 4: Update Your Graphics Driver
Note: Try these steps in Safe Mode, if white screen is persistent.
Display driver corruption is a common cause of a white screen.
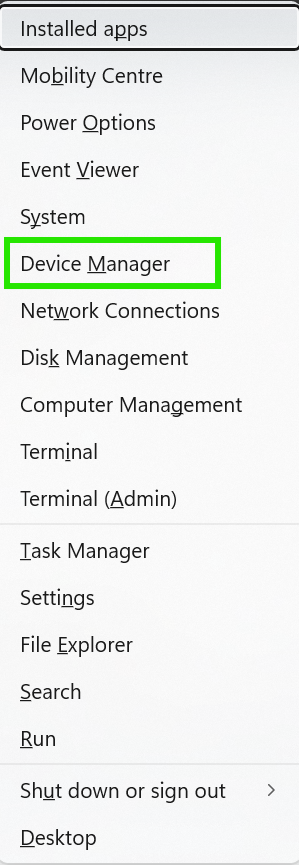
1. Press Windows + X and open Device Manager.
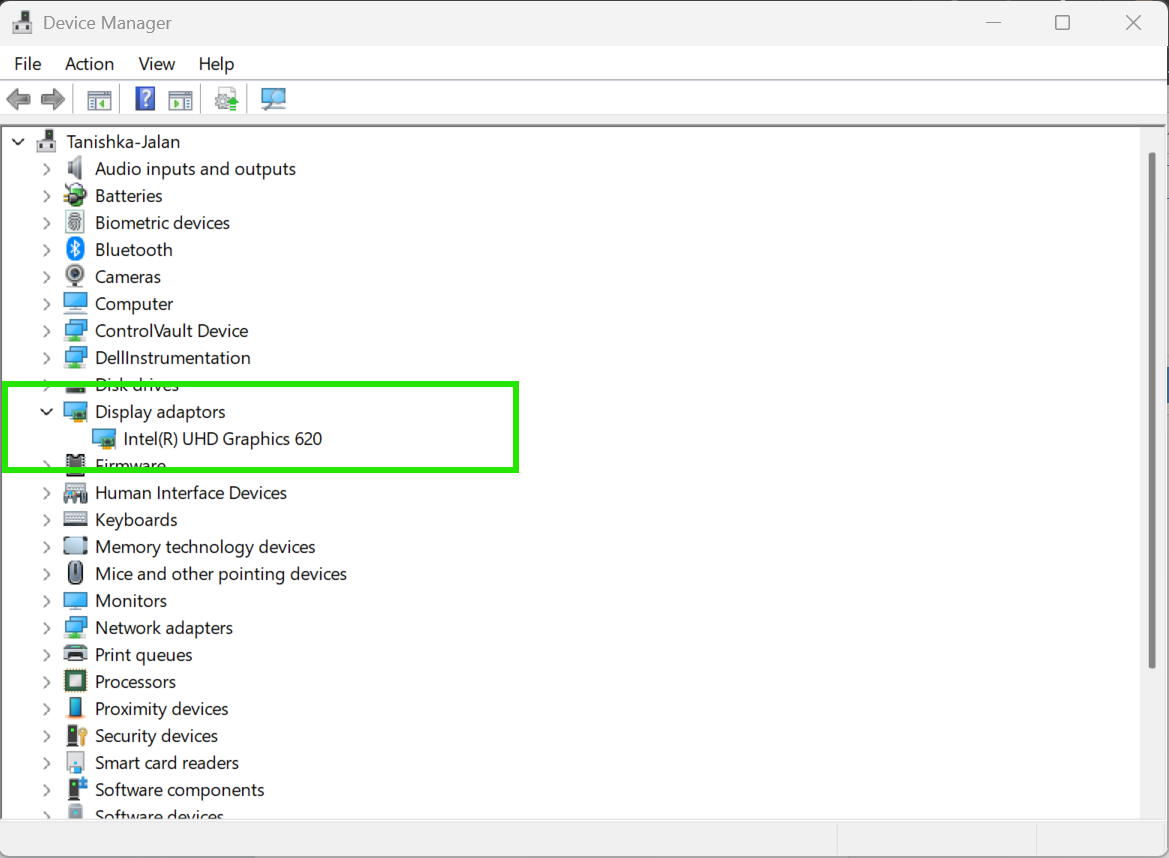
2. Expand Display adapters.
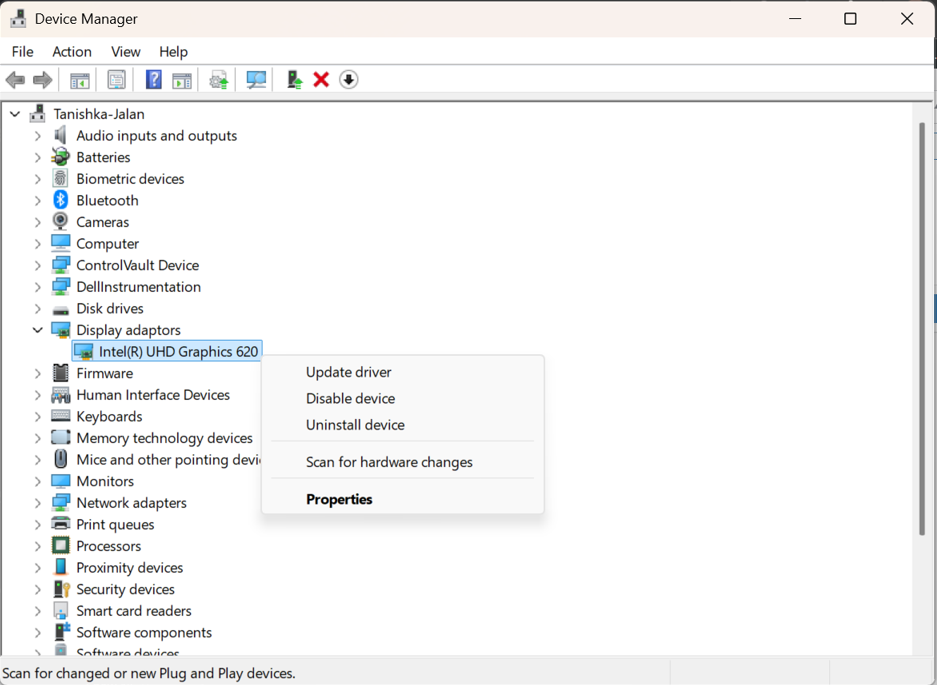
3. Right-click your IntelR UHD Graphics 650.
4. Select Update driver.
5. Click Search automatically for drivers.
6. Follow the on-screen instructions.
Fix 5: Remove All The Recent Windows Updates
Note: In some cases, white screen may be persistent. Try these steps in Safe Mode then.
Some Windows updates may not install properly. To do that, follow the steps:
1. Open Settings.
2. Go to Windows Update > Update history.
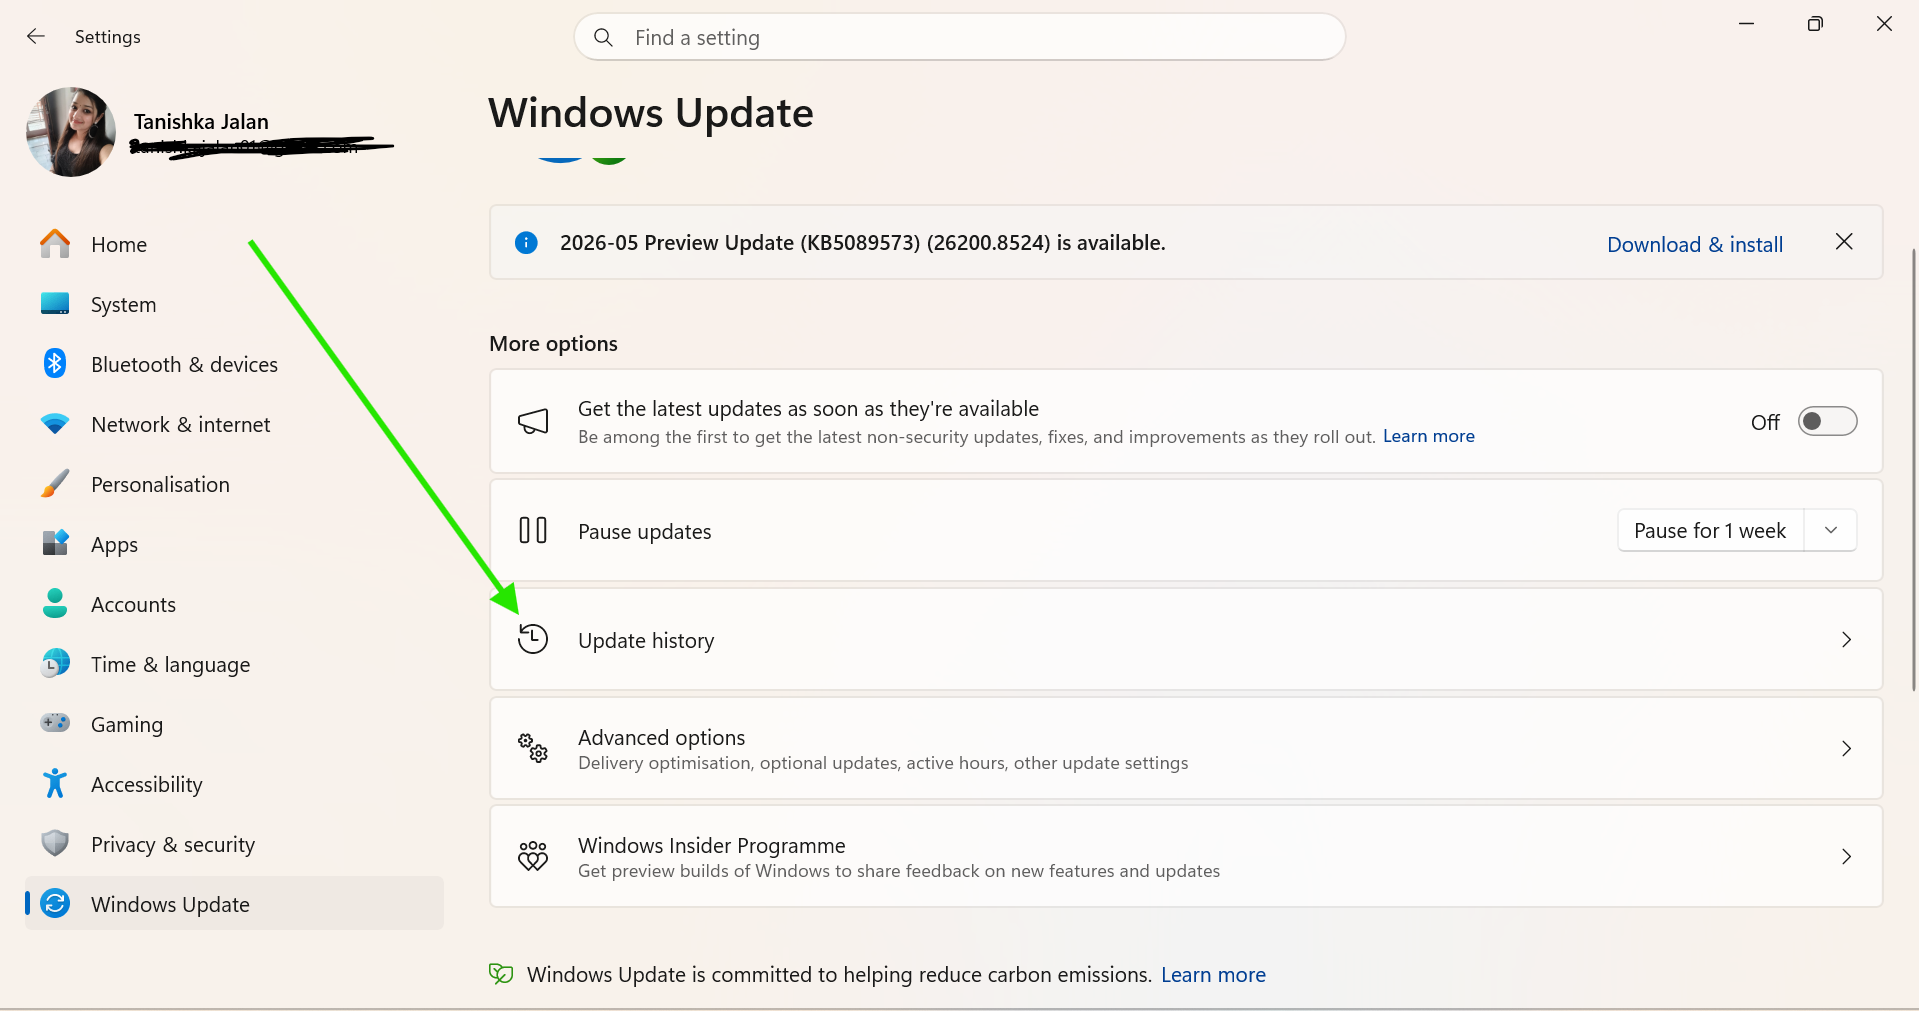
3. Scroll down and click Uninstall updates.
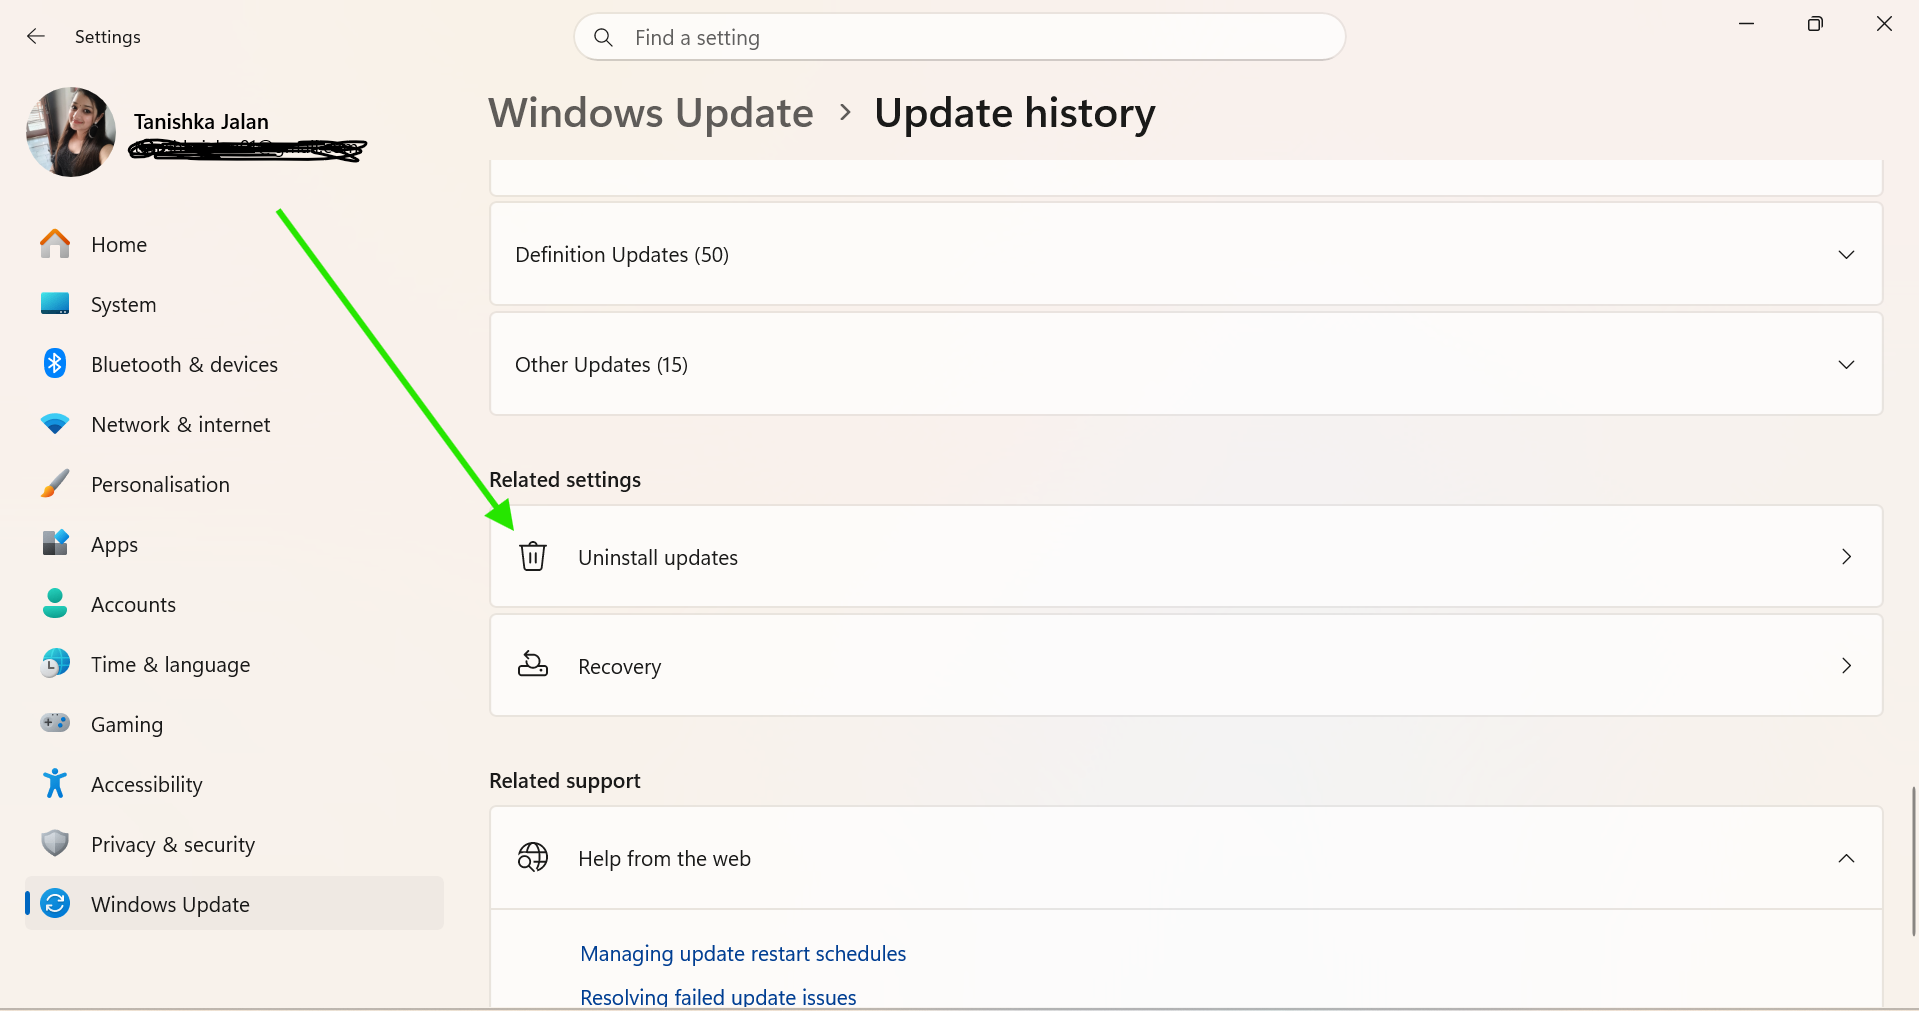
4. Select the latest update.
5. Click Uninstall and restart the PC.
Fix 6: Uninstall All The Recently Installed Apps
New software may interfere with system files. Removing the conflicting apps can help.
Note: Try these steps in Safe Mode.
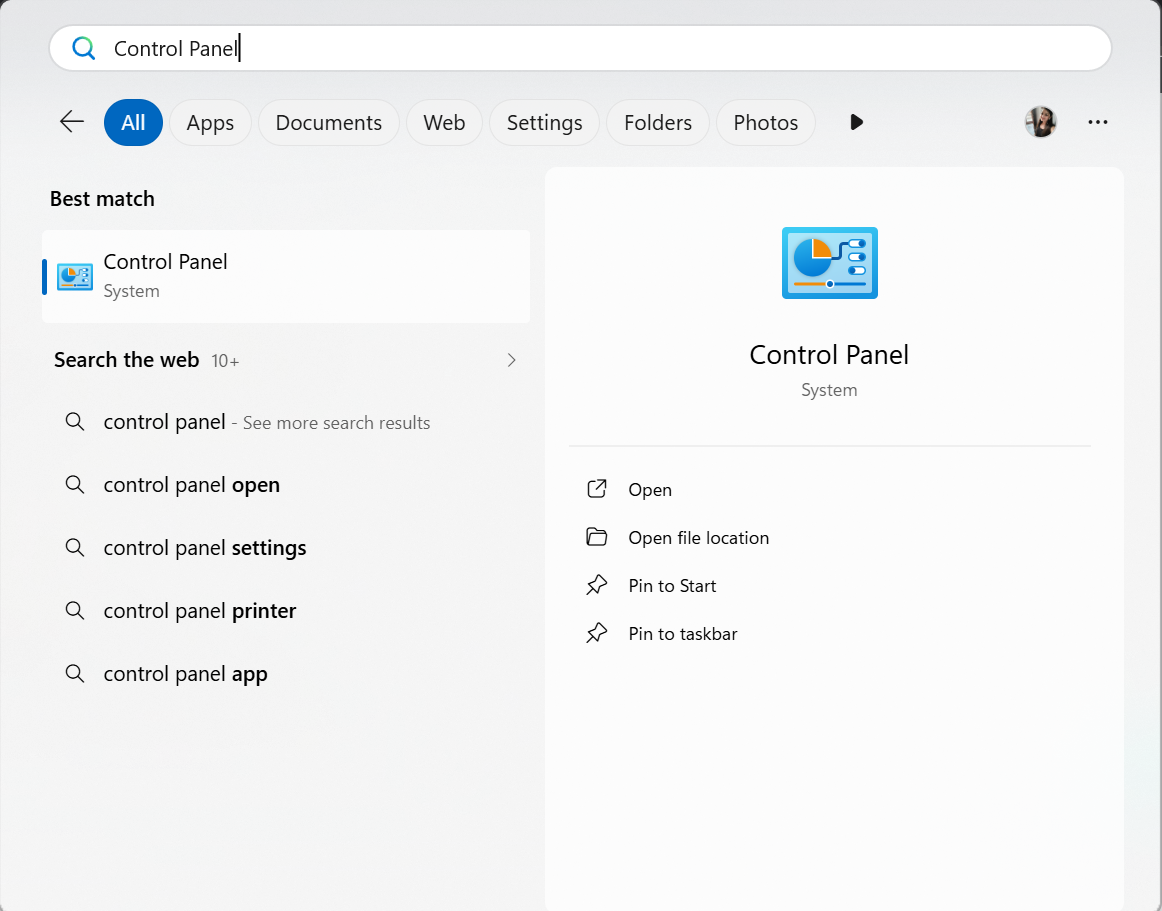
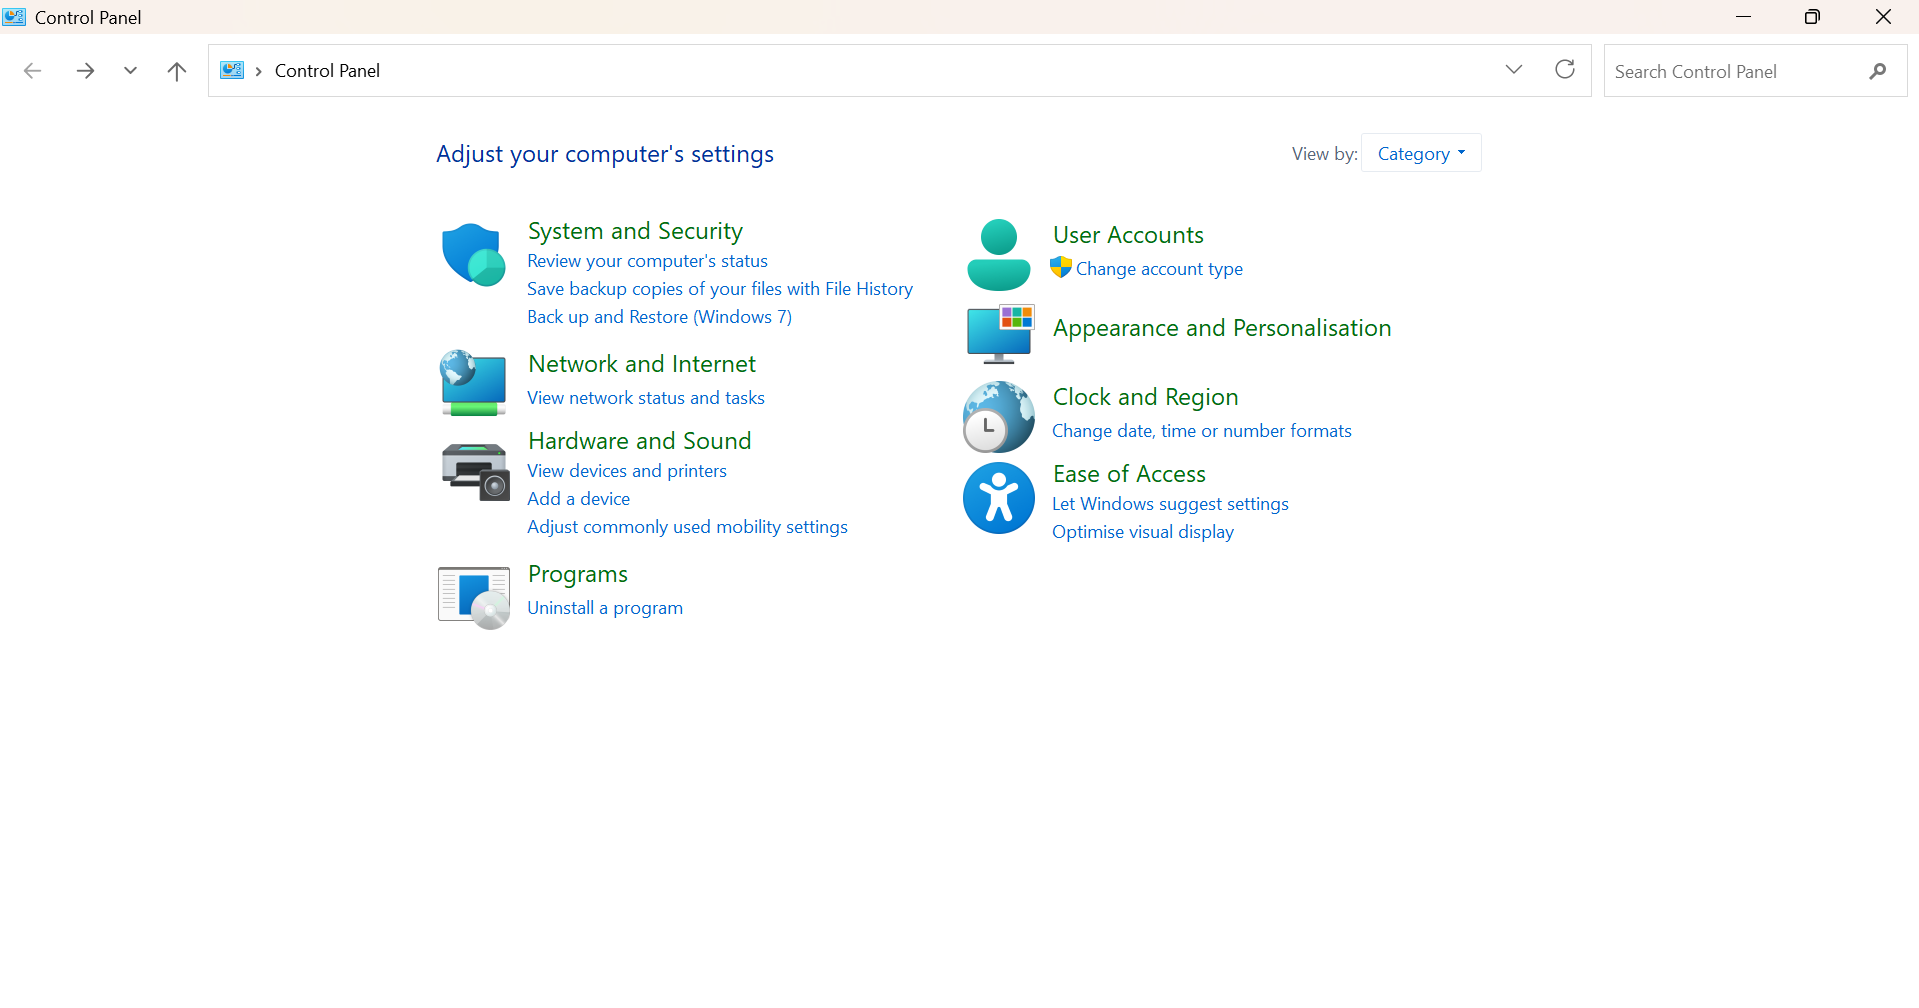
1. Open Control Panel.
2. Click Programs and then Programs and Features.
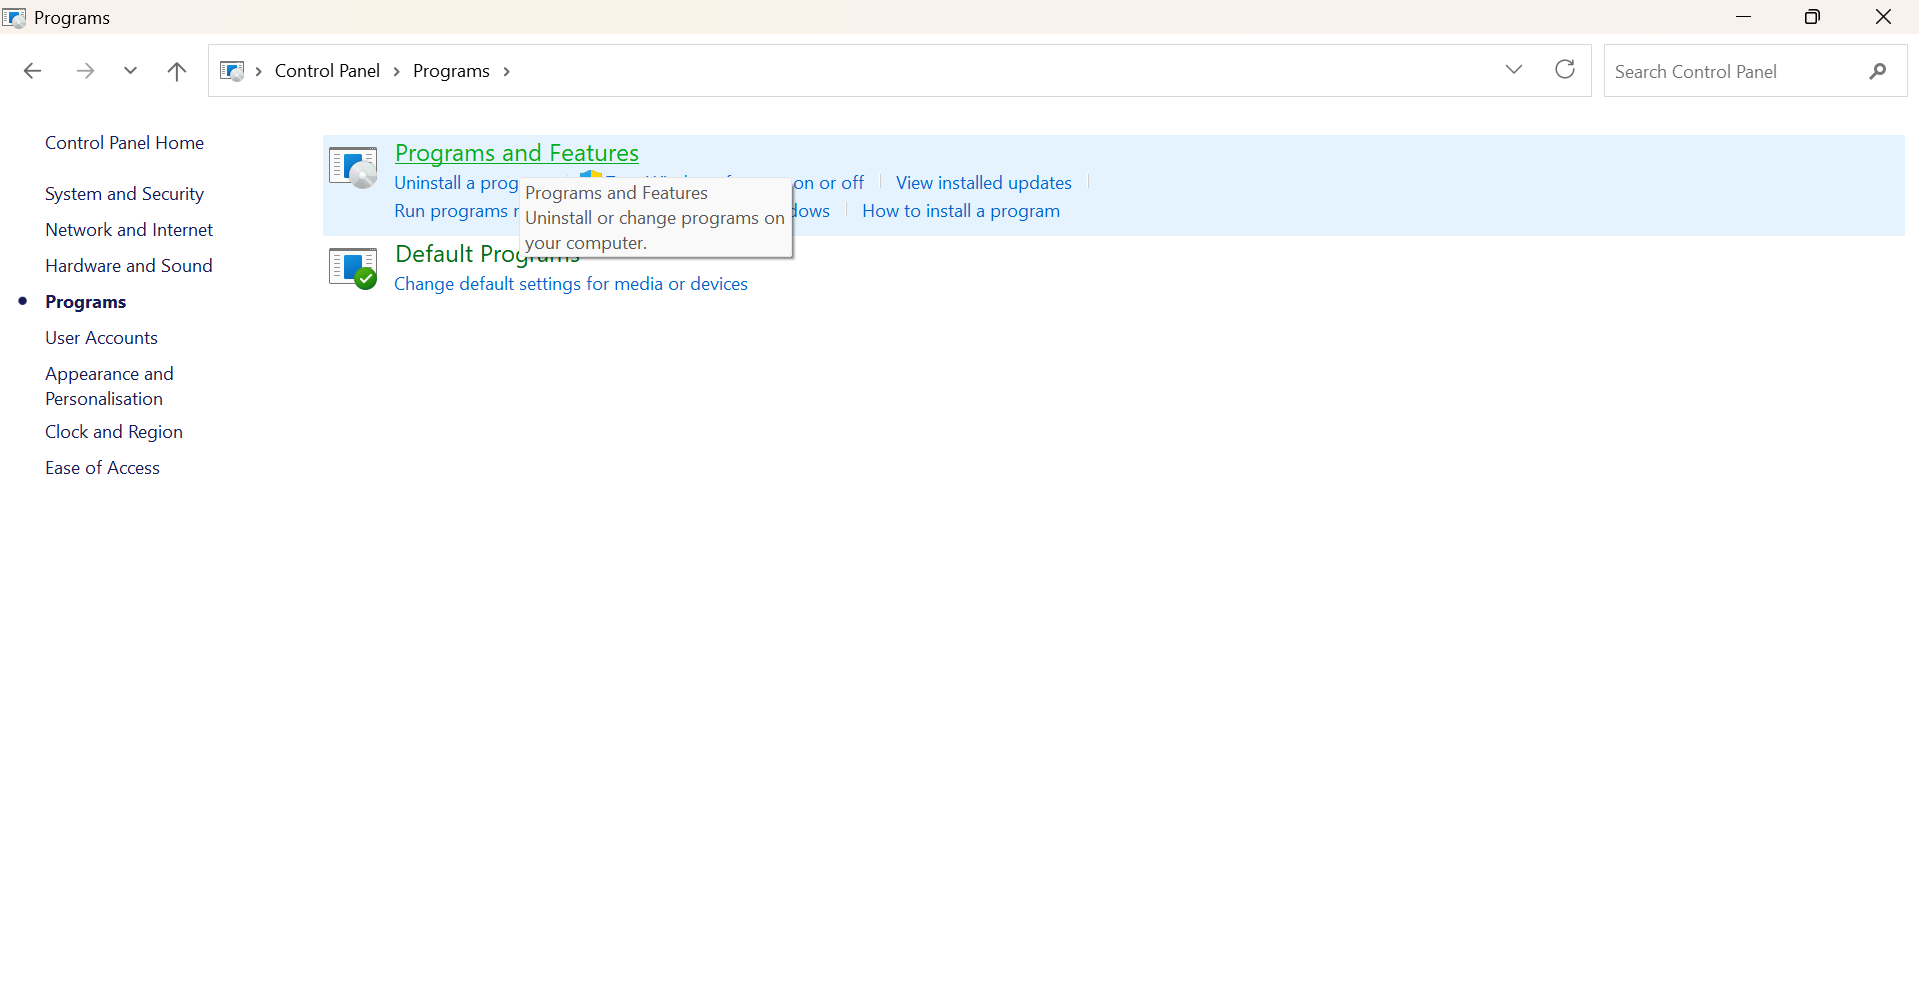
3. Uninstall recently installed applications.
Fix 7: Run Down A Malware Scan
Viruses and malware can damage important Windows files. To run a malware scan, start by.
Note: If white screen is persistent, you can try these steps in Safe Mode,
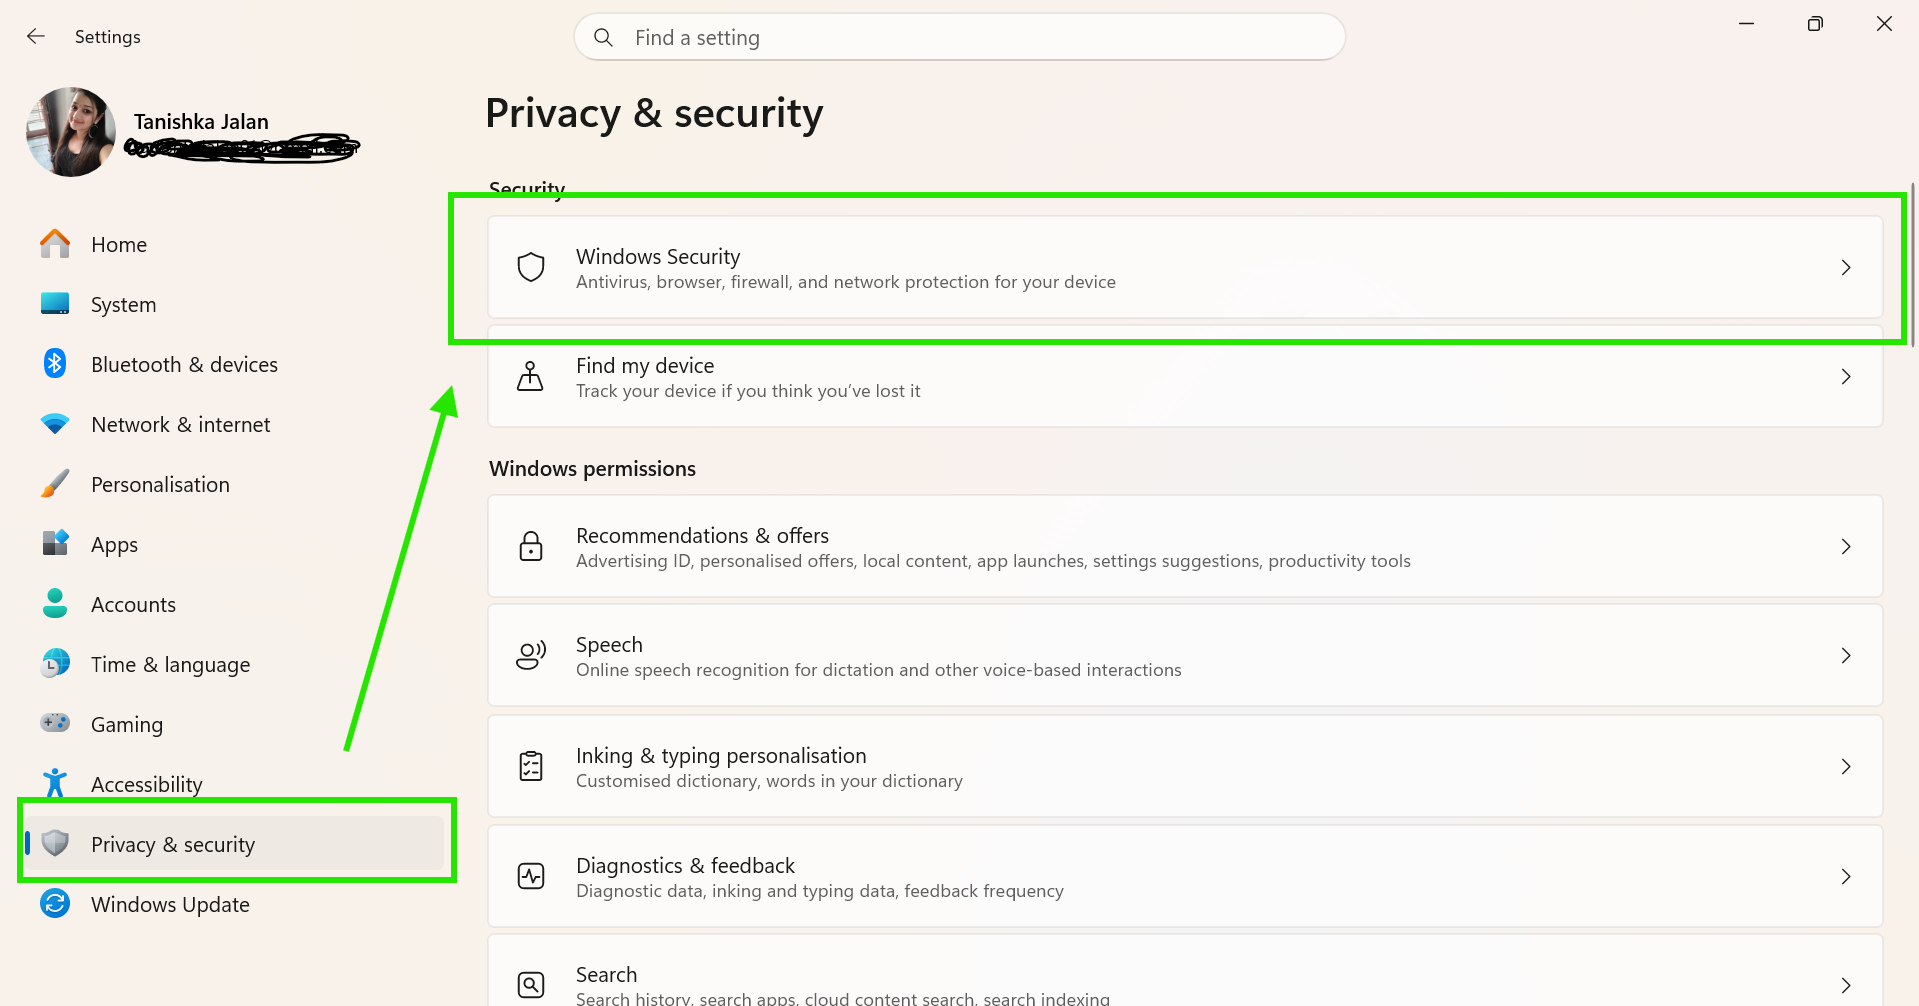
1. Open Settings.
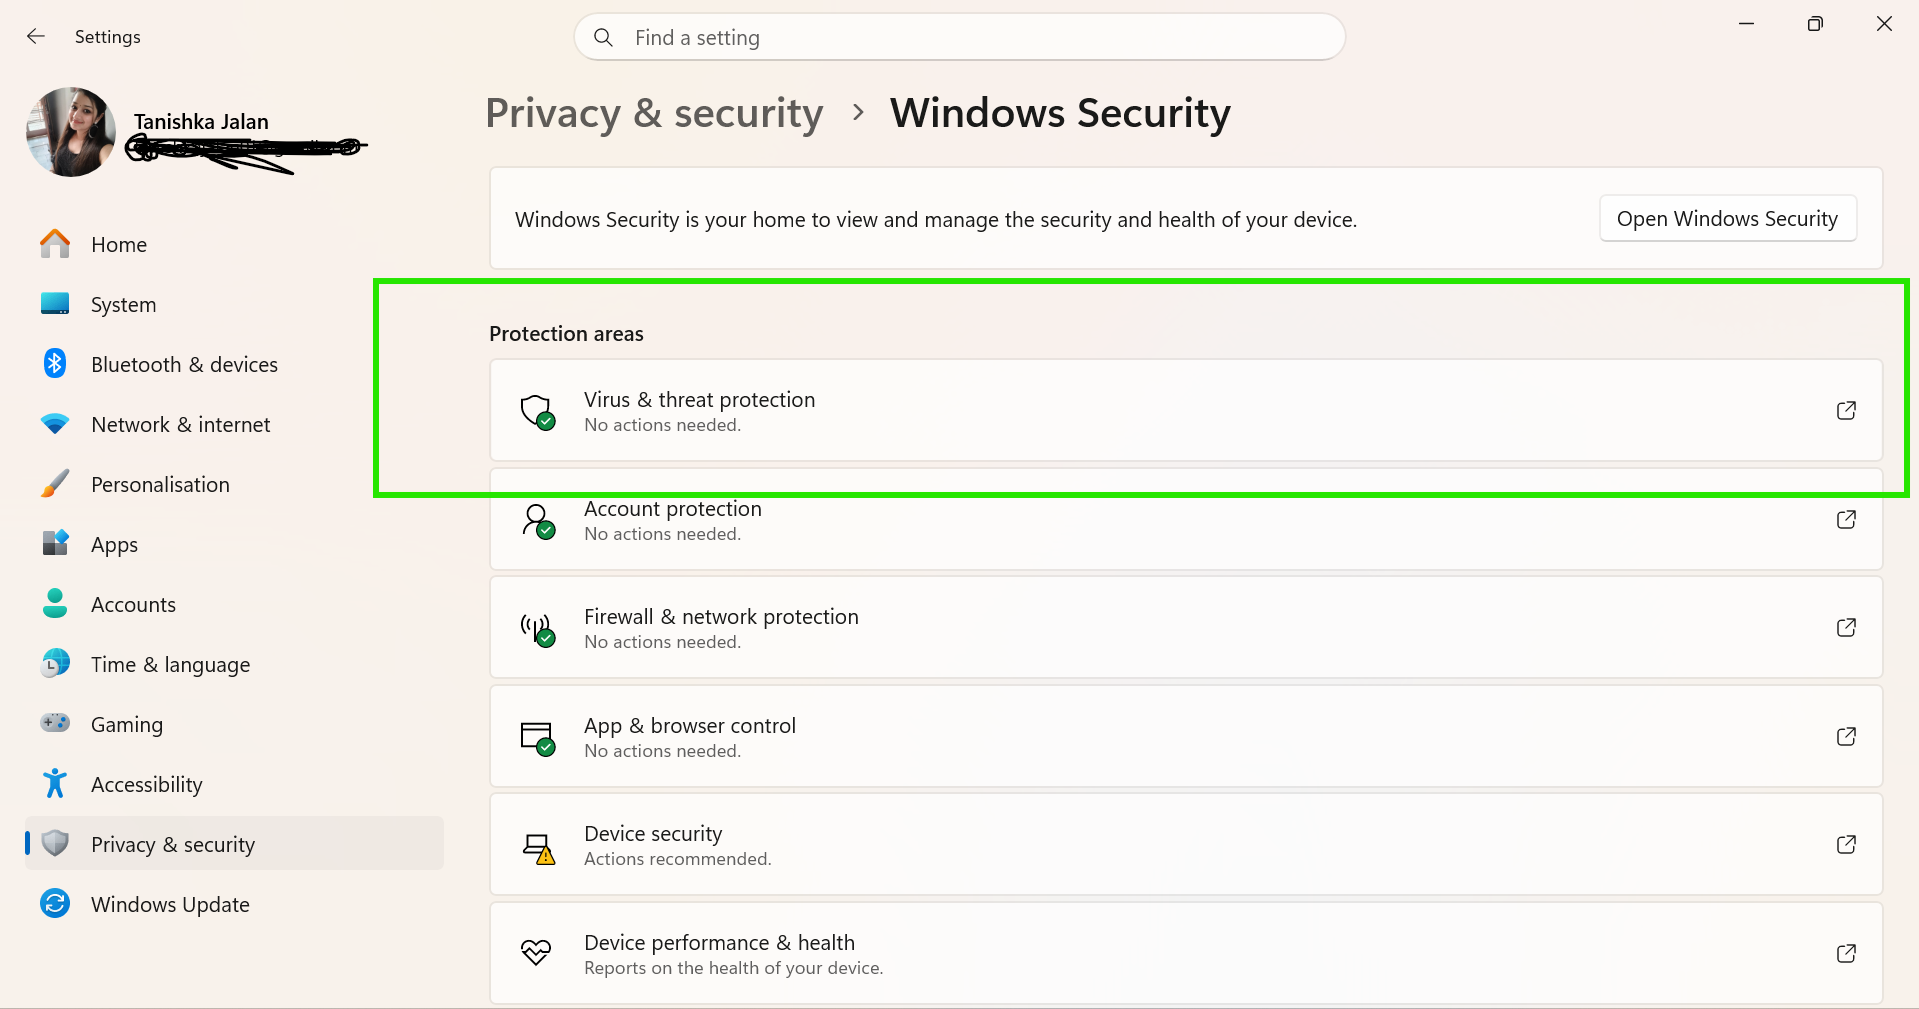
2. Go to Privacy & Security > Windows Security.
3. Click Virus & threat protection.
4. Select Quick Scan or Full Scan.
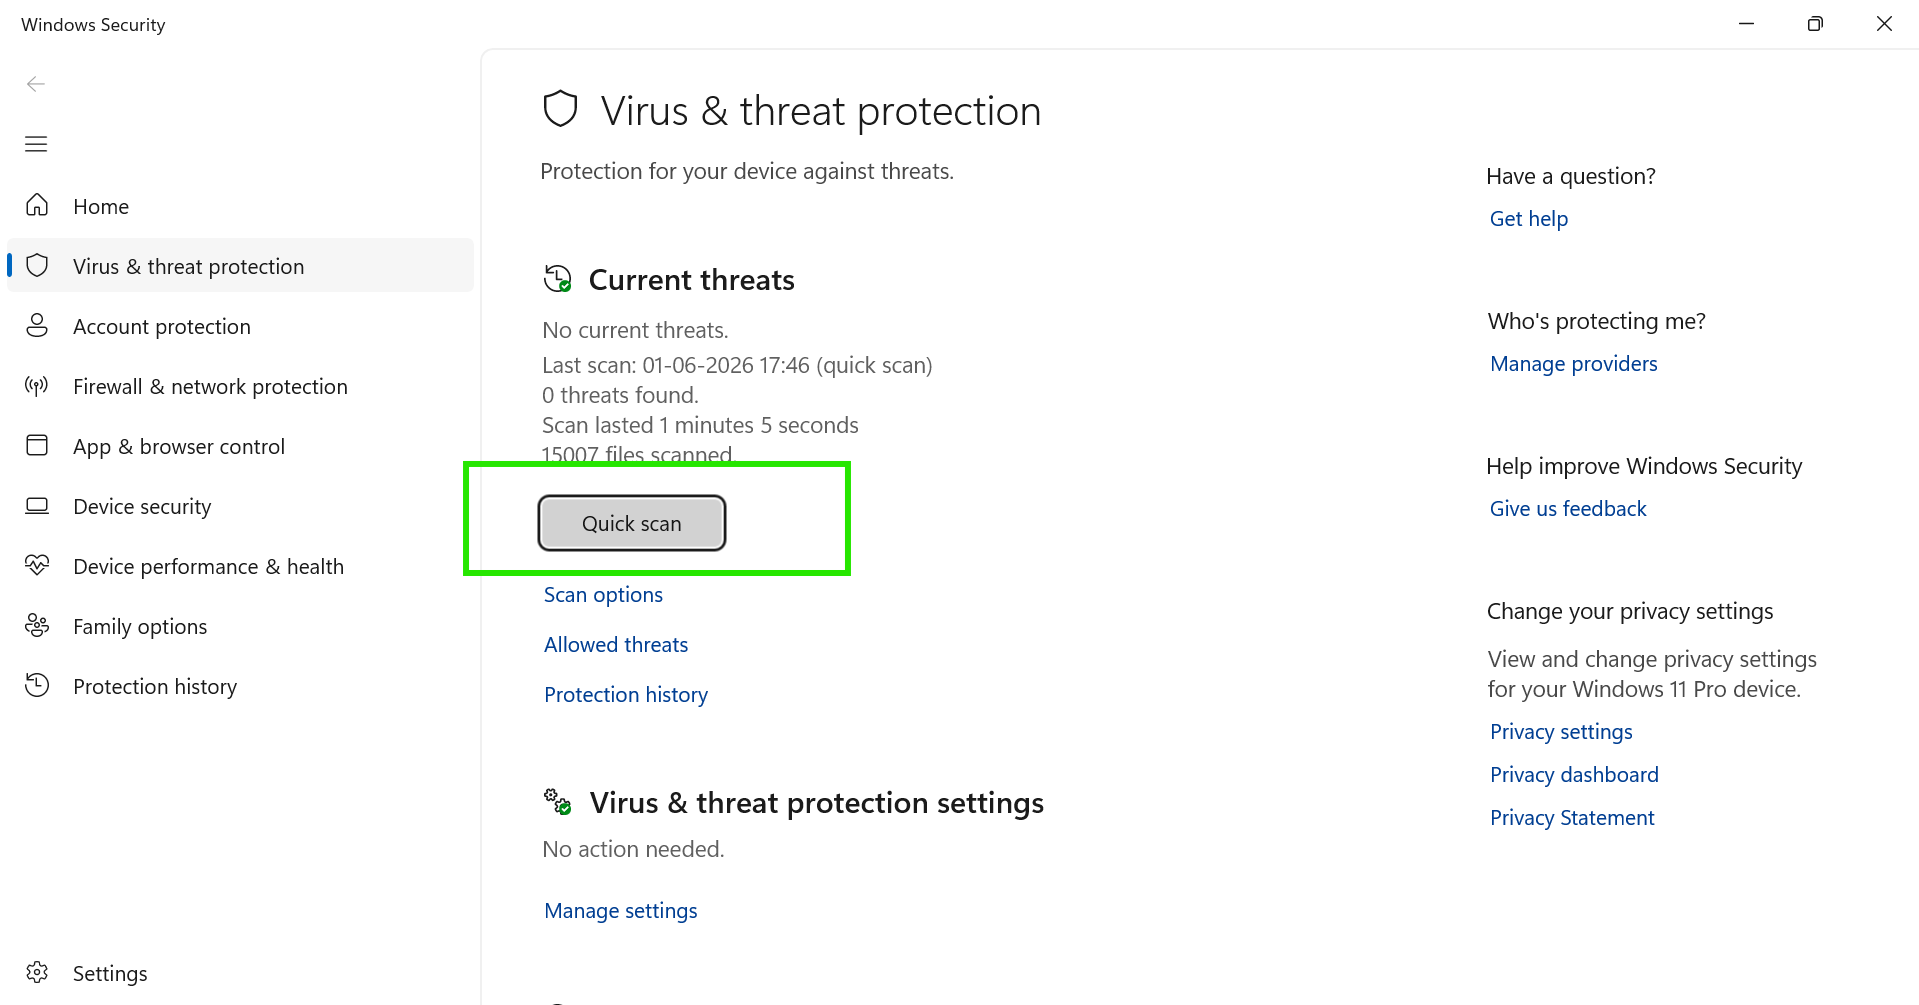
5. Remove any detected threats.
Fix 8: Roll Back Windows To An Earlier State
Note: If you can follow steps below, perform System Restore using WinRE.
System Restore can bring Windows back to a stable state.
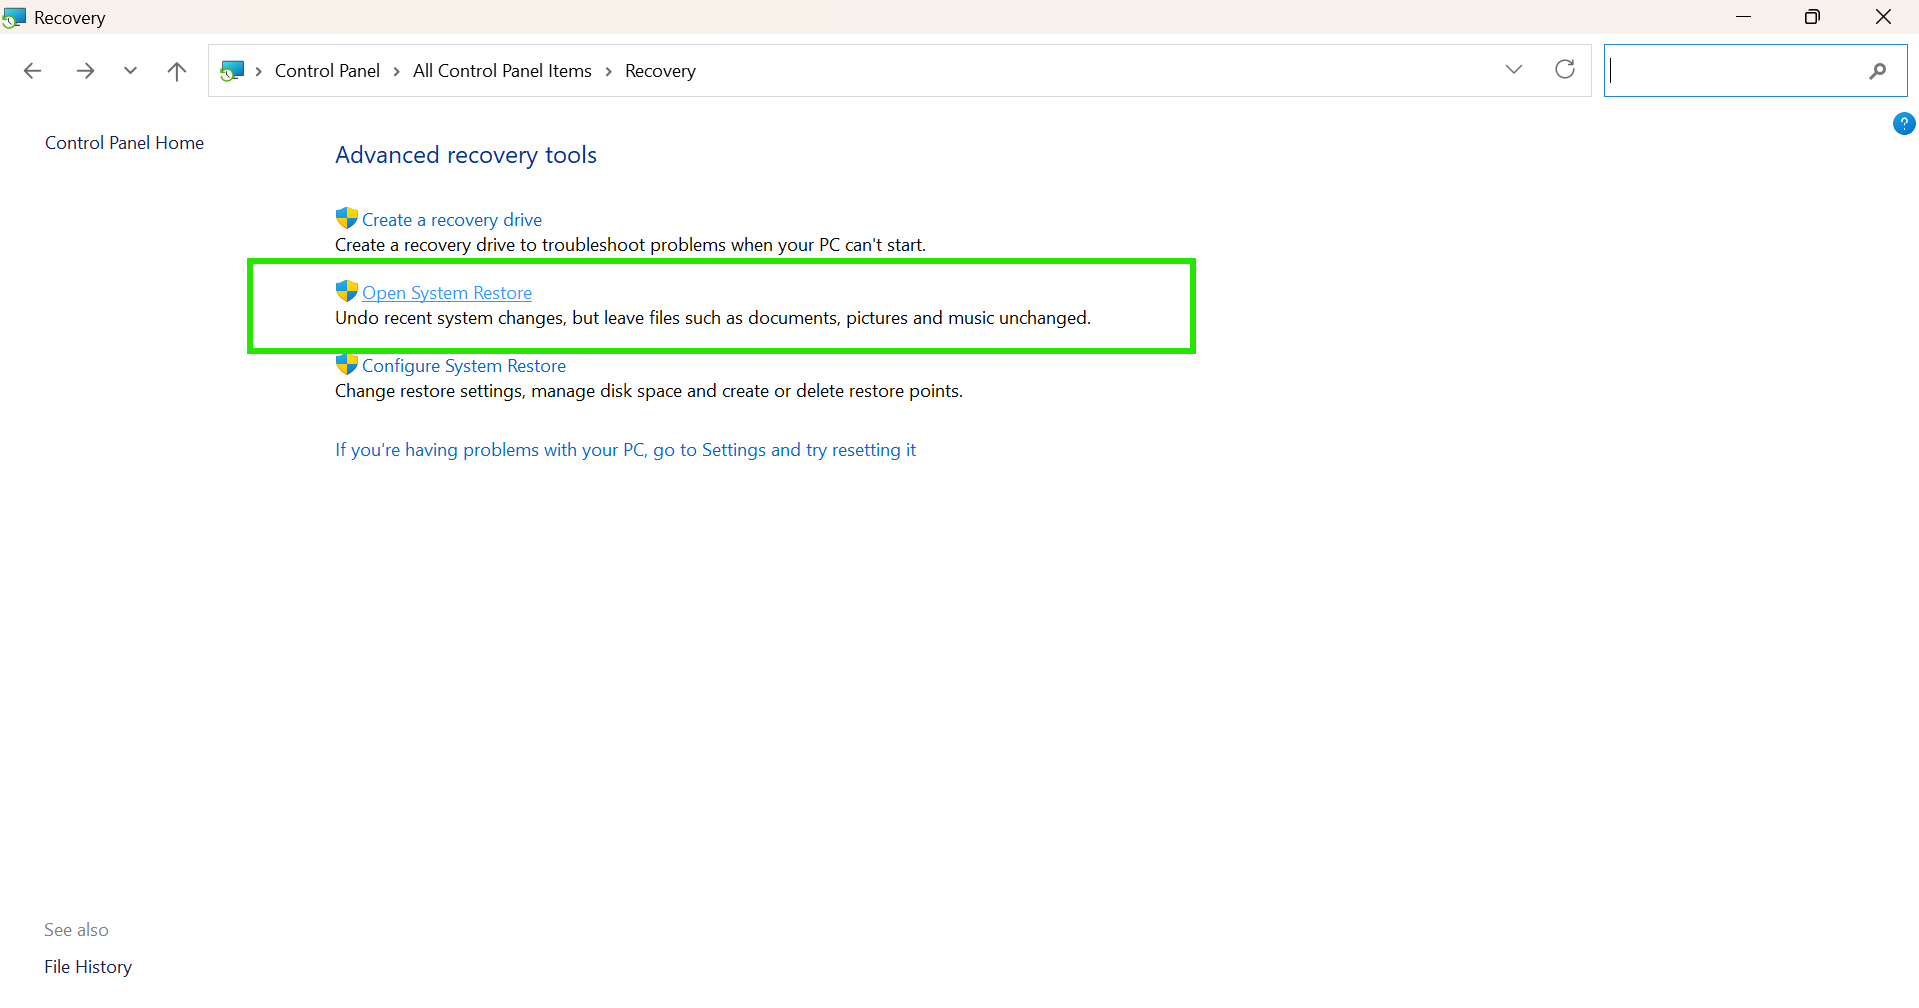
1. Open Control Panel.
2. Search and select Recovery.
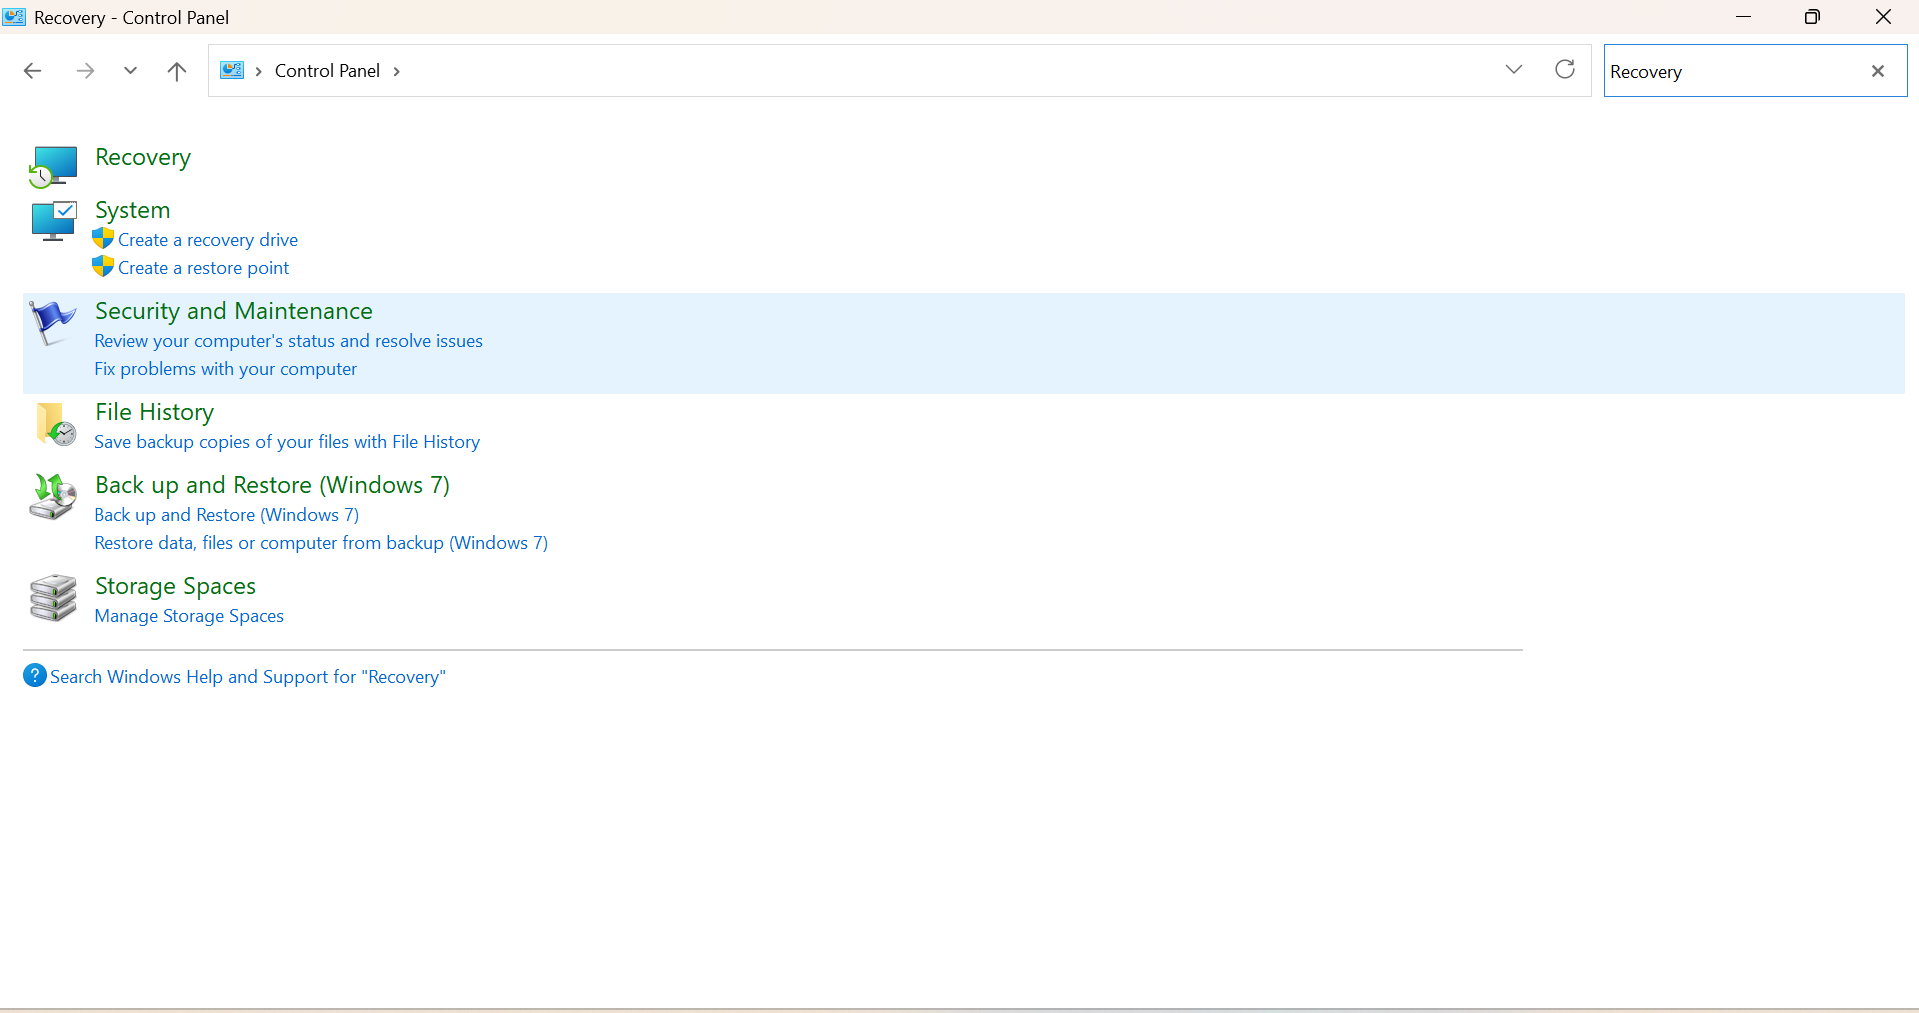
3. Click Open System Restore.
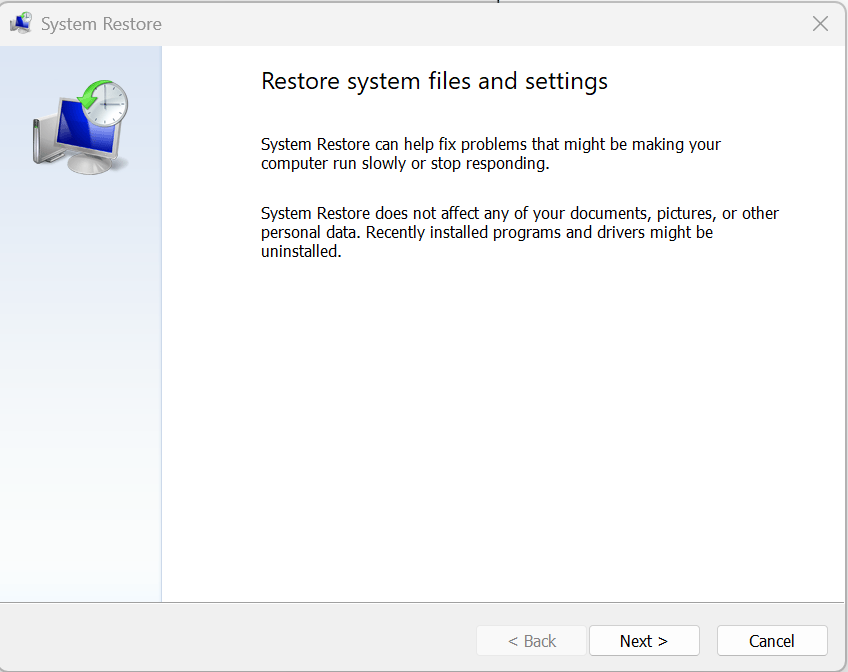
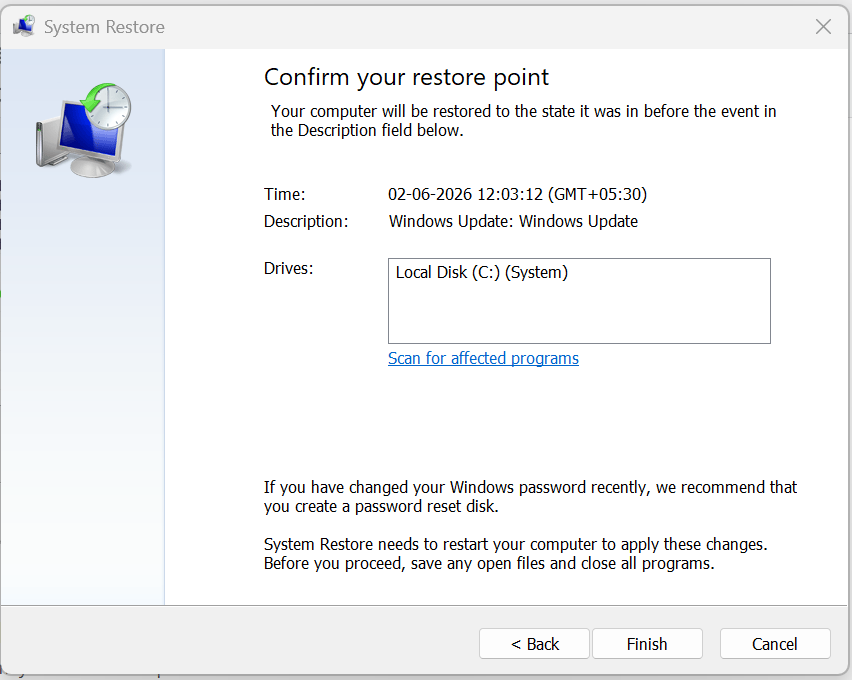
4. Click Next and choose a restore point, then click Next again.

5. Click Finish to start restoration.
So, that’s how you can solve a white screen after logging in to Windows 11.