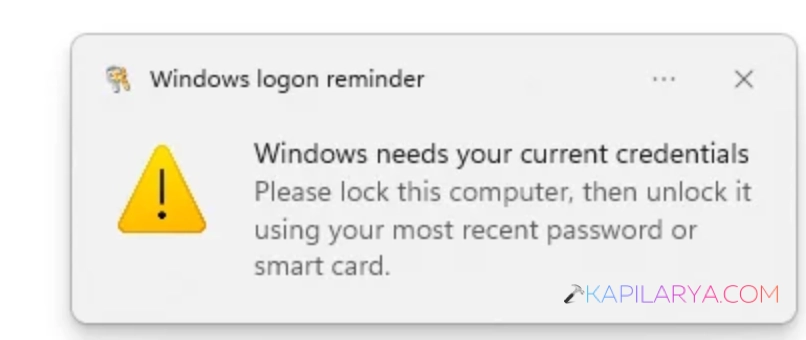
This Windows needs your current credentials in Windows 11 notification can appear in case the Windows can’t verify the accounts and details accurately. It could occur when you update Windows and/or change your Microsoft account password. A problem could also be due to old credentials that are stored. In some cases, it could be a setting change or a recent change in your system.
Page Contents
Ways to Fix Windows Needs Your Current Credentials in Windows 11
If you’re seeing the Windows needs your current credentials message, Windows may not be able to authenticate the credentials that are stored with your user account. If any of your remedies don’t appear to be working for you, there is a workaround that can solve all of these problems when it comes to the current credential challenge in Windows 11.
Way 1: Re-Authenticate Your User Account
If you have recently modified the password of your Microsoft account, then Windows could be using the old password. To renew the authentication to your account, you can log out and then log back in.
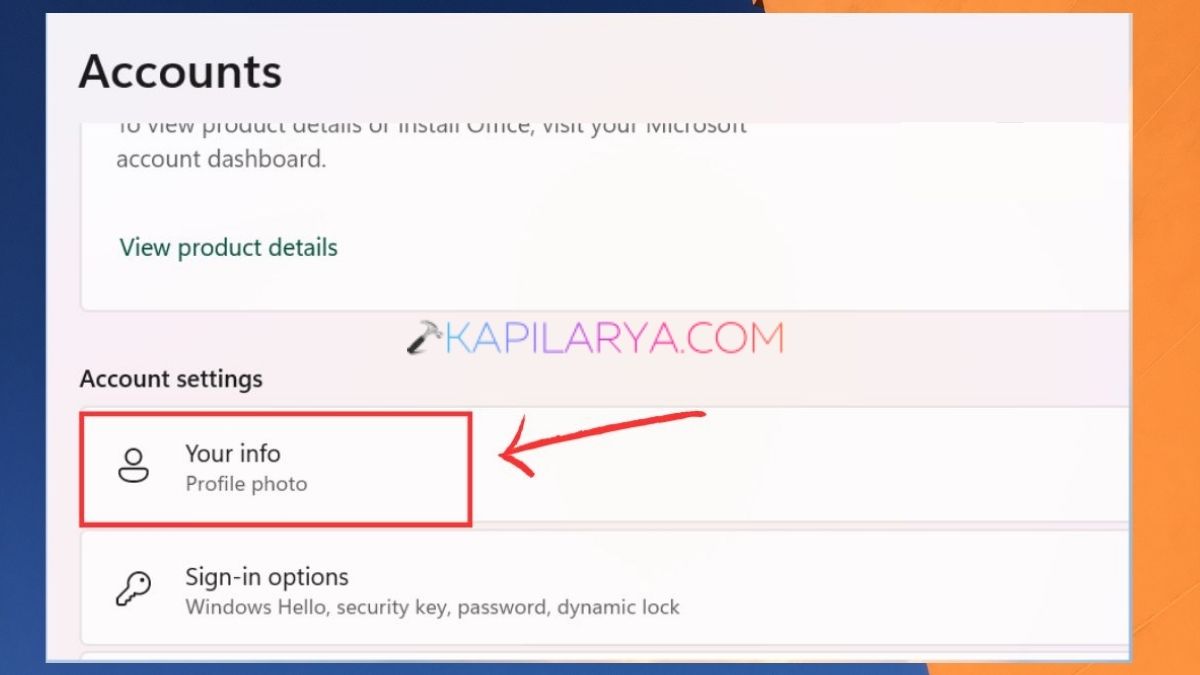
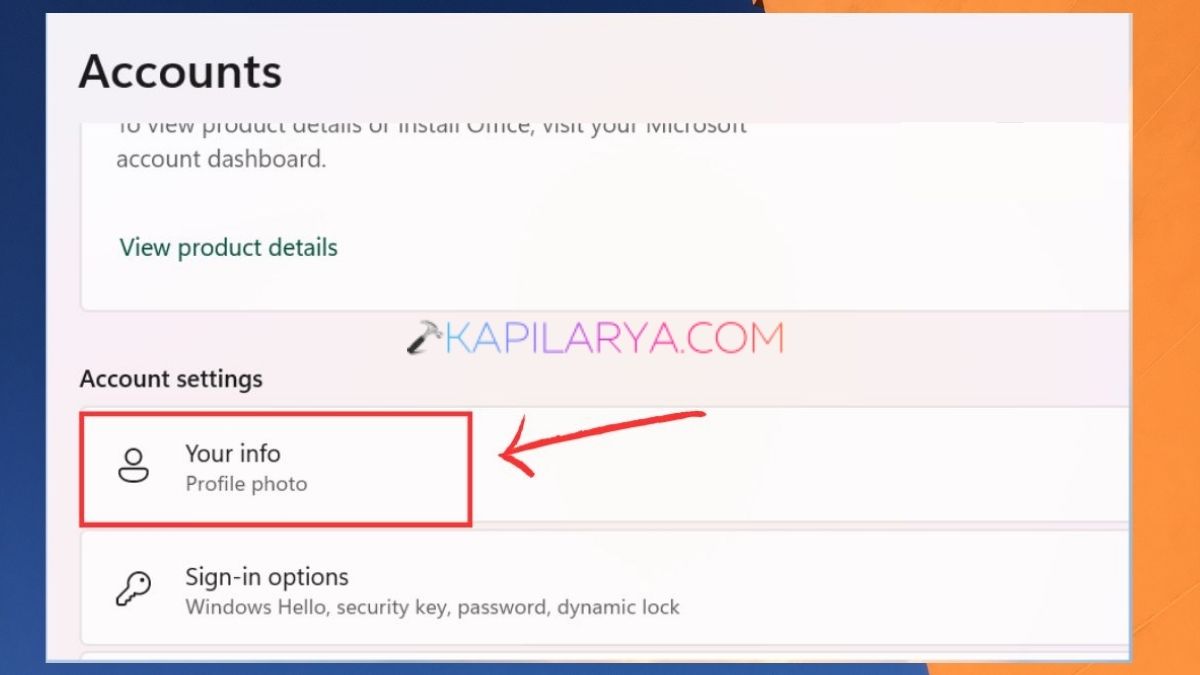
1. Open Settings by pressing Windows + I. Go to Settings to Accounts > Your info.
2. Now, you will have to verify that you’re using a Microsoft or local account.
3. You have to sign out of your account in Windows. For this, tap on Win key. On your account, tap it and choose Sign out. When you log off of Windows, turn the computer back on.
4. Press Sign-in options on the Sign-in screen.
5. Enter and type in your latest password. Next, log on and see if the logon message goes away.
Way 2: Remove Stored Windows Credentials
If the credentials that are stored in the Credential Manager are old, Windows may prompt you to enter your password repeatedly.
1. Type and find Credential Manager from the search box with shortcut keys Win + S.
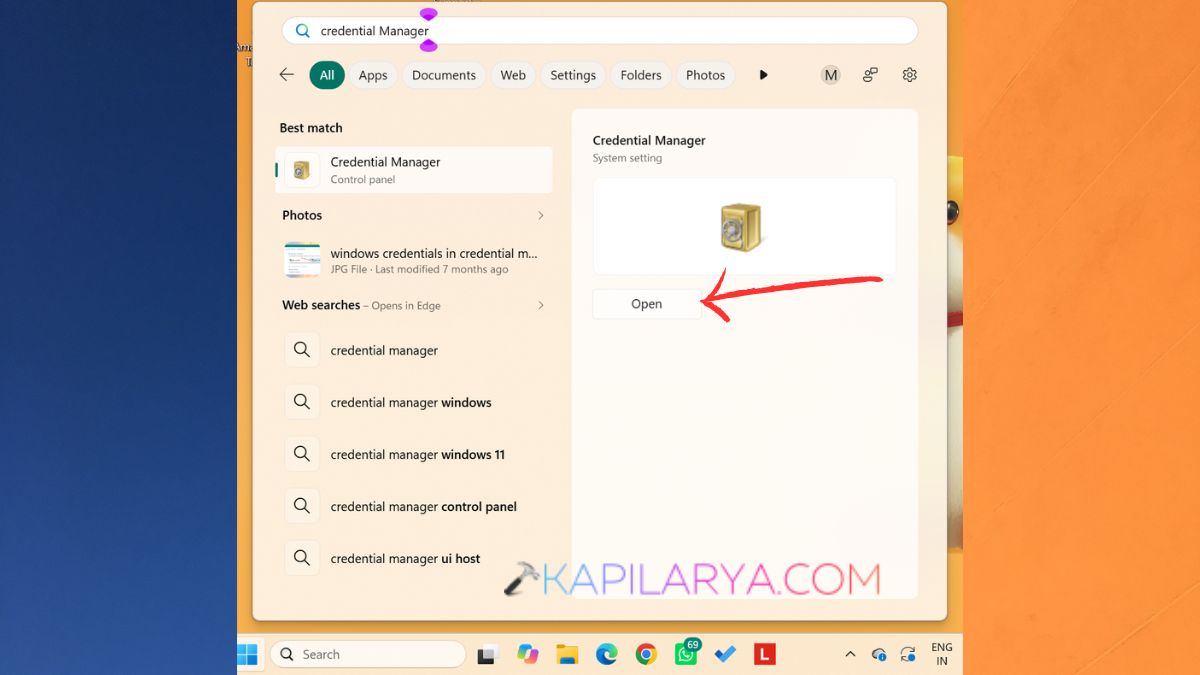
2. Open it and choose Windows Credentials.
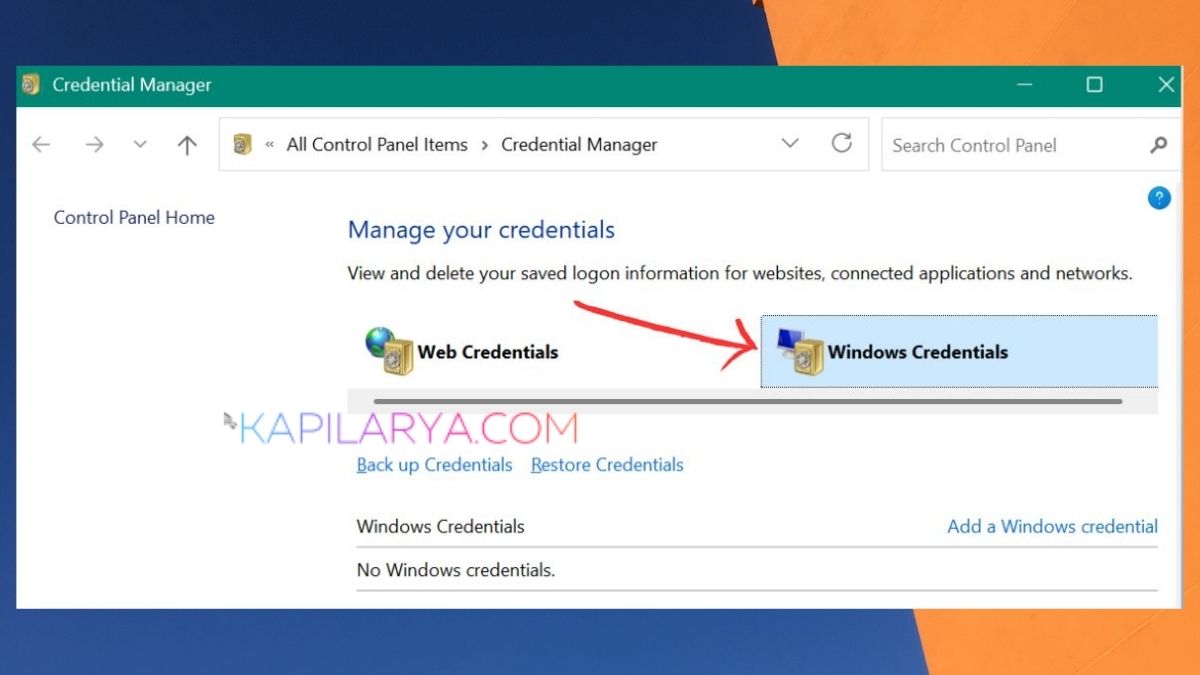
3. Check the saved credentials and unfold it. And check if there are any credentials that include your Microsoft account or you have been recently changed the password. Basically, check them all.
4. Click on Remove to remove the old one.
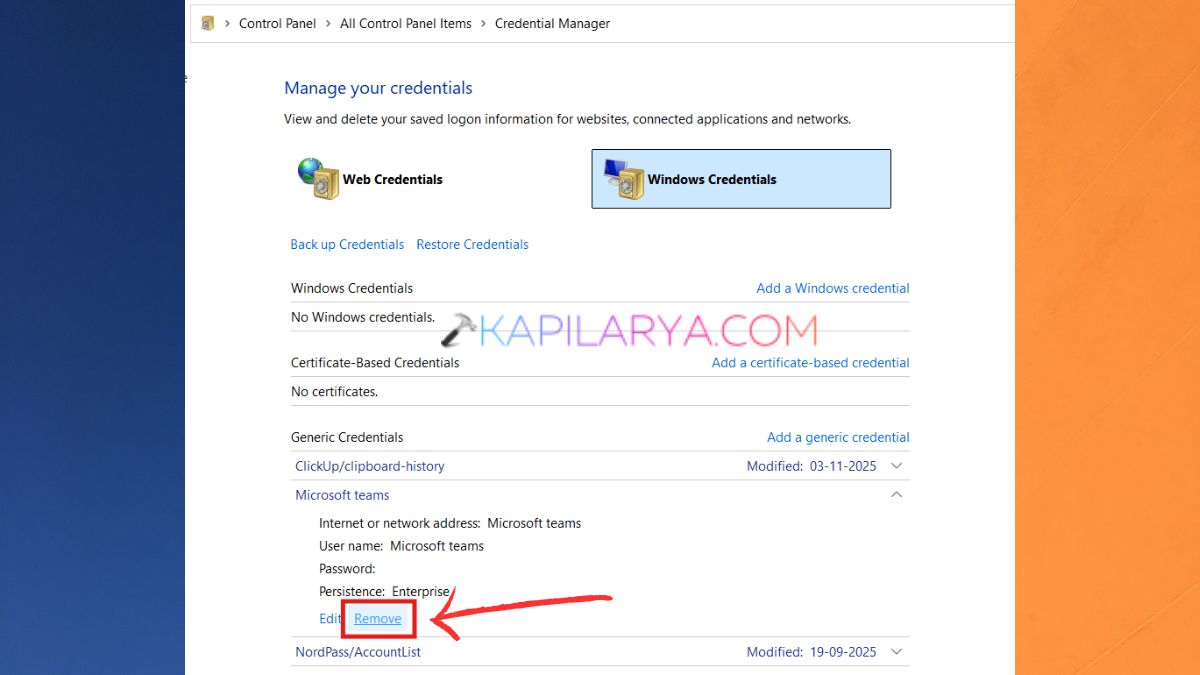
5. Turn on the computer, and log on again. This saved information may be erased from Windows, and you may have to provide your information again.
Way 3: Scan Windows 11 for Malware
In some cases, malware could affect Windows Security and sign in to accounts. If the error appears at an odd time, then running a security scan will help.
1. In the Windows Search box, type in Windows Security.
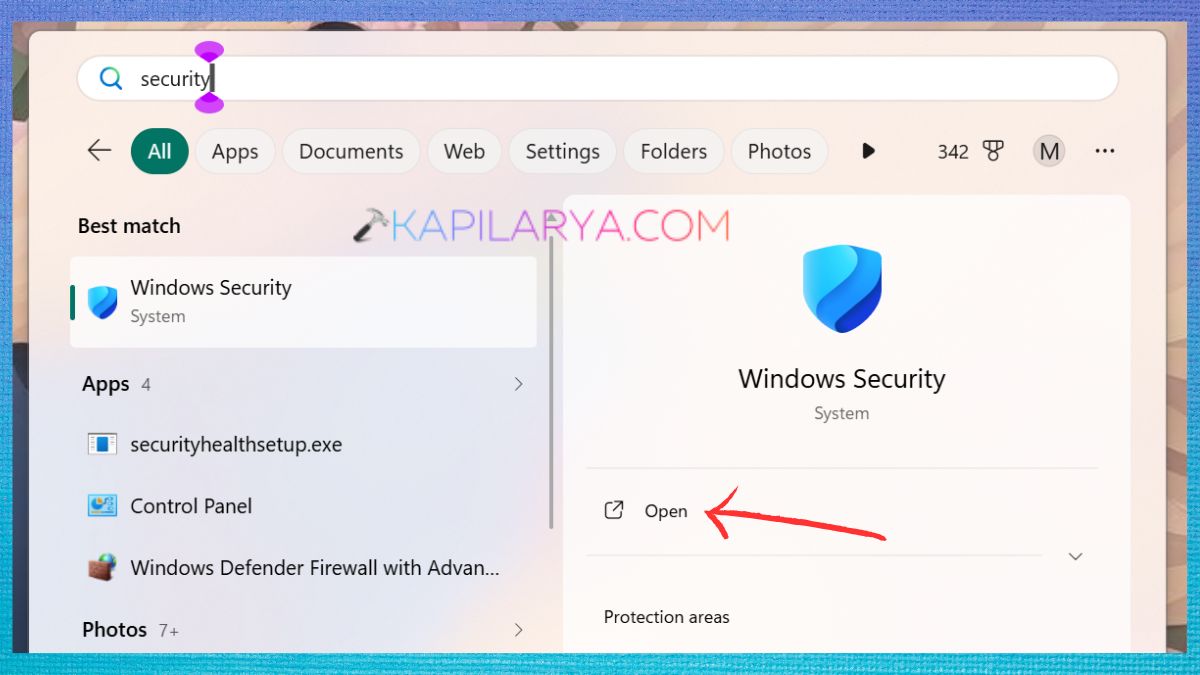
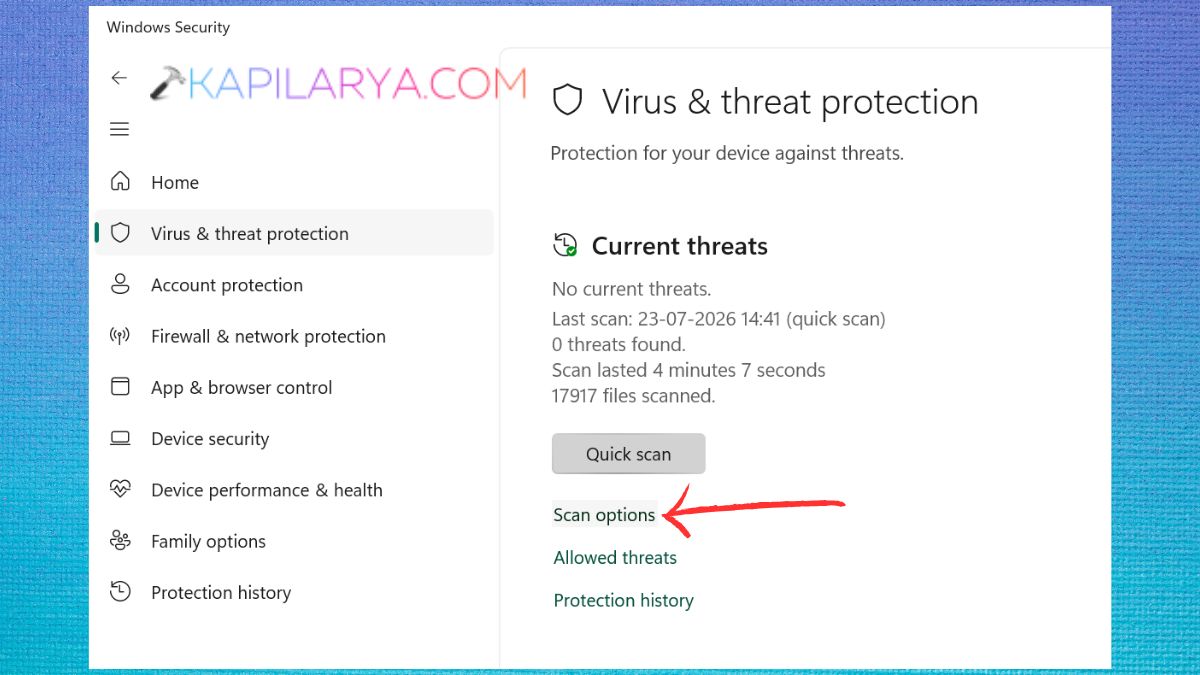
2. Click on Virus & threat protection.
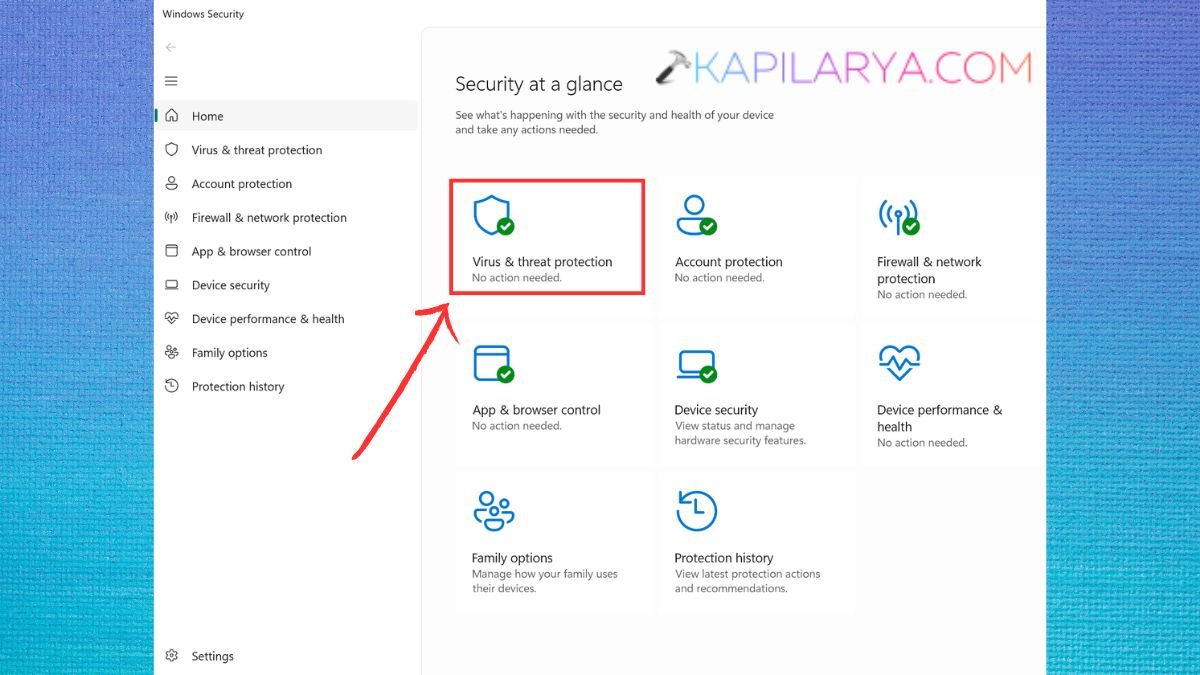
3. Give a mouse tap on “Scan options”.
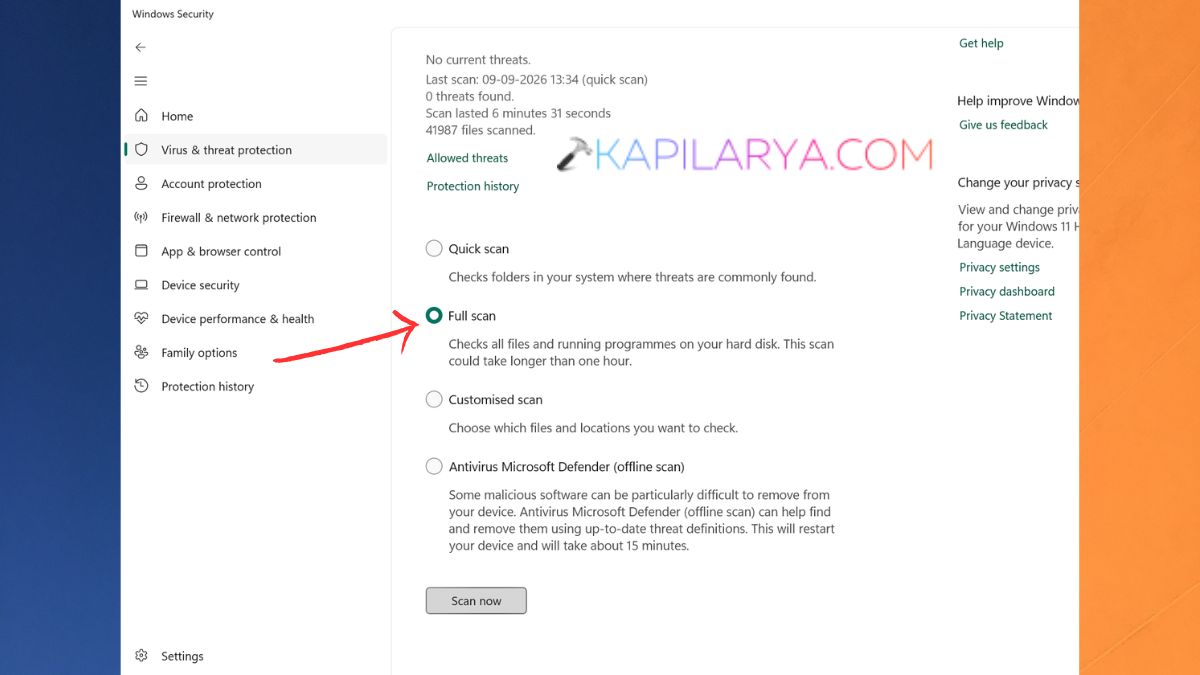
4. Select Full scan and then click on “Scan now”. If a threat is detected, follow the advice of Microsoft.
Way 4: Check Group Policy Settings
Group policy settings can be crucial with regard to Windows authentication. It’s mainly available for Windows 11 Pro, Enterprise and Education.
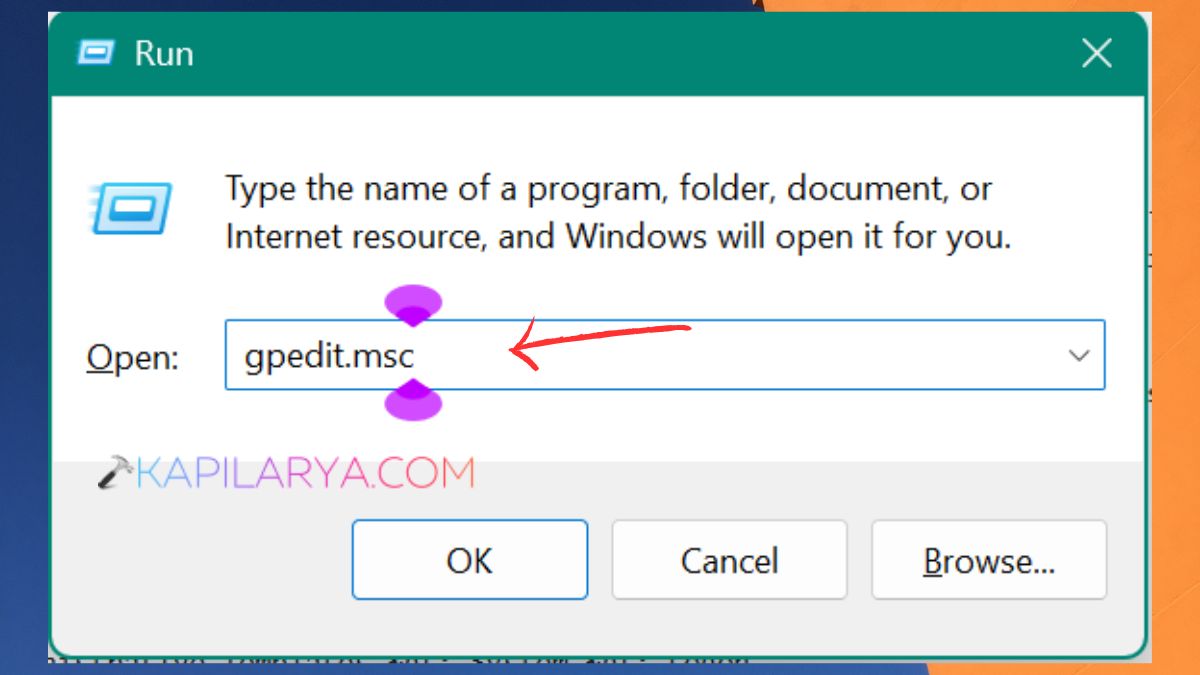
1. Hit the Windows + R keys and then type this and press Enter.
gpedit.msc
2. Go to Computer Configuration > Administrative Templates > System > Logon.
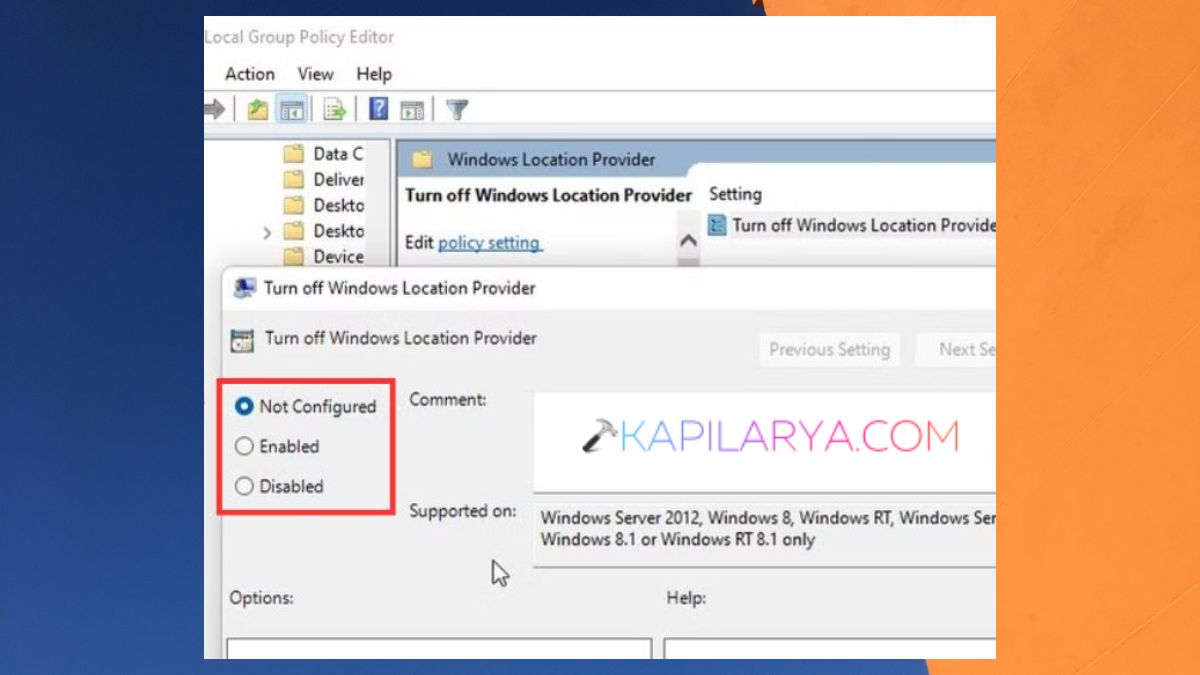
3. Review the recently changed authentication policies. If an incorrect setting was entered, select the setting “Not Configured” as appropriate. Apply > OK and restart Windows.
Way 5: Check Windows Activation
Often, activation/licensing issue(s) are accompanying the account issue(s). Check your activation to exclude this possibility.
1. If you do this fix, select Settings. Then, choose System > Activation.
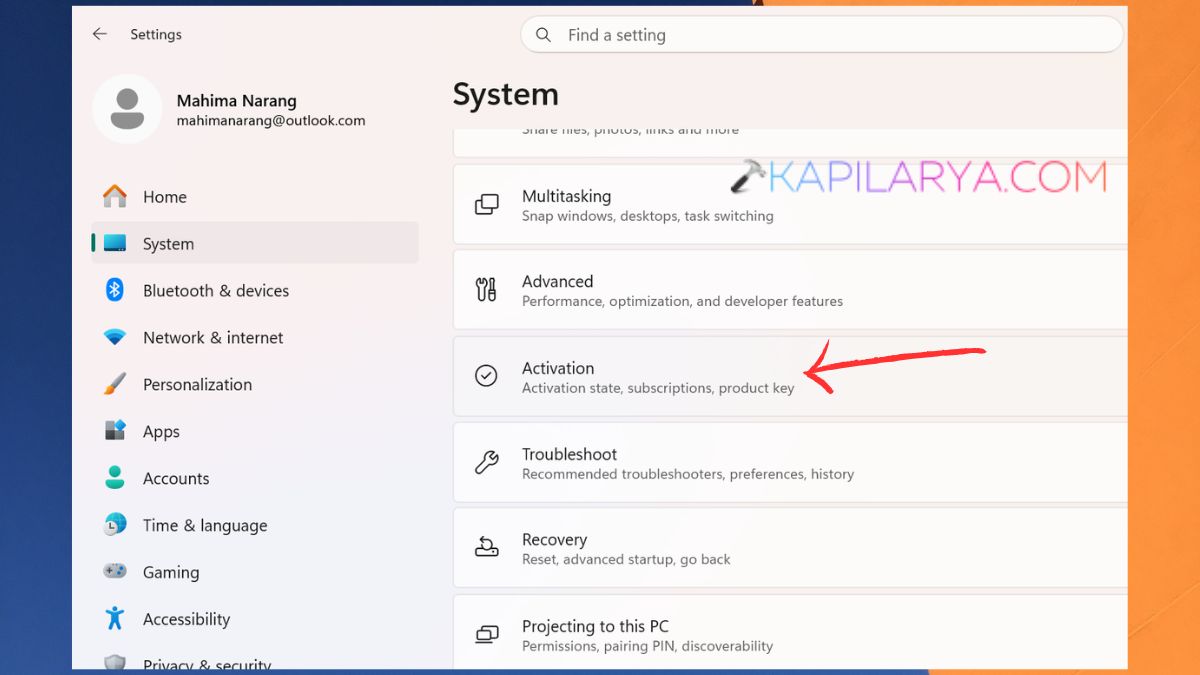
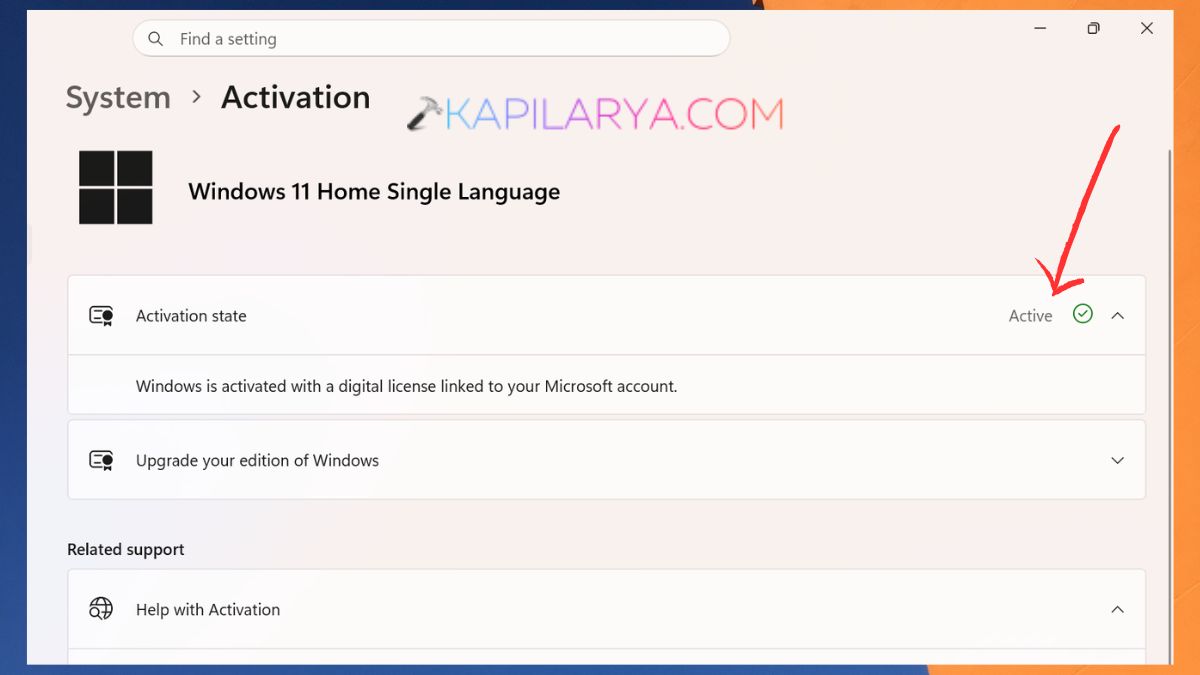
2. Find the Activation state. If Windows is not activated, you see the troubleshooting and/or activation information available on the page.
Way 6: Update Windows 11
This issue may appear, if there are problems with account authorizations in older versions of Windows. To resolve it, the most recent updates should be installed.
1. Open Settings. Click on Windows Update from the left hand menu.
2. Click on “Check for updates” button. Install any updates that are available.
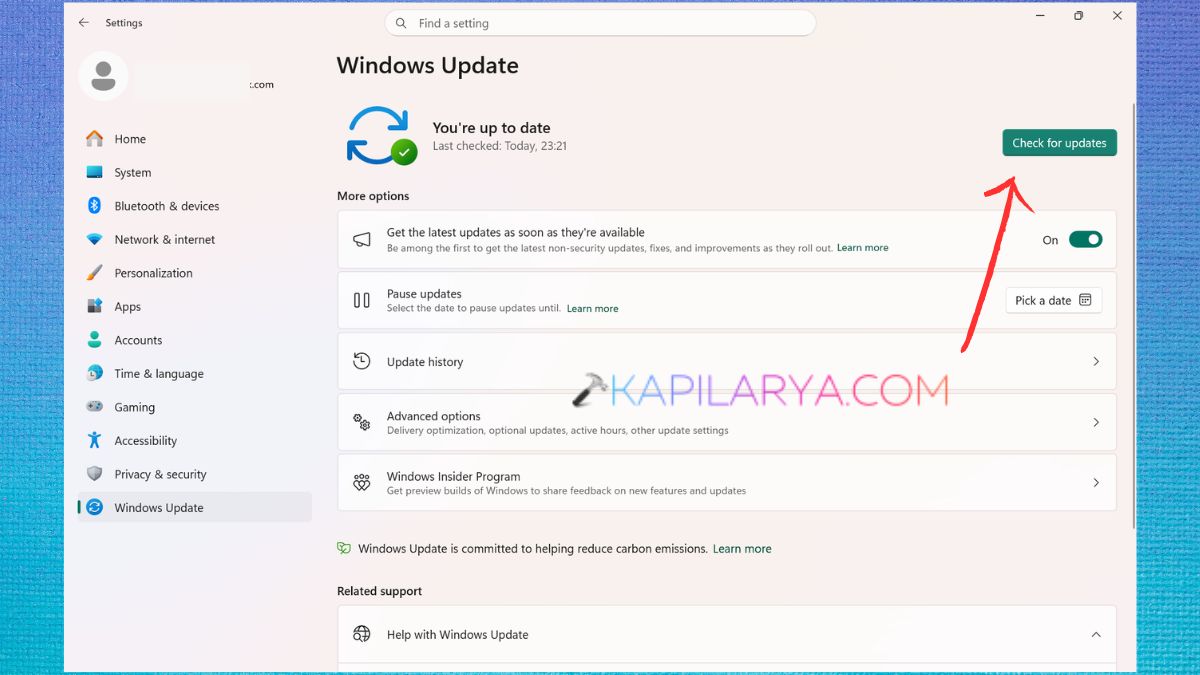
3. Repeat the process to restart and check Windows Update again.
Way 7: Run System Restore
In the event that you have noted Windows needs your current credentials error after a recent update, driver or application installation, you can use System Restore to undo system changes.
1. Look up ‘Create a restore point’ on Windows search bar.
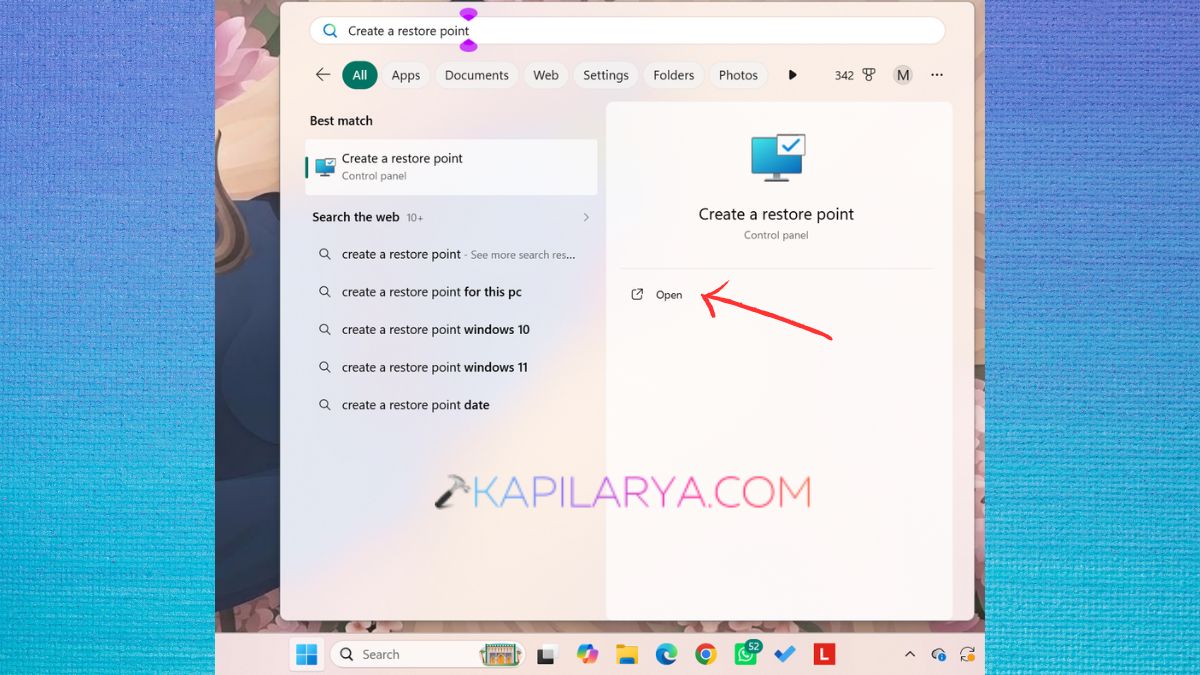
2. Press on the results and select System Restore. Click Next.
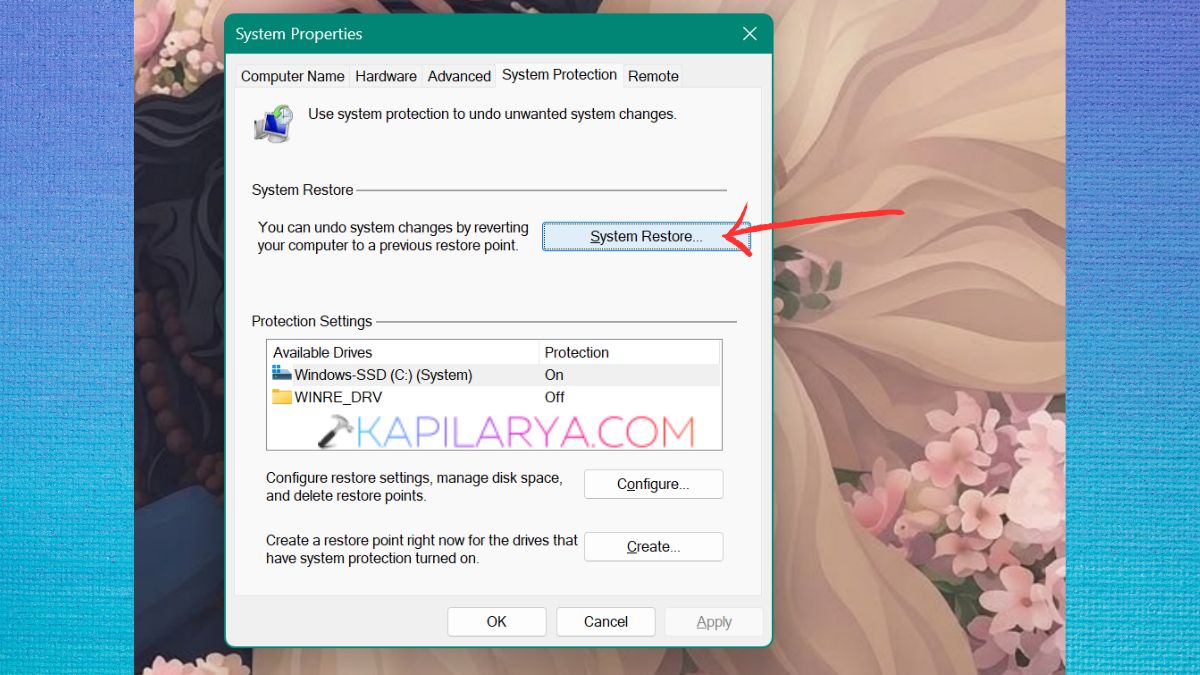
3. Select a restore point prior to the occurrence of the problem. Click Next > Finish.
Now, you must wait and allow Windows to reboot and restore. System Restore, by default, doesn’t remove personal files. But it might remove system changes, drivers and applications installed since the time specified in the restore point.
Frequently Asked Questions (FAQs)
That’s it!