
On Windows PC, whenever users copy something, it automatically gets copied to the clipboard. After that, they can paste it anywhere. Clipboard history lets you store many items to the clipboard. Also, it enables you to copy text and images from one system to another through a cloud-based clipboard. So, do you know how to enable or disable Clipboard History on Windows 11? If not, this post is the answer.
Clipboard History is restricted to 25 copied items. It replaces older items with new clipboard items automatically. Besides, this history is cleared every time you restart the system except for pinned items if any. So, are you looking for a way to enable Clipboard History in Windows 11? If yes, keep on reading!
Page Contents
Enable or disable Clipboard History in Windows 11
Method 1: Using keyboard shortcut
1. Firstly, press the Windows + I keys simultaneously for opening clipboard history.
2. If this feature is disabled, then click on Turn On.

Method 2: Using Settings
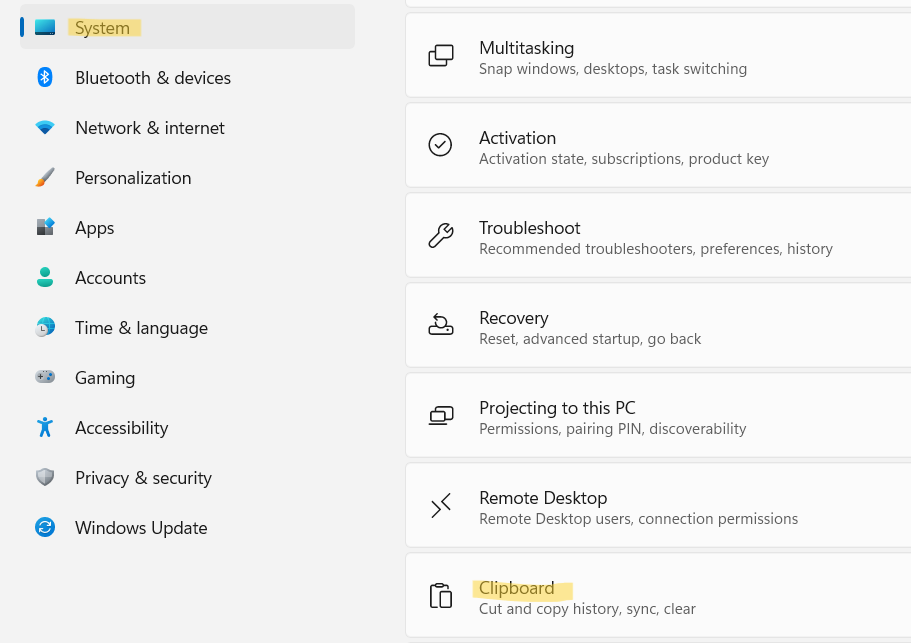
1. In the first place, visit Settings and then, go to the System tab.
2. From there, select the Clipboard tab.
3. Now, turn the toggle to On present next to Clipboard history. This will enable the clipboard history.

Method 3: Using Registry Editor
1. In the first place, open the Run dialog box by pressing Windows + R tabs together on the keyboard.
2. Next, type regedit in the search box and press OK. If prompted, tap on Yes.

3. After that, go to:
HKEY_CURRENT_USER\Software\Microsoft\Clipboard
If you want to configure the setting for all users, go to this location instead:
HKEY_LOCAL_MACHINE\SOFTWARE\Policies\Microsoft\Windows\System
4. Now, double-tap on EnableClipboardHistory and enter the value 1 to the Value data.

5. Press OK and then, restart the system for saving the changes.
Method 4: Using Local Group Policy Editor
- Firstly, open Local Group Policy Editor as an administrator by typing gpedit.msc in Run.
- Now, go to:
Computer Configuration\Administrative Templates\System\OS Policies
- From there, double-tap on Allow Clipboard History for editing it.

- To enable the option, choose Enabled and hit Enter.
- Lastly, exit Local Group Policy Editor.

So, these are some ways to turn on Clipboard History effectively.
Read next: How To Clear Clipboard History In Windows.


