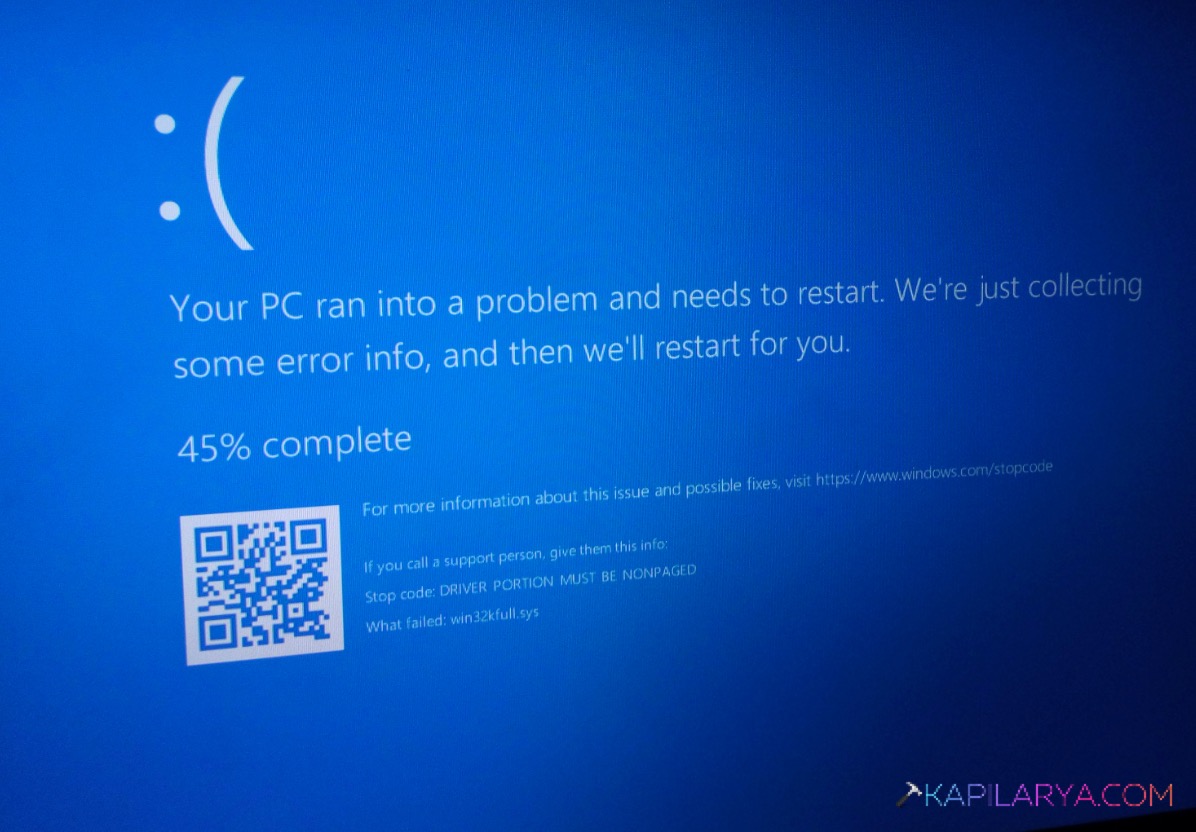
While using Windows, if your screen suddenly goes blue, this hints for BSOD. Your system might restart. But all your work in the session is gone. All these sounds familiar? The DRIVER PORTION MUST BE NONPAGED BSOD is one of such errors that hits without any typical warning, and it can come back if you don’t fix the root cause.
That’s why you need to solve it with the simple steps shared below.
Page Contents
What Causes DRIVER PORTION MUST BE NONPAGED BSOD Error In Windows 11?
Well, this error often comes down to a few common culprits on Windows 11:
- Outdated or damaged device drivers
- Faulty or incompatible RAM
- Corrupted Windows files or Registry entries
- Conflicting drivers after a hardware upgrade
- A Windows version that needs updating
Fix: DRIVER PORTION MUST BE NONPAGED BSOD
Below are the steps to fix the DRIVER PORTION MUST BE NONPAGED BSOD issue:
Fix 1: Update Your Windows
1. Press Windows + I to open Settings.
2. Go to Windows Update.
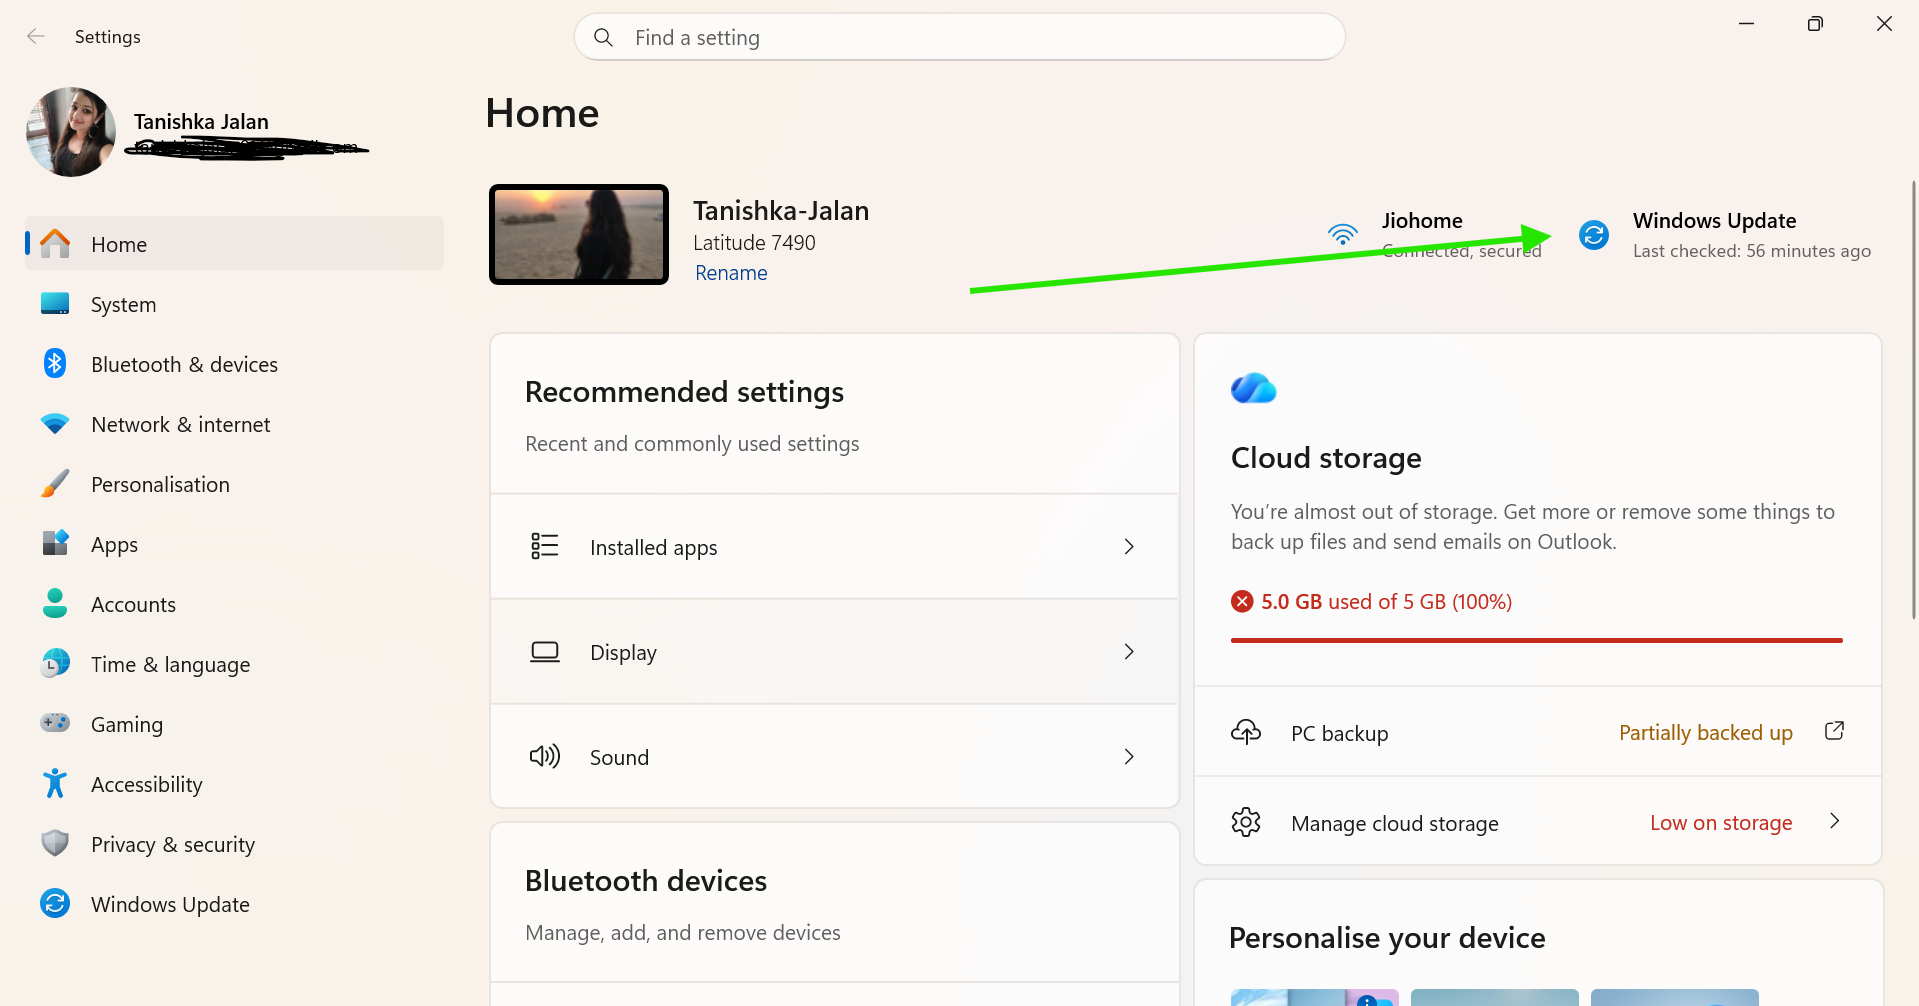
3. Click Check for updates.
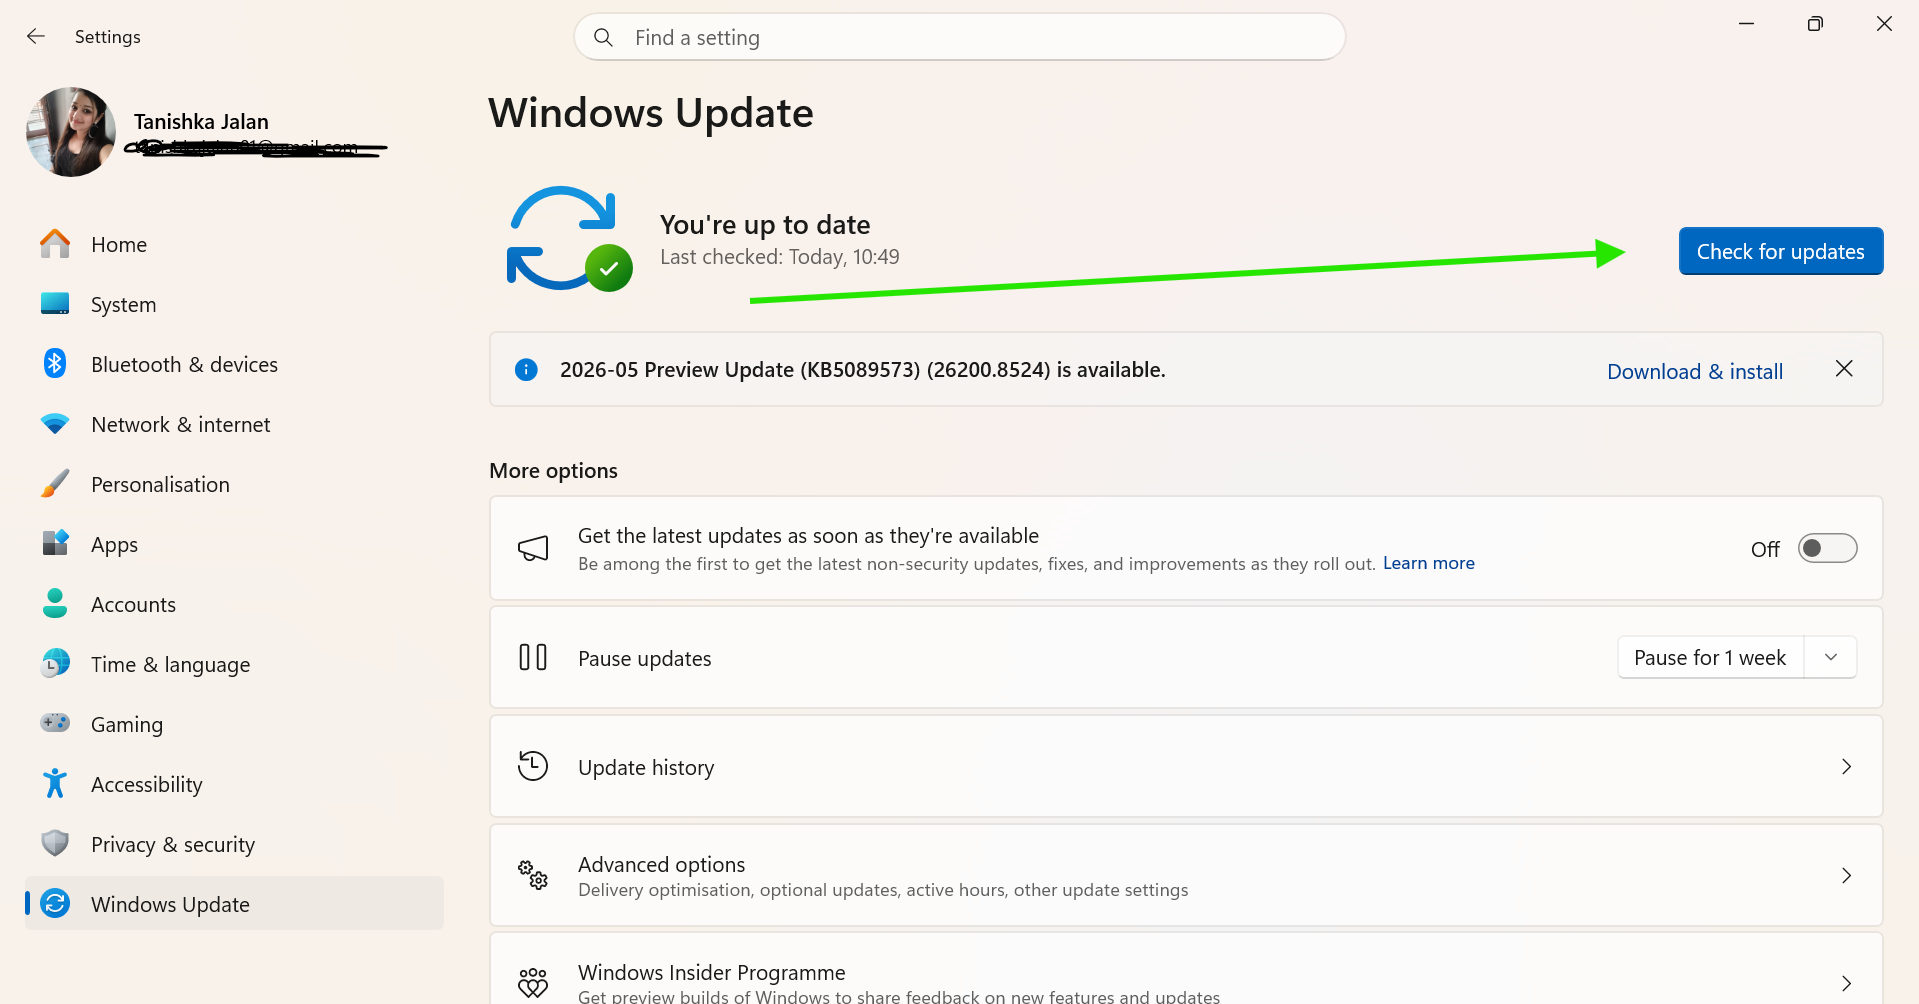
4. If an update is available, click Download and Install.
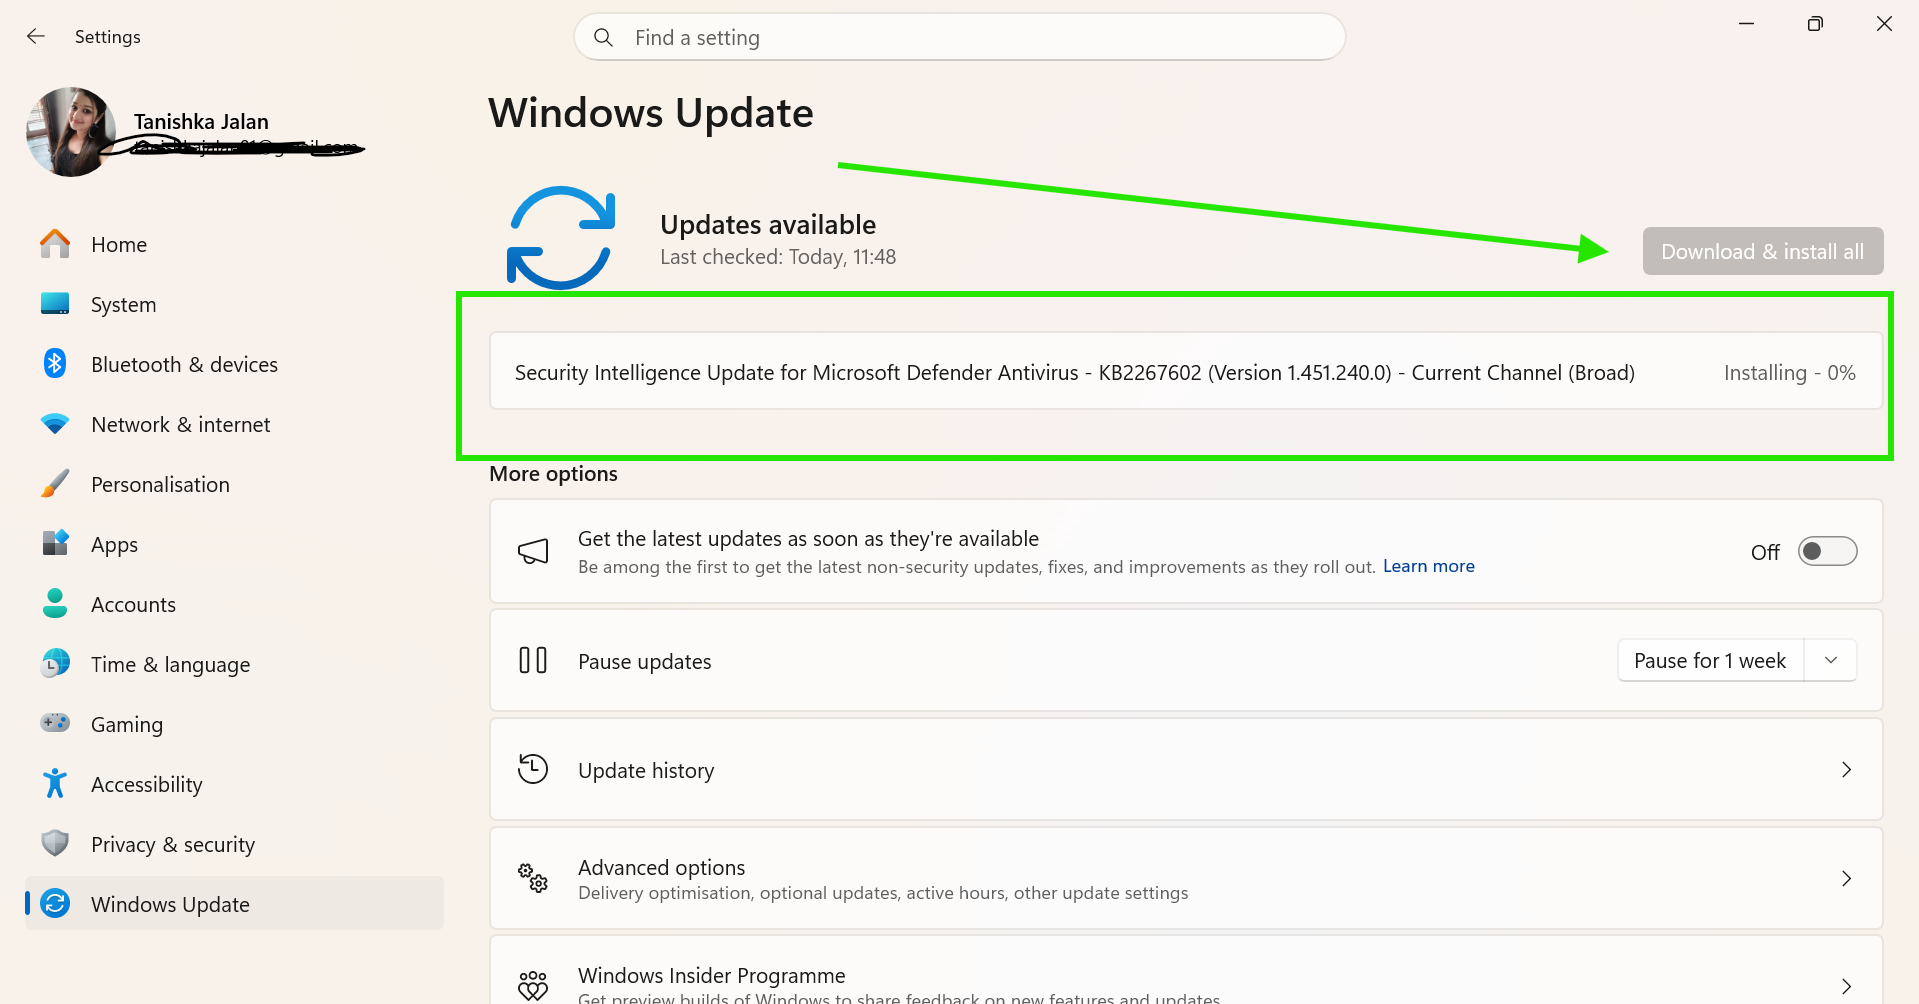
5. Restart your PC once the update finishes.
Fix 2: Update Your Display Driver
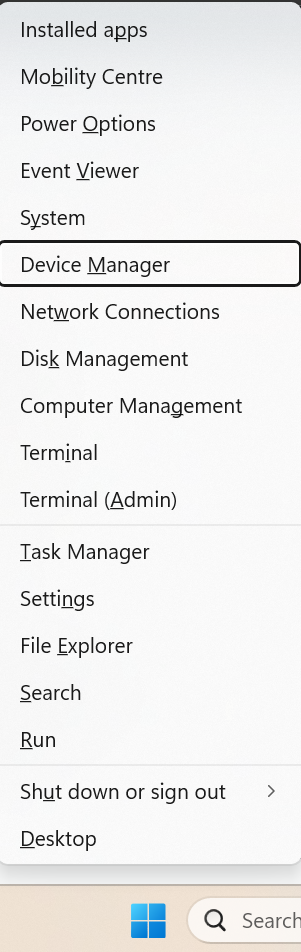
1. Press Windows + X and select Device Manager.
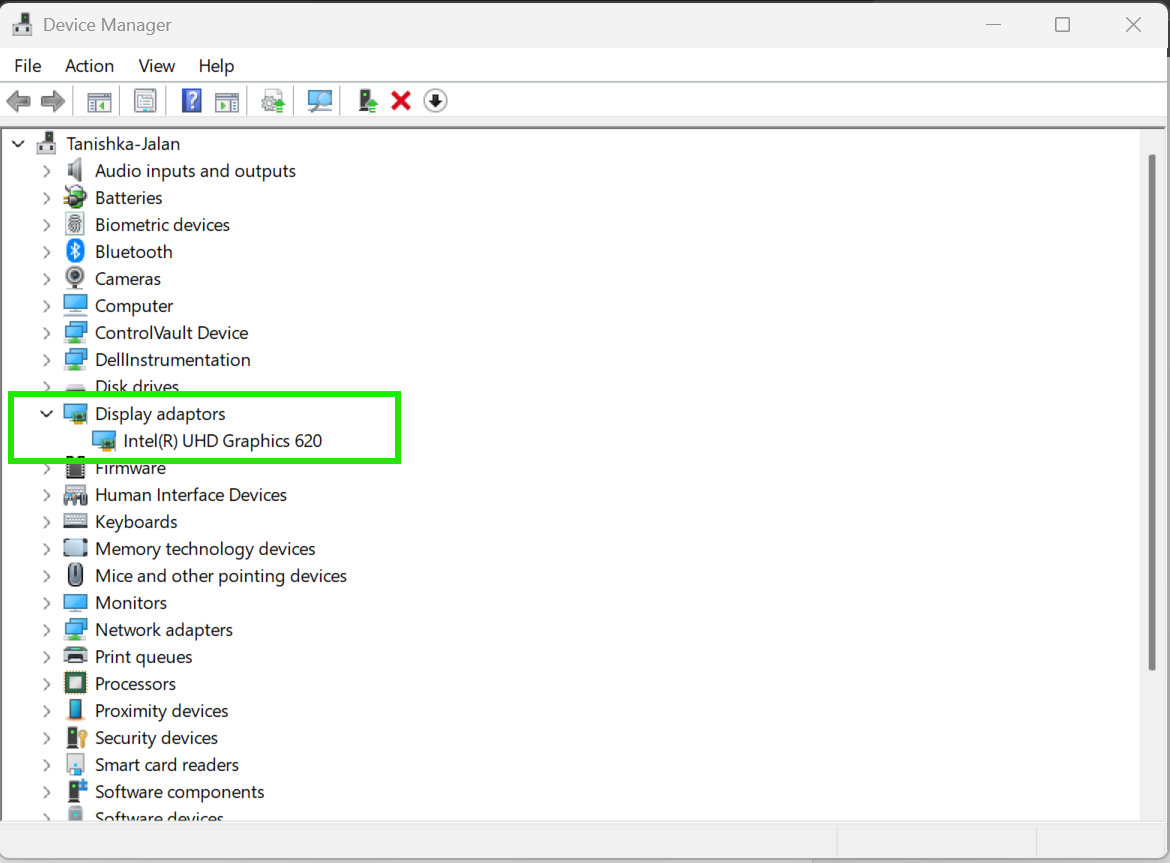
2. Double-click Display Adapters to expand it.
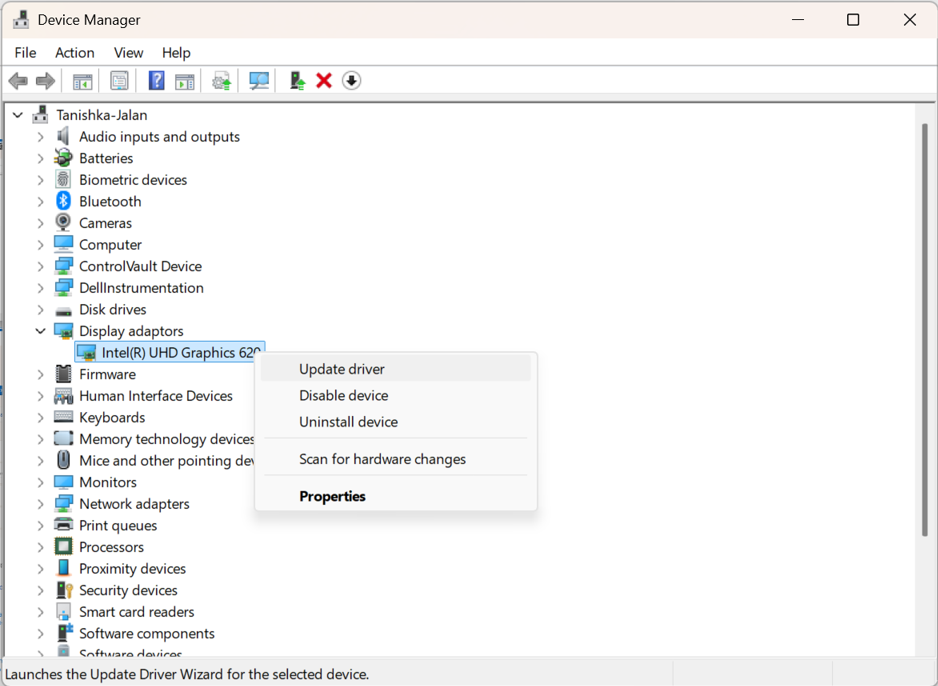
3. Right-click your display driver and select Update Driver.
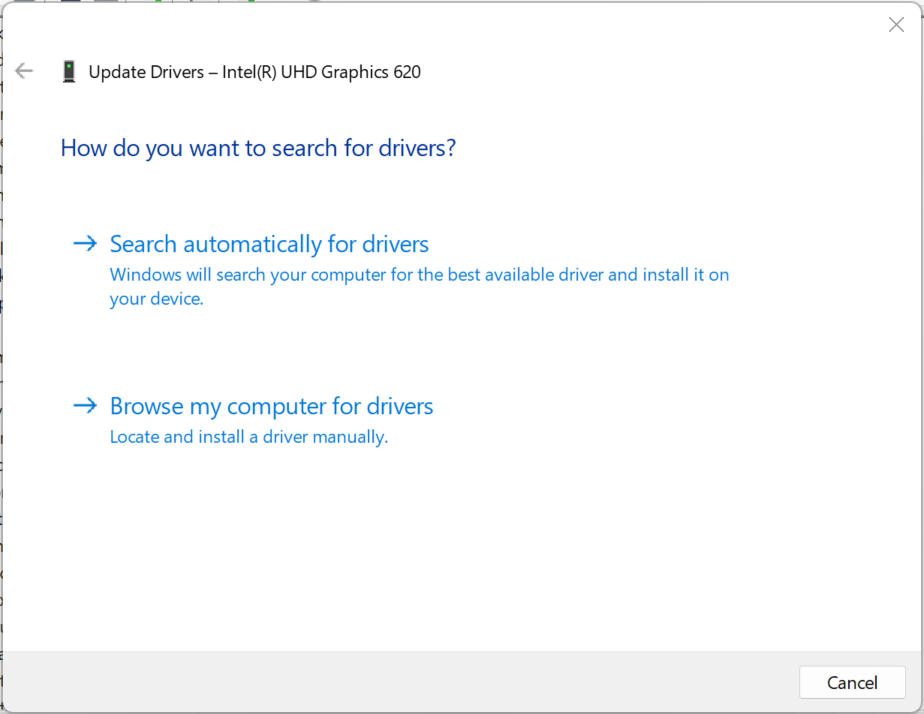
4. Choose Search automatically for drivers.
5. Let Windows download and install the update.
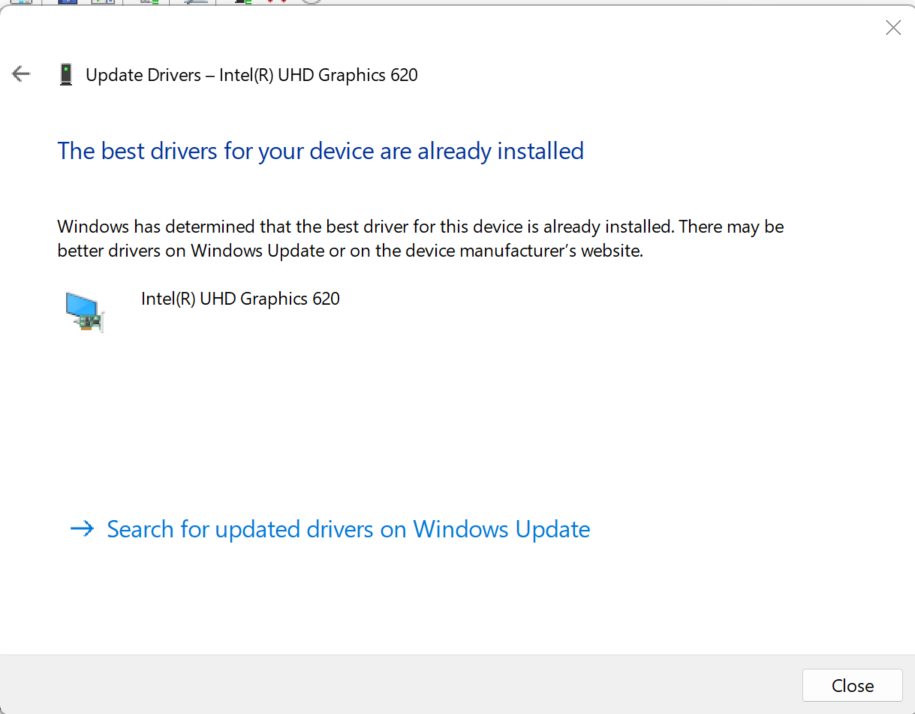
6. Restart your PC when done.
Fix 3: Roll Back To Your Display Driver
You can use these steps, if the BSOD started right after a recent driver update.
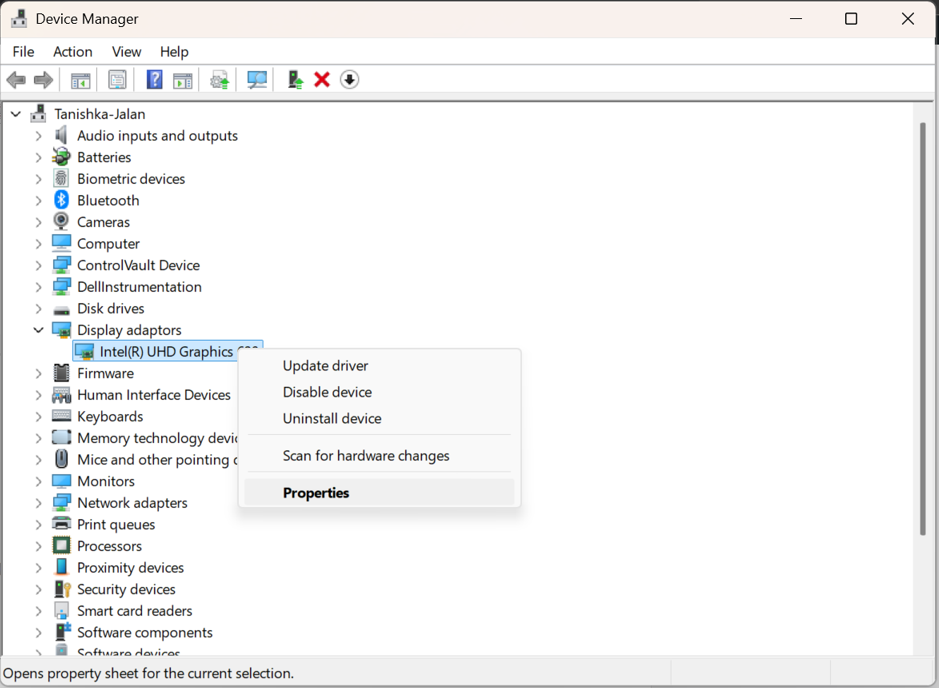
1. Press Windows + X and open Device Manager.
2. Expand Display Adapters.
3. Right-click your display driver and select Properties.
4. Click the Driver tab.
5. Click Roll Back Driver if the option is available.
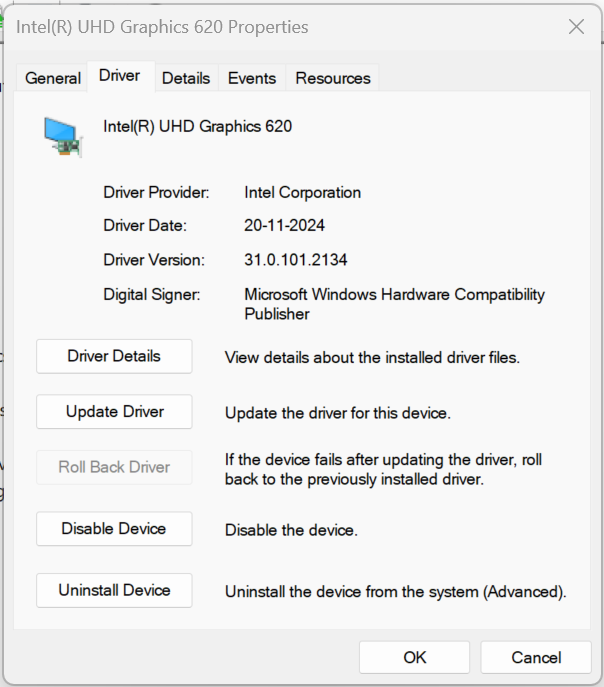
6. Restart your PC for the change to take effect.
Fix 4: Check Your RAM
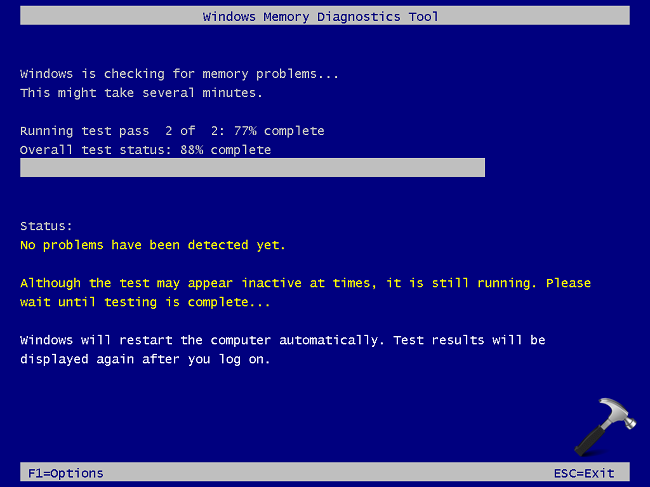
Run the Windows Memory Diagnostics. Windows Memory Diagnostics is an in-built feature in Windows OSes, which write data on each sector of Random Access Memory (RAM) and read it back to ensure if everything is okay with the RAM.
You can refer this detailed guide to run Windows Memory Diagnostics Tool.
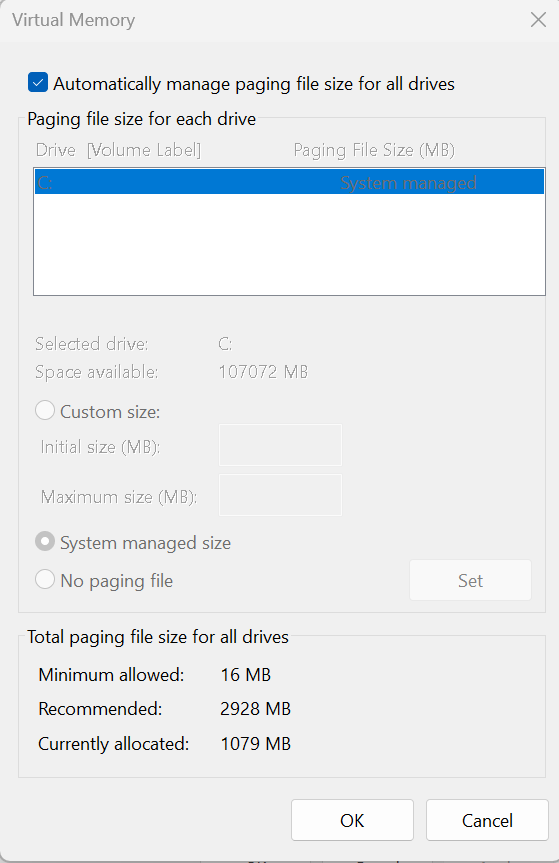
Fix 5: Adjust Virtual Memory Settings
1. Press Windows + I to open Settings.
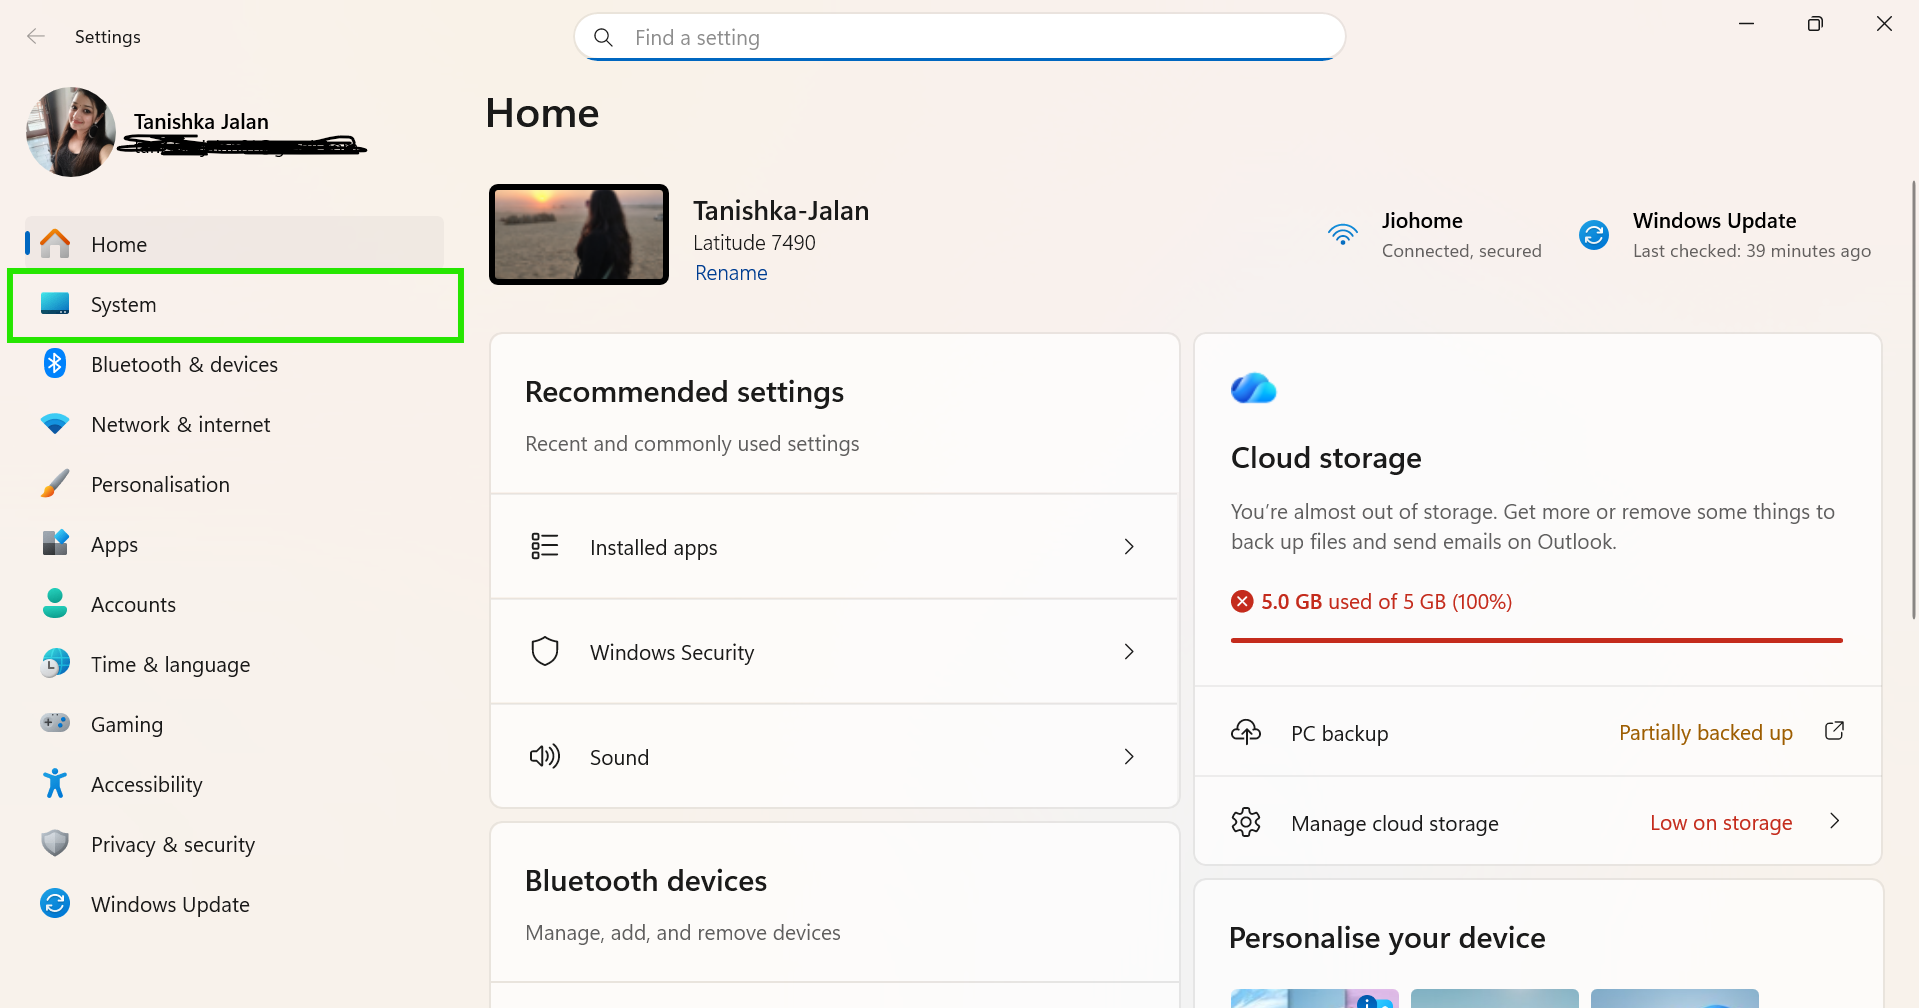
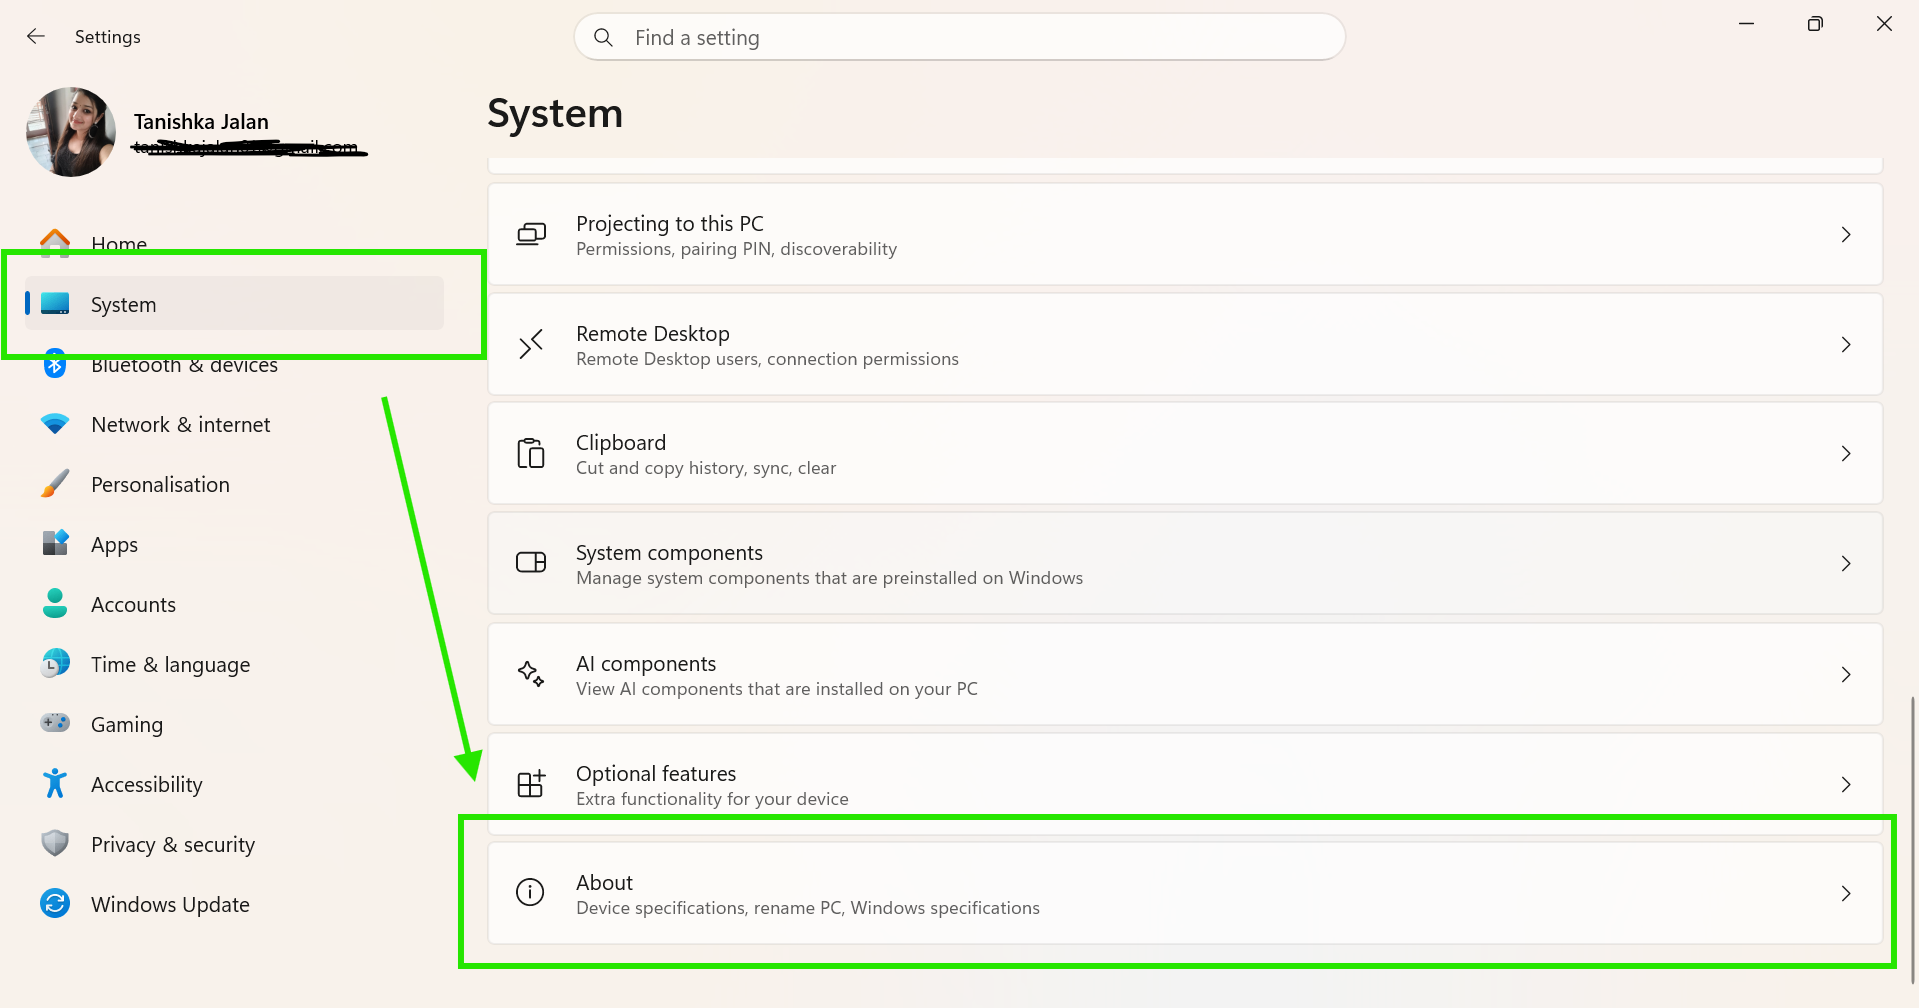
2. Go to System > About and click on Advanced system settings.
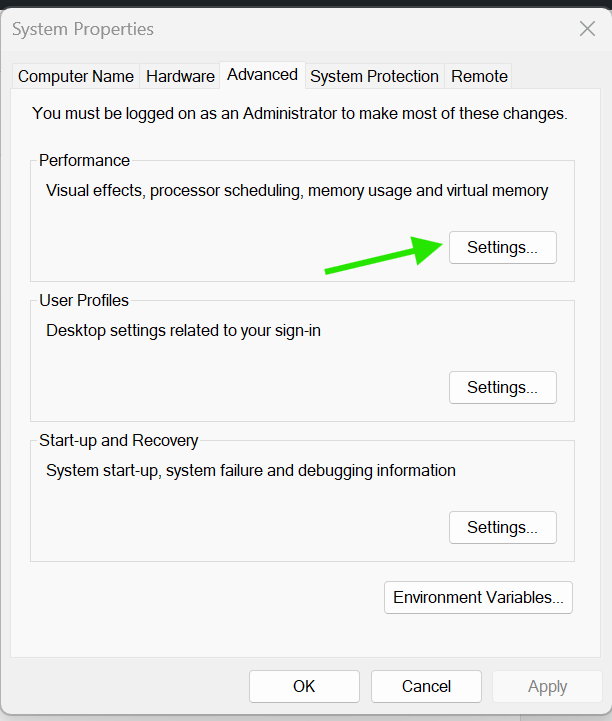
3. Under the Advanced tab, click Settings in the Performance section.
4. In the Performance Options window, go to the Advanced tab.
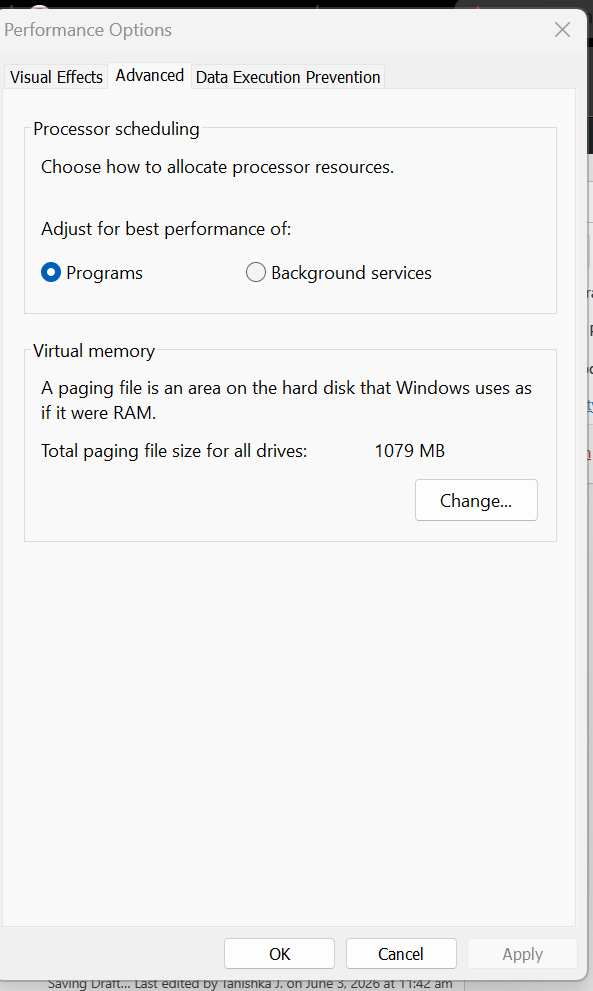
5. Click Change under the Virtual Memory section.
6. Make sure Automatically manage paging file size for all drives is checked.
7. Click Apply, then restart your PC.
Fix 6: Reset Your PC
Only try this if all other fixes have failed. Back up your data first.
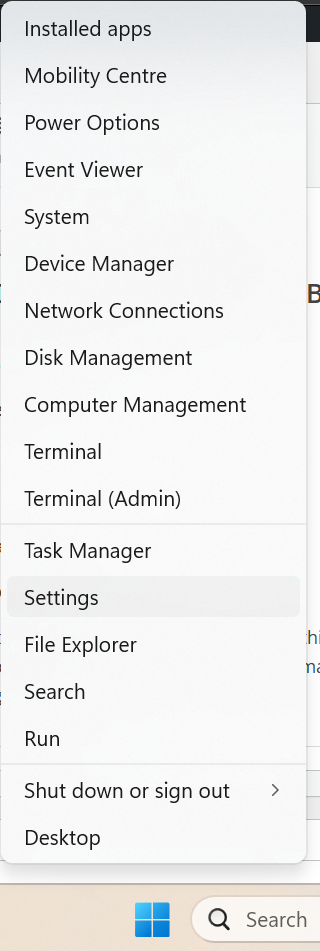
1. Right-click the Start menu and select Settings.
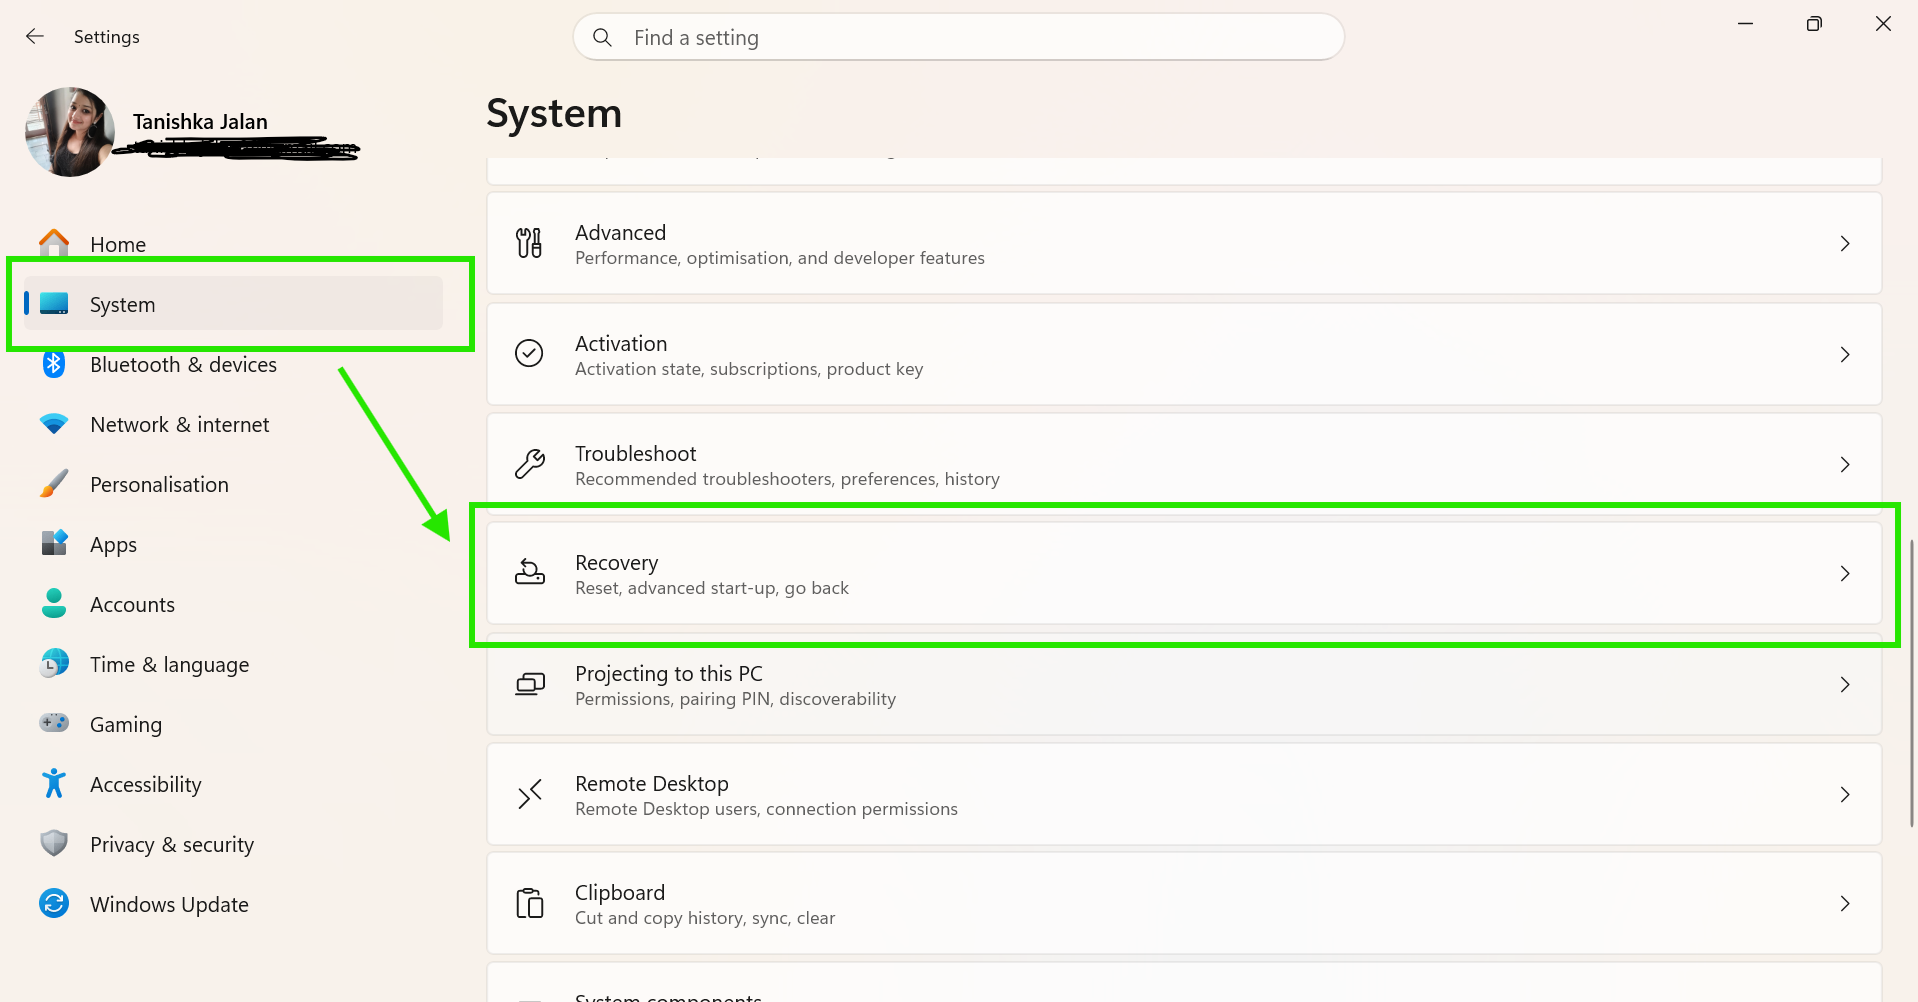
2. Go to System > Recovery.
3. Click Reset PC next to Reset this PC.
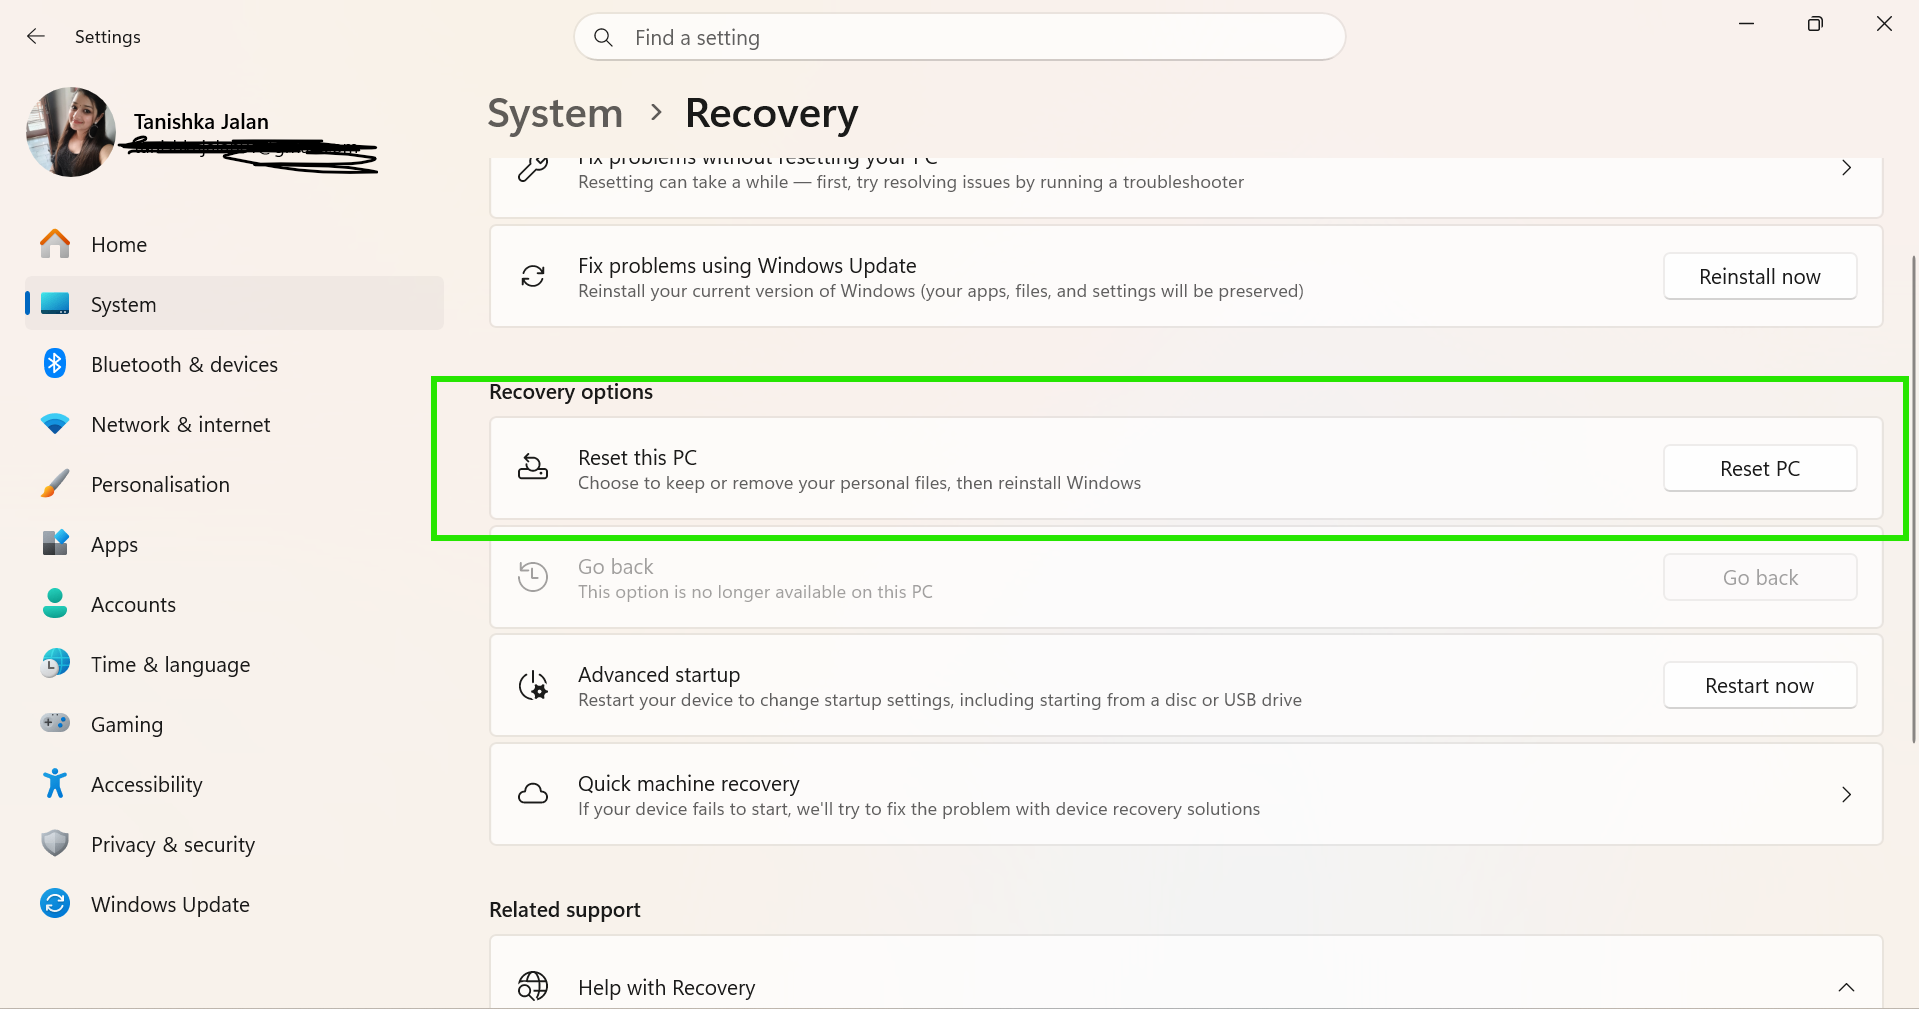
4. Select Remove Everything for a full clean reinstall.
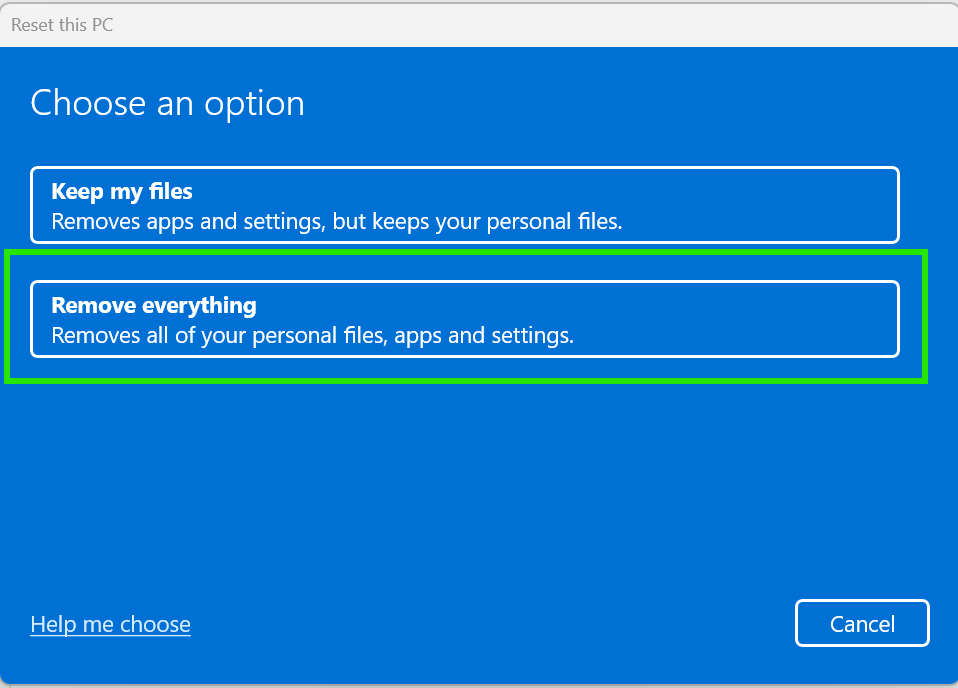
5. Follow the on-screen prompts to complete the reset.
So, try out each fix in order and restart after every step.
Hopefully you’ll solve this with Fix 1 or Fix 2 alone. And if nothing works, Fix 6 is the preferred option.
Also, make sure your files are backed up before you go for Fix 6.
That’s it!