
The Windows 11 registry is the heart of your operating system, which manages settings, configurations, and preferences of both Windows and installed programs. Backup and restore of the registry in Windows 11 is important, particularly when trying to make changes to the system or when you want to repair errors.
In this tutorial, we will show you four step-by-step ways to back up and restore the registry in Windows 11. These techniques are easy, consistent, and geared towards both the novice and the expert. So, let us get down to it!
Page Contents
Backup and restore registry in Windows 11
Option 1: Backup Using System Restore on Windows 11
System Restore is a feature that automatically creates restore points, at crucial times. These restore points include the Windows registry during significant events on the system. You can create a registry backup manually with below steps as well.
1. Search in Windows by typing “Create a restore point” and click the first item.

2. In the System Protection tab, make sure that the system drive is turned on.
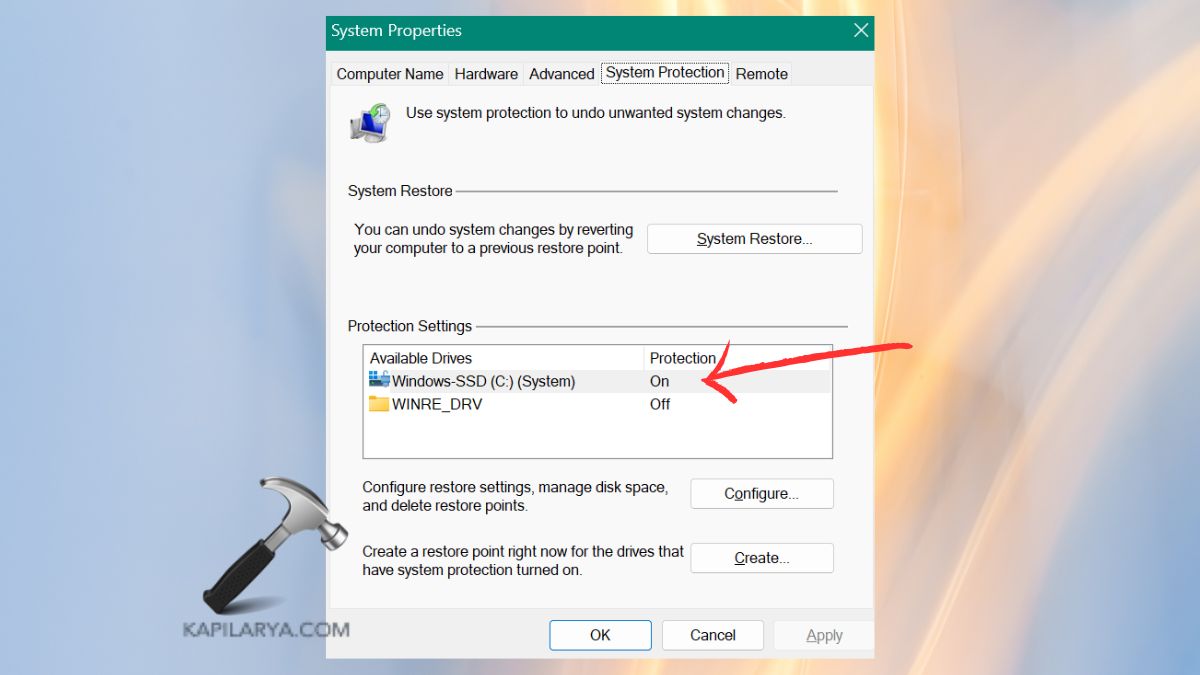
3. Click Create, name it (e.g. before editing registry), and click Create button.

In a couple of seconds, you will get a message that the restore point has been created.
Option 2: Restore Using Registry Editor on Windows 11
Registry Editor is one of the simplest methods of restoring your registry backup. This is the best way to do it in case you have exported a .reg file before.
1. Press Windows + R, enter this command, and press Enter.
regedit
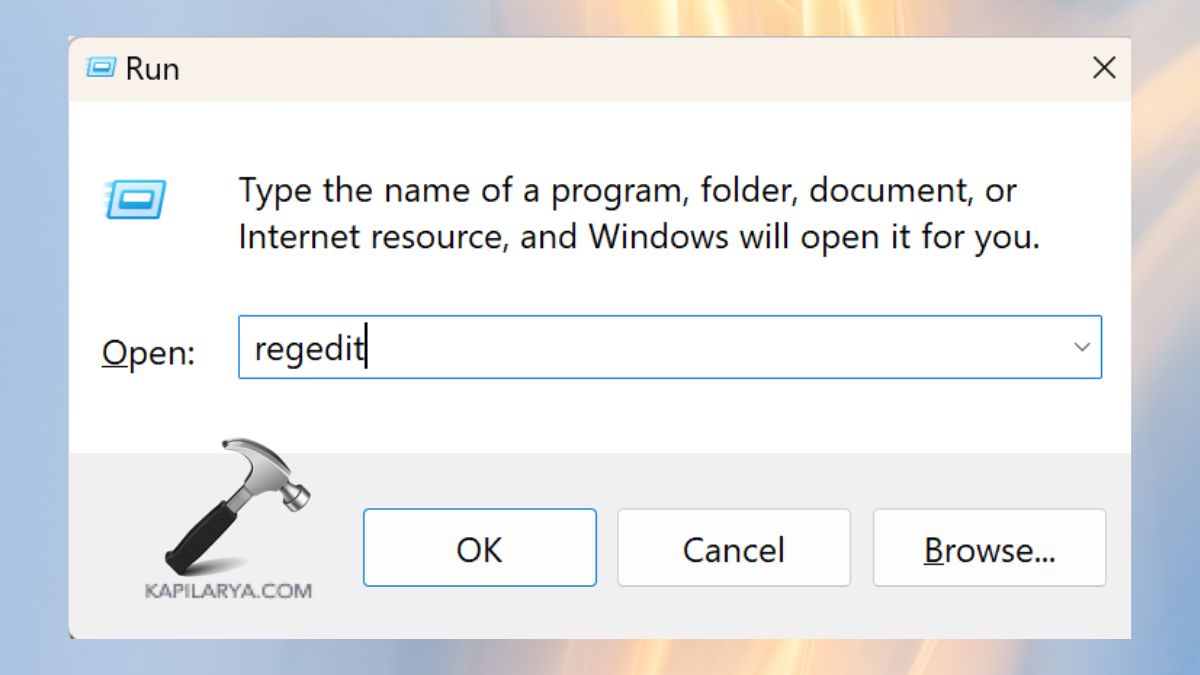
User Account Control may prompt you to click Yes.
2. In the Registry Editor window, click on File > Import.

3. Go to where you have saved the “.reg” backup file. Click on the file and open it.

The backup will be added to your current registry settings. Apply the changes by restarting your PC.
Note: Before importing a new registry, it is always advisable to back up the existing one to avoid conflicts.
Option 3: Backup Registry Using Registry Editor on Windows 11
One of the quickest ways to have a manual backup is to use Registry Editor to create a backup of individual settings.
1. Again, press Windows + R and type and press Enter.
regedit
2. Under the Registry Editor, click on File > Export.

3. Select the name and place where you want to store your backup file. In Export Range, choose to make a backup of the whole registry. Click Save.

Save the backup in a safe external drive or in the cloud to be used later.
Option 4: Restore Using System Restore on Windows 11
System Restore can be used to restore the registry and other important settings in case your PC starts misbehaving following a registry edit.
1. Search in the Windows search bar, Recovery.

2. Then, choose Open System Restore.

3. Click Next, and select a restore point in the list (the one you created before making changes in the registry is preferable). Click Next and then Finish.

Your PC will restart and start the restoration process. When this is done, your registry will be restored to the chosen restore point.
Frequently Asked Questions (FAQs)
#1 Is it safe to edit the registry in Windows 11?
Yes, but it is necessary to back up the registry before making any changes. Incorrect edits may make the system unstable or not boot-able.
#2 How often should I back up my Windows 11 registry?
Make it a habit to back up your registry once a week or before making any significant changes to the system settings or installing programs.
#3 Can I restore only a part of the registry?
Yes. In case you take a backup of a particular branch of the registry, you can restore that part using the import feature of the Registry Editor.
#4 What’s the difference between System Restore and Registry Editor backup?
A restore is the backup of the entire system, including the registry and critical files. Registry Editor does not back up registry settings. Combine the two as much as possible.
That’s it!

