The Deployment Image Servicing and Management or DISM tool is an important tool of Windows 11 which is built-in the system. It is used for changing, repairing, and servicing the system images with command lines. It is also used for troubleshooting and solving various system issues along with the System File Checker or SFC tool. Thus, this post will look allow the users to learn how to use DISM tool for repairing Windows 11.

Page Contents
How to use DISM to repair Windows 11
Option 1: Check health using DISM
The users at first should run the Check Health command line for check any error with the system. For doing that, follow the steps-
Step 1- Firstly, run Command Prompt as an administrator
Step 2- Now, copy and paste the prompt given below for performing a quick scan and press Enter.
DISM /Online /Cleanup-Image /CheckHealth

Thereafter, the Deployment Image Servicing and Management tool will check any data error and fix it if any found.
Option 2: Scan health using DISM
Next, the users can run the Scan Health command line for scanning the errors using the steps below.
Step 1- Again, run Command Prompt as an administrator.
Step 2- Now, run the prompt provided below for performing an advanced DISM scan and click Enter.
DISM /Online /Cleanup-Image /ScanHealth

Now, after the completion of these steps, the scan will take some time for checking if the PC requires any repairs.
Option 3: Restore health using DISM
The users should after running the above commands run the restore health command line for repairing and restoring the system. Use the steps below for doing the same.
Step 1- Again, in Command Prompt, run the command given below for repairing Windows 11 image. Thereafter, press Enter.
DISM /Online /Cleanup-Image /RestoreHealth

Once this scan runs, the command tool will install and replace bad files from the Windows Update online service. However, the command may stuck at time but will complete the process without no further action.
Option 4: Use Windows 11 ISO to repair image with DISM
At times, DISM tool alone cannot repair the system, manually specifying a clean source with the /Source option can fix this. The users can do this is through mounting a Windows 11 ISO file. This will provide all the repair files. The steps for downloading Windows 11 ISO are provided below.
Step 1- At first, open the Microsoft official website (https://www.microsoft.com/en-us/software-download/windows11).
Step 2- Now, below the Download Windows 11 Disk Image (ISO) section, choose the Windows 11 option.
Step 3- Again, press the Download button.
Step 4- Now, choose the language of the installation.
Step 5- Further, press Confirm > Download. This will save the ISO file on the PC.

Step 6- Next, double-click the ISO file for opening it in File Explorer.
Step 7- Now, confirm the drive letter of the file. After completing the steps, use the Source option for repairing the local image.
Now, let us see the steps for running install.wim for repairing Windows 11:
Step 1- Primarily, open Command Prompt as an administrator.
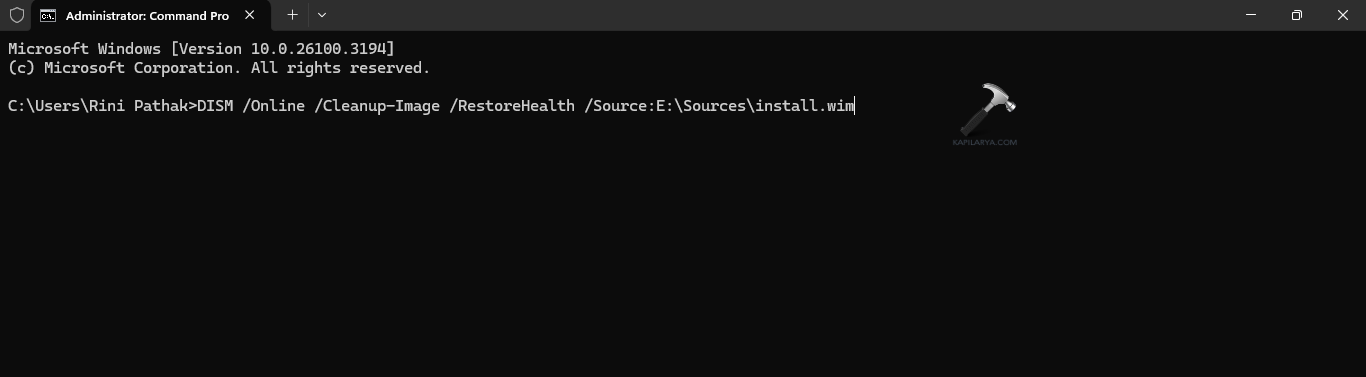
Step 2- Now, copy and paste the prompt below for repairing the local image. Then, click Enter. Here, in the command replace letter E with the ISO file drive letter in File Explorer.
DISM /Online /Cleanup-Image /RestoreHealth /Source:E:\Sources\install.wim
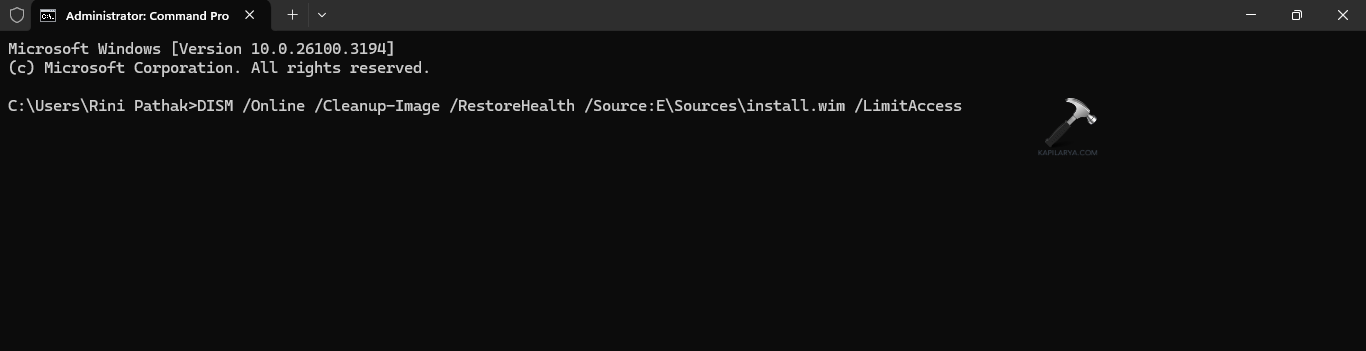
Step 3- Further, for limiting the use of Windows Update, the users can enter the given command-
DISM /Online /Cleanup-Image /RestoreHealth /Source:E\Sources\install.wim /LimitAccess
Step 4- Again, for completing the same task, the users can also enter the below command.
DISM /Online /Cleanup-Image /RestoreHealth /Source:wim:E:\Sources\install.wim:1 /LimitAccess

Here, in the commands, alter the E:\Sources with the path of the install.wim file path. After completing the steps, the Deployment Image Servicing and Management prompt will check and repair the issues with the .wim file.
Therefore, hoping this will help!