This article will show you how you can reactivate Windows 11 after a hardware change. If you have made any crucial changes to your Windows operating system installation, such as replacing motherboard etc., then these changes require you to reactivate Windows so that you can again use it like before. Here, in this article, we will see the steps to reactivate.
I was recently on a Windows 11 system. I have changed hardware for that device, and then after changing the hardware, when I open the Settings app, I see ‘You need to activate Windows before you can personalize your PC’, and there was Activate now link. This means the system was not activated.
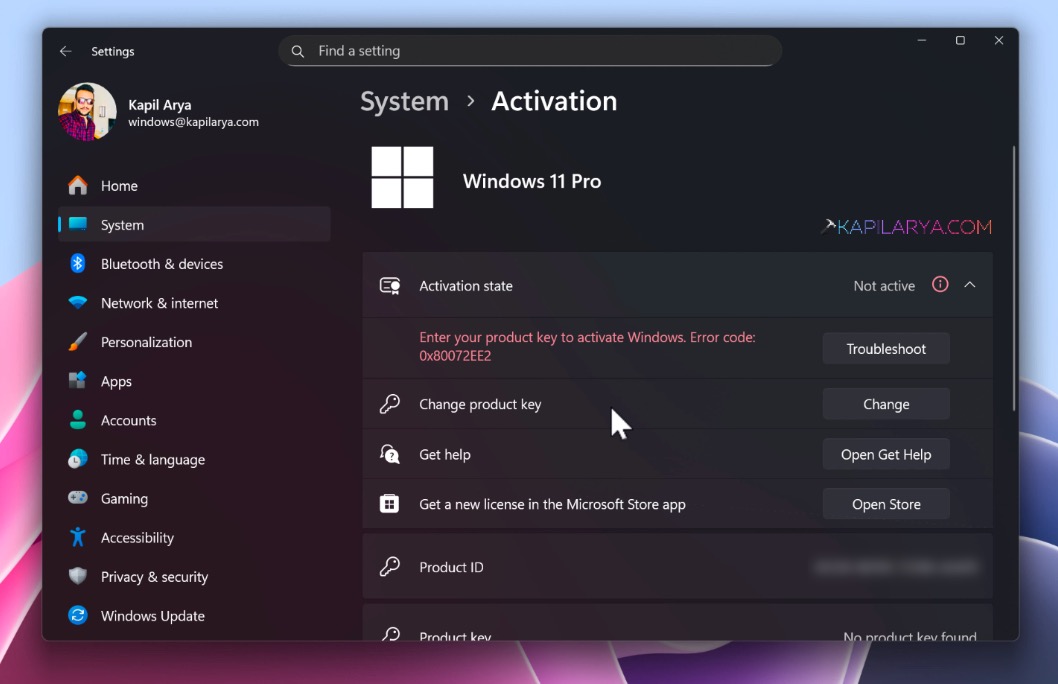
And when I clicked on that link, it taken me to the Activation page. At the activation page, I found that Activation state is ‘Not active’, and it was asking me to enter the product key, and there is a line mentioned here. Enter your product key to activate Windows, error code. There was an error code specified there, as you can see in below image. If I scroll there, I found that I do not have the product key associated.
So in case, if you have the retail license, you can click on the Change button and then re-insert your original product key and that should usually help you to reactivate the system. But in case if you had OEM license, then you may be able to reactivate with the help of Microsoft account. In case of motherboard change, if OEM license may not work as it is usually tied to first motherboard it is activated on.
According to Microsoft, when installing Windows 11, the digital license associates itself with your device hardware, if you make significant hardware changes on your device, such as replacing your motherboard, Windows will no longer be able to find that license matching to your device, and you will have to reactivate Windows to get it up and running.
Page Contents
Reactivate Windows 11 after hardware change
Manual steps
1. Open Settings and go to the System > Activation.
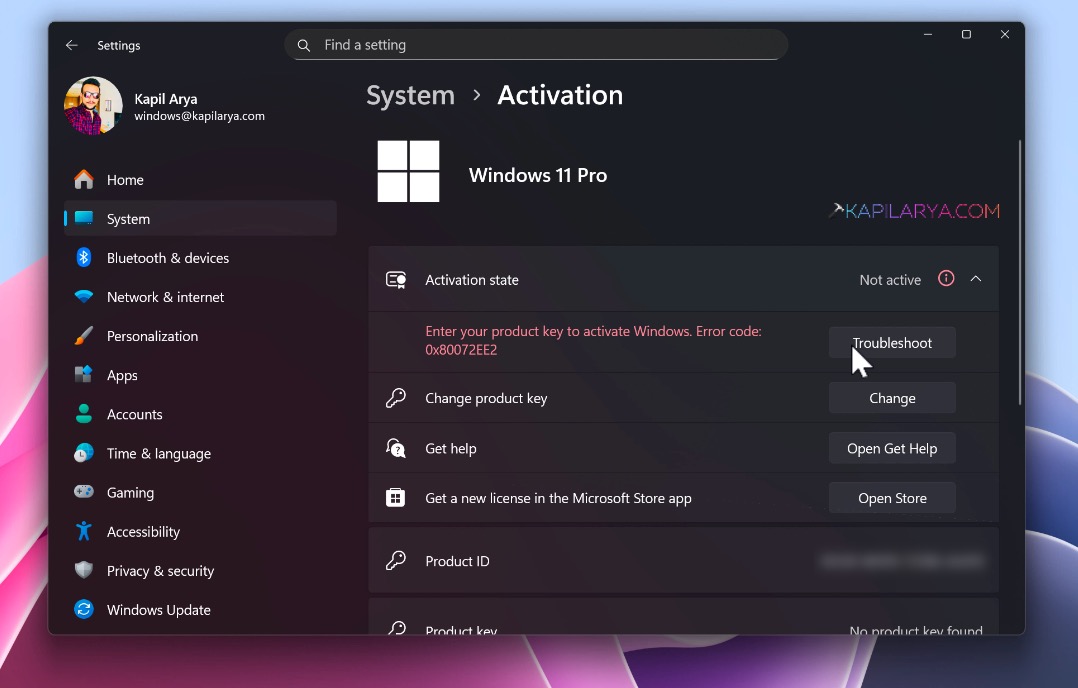
2. Hit that Troubleshoot button here to launch the Activation troubleshooter.
3. The Windows activation troubleshooter should be now running. Let it be working for a few moments. Once troubleshooting has completed, you might see We can’t activate Windows on this device right now.
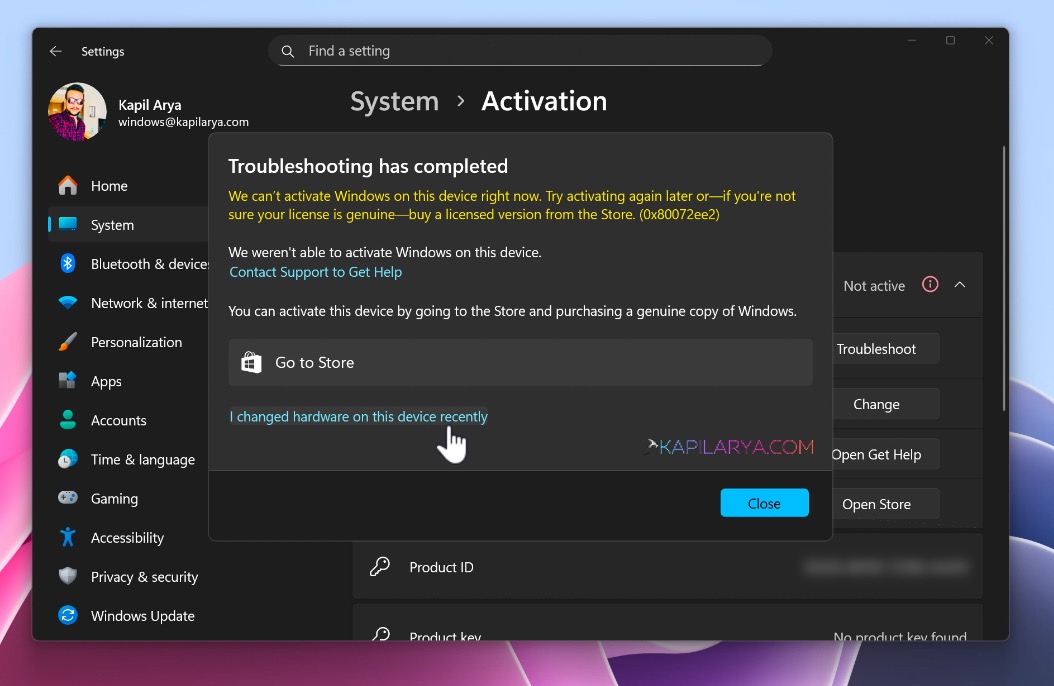
4. Since we done the hardware change, we also have an option here which we can select. And that is, I changed hardware on this device recently. Just click on this link.
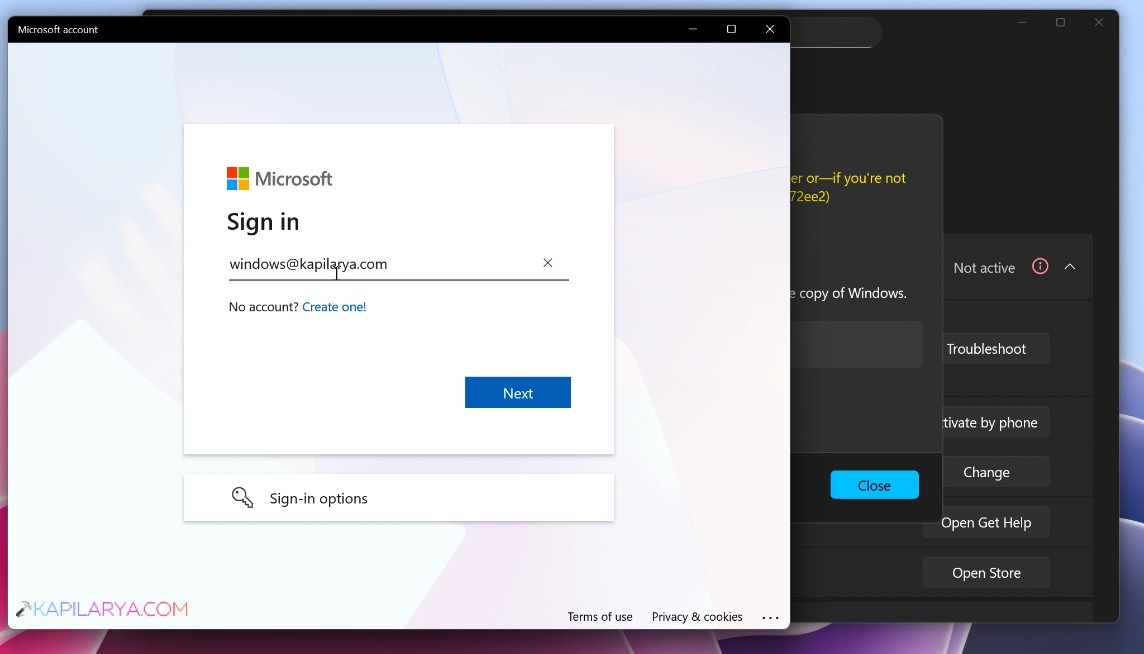
5. Once you click on that link, a Microsoft account window will open. And if you are not already signed into Microsoft account, you would be asked to sign into your Microsoft account. Make sure that you sign into the same Microsoft account, which you earlier used before the hardware change, because the license is tied to that Microsoft account.
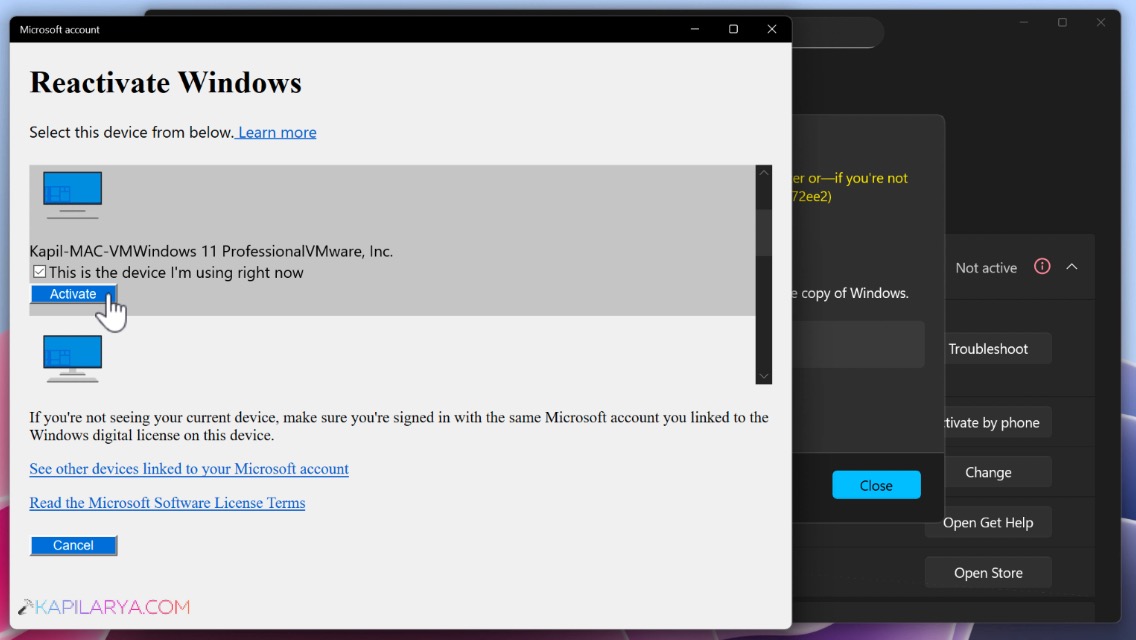
6. Once you successfully sign into the Microsoft account, you will see this Reactivate Windows screen. Here you have. If you have multiple devices linked to your Microsoft account, you will see all of them listed here. Just scroll down and find out the current device on which I’m trying to activate right now. Once you locate the device, you want to reactivate, make sure you check mark This is the device I am using right now option there and click Activate.
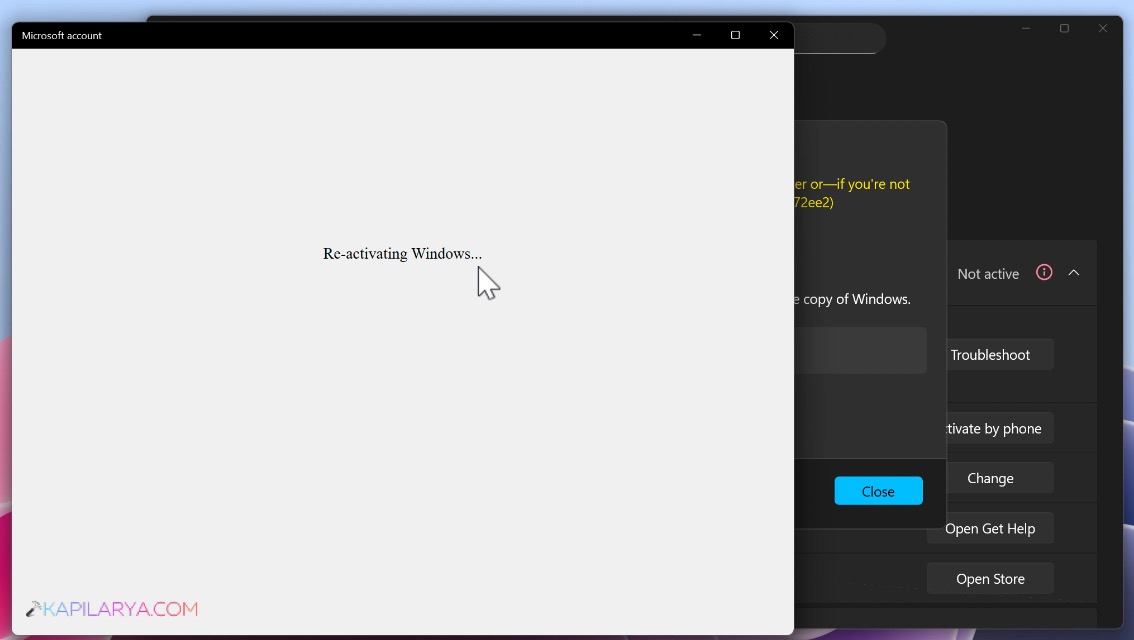
7. For few moments, you’ll see Re-activating Windows. Make sure your system remain connected to the Internet.
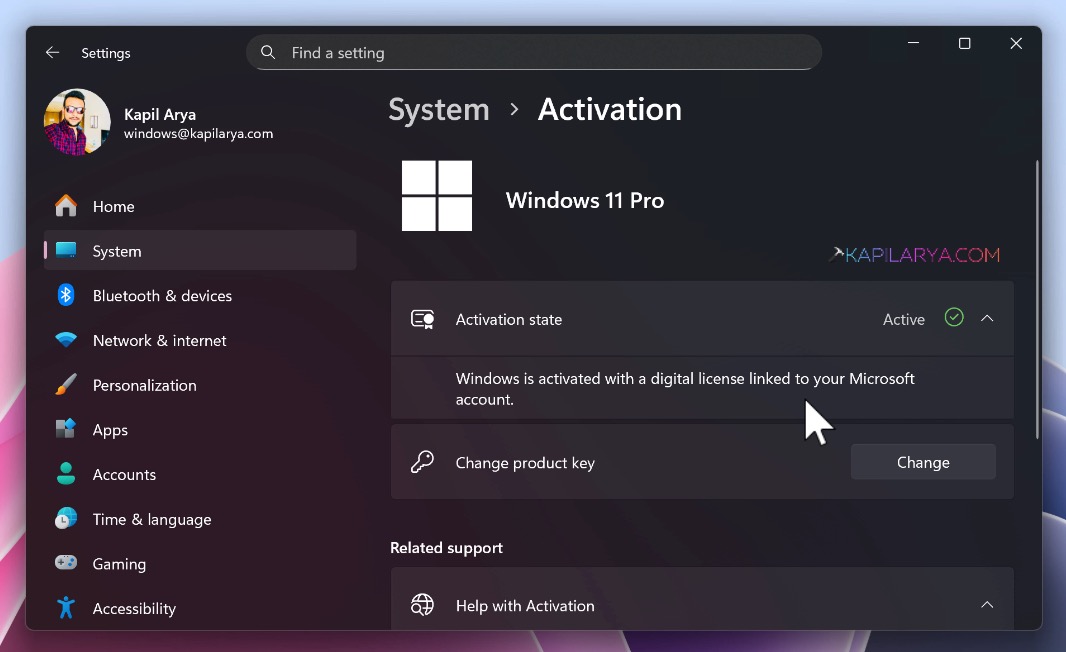
8. And after a few moments, you will found that Windows 11 is again re-activated. The activation state would be now changed to Active. If you expand that, you can see ‘Windows is activated with a digital license linked to your Microsoft account’.
Video guide
You can check out following video guide to get live demonstration the above mentioned steps:
That’s it!